Not to be dramatic, but I’m convinced that meal prep saves lives. It does for us here at The Real Food Dietitians, anyway!
When I first started working with this team back in 2021, I wasn’t much of a meal prepper. But Jess and Stacie had been meal prepping for several years and always touted the benefits of meal prep. It saves time and money, there’s less food waste, it’s healthier because you’ll have fewer stops for takeout and fast food, and it definitely leads to less weeknight mealtime stress.

I know from experience that, without a plan, meal prep (or batch cooking) will feel more overwhelming than it actually is. So, I decided to write down the basic steps of an easy meal prep in this beginner’s guide, which are things I’ve learned as I go.
1. Decide How Long You’ll Prep For
I’m not talking about how many hours you’ll spend prepping food, but rather how many days you’ll need recipes for. For example, do you need meals for one weekend, a full week, or two weeks? It’s helpful to have an idea of how many days, weeks, or even months you want to have meals ready to go.
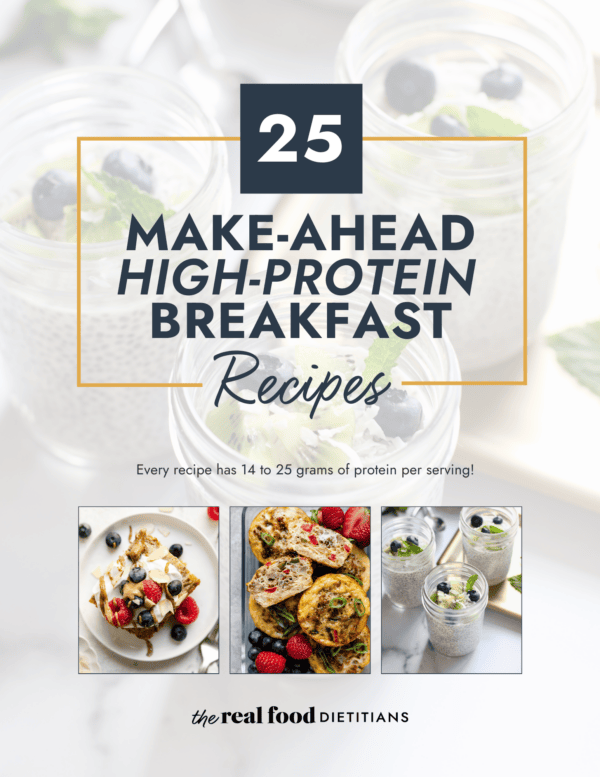
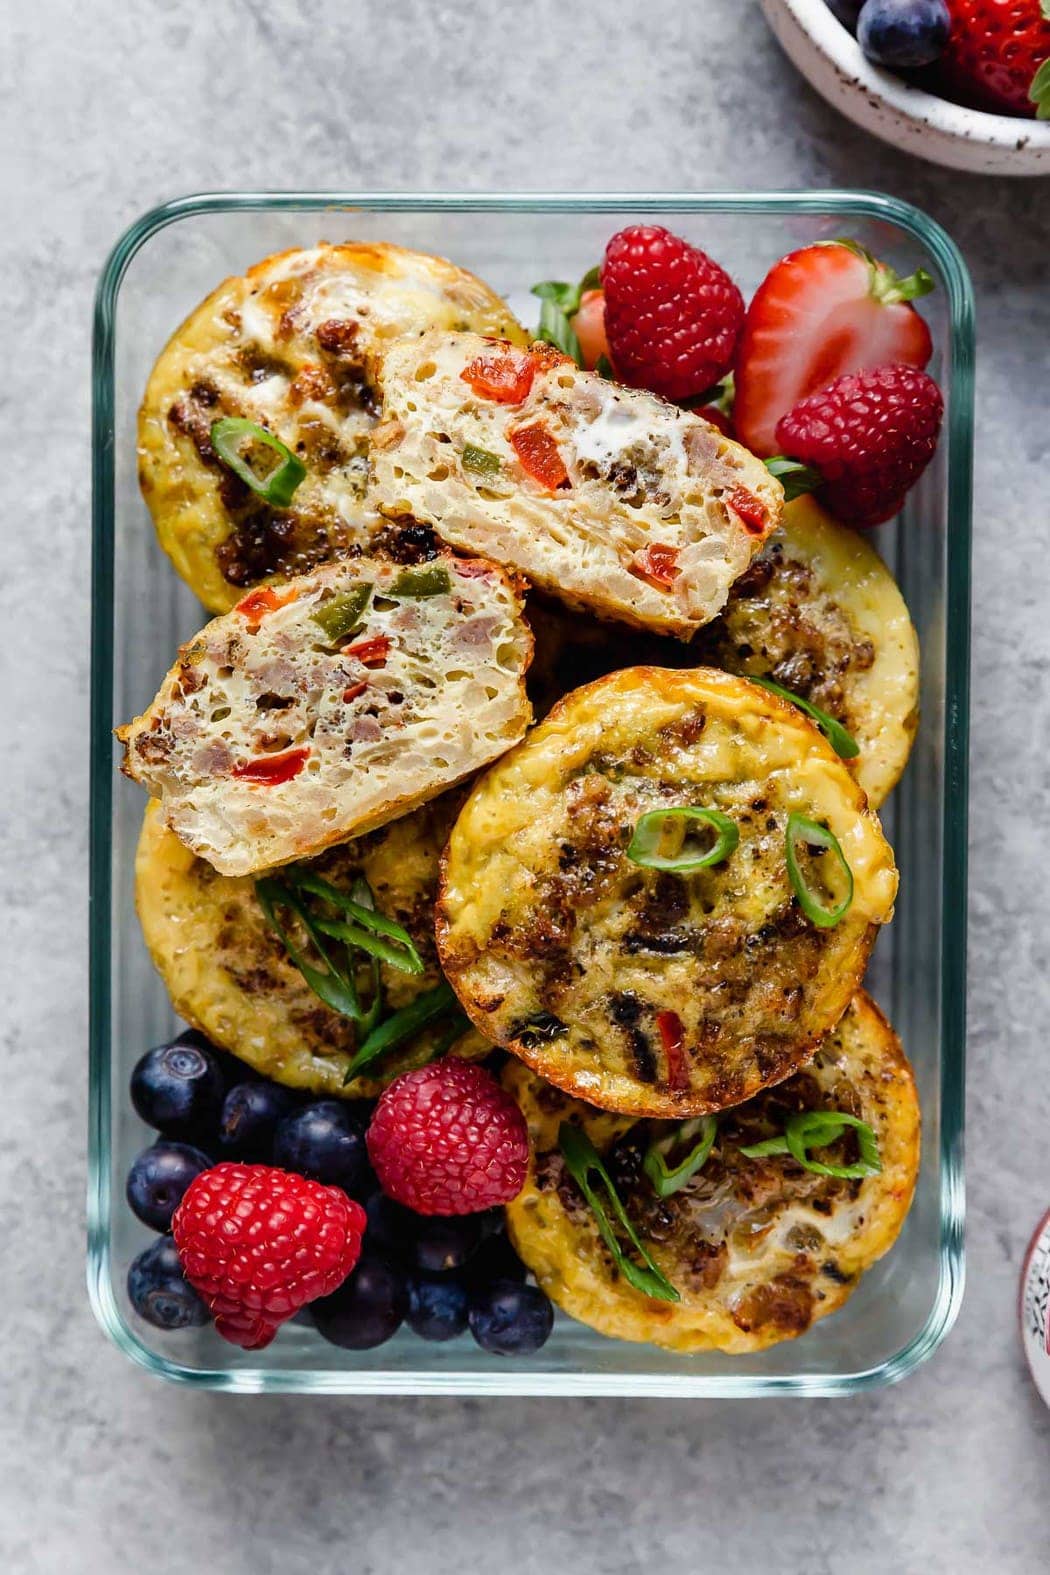
I often tell people to “prep to their pain point.” For example, if eating healthy breakfasts is hard for you, then focus your meal prep around make-ahead breakfasts that you can grab and go like protein overnight oats. If weeknight dinners are your pain point, then focus your meal prep around dinner solutions. If having healthy snacks is a strong desire, then meal prep some simple healthy snacks, like hard-boiled eggs, energy balls, and homemade hummus. You get the idea.
2. Pick Your Recipes
Before you pick your recipes, do a few things first:
- take inventory of what you have on hand
- throw out or compost any foods that are no longer edible
- decide how many recipes you’ll make. For a basic one-week’s worth, I recommend prepping at least 2 proteins (this could be in the form of a one-dish recipe), 1 veggie recipe, 1 breakfast or lunch recipe, and 1 snack recipe.
It can be helpful to write out your meal plan, deciding which days you’ll eat what and when you’ll eat the leftovers. Then choose some recipes that store well.
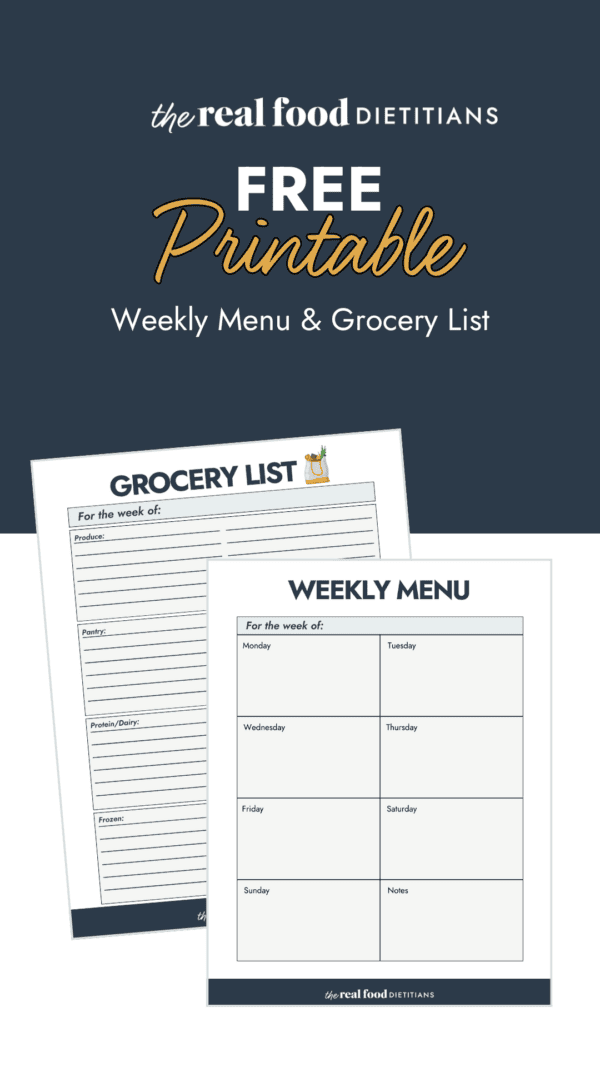
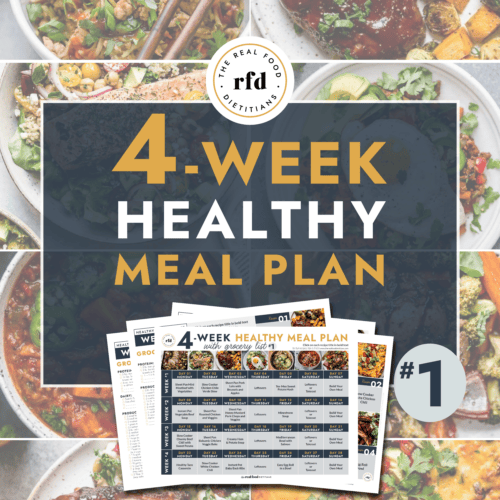
If writing a meal plan feels overwhelming (I know it can be!), then start with a plan that’s already done for you. We’ve created several 2-week and 4-week meal plans that come with weekly grocery lists just for this purpose. This 2-week plan, for example, is appropriate for any time of the year, and this weekend meal prep plan is designed to be completed in about 2 hours on a weekend.
3. Get The Right Storage Containers For Your Needs
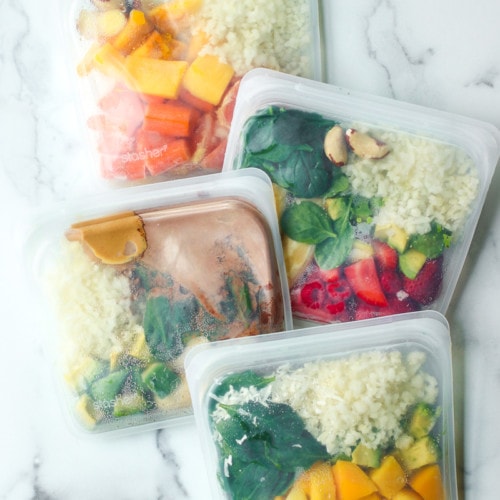
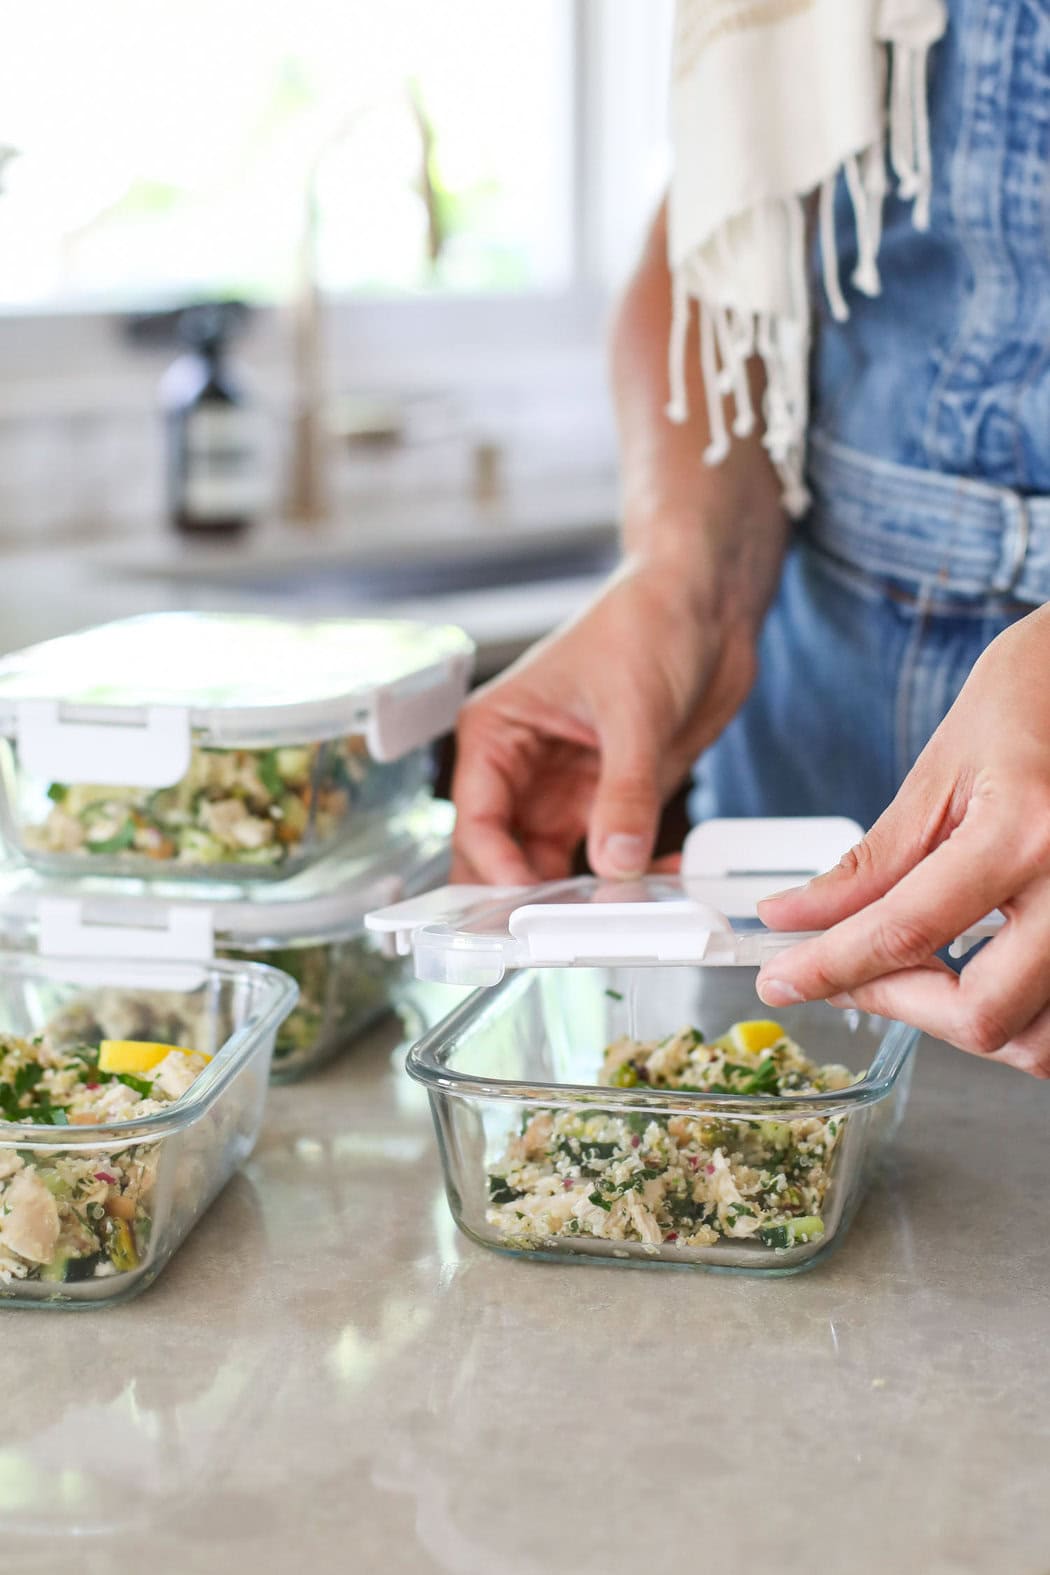
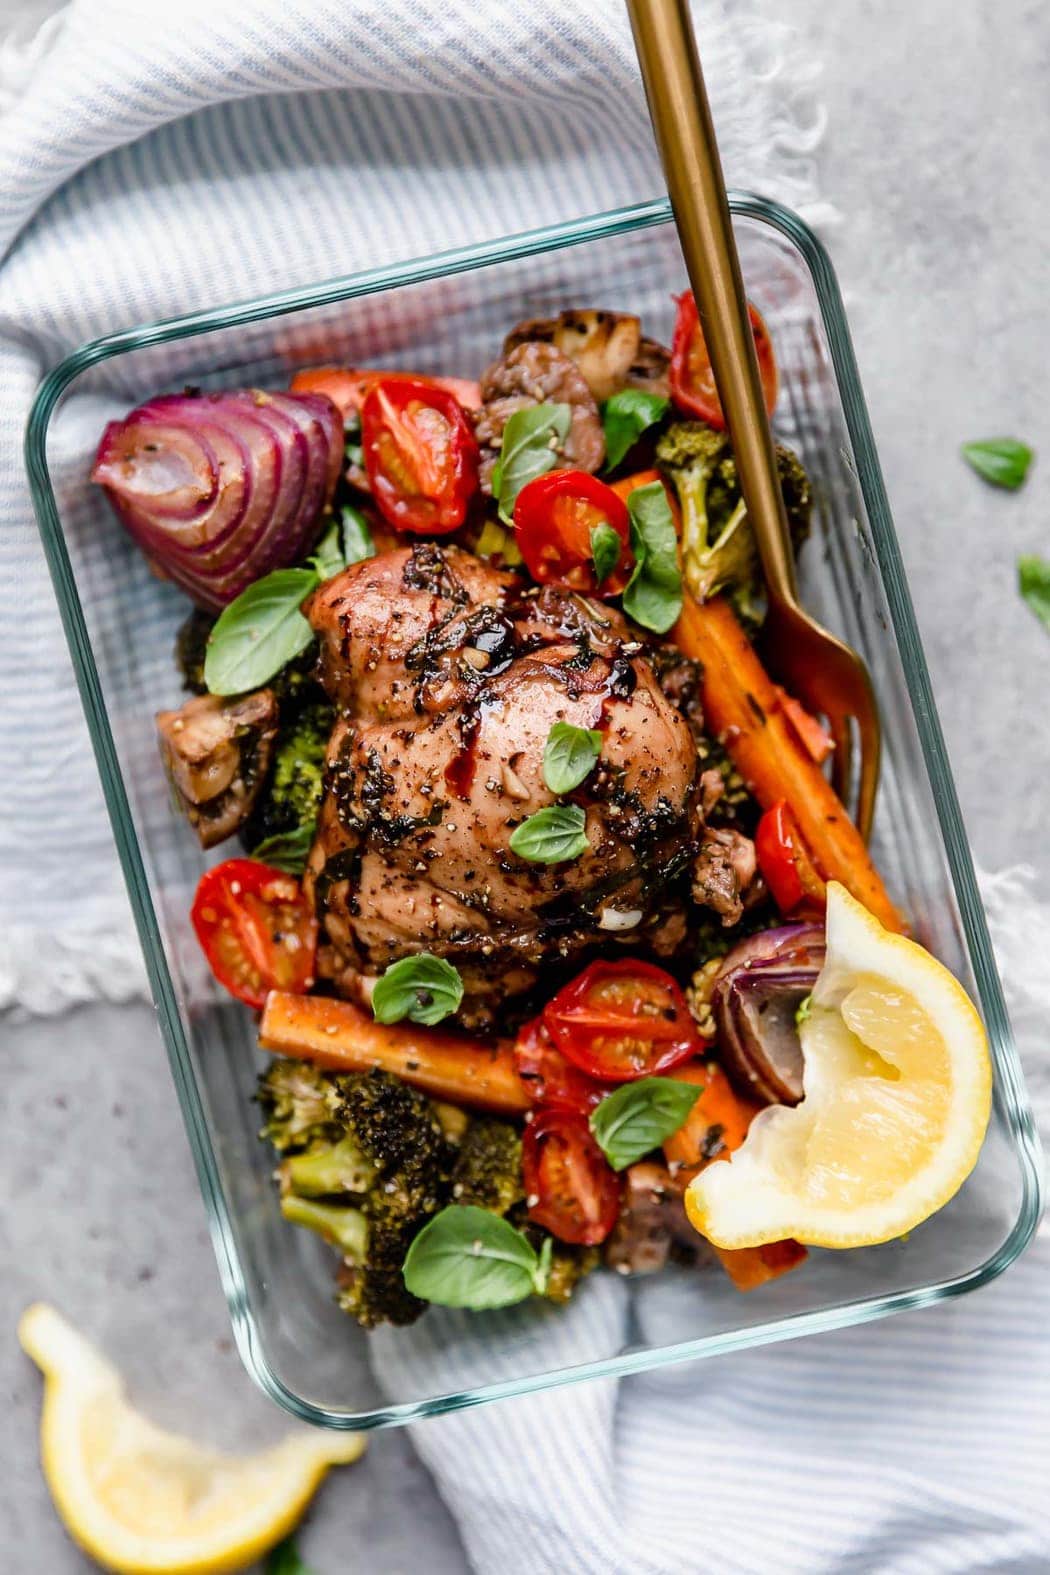
Since you’ll be prepping an extra amount of ingredients and food, you’ll need storage containers for everything. You can go simple and use old take-out containers, mason jars, or any food containers you have around your kitchen, as long as they have a tight-fitting lid. A proper-fitting lid is important for keeping oxygen away from food, which causes it to spoil faster.
If you think meal prep is something you’ll want to do often, it’s a good idea to invest in some high-quality reusable meal prep containers that will help the food last longer. I’ve been meal prepping for several years now, and after testing a ton of brands, these are 8 of my favorite containers. I tend to prefer glass containers with lid-locking technology.
4. Create A Grocery List
Next up, you’ll need to write or type up a grocery shopping list based on the ingredients in the recipes you’ll be making. It’s helpful to arrange the items by section of the store. I typically break my grocery list into:
- Proteins and dairy
- Produce (fresh, canned, or frozen vegetables, fruits, and fresh herbs)
- Pantry staples (canned goods, grains, oils, sauces, rice and quick-cooking pasta like orzo)
- Seasonings (dried herbs and spices)
- Extras
Once I make my full shopping list, I can often go through my pantry and refrigerator and cross off any of the ingredients I already have on hand.
Now that I meal prep often, these are some of the foods that I always keep on hand, which really helps cut down on what I need to buy at the grocery store each week. (Pro tip: This makes meal prep more budget-friendly, too!)
- Canned tomato products: tomato sauce, tomato paste, marinara, diced tomatoes
- Canned beans and chickpeas
- Olives, pickles, and chopped garlic
- Grains, especially old-fashioned rolled oats and quinoa
- Baking supplies, like flour, sugar, baking powder, baking soda, and flax meal
- Sweeteners like honey and maple syrup
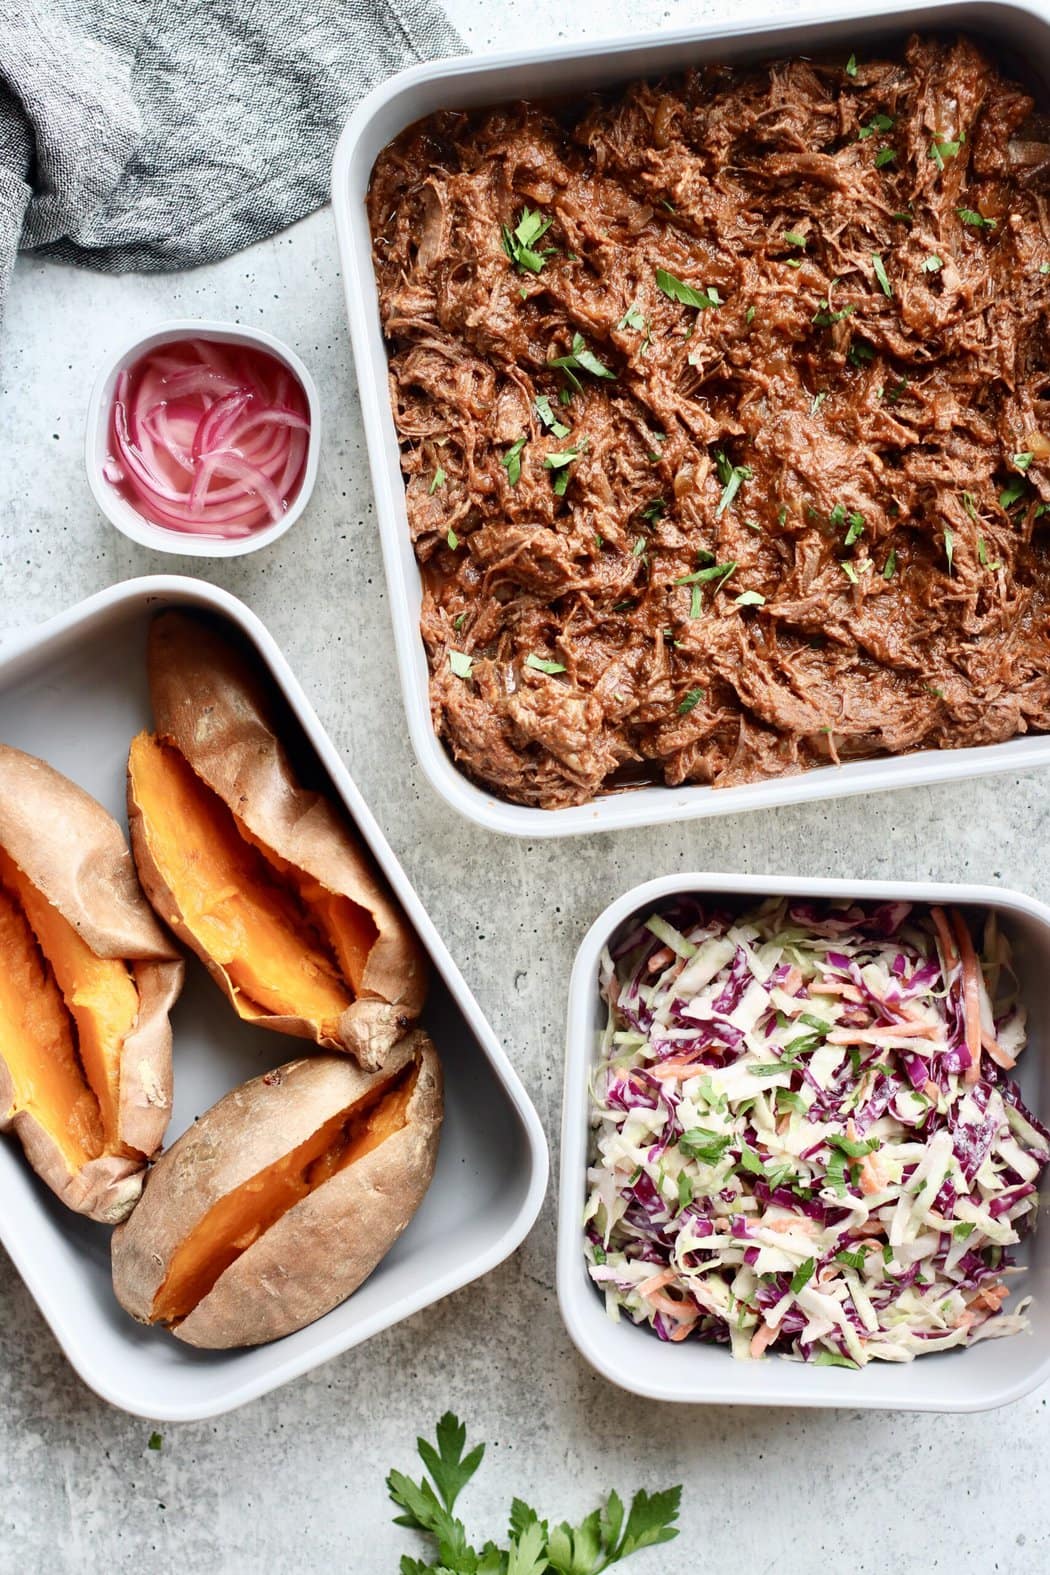
- Frozen proteins, like ground beef, chicken breasts and chicken thighs, ground pork, and shrimp
- Canned coconut milk
5. Get Cooking
After you’ve gotten your groceries (which I typically do the day or evening before I meal prep), then it’s time to start cooking. But before you start the cutting and sauteing:
- Set aside at least 1-2 hours of uninterrupted time for your meal prep, which is typically enough time to prep 4-6 recipes
- Read through the recipes from start to finish so there are no surprises as you go. This is especially important if you’re trying new recipes.
- Wash your produce and pre-chop veggies the day before your meal prep. This will save you considerable time on meal prep the next day.
- Start with a clean kitchen and have all of your dishes washed and put away before you start prepping and cooking meals.
- Plan to clean up as you go to cut down on hours of unnecessary cleanup.
- Start with the recipe that takes the longest to cook, not to prep. These are typically the foods that have to bake or that are made in a slow cooker or Instant Pot.
Now, the prep begins. If you can batch certain tasks together, do that! For example, if three of your recipes need chopped onions, then chop enough onions for all three recipes at once. It can also be more fun if you prep with a friend or partner, so recruit some help anytime you have the chance.

6. Store Your Meals (The Right Way)
Of course, it helps to have the right meal prep containers to store your food, but you also want to make sure you’re storing food the right way for food safety and longevity. Here are some tips I’ve picked up:
- Let hot foods cool before you cover and refrigerate them. Covering a hot container of food and sticking it in a cold refrigerator will create a lot of condensation and moisture buildup, which causes food to spoil faster. You’re also putting other foods in your refrigerator at risk of spoilage since a hot dish will bring down the temperature of your entire refrigerator.
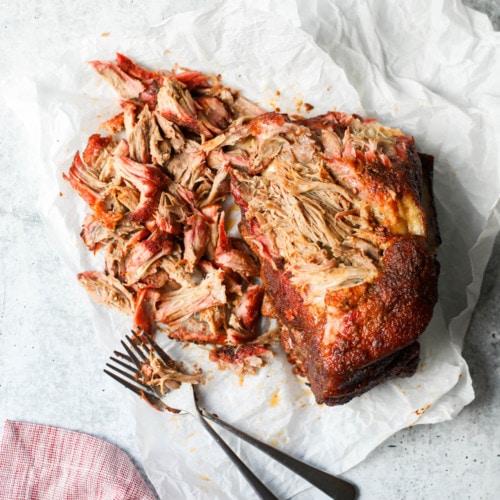
- Spread out foods to cool them faster. If you have an entire Instant Pot full of shredded chicken that you want to store for a variety of chicken meals, for example, spread it out on a baking sheet. By thinning the surface area, the chicken cools down much faster, and then you can transfer it to the final storage container. This also works well for other prepped meats, cooked grains (like quinoa and rice), and big batches of soup, chili, and stew.
- Utilize paper towels. If you pre-wash salad greens or cut some bell peppers ahead of time, it can be helpful to store them in a container lined with a paper towel. The paper towel helps absorb excess moisture that will cause wet veggies to spoil faster.
- Cooked foods destined for the freezer should be placed in the refrigerator to cool completely before being transferred to the freezer. This prevents excess ice crystals from forming on the food, which increases the risk of freezer burn and can alter the texture of the food once it’s thawed.
7. Thaw Or Reheat Wisely
If you have frozen meals that need to go into the slow cooker or oven to finish, pull them out of the freezer about 24 hours before you’ll cook them. Transfer them to the refrigerator to start thawing, which will cut down on the finished cooking time.
I tend to prefer to reheat foods on the stovetop or oven rather than the microwave because this helps restore some of the original good texture. It can also be helpful to add a little bit of liquid when reheating, such as 1-2 tablespoons of water.
Congrats! You’ve Successfully Meal Prepped.
I hope you found these basic steps of meal prep helpful! After meal prepping a few times, I discovered that I tend to use a similar style of healthy recipes (a prepped protein, a prepped casserole, and a prepared grain, for example), and things have definitely gotten faster and more efficient the more I do it.
Of course, there have always been (and will always be) seasons of life where meal prepping feels like ‘too much’. Rather than abandoning meal prepping all together, I’ve learned to outsource some of the planning and prep by using a healthy meal kit delivery service that my family loves for those busy times or opt for an easy crockpot meal that’s ready in under 4 hours for those times when I forget to plan ahead.
If you’ve tried meal prep and have any tips to share or questions, leave them in the comments.
Frequently Asked Questions
A slow cooker, air fryer, or Instant Pot can be very helpful. This allows you to get one recipe cooking in the small appliance and opens up your stovetop for making other recipes at the same time. Containers with tight-fitting lids are also extremely helpful when it comes to meal prepping.
For a balanced diet, it’s a good idea to prep a protein or two (such as pre-cooked chicken taco meat, sloppy joe meat, or grilled pork chops). For the base of healthy meals, snag an energy-supply carb source when grocery shopping, such as cooked sweet potatoes, quinoa, or brown rice.
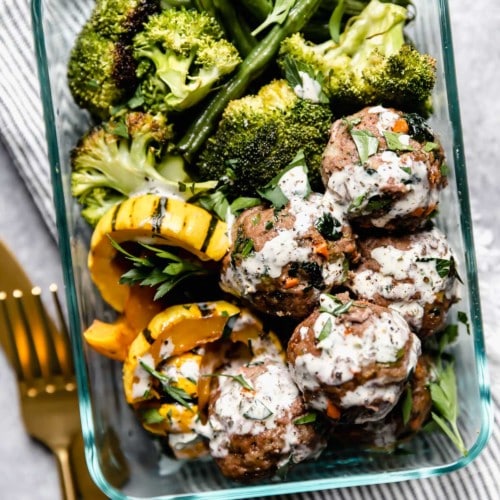
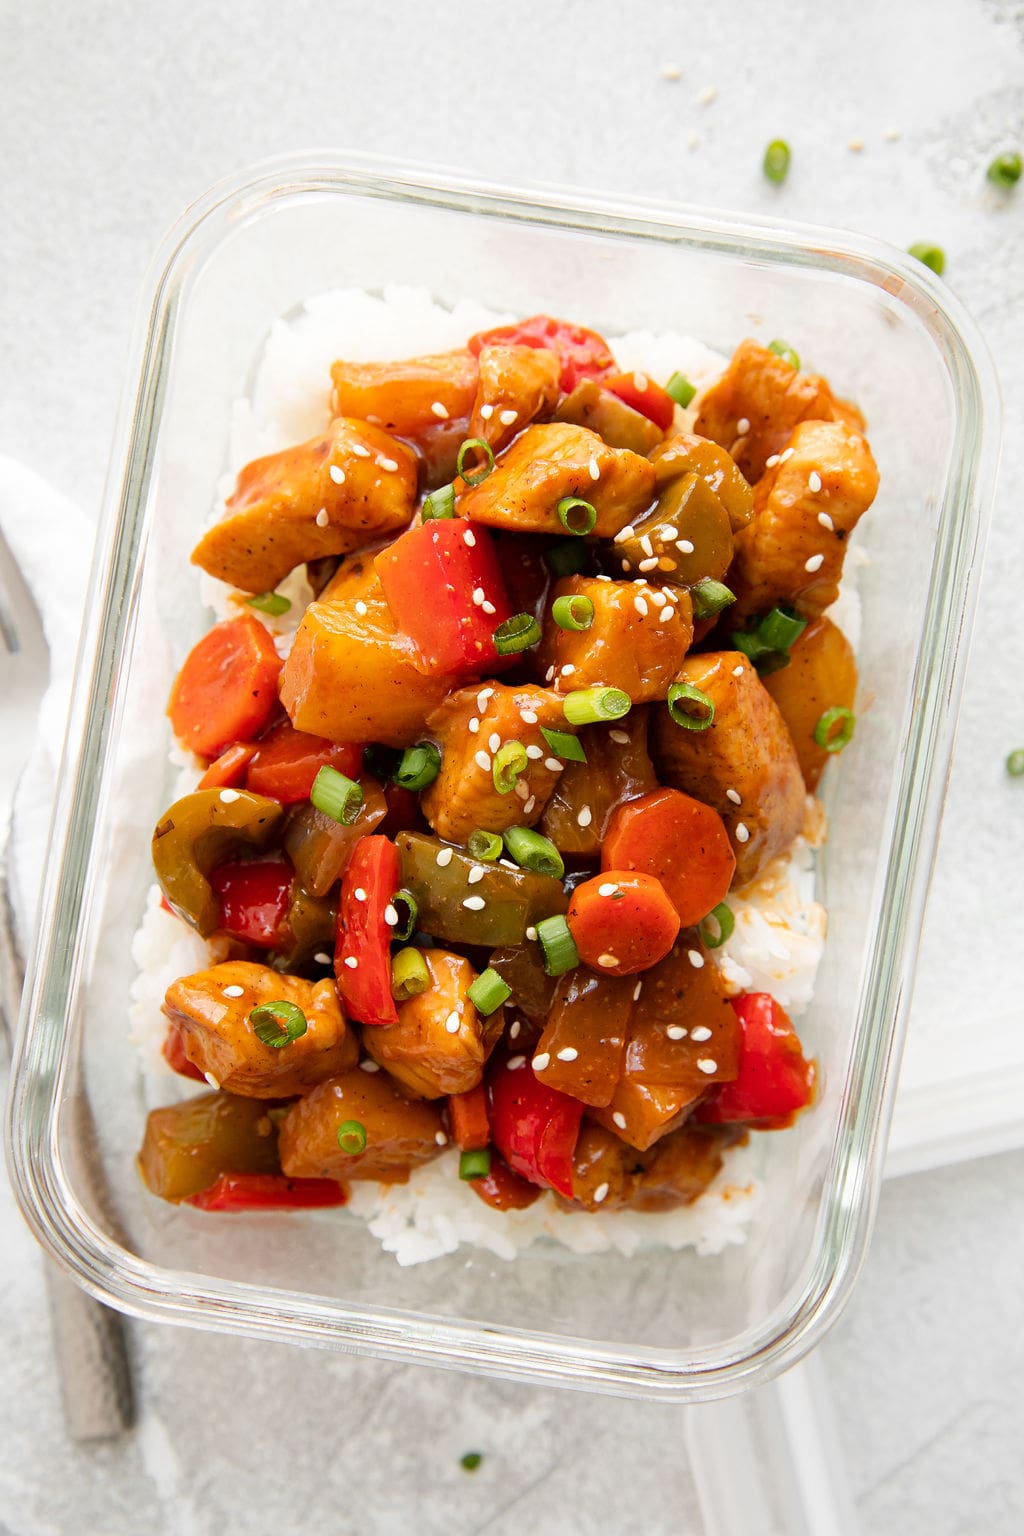
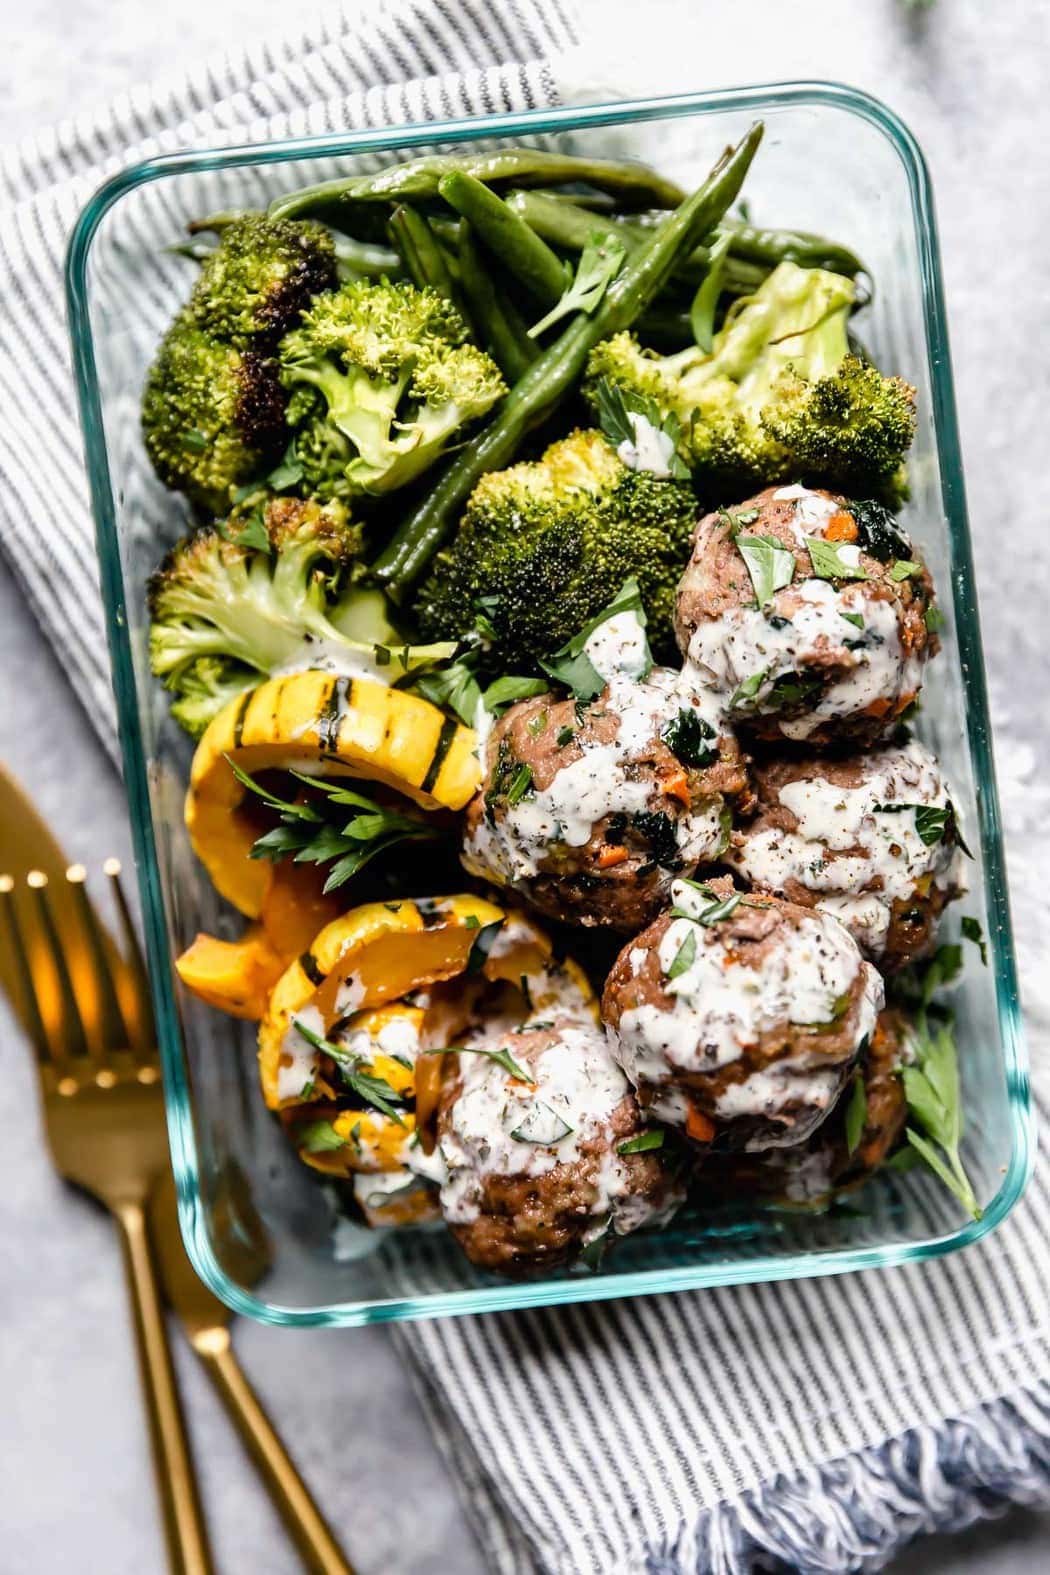
For make-ahead lunches, I like to make recipes like a quinoa-chickpea salad, meal prep meatballs, sweet and sour chicken, sheet pan meatloaves and veggies, stir-fry noodles, or a cold chicken salad I can eat as a sandwich, salad, or with crackers.
A few meals that freeze well are beef and lentil stew, turkey sweet potato chili, chicken and rice casserole, tater tot casserole, crockpot beef tips, breakfast burritos, and slow cooker pork roast.
If you’d like to complete an entire freezer meal prep session, check out our Dinner Is Done Freezer Meal Prep Guide. It includes all the recipes, grocery lists, and reheating tips you need to prep six freezer dinners.
For ultimate success, we highly recommend reading the tips in the full blog post above. All photos and content are copyright protected. Please do not use our photos without prior written permission. If you wish to republish a recipe, please rewrite the recipe in your own unique words. Link back to the source recipe here on The Real Food Dietitians. Thank you!
