Stop searching for How to Make the Perfect Chicken Breast – we’ve got the solution right here.
“Dry” is not OK.
Unless of course, you’re talking about your basement during the spring. But we’re not, we’re talking about chicken and more importantly, how to make the perfect chicken breast so that you never have to use the words “dry” and “chicken breasts” in the same sentence.
Over the years, this has become my go-to method for making chicken breasts when I want chicken for salads, a wrap, tacos, you name it. I know there are plenty of ways to make delicious chicken, but this is the method I come back to time and time again because it’s simple, easy, and flavorful. It’s not the only way I make chicken, of course, but when I don’t want to pull out the Instant Pot to make a whole chicken, fire up the grill, or heat up the oven, it’s how I make the perfect chicken breast and I think you’ll see why once you see how easy it is.
How to Make the Perfect Chicken Breast: Step-by-Step
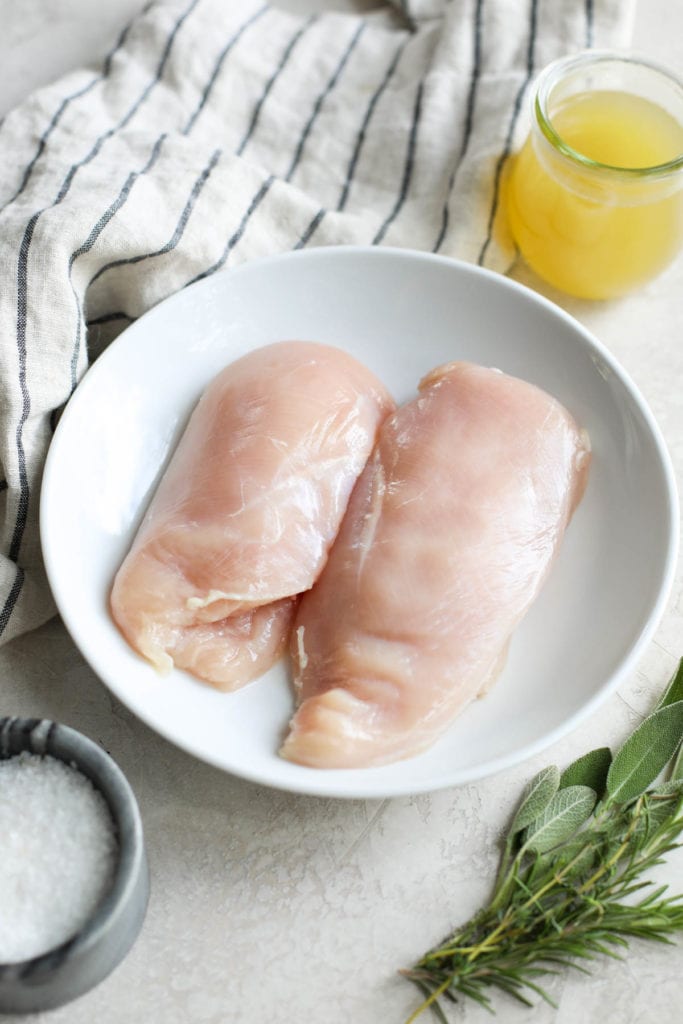
Remove chicken from packaging and pat dry using a paper towel. Do not wash or rinse your chicken first as it’s a fine way to contaminate everything within splashing distance of your sink and a waste of time. If your chicken breasts are quite uneven it’s a good idea to pound them to an even thickness using a rolling pin or the flat side of a meat tenderizer. Or do like I do and place a sheet of parchment paper over the top of the chicken then give a few good whacks with the pinky finger-side of a closed fist (it’s really very therapeutic at the end of a long day).
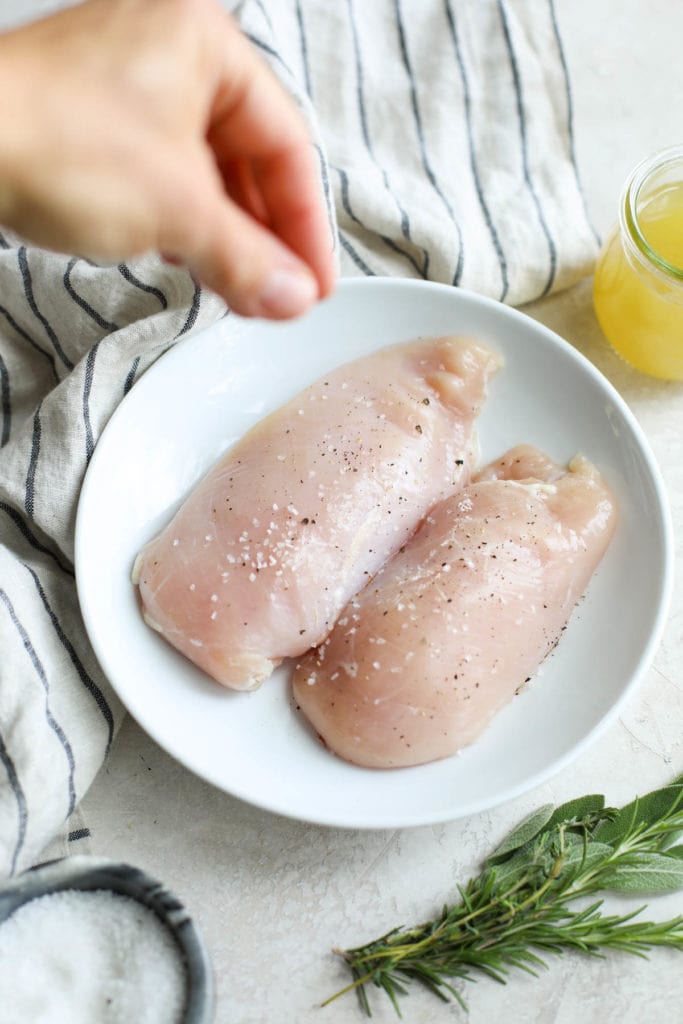
Season both sides of the chicken breast with salt and pepper or your favorite seasonings. I love this organic all-purpose seasoning because it’s good on everything, but you can use whatever you like (lemon pepper is also nice) or just stick with good old salt and pepper if you want to keep it simple.
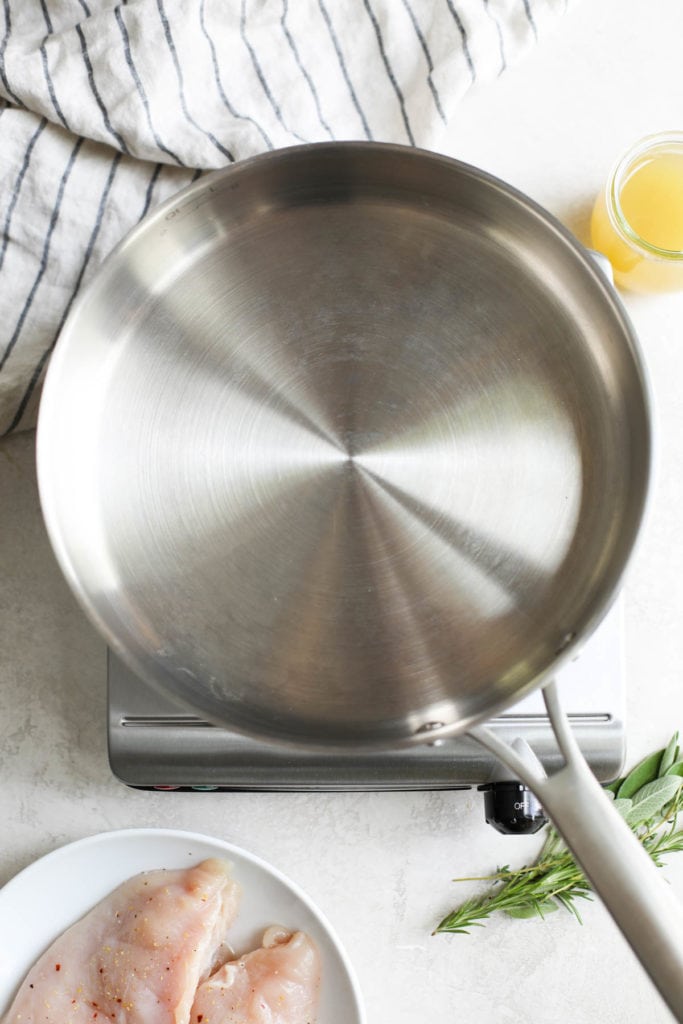
Place a skillet with a lid over medium-high heat. My go-to is cast iron (both enameled and regular but for the photos, I used this stainless steel pan because it’s pretty and functional). For more about non-toxic skillets and which ones we recommend, check out this post.
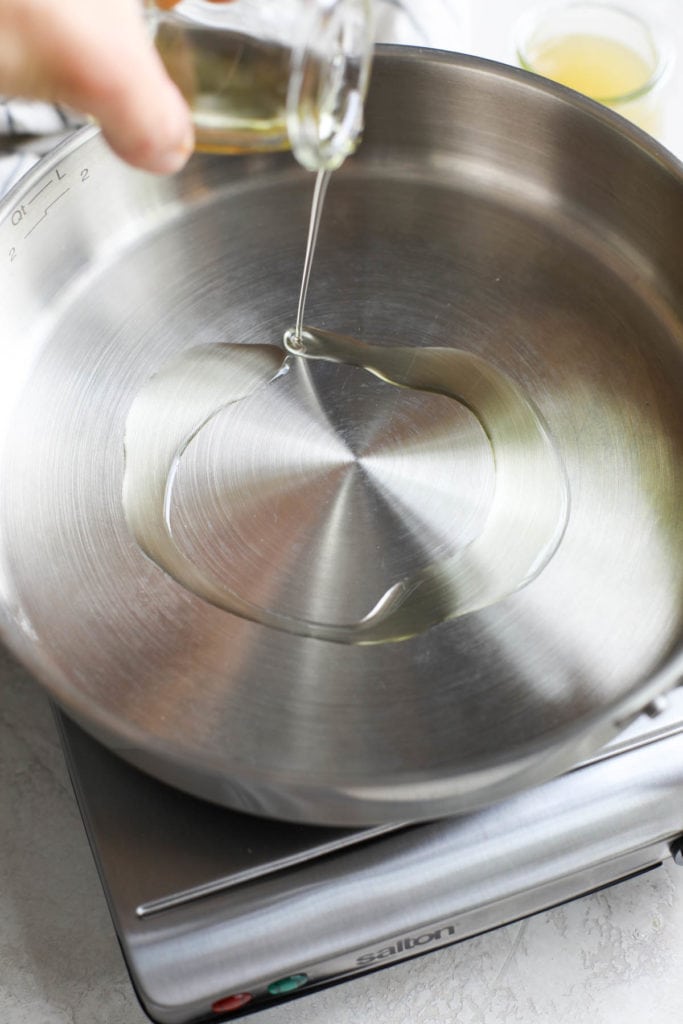
When the skillet is hot (test this by dropping a few drops of water onto the skillet surface – if they dance, it’s ready), drizzle your favorite cooking oil into the pan. I don’t measure it, I just add a few turns to the pan using enough to keep the chicken from sticking (this is important when using cast iron or stainless steel pans without non-stick coating). And in case you’re wondering, I almost always use avocado oil because it’s neutral-tasting and great for high-heat cooking (but ghee, coconut oil, and olive oil will also work).
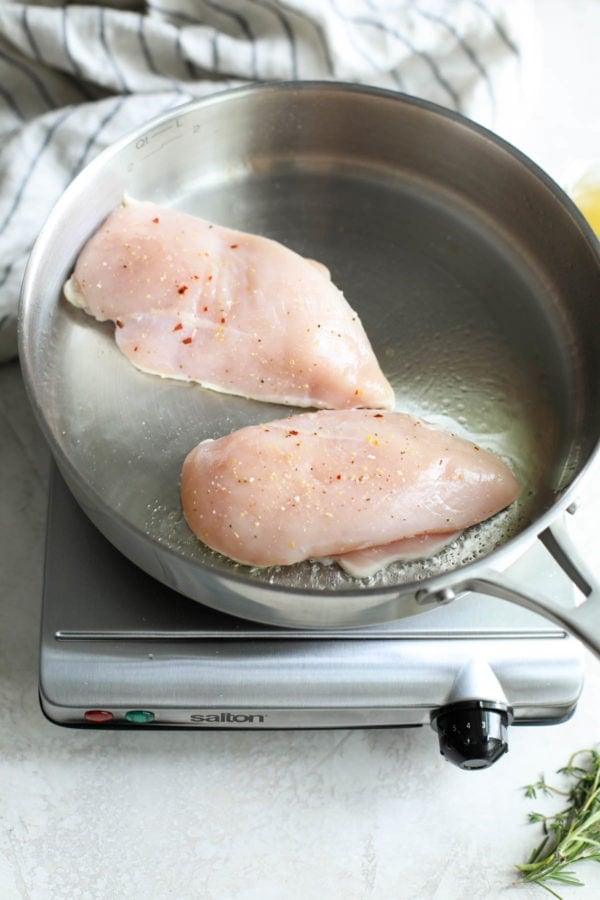
When the oil starts to shimmer, lay the chicken breasts in the skillet in a single layer. Reduce the heat slightly to medium and allow them to cook, undisturbed, for 4-5 minutes. It’s time to flip the chicken when it releases easily from the pan using a set of tongs or spatula. Resist the urge to flip it over too soon or you’ll find it sticks to the pan. Allow chicken to cook for an additional 3-4 minutes on the second side.
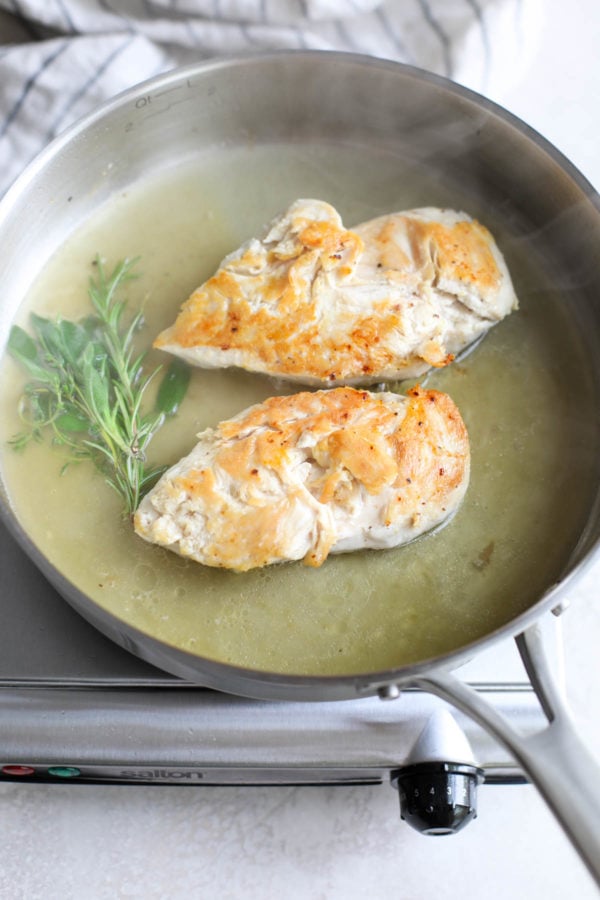
Now it’s time to add the liquid. You can also use water, but my go-to is broth because it infuses the chicken with a rich flavor. I always keep homemade chicken bone broth in my freezer for occasions like this (which is pretty often). I freeze the cooled broth in a muffin pan lined with reusable silicone baking cups to make “broth bombs” then store these in a large freezer-safe bag in the freezer until I need them. Their small size means less waste, quick thawing, and always having broth on hand for sipping or cooking.

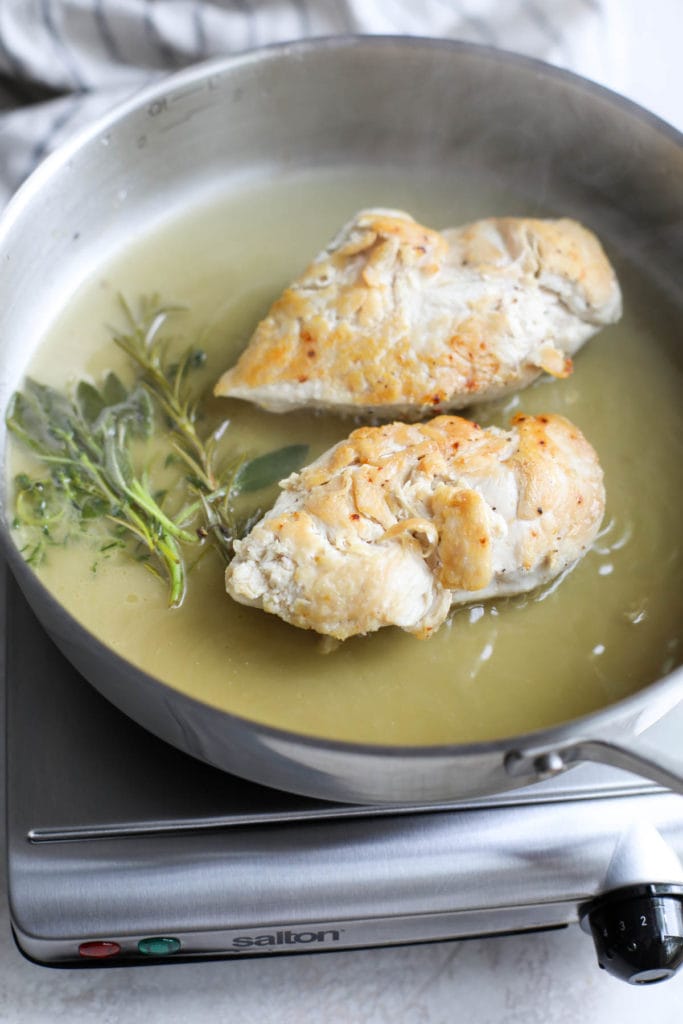
Feel free to toss in some fresh or dried herbs at this point too if you’d like. Since fresh herbs can get costly when you use only a little for a recipe then let them go bad in the fridge, I cut down on waste by freezing what I don’t use. They’re great for adding to an Instant Pot Whole Chicken or batch of bone broth where you’re using them only for flavor, not appearance.
Allow the liquid to come to a simmer, then place the lid on the skillet and reduce the heat to medium-low to maintain a simmer. Allow chicken to cook, covered, for 8-10 minutes or until no longer pink inside and an instant-read thermometer reads 165℉ in the thickest part.
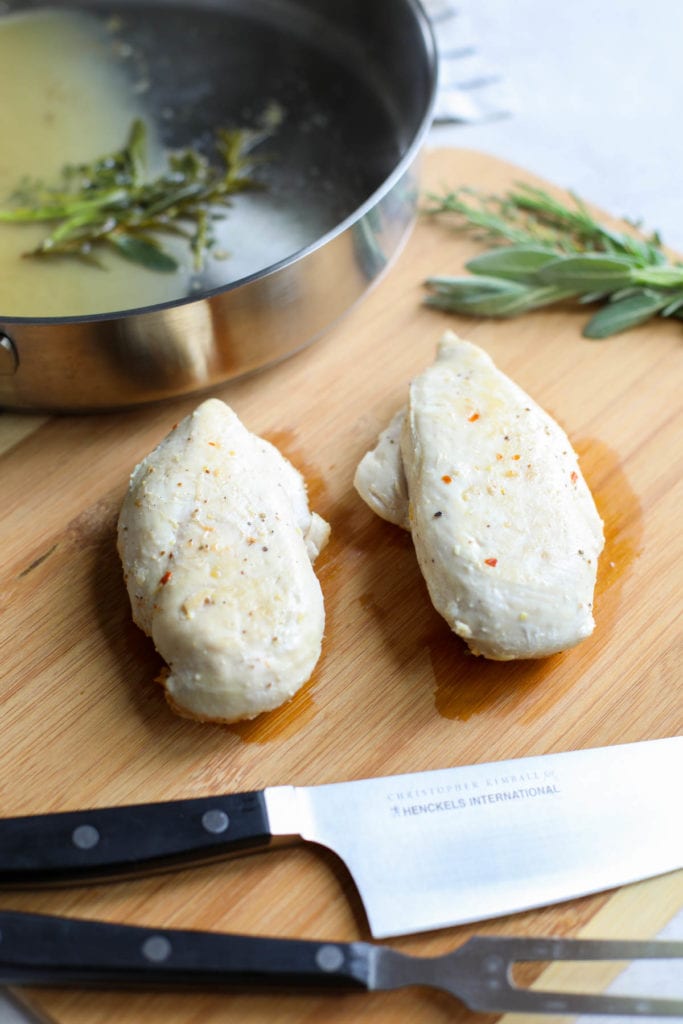
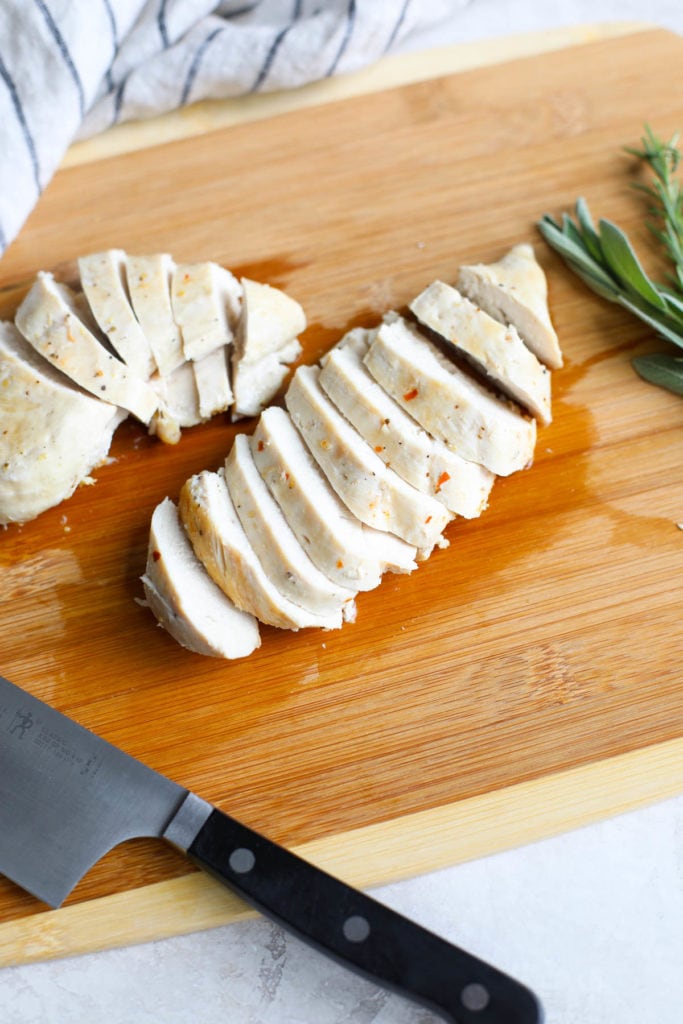
Transfer the chicken from the skillet to a cutting board and allow it to rest for 5 minutes before slicing, dicing, chopping or shredding.
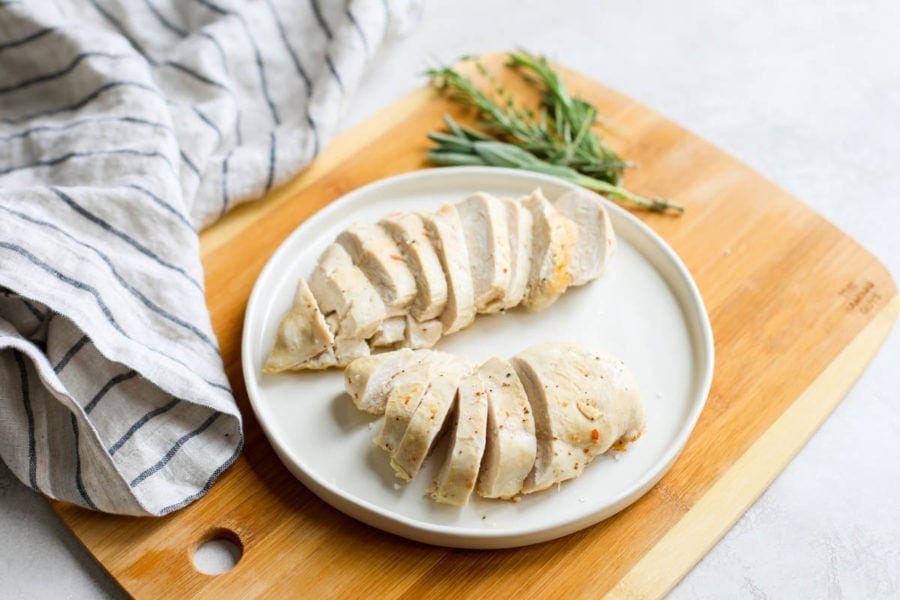
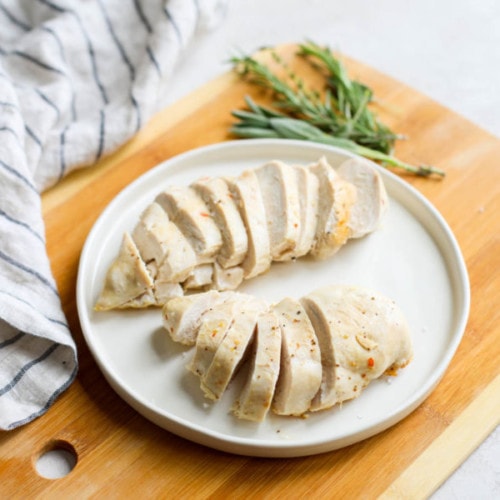
Ways to use your perfect chicken breast
You didn’t think I’d share how to make the perfect chicken breast and then leave you hanging, did you?! Don’t worry, we’ve got plenty of ways to use that chicken including:
- Asian Chicken Salad Lettuce Wraps
- Avocado Chicken Waldorf Salad
- Blueberry Chicken Salad with Rosemary
- Classic Chicken Waldorf Salad
- Curry Chicken Salad
- Harvest Chicken Salad
- Buffalo Chicken Stuffed Spaghetti Squash
- Mango Chicken Salad Stuffed Avocado
- Strawberry Chicken Poppyseed Salad
- Chicken Tortilla-less Soup
- Dairy-Free Chicken Alfredo Spaghetti Squash
- Buffalo Chicken Egg Muffins
- Creamy Chicken Spaghetti Squash with Bacon and Asparagus
- Chicken Supreme Sweet Potato Pizza Bites
- Buffalo Chicken Bake with Spaghetti Squash
- Southwest Quinoa Bake
- 30 Whole30 Leftover Chicken Recipes
Want to save this recipe?
Enter your email below & we’ll send it straight to your inbox. Plus you’ll get great new recipes from us every week!
How to Make the Perfect Chicken Breast
Ingredients
- 1 lb. boneless, skinless chicken breasts
- Salt, pepper or seasoning of choice
- 1 – 2 Tbsp. cooking oil or fat of choice (we recommend Primal Kitchen Avocado Oil)
- 6 ounces broth or water
- Optional: fresh or dried herbs
Instructions
- Remove chicken from packaging and pat dry using a paper towel. If chicken breasts vary in thickness, place between two pieces of parchment paper and pound with the flat side of a meat tenderizer or rolling pin until even thickness is achieved.
- Season both sides of the chicken breast with salt and pepper or your favorite seasonings.
- Place a skillet with a lid over medium-high heat.
- When the skillet is hot (test this by dropping a few drops of water onto the skillet surface – if they dance, it’s ready), drizzle your favorite cooking oil into the pan.
- When the oil starts to shimmer, lay the chicken breasts in the skillet in a single layer. Reduce the heat slightly to medium and allow them to cook, undisturbed, for 4-5 minutes. When the chicken easily releases from the pan, flip it over and cook for an additional 3-4 minutes on the second side.
- Add the liquid to the pan along with any herbs you plan to use. Allow the liquid to come to a simmer then place the lid on the skillet and reduce the heat to medium-low to maintain a simmer. Allow chicken to cook, covered, for 8-10 minutes or until no longer pink inside and an instant-read thermometer reads 165℉ in the thickest part.
Last Step! Please leave a review and rating letting us know how you liked this recipe! This helps our business thrive so we can continue providing free recipes and high-quality content for you.
Notes
All photos and content are copyright protected. Please do not use our photos without prior written permission. If you wish to republish this recipe, please rewrite the recipe in your own unique words and link back to the source recipe here on The Real Food Dietitians. Thank you!
Dietary
Pin it now & Make it later!

This post may contain affiliate links which won’t change your price but will share some commission.
This looks delicious. The link to your organic seasoning is not working. I’d love to know what seasoning you use. Can you share?
Hi Carla – this is the seasoning I used and the link has also been updated.