Smoking a big cut of meat can seem a little intimidating at first, I know. That’s why I’ve helped make it easier for you to do at home with this step-by-step recipe and photo tutorial for our first-time pitmasters and seasoned pros alike.
I’m certain it will be the best smoked pork butt you’ve ever made — at least, that’s what happened to us! My house has become the go-to destination for every barbecue-friendly holiday because of this recipe.
This recipe was created in partnership with our friends and farmers at the MN Pork Board.
Recipe Highlights
Pork, both as whole muscle meat and ground pork, is an excellent source of protein. It’s also rich in vitamins and minerals, like potassium and calcium, making it a nutritious and delicious choice for your dinner table.
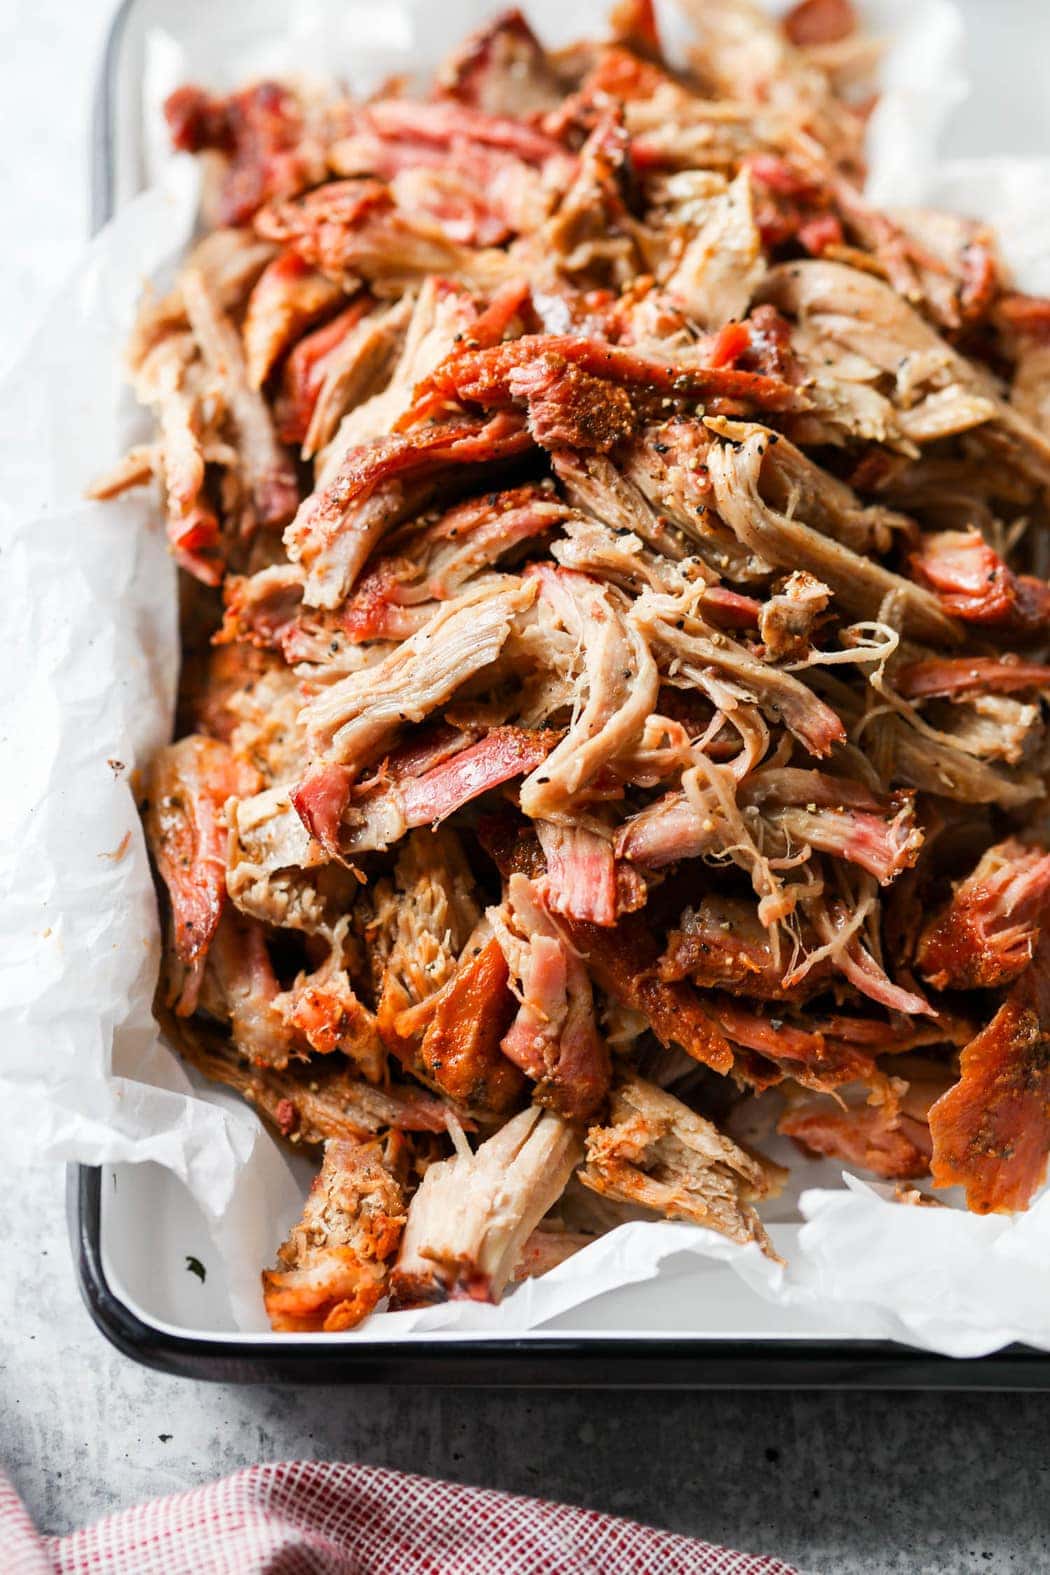
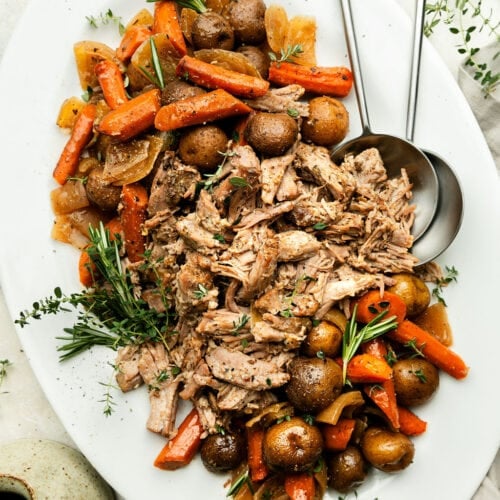
For this recipe, I cooked up a large piece of whole-muscle meat nice and slow to create tender shreds of mouth-watering pulled pork that I’ve now served in a multitude of ways (all of which are crowd favorites!).
I also have to give a small shoutout to the Minnesota Pork Board, which supported me in putting together this recipe walkthrough.
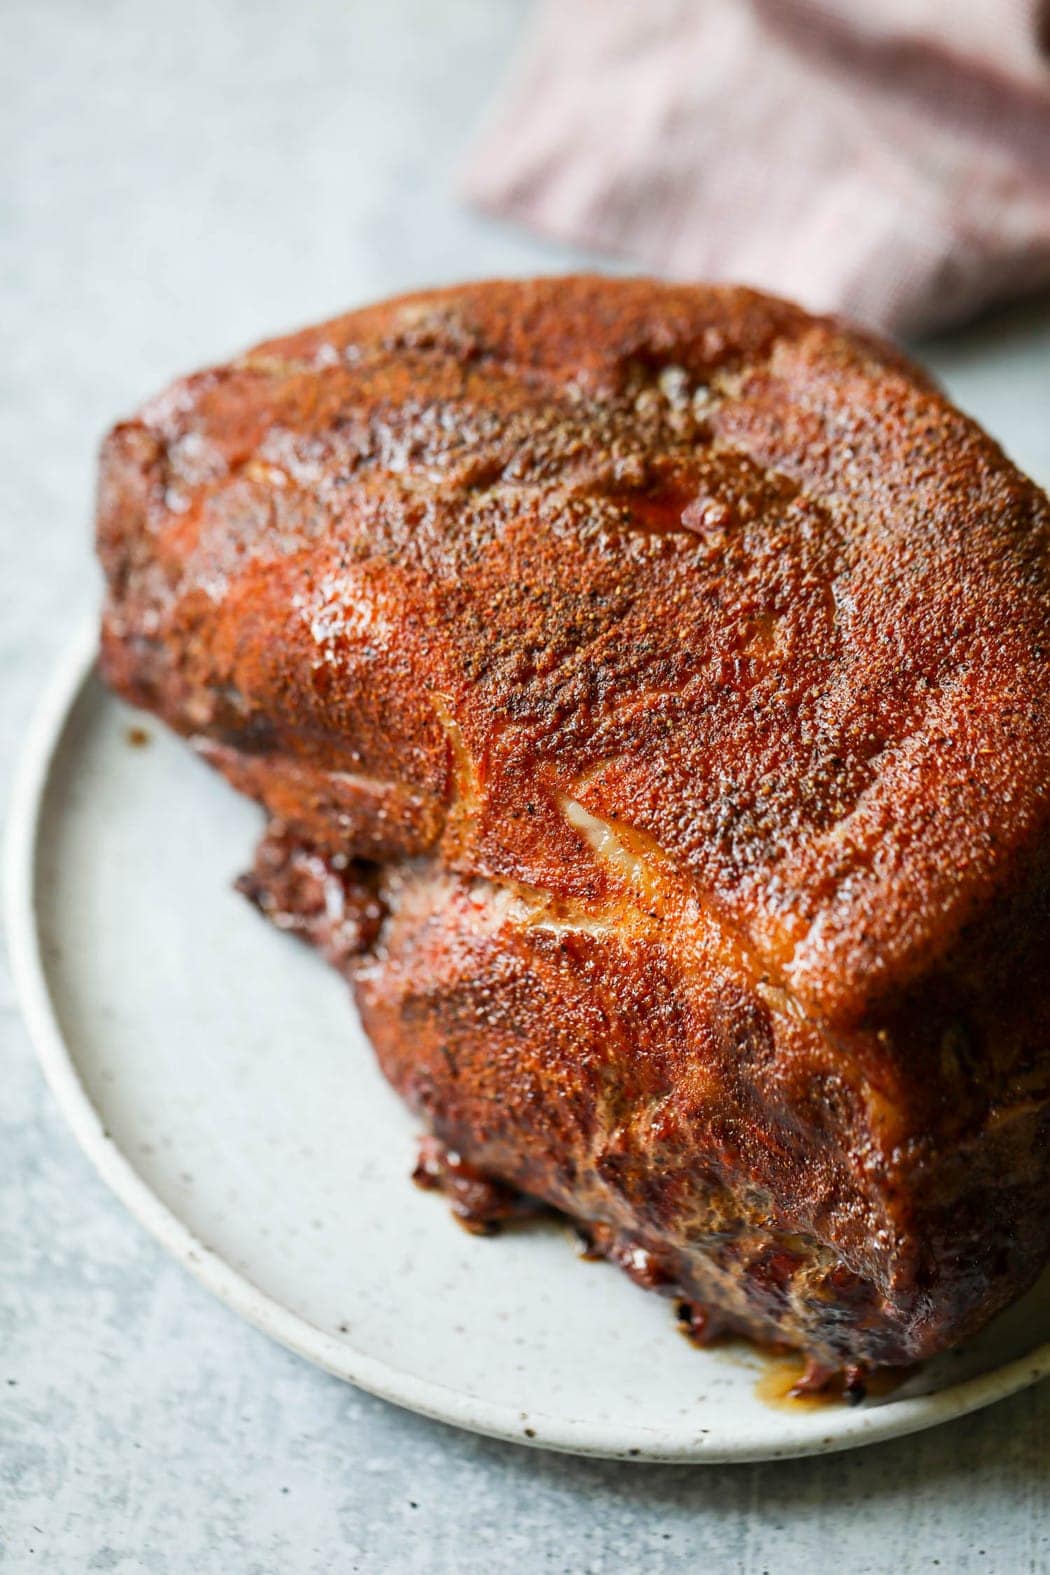
Ingredients to Make Smoked Pork Butt
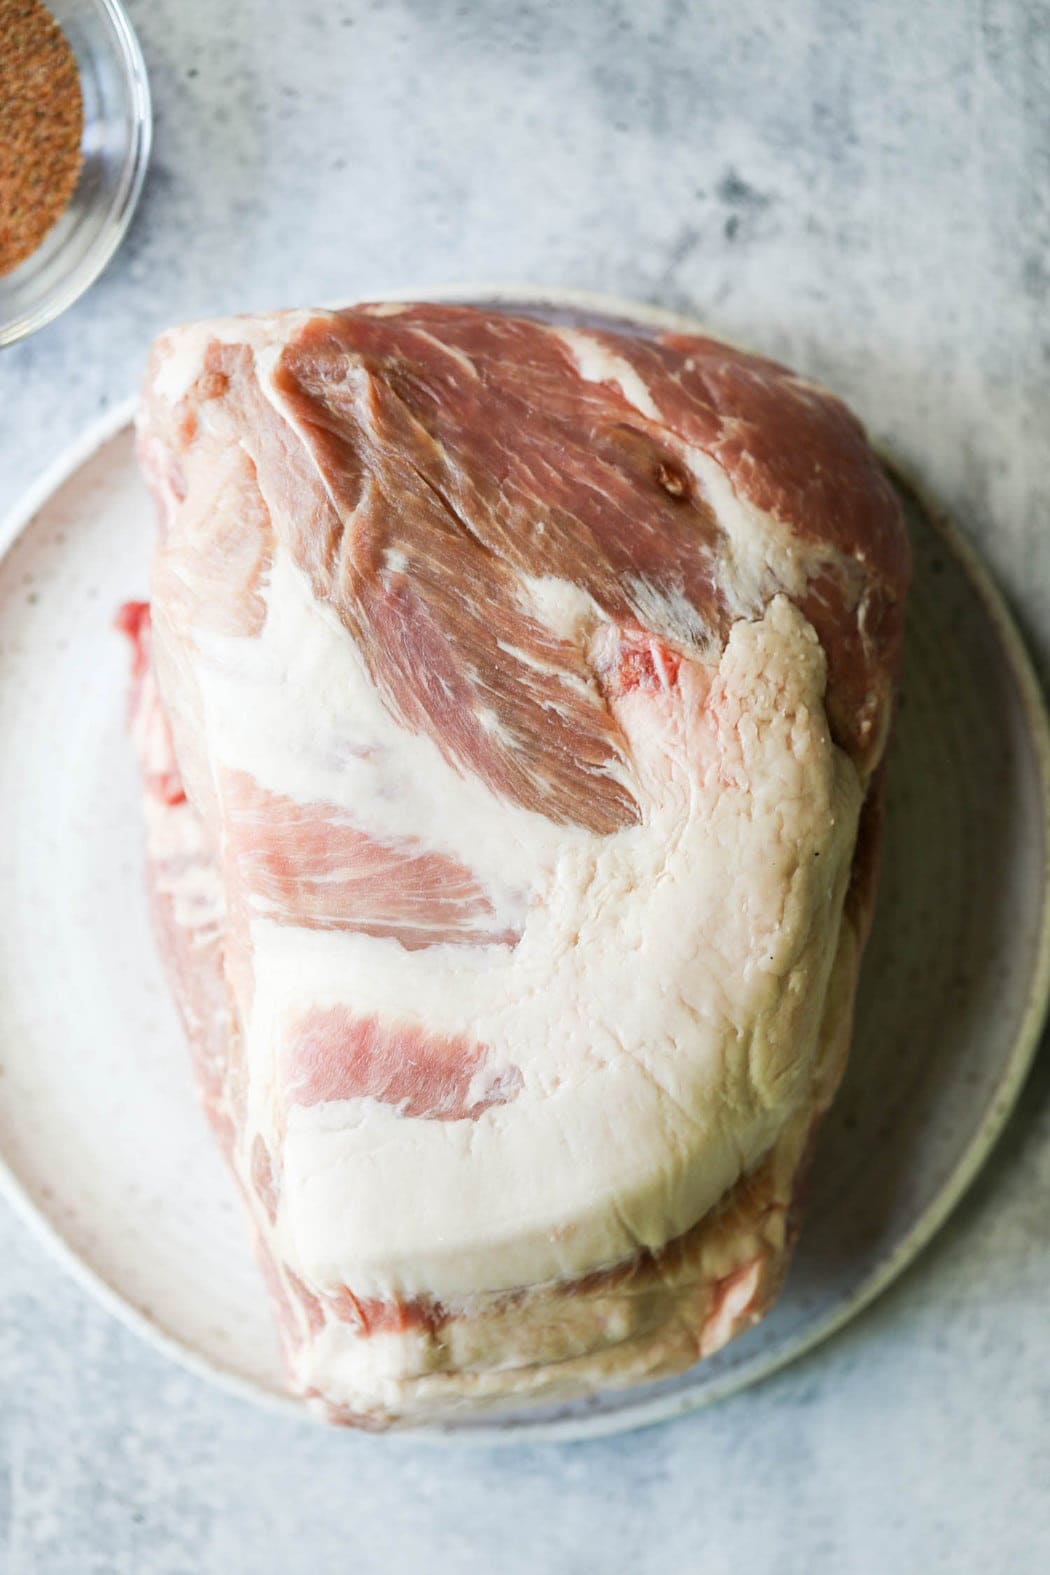
- Bone-in pork butt
- Smoked paprika
- Garlic powder
- Onion powder
- Chili powder
- Ground cumin
- Cayenne pepper
- Brown sugar (light or dark)
- Fine salt and black pepper
- Apple juice
- Apple cider vinegar
Find the ingredient list with exact measurements in the recipe card below.
Equipment You’ll Need
- Grill or smoker – You can use a wood pellet grill, a gas or charcoal grill with a smoker box, or an electric smoker to make this recipe. I personally use my favorite wood pellet grill because of its ease of use and versatility, but if you’re using an electric smoker or a gas grill with a ‘smoker box,’ just make sure to add your favorite flavor of hardwood chips. I’m always a fan of apple wood, hickory, cherry, or pecan hardwood pellets.
- Temperature probe with alarm – I have a built-in temperature probe on my smoke, but if you don’t, investing in a good-quality probe with an alarm will make the process of making a smoked pork butt (or anything, really) a lot easier. A temperature probe – also known as a meat thermometer – takes the guesswork out of whether or not your grilled food is done and can help prevent overcooking, too.
- Spray bottle – Choose a food-safe plastic or glass spray bottle and set it aside to use only for food. Wash the bottle and spray nozzle with hot, soapy water after each use and allow it to air dry.
- Large cast-iron Dutch oven, roasting pan, or heavy-duty aluminum foil – Traditionally, smoked pork butt recipes call for the meat to be wrapped in several layers of aluminum foil once the meat has reached a certain temperature (160℉, to be exact). This allows it to continue to cook low and slow until it reaches its final cooking temperature. While there is nothing wrong with using foil, putting the meat in a large Dutch oven or roasting pan is a simple, reusable option that also cuts down on single-use waste.
Read one of our 5-star reviews:
Read one of our 5-star reviews:
⭐⭐⭐⭐⭐
Yum! Such a simple and delicious recipe. Love the tip to use a Dutch oven for the second portion of it. Turned out soo delicious- will absolutely use this recipe again.
– Maisie G.
How to Smoke a Pork Butt
Part 1: Get Ready
If using a wood pellet grill or electric smoker, fill the hopper with your pellets of choice. I like to use hickory, pecan, apple, and cherry when making pork. If you’re using a gas grill, plan to soak your woodchips of choice overnight or according to package directions before draining them and adding them to a smoke box set at the back of the grill. This step will help add some depth to the classic smoke flavor that so many enjoy.
Preheat the grill or smoker to 250℉.
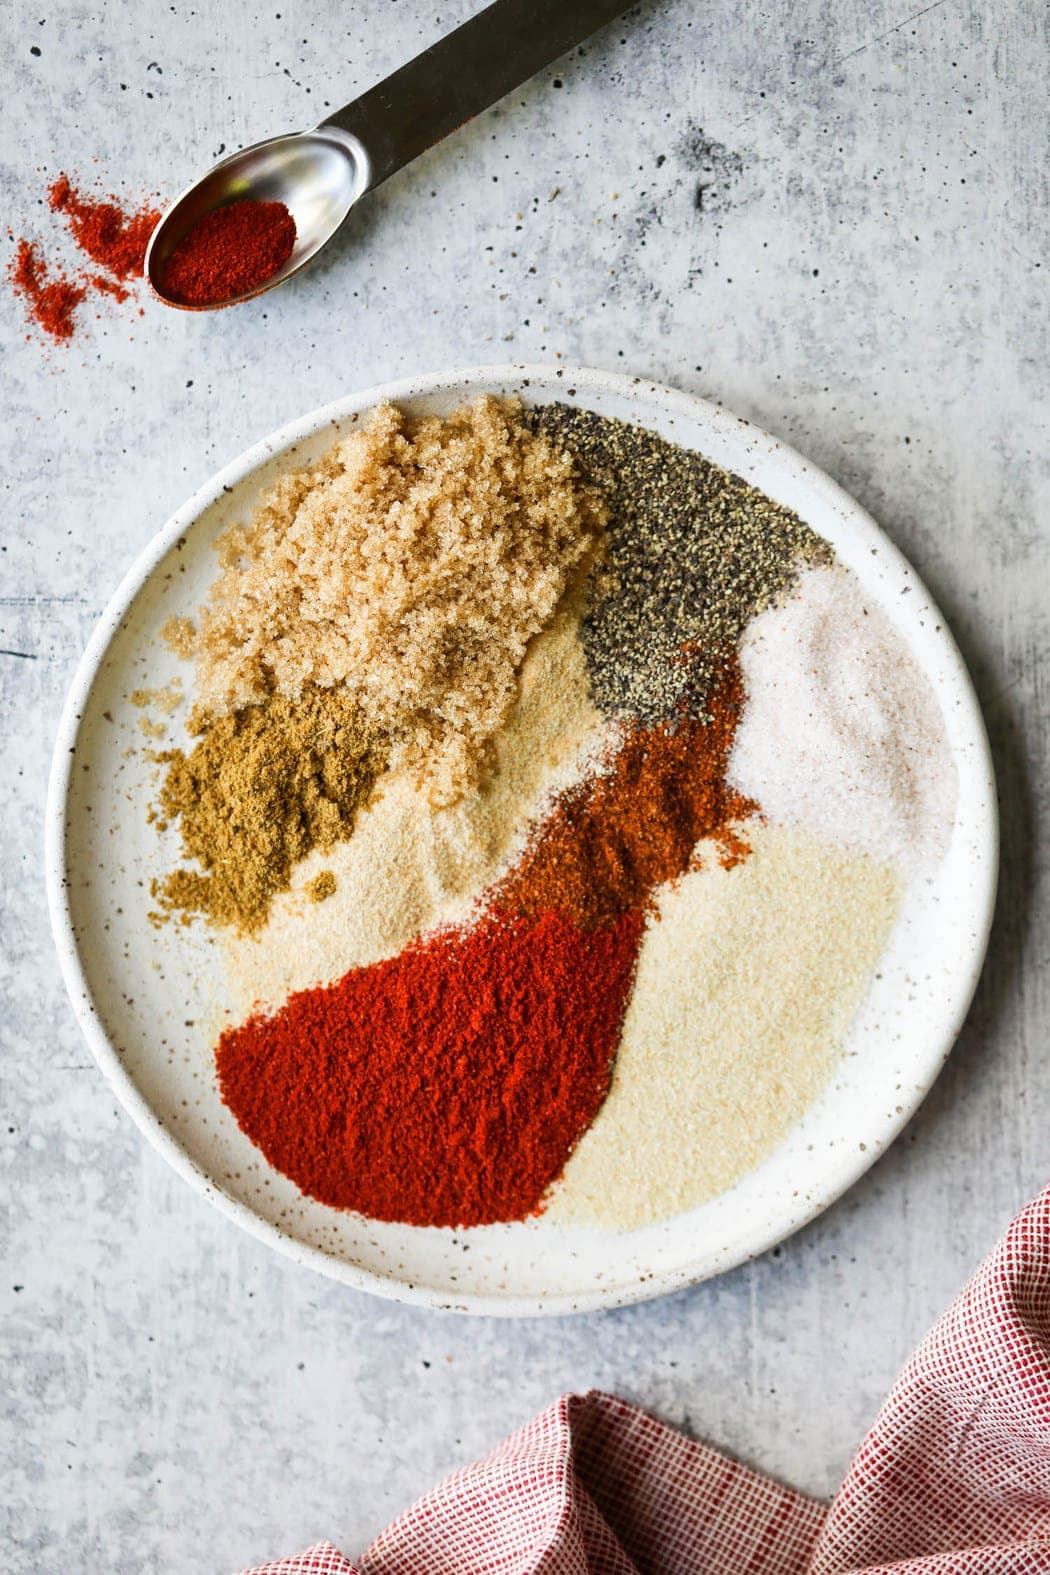
Make the Pork Rub
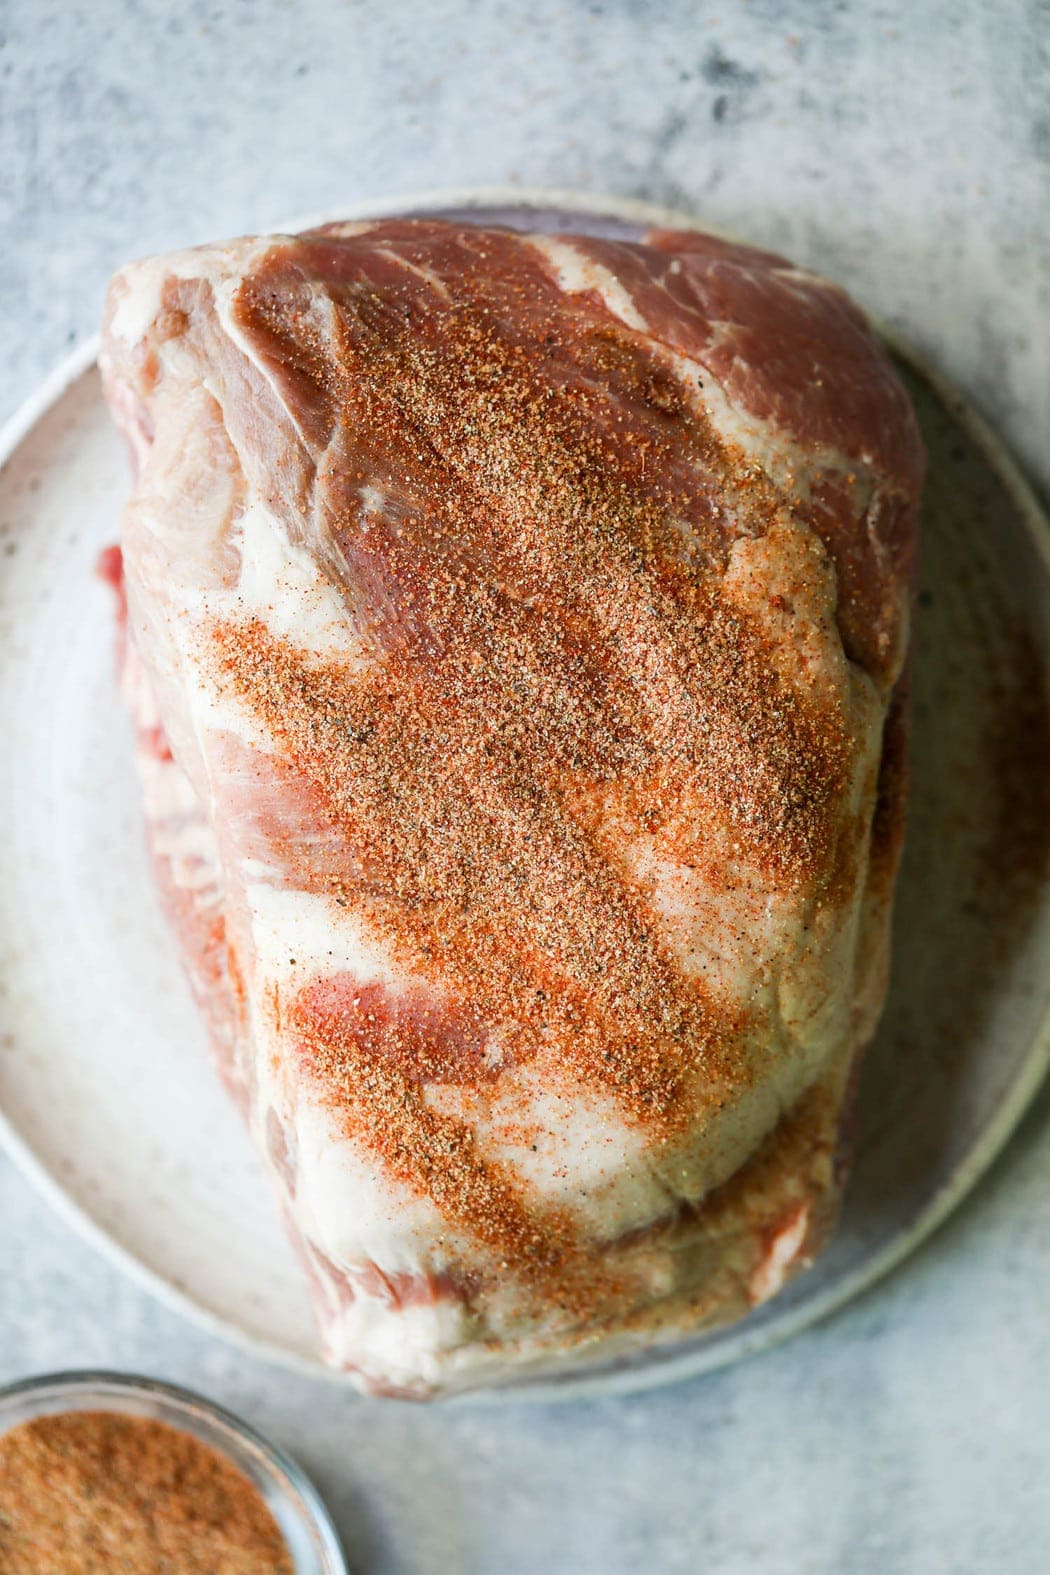
While the grill/smoker preheats, pat the pork butt dry with paper towels and set aside. Ideally, you want to leave the meat at room temperature for 45 minutes before placing it on the grill. You may need to pat it dry again before rubbing it with the spice mixture, and that’s perfectly okay and normal. Starting with a nice dry surface will help the smoke better adhere to and penetrate the surface of the meat giving it that smoky flavor we’re looking for.
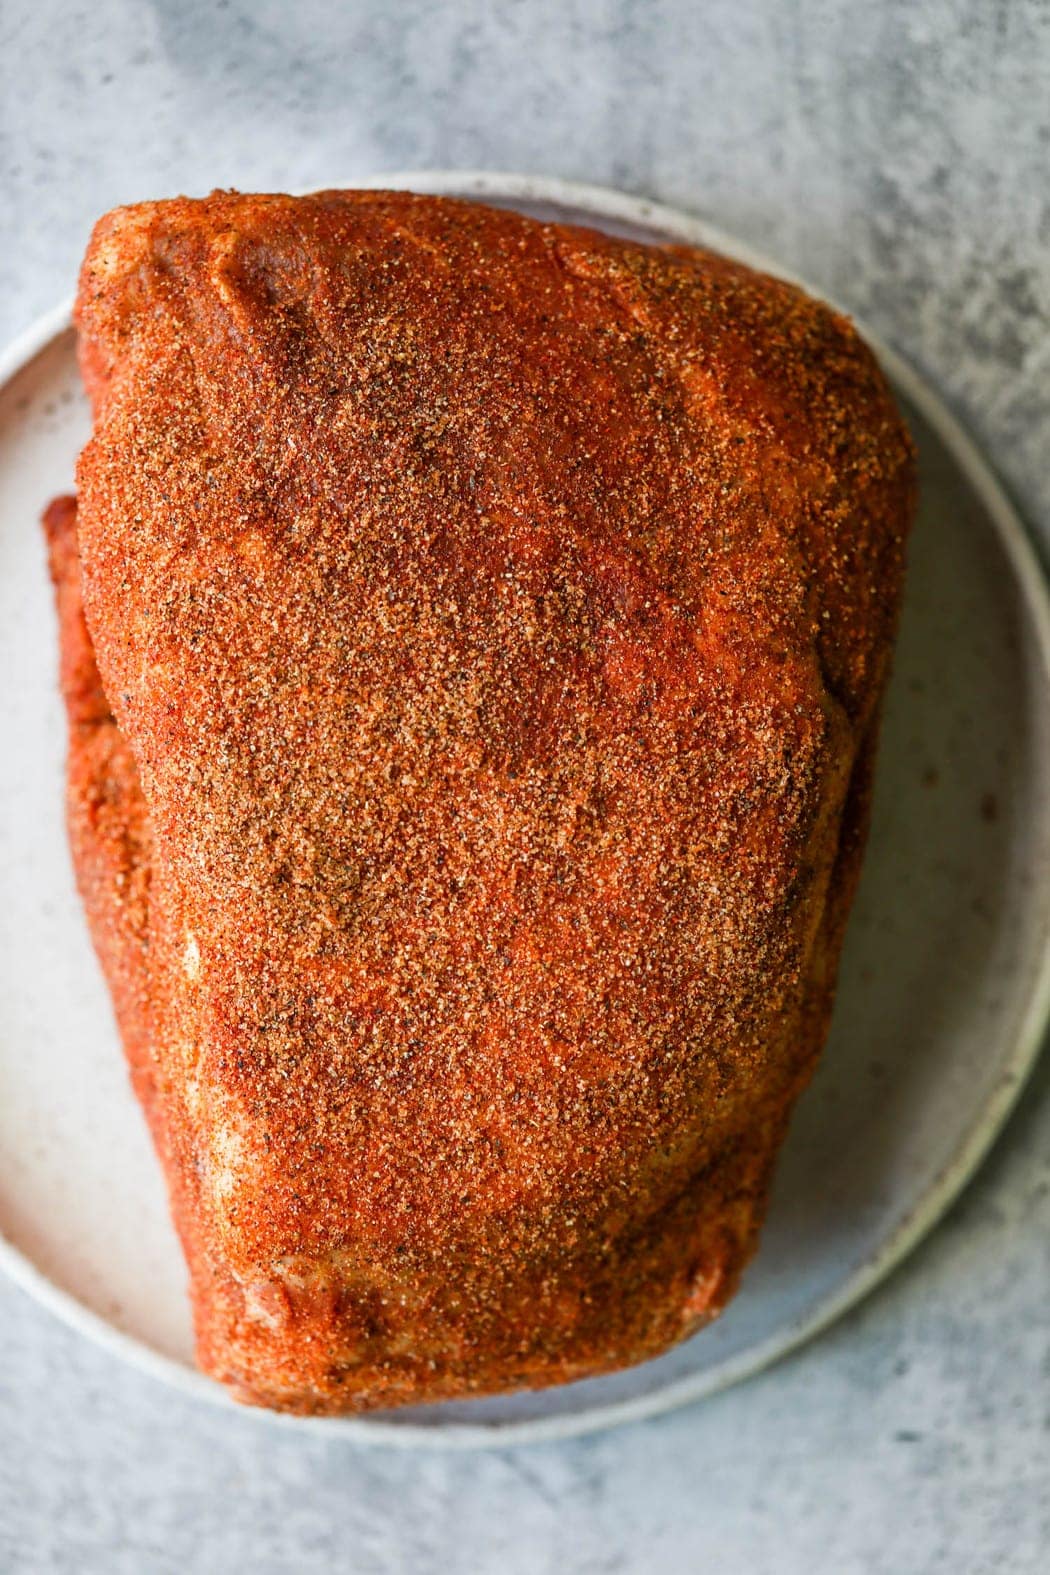
Combine all of the dry rub ingredients in a small bowl. Sprinkle the rub over the dry surface of the pork and use your hands to gently rub it into the meat.
Prepare The Meat
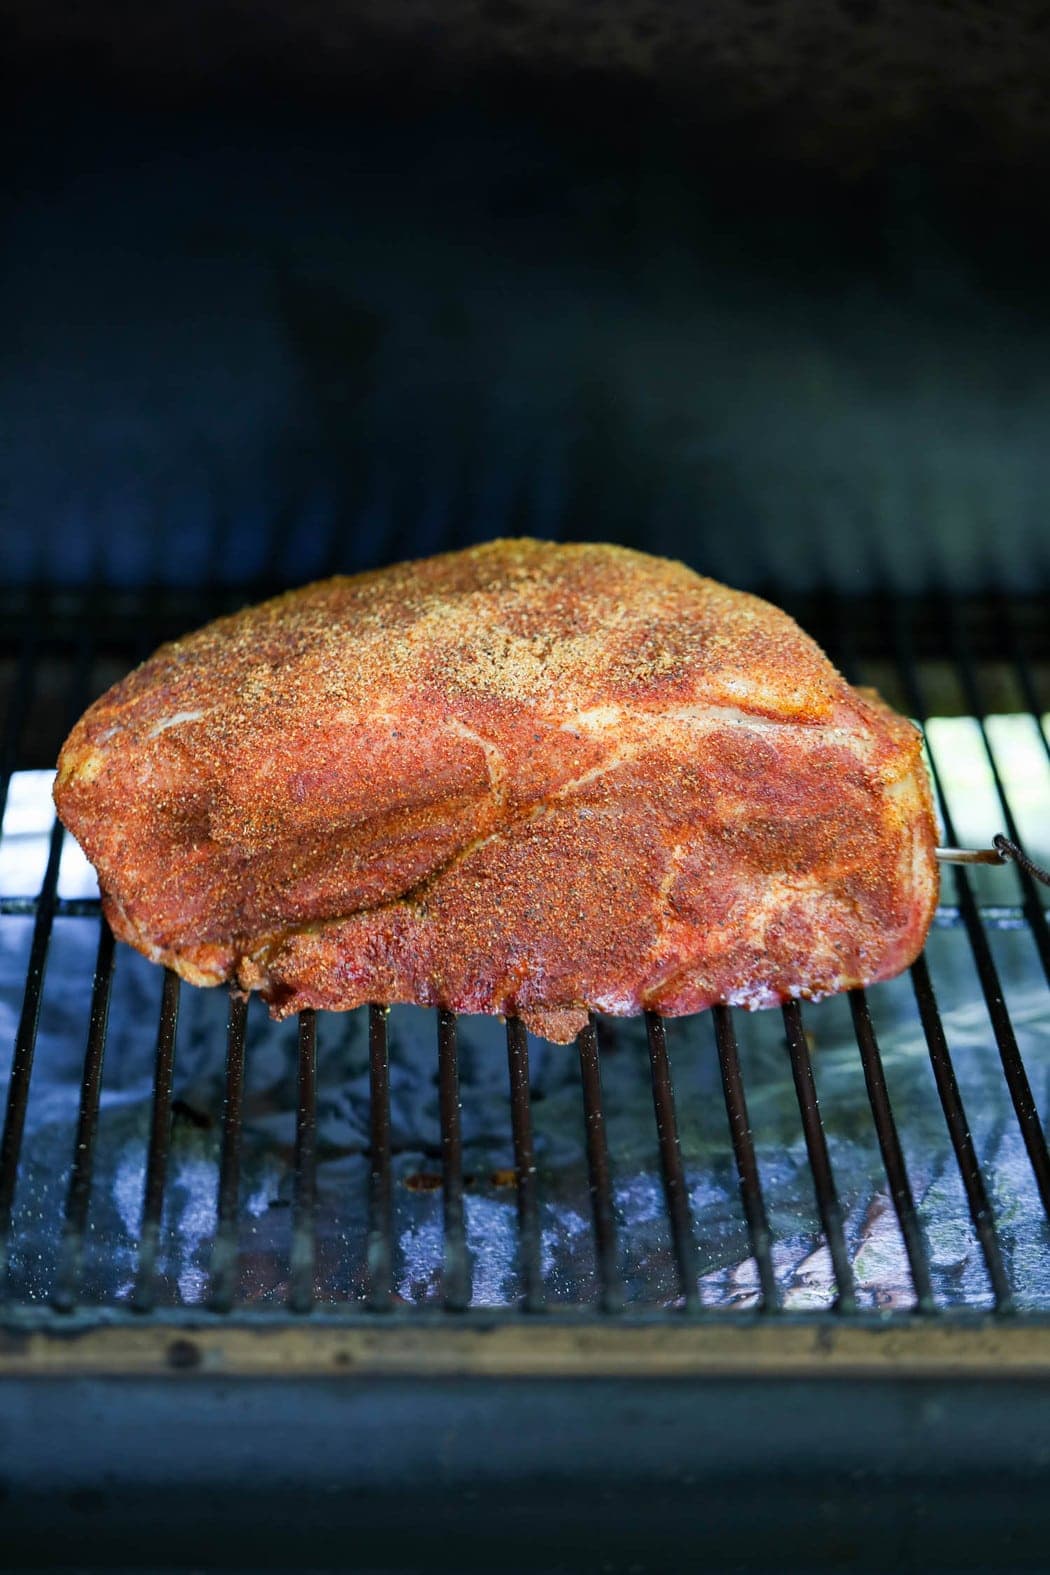
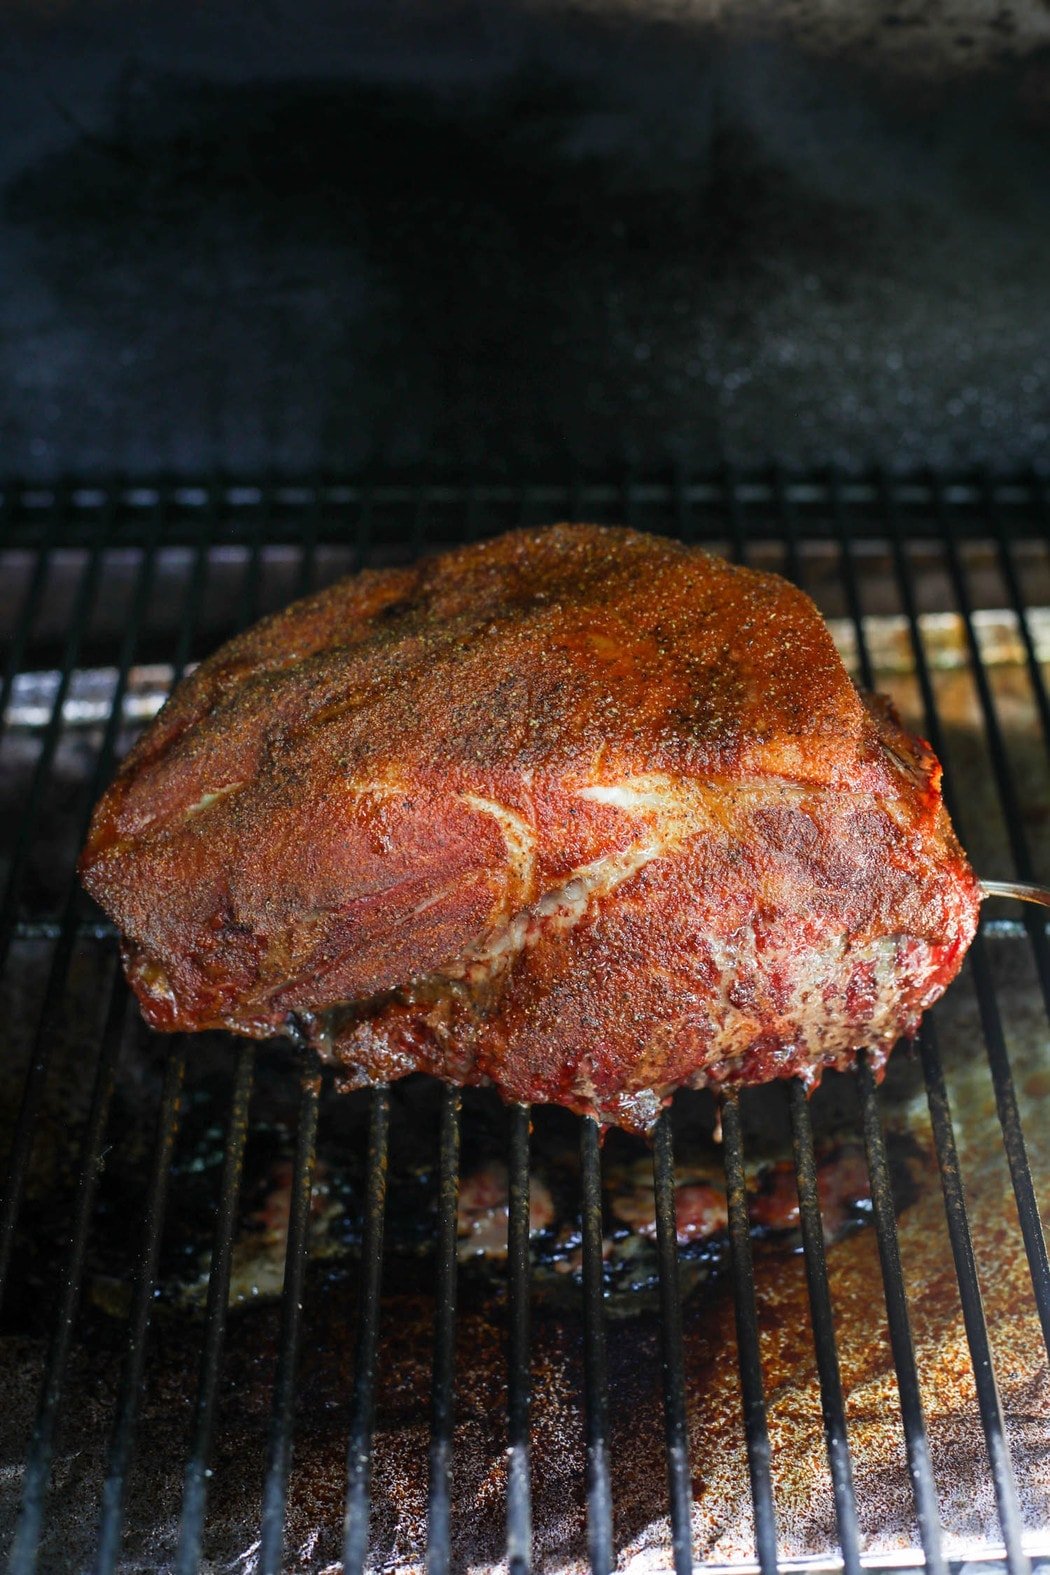
When the grill or smoker reaches 250℉, place the pork butt directly onto the grill grates with the fat cap facing up. Note: This is over indirect heat. It will taste best if you let the meat slowly roast rather than cook directly over a flame.
Insert the temperature probe into the thickest part of the pork butt, being careful not to hit the bone. Close the lid. Then set the probe timer to alarm at 160℉. This should be somewhere in the ballpark of 2 ½ to 3 hours.
Now that the probe alarm is set, set a timer on your watch or phone for 1 hour then go inside and proceed to the next step.
Get your sprayer ready
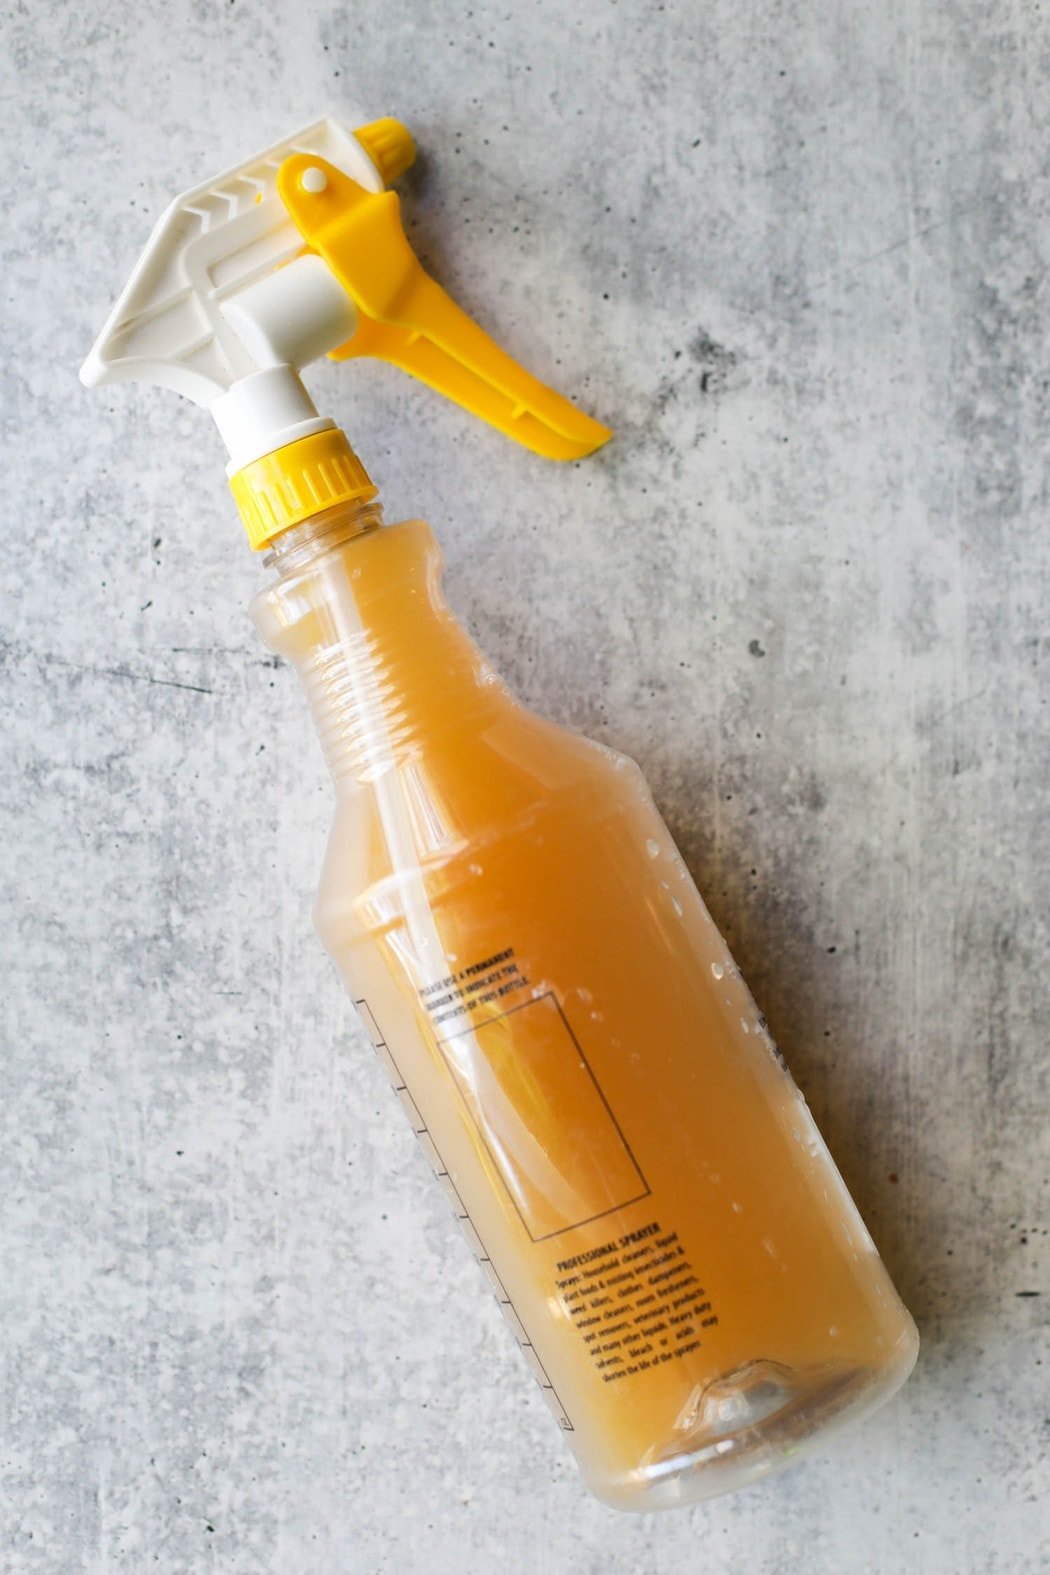
Grab that spray bottle and fill it with 2 cups of apple juice. You’ll use this liquid to spray the pork every hour until the internal temperature of the meat reaches 160℉. To spray, just lift the lid and give the pork several spritzes, doing your best to spray the top and sides without burning yourself.
Now reset your timer, close the lid, and continue cooking until it’s time to spray again or the probe alarm sounds.
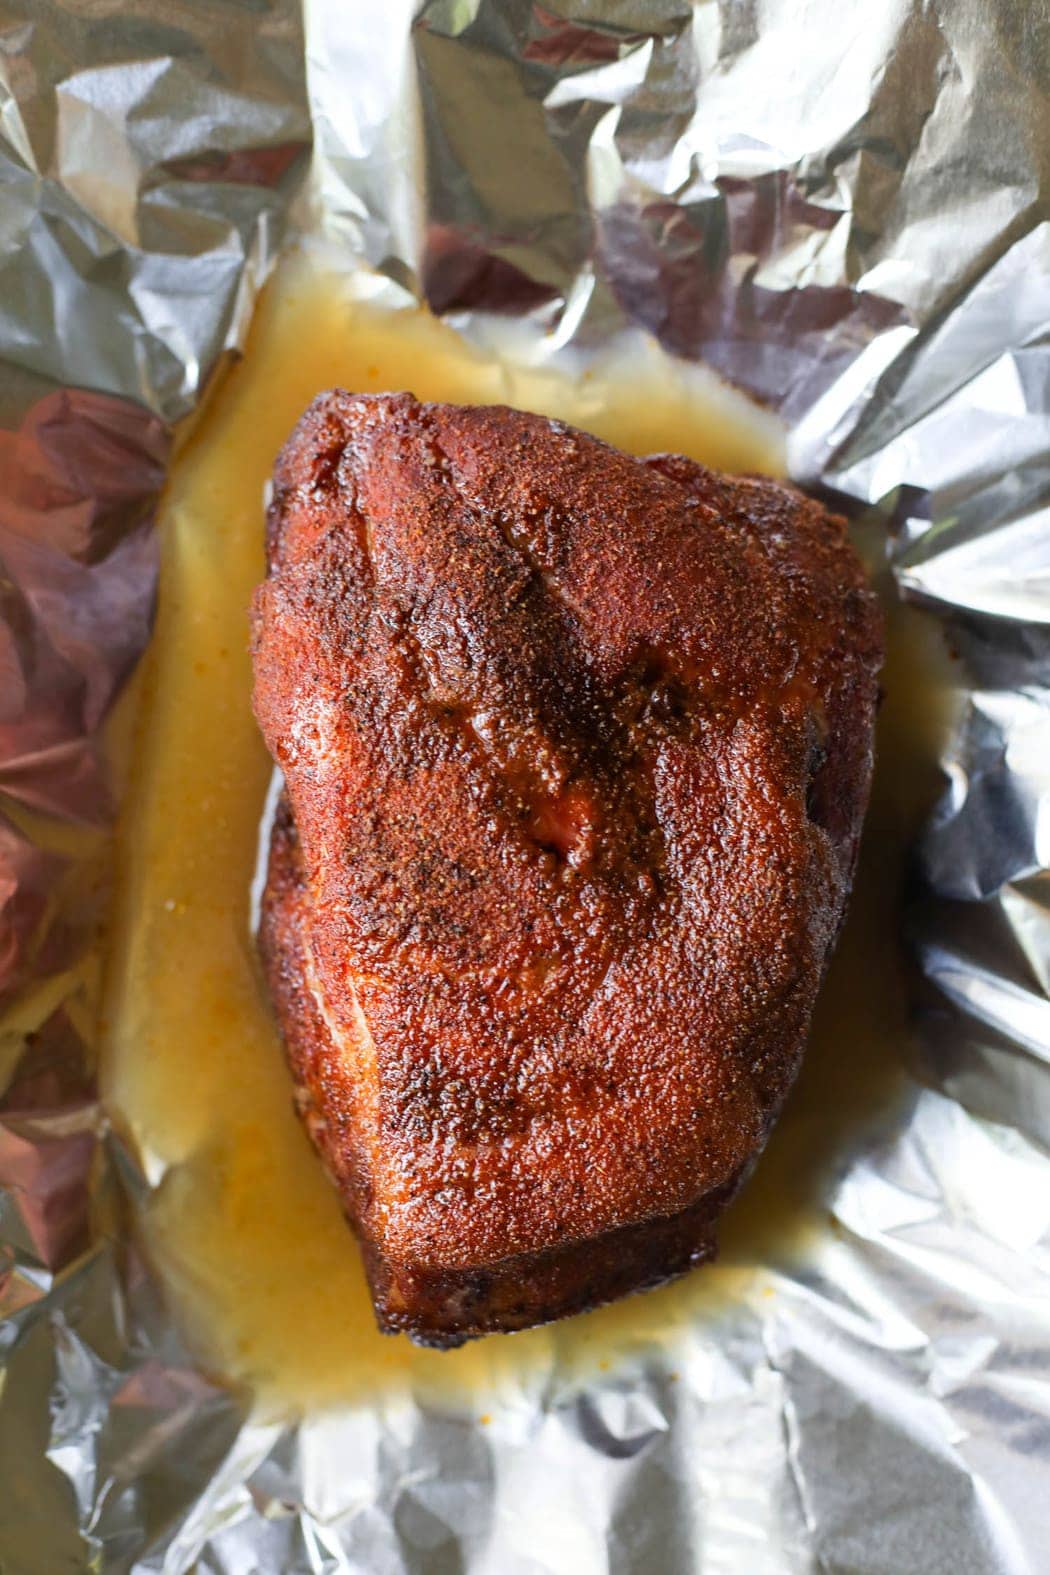
When you see the internal temp nearing 160℉, it’s time to set up for the next step. If you don’t have a Dutch oven or roasting pan that’s large enough for your pork butt to fit into, you can stack 4-5 large sheets of heavy-duty aluminum foil on top of one another.
Wrap The Meat
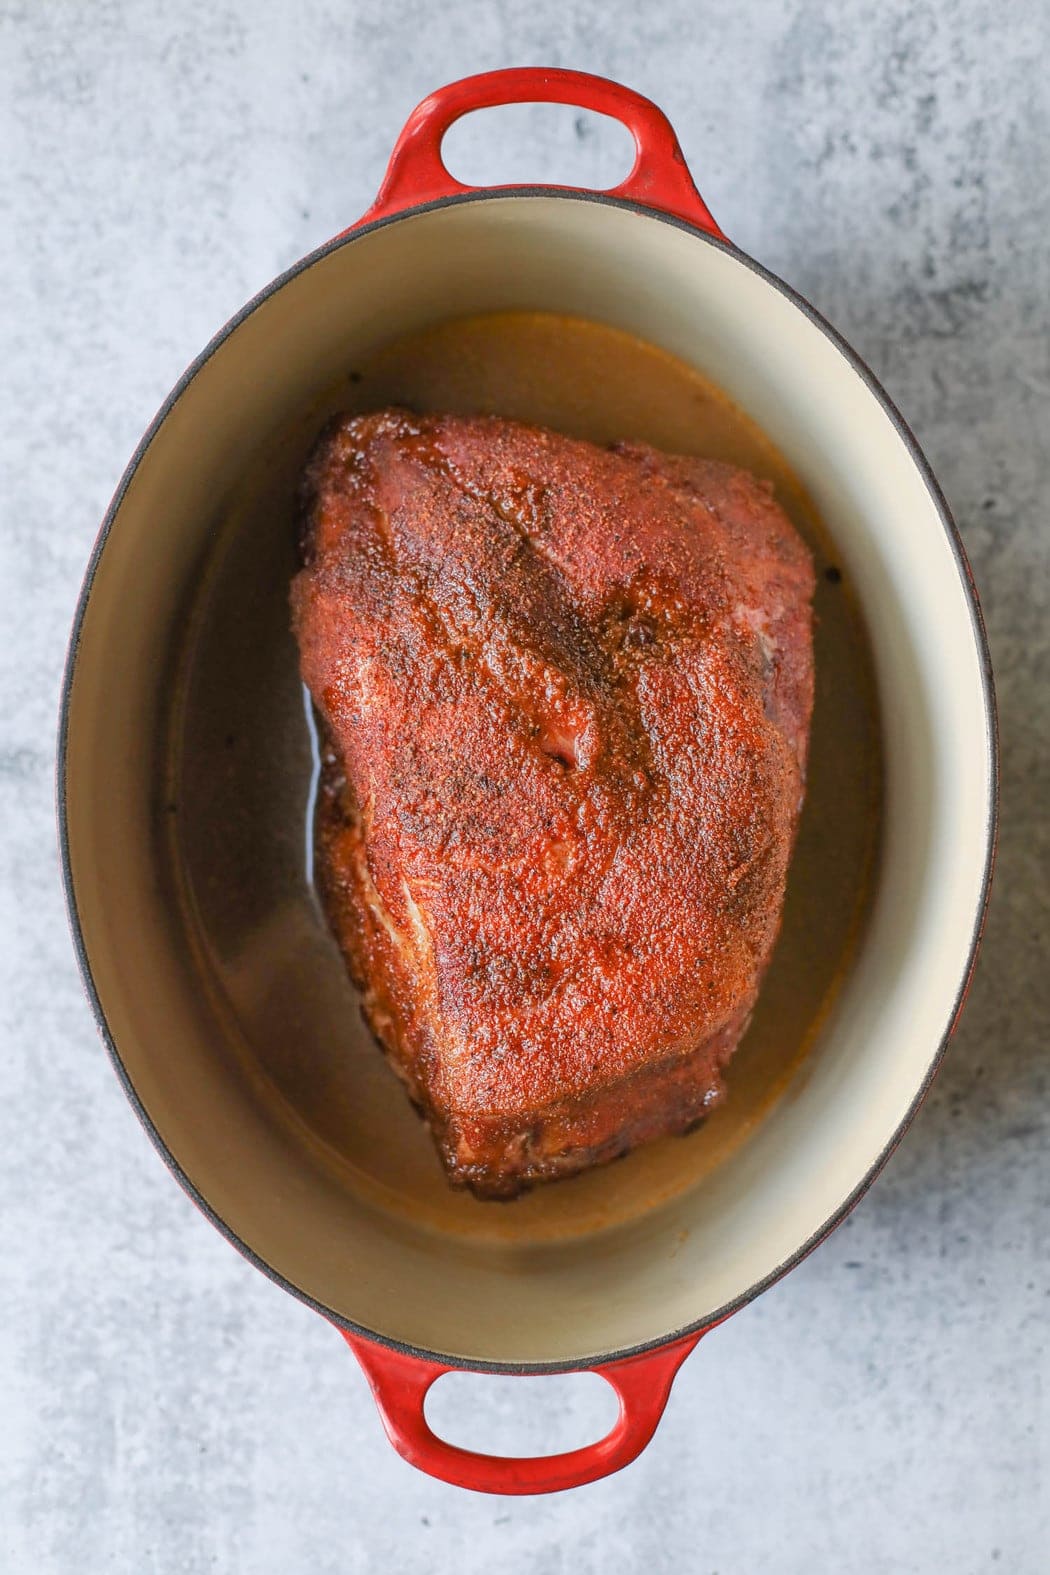
Once the pork reaches 160℉, remove it from the grill or smoker either to the Dutch oven or roasting pan or to the foil (set on top of a baking sheet for support). If using foil, gather up the sides of the foil to create walls that will allow you to pour liquid into them.
Pour the remaining apple juice from the sprayer into the pot or fortress of foil. Place the lid on the pot, cover the roasting pan with foil, or fold the foil sheets over the top of the butt and together to secure them tightly and prevent steam from escaping. Keep in mind that if you removed the temperature probe, you’ll need to reinsert it into your piece of meat. So if you’re using foil, it’s best to wait until you’re back at the grill to seal the foil once the probe is back in.
This next part of the cooking process is where we introduce moist heat. This helps the proteins and collagen break down and relax, making that juicy, fall-apart tender meat everyone loves.
Let it smoke, let it smoke!
Return the pork to the grill or smoker (still over indirect heat and still at 250℉). If you haven’t already done so, reinsert the probe into the thickest part of the meat, not touching the bone. Set the probe timer for 205℉ (actually, it’s 204℉ if you want to be exact, but if you’re using a Traeger like I am, the chances are good that your probe alarm can only be set in increments of 5℉).
Don’t worry, that 1℉ won’t matter. The point is that you get it up over 200℉. Normally, you’d never take whole muscle cuts of pork like chops or tenderloin above 145℉ but smoked pork butt is special (in so many ways – just wait and see!).
When the probe reaches 204-205℉ (about 3 hours), it’s time for the next step.
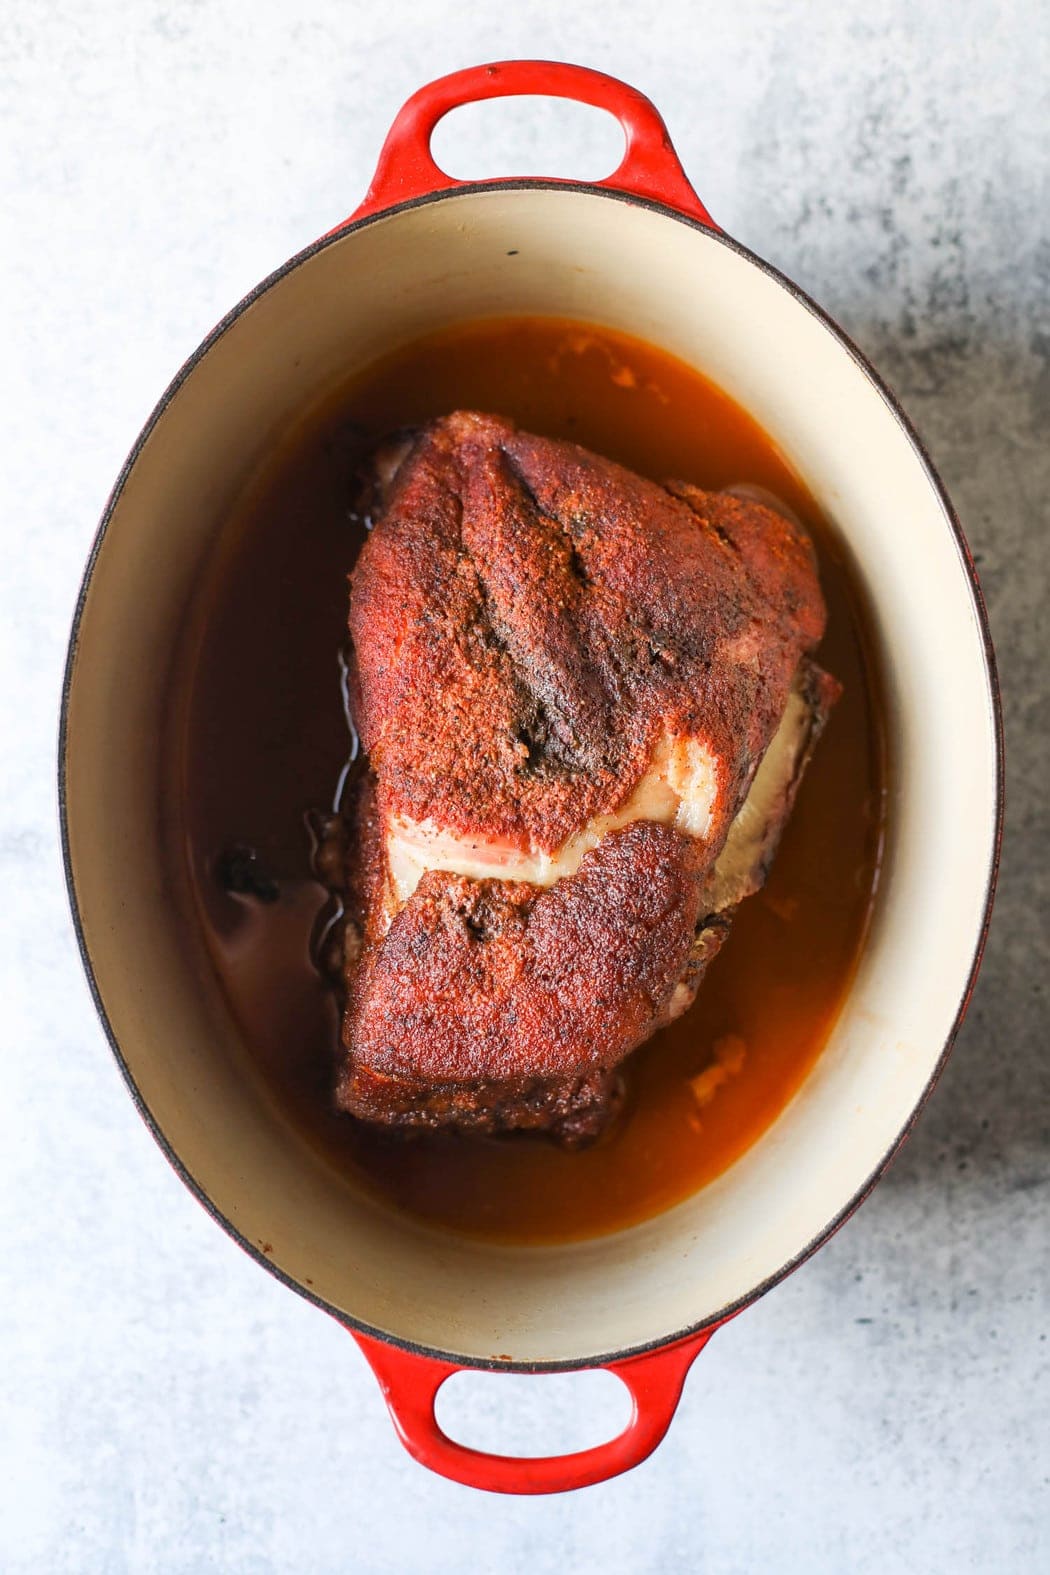
Don’t worry, aside from actually sitting down to a plate of perfectly smoked pork butt, this is the easiest step yet! Just remove the pot/pan/foil bundle from the grill and then allow it to rest at room temperature for 45 minutes. Now is a great time to put together your side dishes!
rest and shred
After 45 minutes of resting time, move the pork to a large bowl, tray, foil pan, or cutting board and allow it to rest for another 10 minutes so that it’s easier to handle.
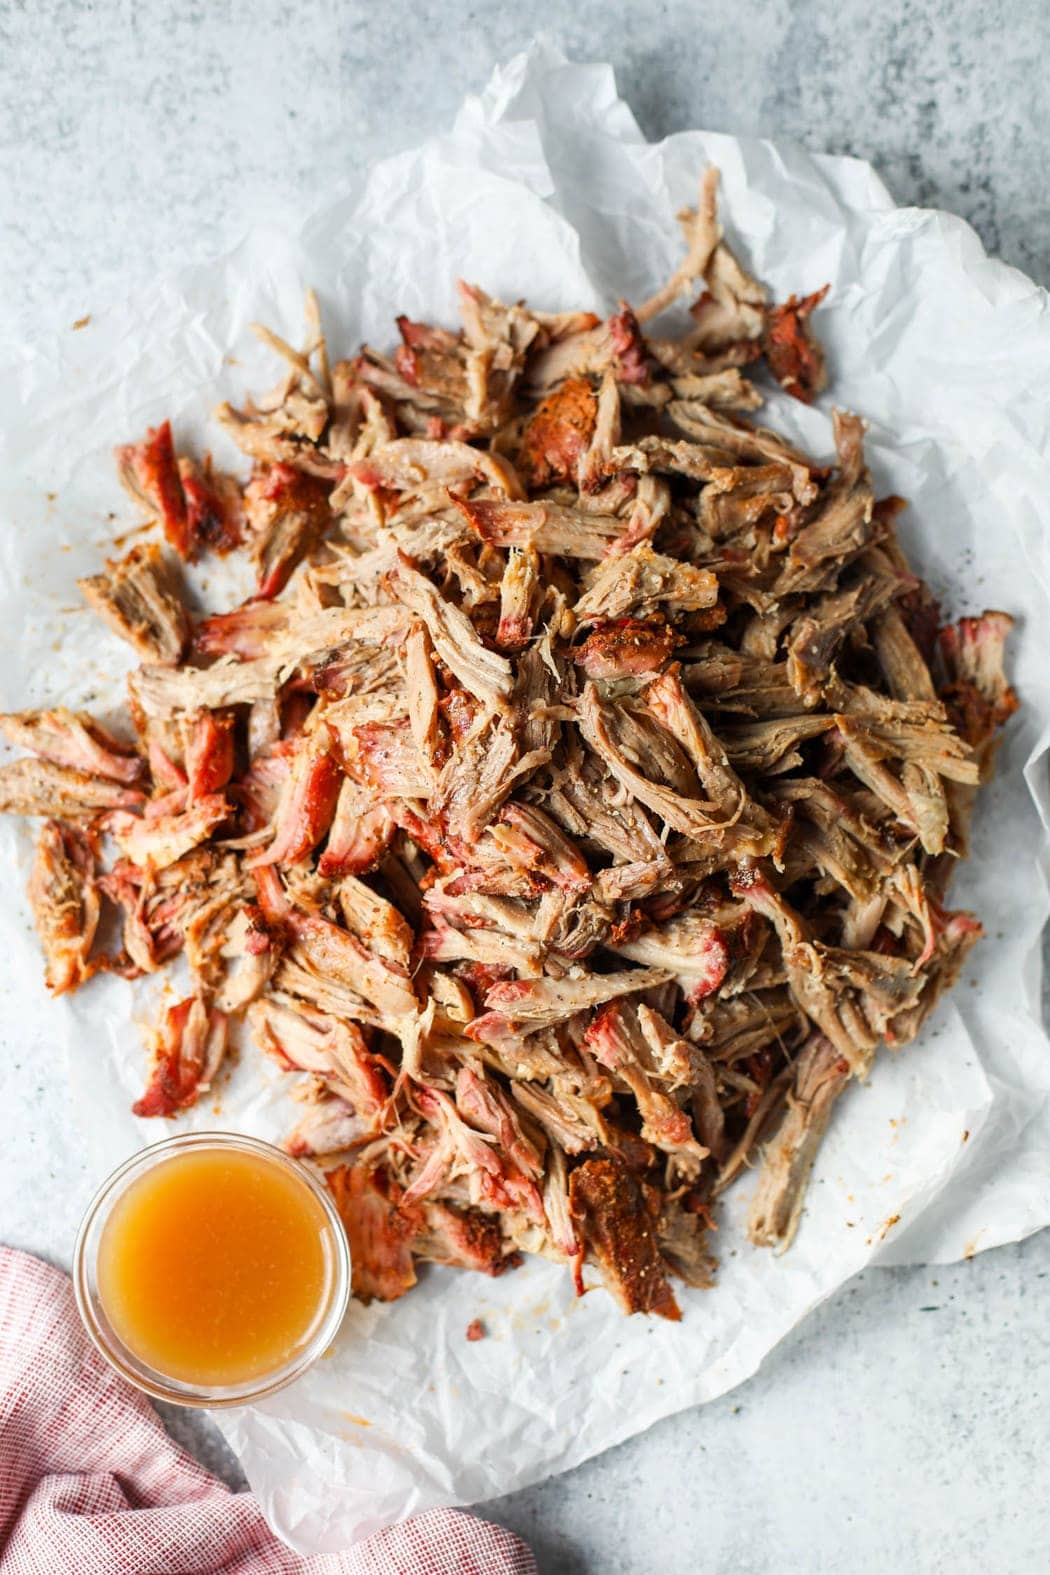
First, peel away and discard the fat cap. Then use your hands or 2 forks to shred the meat and remove the bone and any large pieces of fat or connective tissue. Sprinkle 2-3 tablespoons of apple cider vinegar over the meat and toss well to coat. Finally, taste and season with salt and pepper. Serve with the barbecue sauce of your choice, if desired.
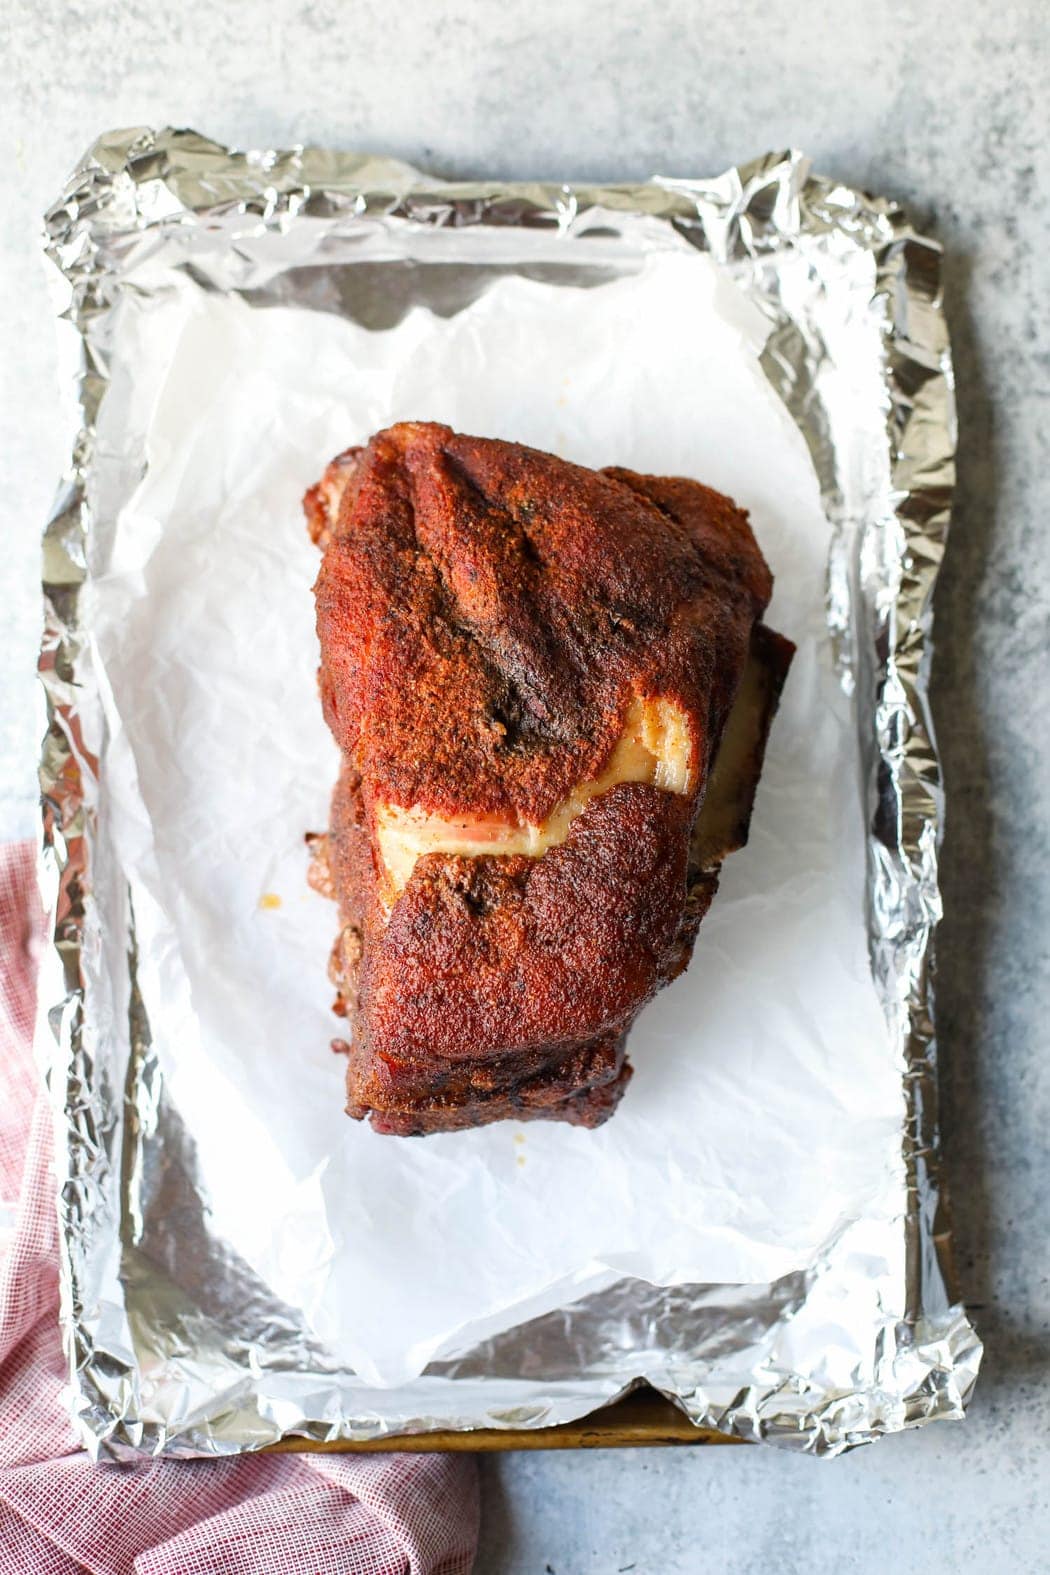
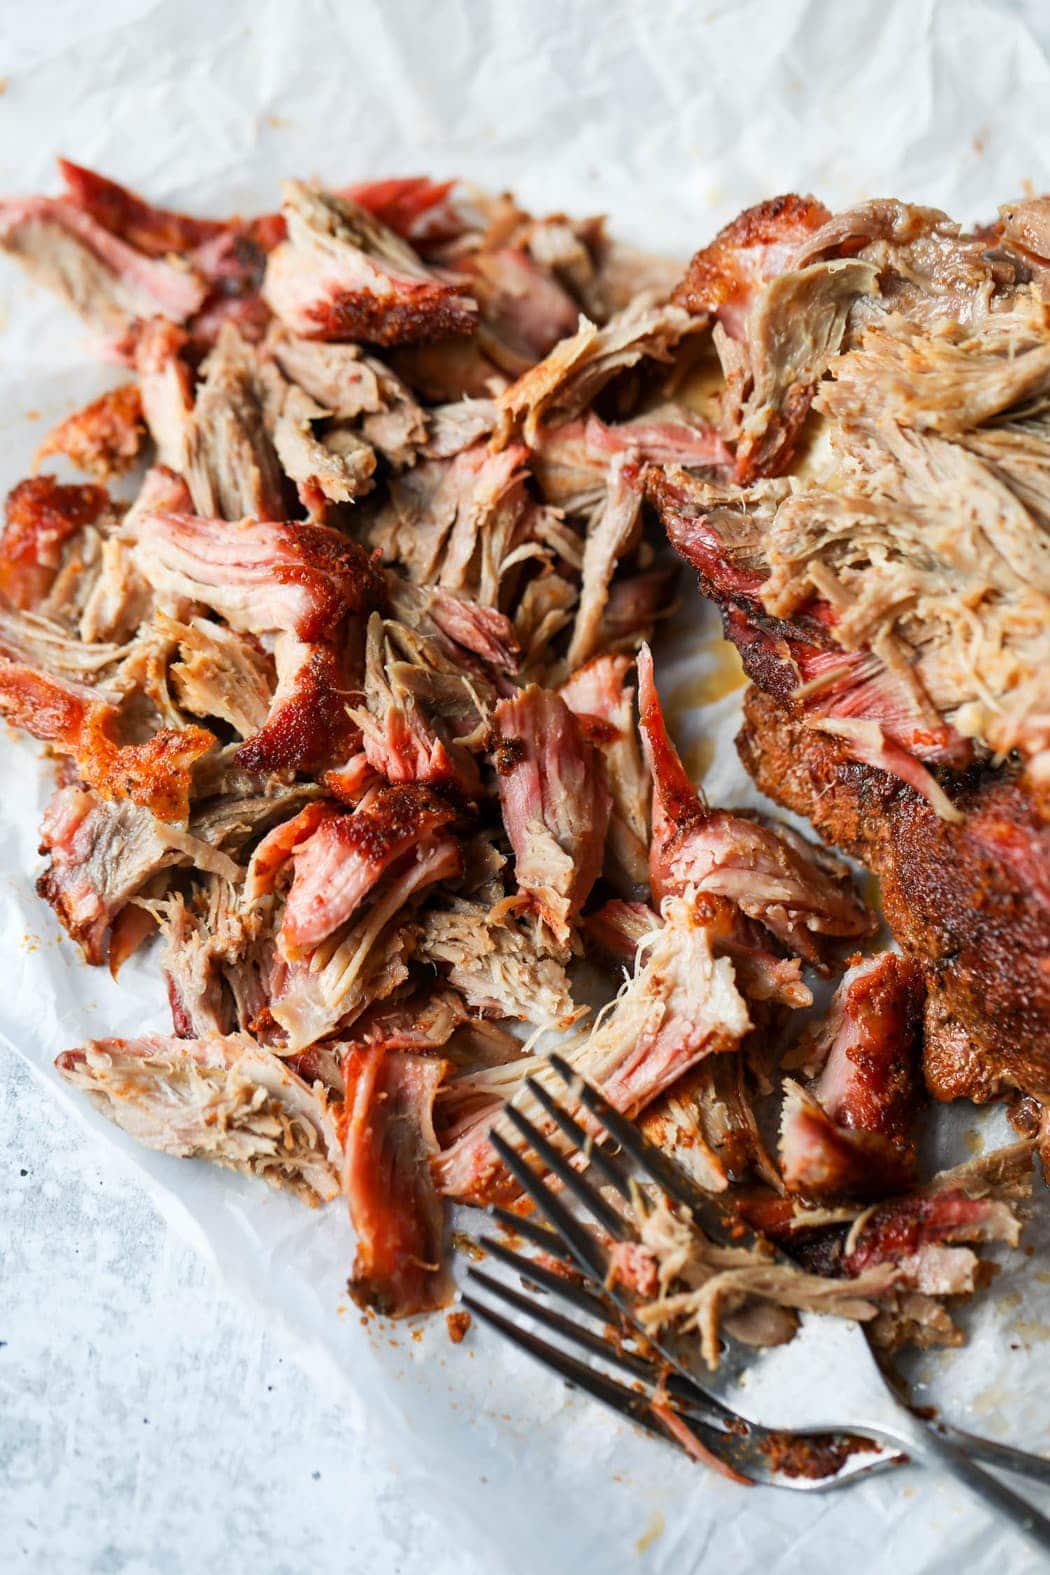
For serving size and the complete directions and ingredient amounts, scroll down to the recipe card below. All of our recipes include the nutrition analysis, listing calories (kcals), protein, carbohydrates/carb, fiber, sugar, sodium, cholesterol, and more per serving.
How To Serve
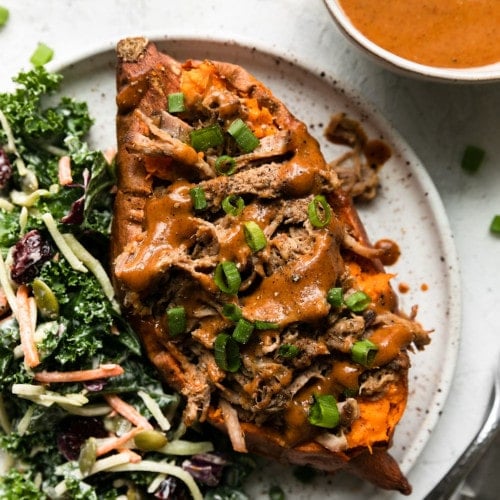
This is a great entree dish recipe, and my husband and kids have liked just about everything I have ever served it with! Serve it as smoked pulled pork sandwiches on top of the buns of your choice, in tacos or burritos, or even just on its own with a side of barbeque sauce. Some of the repeat asks my party guests and family always ask for with this pork butt are coleslaw, potato salad, and cornbread or biscuits.
Want to save this recipe?
Enter your email below & we’ll send it straight to your inbox. Plus you’ll get great new recipes from us every week!
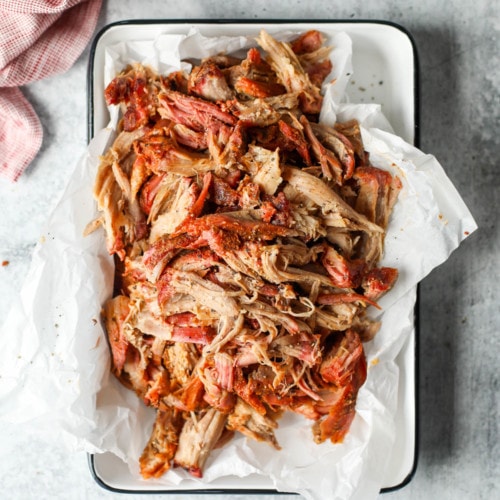
Smoked Pork Butt Recipe
My ultimate smoked butt pork recipe is bursting with great flavor. Enjoy this tried-and-tested recipe that’s become a summer favorite in our home!
Ingredients
- 6–7 pound bone-in pork butt
- 2 teaspoons smoked paprika
- 2 teaspoons garlic powder
- 1 teaspoon onion powder
- 1 teaspoon chili powder
- ½ teaspoon ground cumin
- ⅛ teaspoon cayenne pepper (omit for less heat)
- 1 tablespoon brown sugar (light or dark), omit for Whole30-friendly
- Fine salt and ground black pepper
- 2 cups apple juice
- 3 tablespoons apple cider vinegar
Instructions
- If using a wood pellet grill or electric pellet smoker, fill the hopper with your pellets of choice. I like hickory, pecan, apple, and cherry when smoking meat. If you’re using a gas grill, plan to soak your wood chips of choice overnight before draining them and adding them to a smoke box set at the back of the grill.
- Preheat the grill or smoker to 250℉.
- While the grill/smoker preheats, pat the pork butt dry with paper towels and set aside.
- To make the rub, combine the paprika, garlic, onion powders, chili powder, cumin, cayenne (if using), brown sugar, salt, and pepper in a small bowl. Sprinkle the rub over the dry surface of the pork and gently rub it into the meat with your hands.
- Place the pork butt directly onto the grate of the preheated grill/smoker over indirect heat with the fat cap (also known as the fat side) facing up.
- Insert the temperature probe into the thickest part of the pork butt, being careful not to hit the bone. Close the lid and set the probe timer to alarm at 160℉, which should take around 2 ½ to 3 hours.
- Add 2 cups of apple juice to a clean spray bottle. Spray the pork butt with apple juice every hour (after the first hour has gone by) until the internal temperature of the pork reaches 160℉.
- Stack 4-5 large sheets of heavy-duty aluminum foil on top of one another on top of a baking sheet. Alternatively, you can use a large Dutch oven or roasting pan if you’re looking for a reusable option. Once the pork reaches 160℉, remove it from the grill/smoker either to your Dutch oven, roasting pan, or foil that is laid over a baking sheet for support. If using the foil option, gather up the sides of the foil to create walls that will allow you to pour liquid into them.
- Pour the remaining apple juice from the sprayer into the pot or fortress of foil.
- Place the lid on the pot, cover the roasting pan with foil, or fold the foil sheets over the top of the butt and together to secure them tightly and prevent steam from escaping. Keep in mind that if you removed the temperature probe, you’ll have to reinsert it. So if you’re using foil, it’s best to wait until you’re back at the grill to seal the foil once the probe is back in.
- Return the pork to the grill or smoker (still over indirect heat and still at 250℉). If yours is wrapped in foil, you can either leave it on the baking sheet. Reinsert the probe into the thickest part of the meat, not touching the bone, if you haven’t already done so. Set the probe timer for 205℉.
- When the probe reaches 205℉ (about 3-4 hours, depending on the size of the butt) remove the pot/pan/foil bundle from the grill/smoker and allow it to rest at room temperature for 45 minutes.
- After 45 minutes of rest, transfer the pork to a large bowl, aluminum pan, or cutting board and allow it to rest for another 10 minutes so that it is easier to handle.
- Peel away the fat cap and discard. Use your hands or 2 forks to shred the meat and remove the bone and any large pieces of fat or connective tissue.
- Sprinkle 2-3 tablespoons apple cider vinegar over the meat and toss well to coat. Taste and season with salt and pepper. Serve with the barbecue sauce of your choice, if desired.
Last Step! Please leave a review and rating letting us know how you liked this recipe! This helps our business thrive so we can continue providing free recipes and high-quality content for you.
Nutrition Information
- Serving Size: 4 ounces cooked pork
- Calories: 276
- Fat: 16 g
- (Sat Fat: 6 g)
- Sodium: 90 mg
- Carbohydrate: 1 g
- (Fiber: 0 g
- Sugar: 1 g)
- Protein: 30 g
- Cholesterol: 100 g
Dietary
How To Store
Store any leftover smoked pork butt in an airtight container in the refrigerator for up to 4 days. Cooked pulled pork can be frozen for up to 2 months and, in my family’s experience, still reheats great through that period of time.
To reheat, thaw overnight in the refrigerator and reheat in the microwave or in a covered skillet on the stovetop with a little water to keep the meat from drying out.
Frequently Asked Questions
A 6 to 7-pound bone-in pork butt will provide 2 ¾ to 3 ¼ pounds of cooked, shredded pork once the bone and fat cap are removed. It’s safe to say that you will have enough to serve 10 to 12 hungry adults.
For this recipe, I always opt for bone-in whether we’re using a pork butt. Cooking whole muscle cuts of meat with the bone-in means less moisture is lost and more even cooking throughout, so if you have the option, choose bone-in.
Pork butt (or ‘Boston Butt’) and shoulder both come from the shoulder of the pig. The butt is the portion highest up on the leg, and the shoulder is just below that. The butt is often rectangular in shape and contains a good amount of fat marbled throughout. Pork butt is a great option if you’re looking to make pulled pork sandwiches or tacos. The shoulder, in comparison, is often triangular in shape and is leaner. You’ll often see pork shoulder that has been removed from the bone and rolled in netting. This is often called a ‘picnic shoulder’ and is best used for moist-heat cooking like the slow cooker and recipes such as brisket or slow cooker carnitas.
This post was made possible by our friends at the Minnesota Pork Board. Although we received compensation for this post, the opinions expressed here are – as always – 100% our own. Thank you for supporting the great companies we work with thereby allowing us to continue creating great recipes and content for you.
For ultimate success, we highly recommend reading the tips in the full blog post above. All photos and content are copyright protected. Please do not use our photos without prior written permission. If you wish to republish a recipe, please rewrite the recipe in your own unique words. Link back to the source recipe here on The Real Food Dietitians. Thank you!




Hi. Would it be ok to freeze the meat after its cooked and how long would it last in the freezer?
disregard. I found the comment in the details. Sorry.
Smoked this yesterday and it was absolutely delicious! The spice mix had great flavor-added the cayenne pepper. Easy to follow recipe! Served this along side your cornbread recipe and green beans.
Thank you!
Now that sounds like a wonderful meal! We’re so glad you loved this easy method, and we bet the smells were amazing!
Yum! Such a simple and delicious recipe. Love the tip to use a Dutch oven for the second portion of it. Turned out soo delicious- will absolutely use this recipe again.
We saw how beautiful your dish came out on IG! We’re so glad you love this recipe as much as we do. And yes, the Dutch oven trick is amazing. No more leaks and more environmentally friendly than foil.
Would this work with pork temderloin?
For this recipe, I always opt for bone-in pork butt. Cooking whole muscle cuts of meat with the bone-in means less moisture is lost and more even cooking throughout, so if you have the option, choose bone-in.
Thank you. How would you do it if you only have tenderloin?
I haven’t made this recipe using a tenderloin (which is much leaner than a shoulder) so this is my educated guess — but I would suggest cooking for only 1-2 weeks or until it reaches an internal temperature of 145F. Ideally, given how lean pork tenderloin is, I would do a wet brine overnight but I think you could just do a dry rub and make sure you don’t overcook it.