Bone broth has become a staple in my household, appearing in soups and stews on a weekly basis. It’s incredibly versatile, great for breaking cravings, and a go-to home remedy of mine for colds and stomach bugs. After researching the benefits of homemade broth, I was determined to create an easy Instant Pot Bone Broth recipe. Developing and figuring out exactly how I liked it was a bit of a process, but I finally nailed it down to a science.
I love that this bone broth recipe is flavorful, nutrient-dense, and budget-friendly. It helps me get the most out of all the ingredients and whole foods I have in my kitchen.
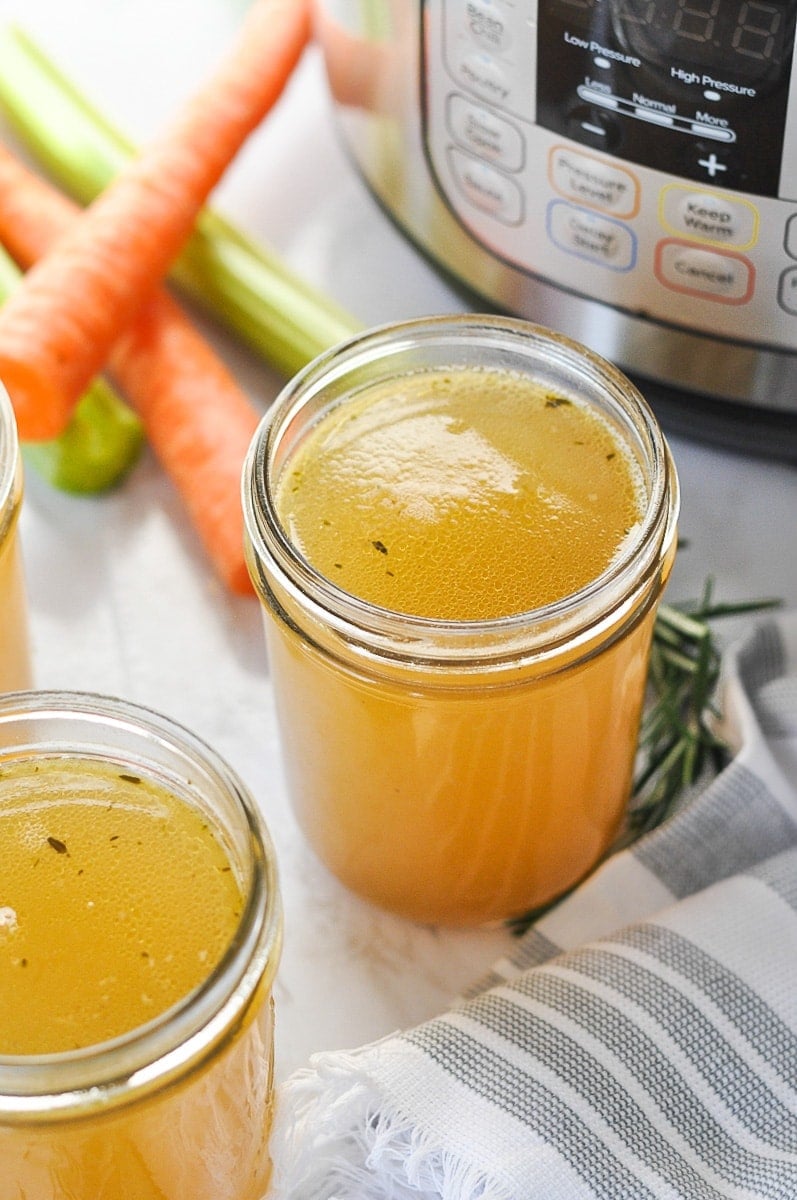
Health Benefits
Bone broth is a nutrient-packed powerhouse with its ability to improve digestion, support gut health, and strengthen immunity. As the bones and connective tissue slowly simmer, certain nutrients get released into the liquid. These include:
- Collagen, which contains joint-supporting amino acids (e.g. glucosamine, chondroitin)
- Minerals (e.g. calcium, potassium, magnesium, zinc, and iron)
- Vitamin A
- Vitamin K2
- Omega-3 and omega-6 fatty acids
It’s amazing to me that I can get all of these benefits from a simple homemade bone broth.
“Awesome recipe! The bone broth was very gelatinous and full of flavor! I will definitely make this again!” ~Kathy
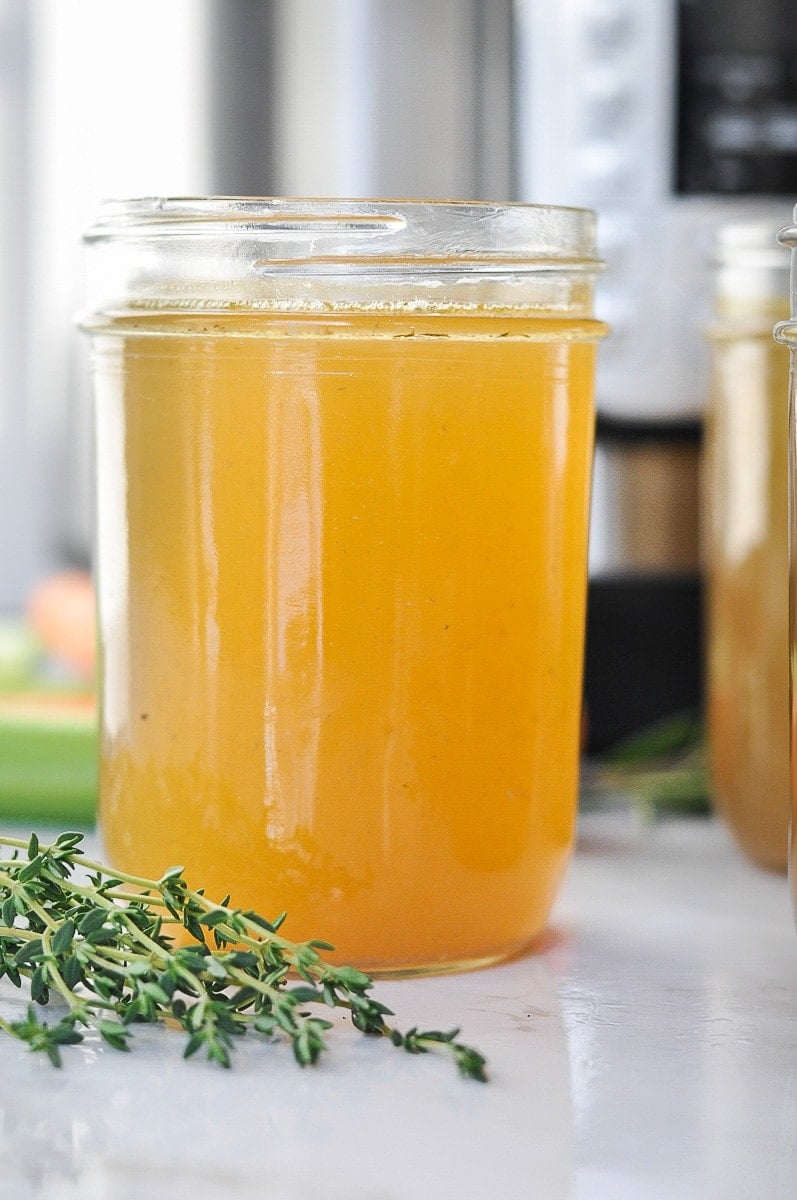
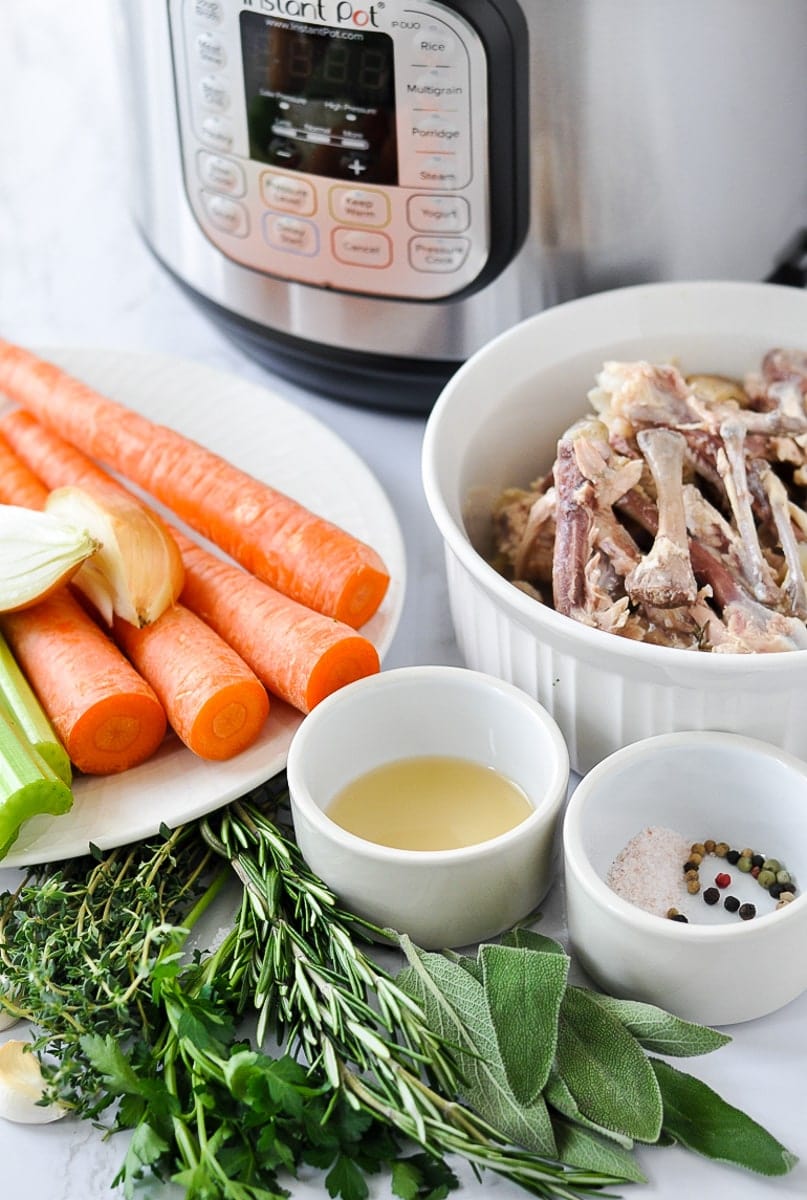
Ingredients To Make Bone Broth
- Bones from (1) 3-4 lb chicken: I often use the leftover bones from making Instant Pot Whole Chicken or leftover bones from a rotisserie chicken to make things easy. If I’ve just cooked an Instant Pot Whole Chicken, I add the skin, bones, cartilage, innards (e.g. gizzard, liver), and leftover cooking liquid and herbs to the Instant Pot. If I’m starting with leftover bones (from rotisserie chicken or frozen), I add them to the pot without thawing.
- Apple Cider Vinegar: Vinegar is a key ingredient here, as it pulls the nutrients from the bones into the broth.
- Vegetables: While veggies are optional, I always like to add carrots, celery, parsnips, onion, and garlic (or scraps and peels of these veggies that I keep in the freezer). They add some great extra flavor and nutrients.
- Fresh Herbs: I use a mix of sage, rosemary, thyme, and/or parsley. Like the vegetables, these herbs are optional.
- Seasoning: I use salt, peppercorns, and a bay leaf to perfectly season the broth.
Find the ingredient list with exact measurements in the recipe card below.
Prep Ahead Of Time
I like to collect leftover bones and vegetable trimmings (e.g. the ends of onions or celery, mushroom stems, etc.) and store them in separate bags in my freezer. Throughout the week, I’ll throw in any leftover bones from my meals, along with any veggies or herbs that are starting to go downhill. Then, when I’m ready to make some bone broth, I have everything I need in the freezer and am already ready to go!
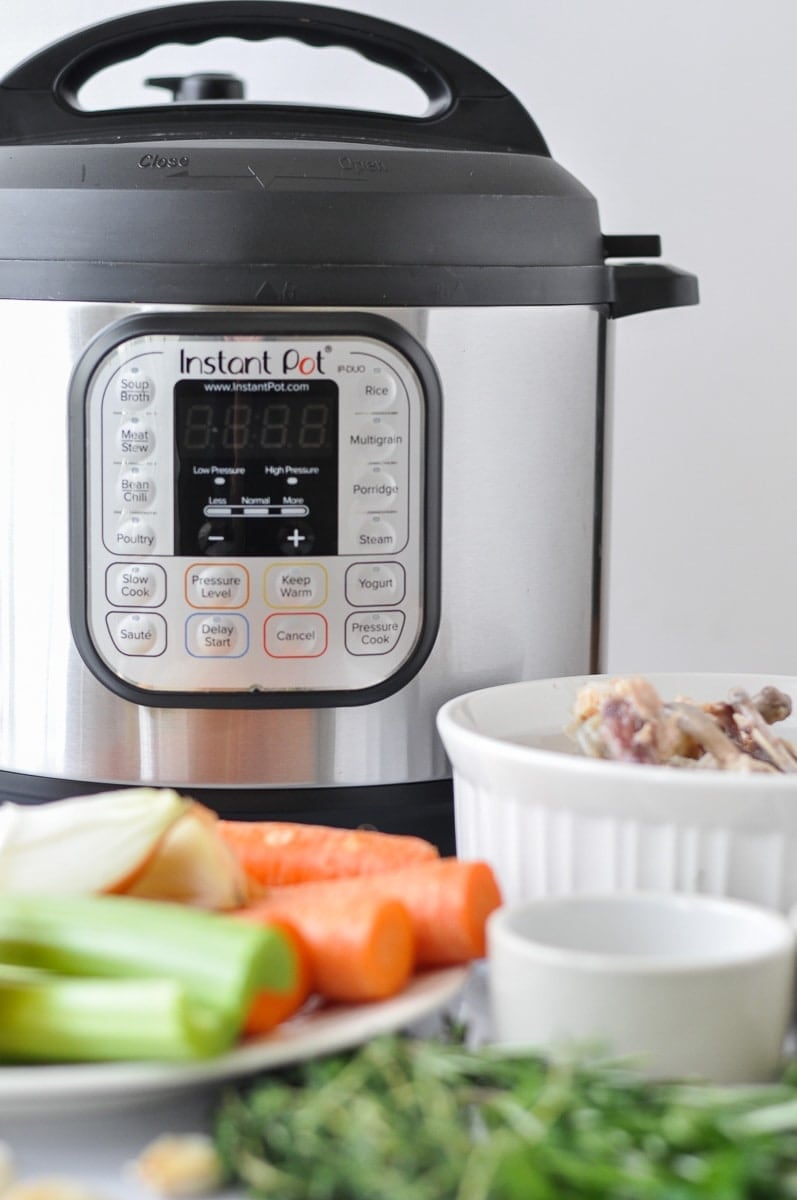
How To Make Instant Pot Bone Broth
Making this bone broth is incredibly easy, which is one of the many reasons why I love it so much. To make it, I follow these steps:
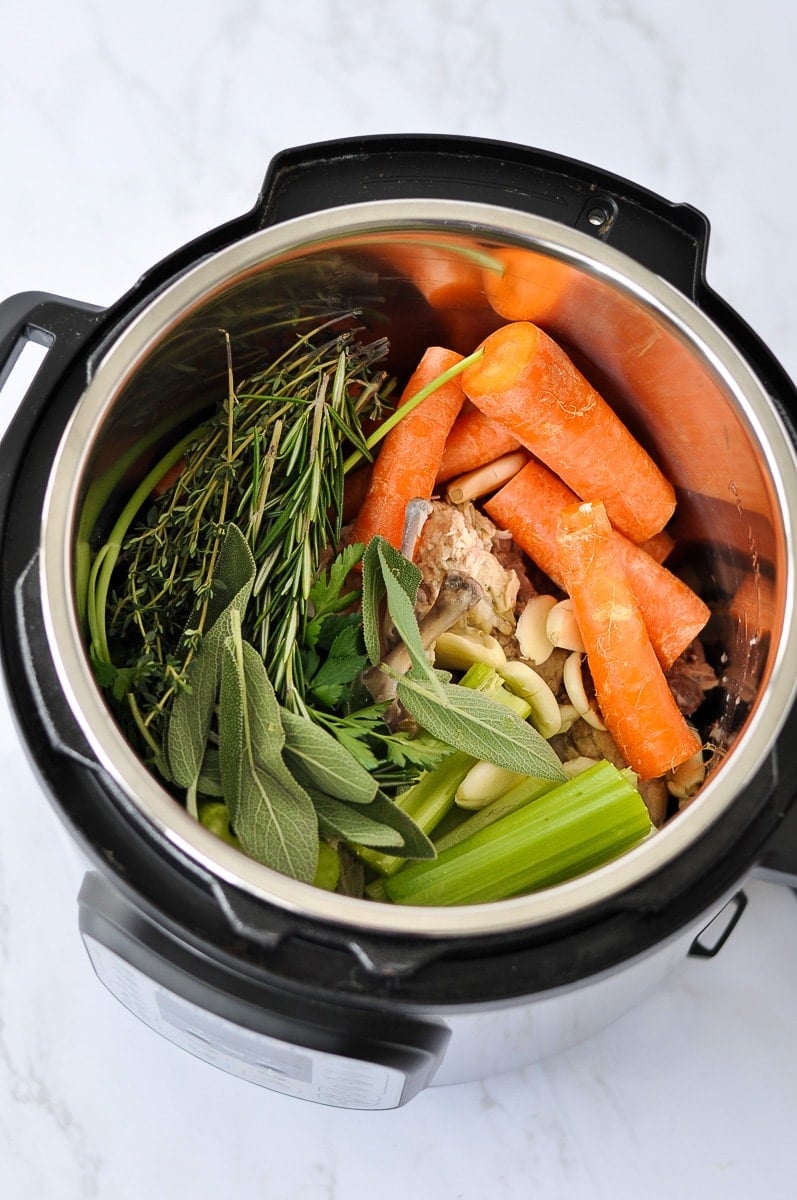
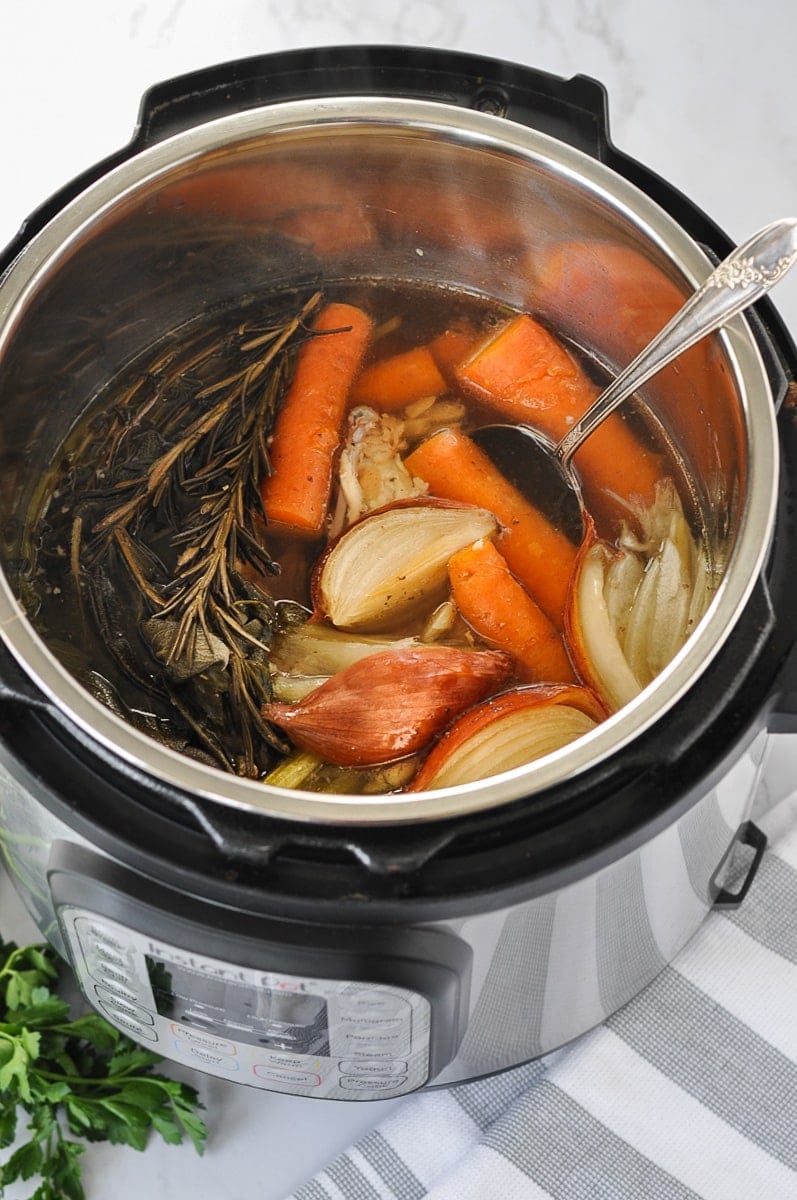
- Add the chicken bones: I place the chicken bones, skin, cartilage, any innards (e.g., heart, gizzard), and leftover cooking liquid and herbs into the Instant Pot if I have just made an Instant Pot Whole Chicken. If not, I just add the bones from a rotisserie chicken.
- Add vegetables and aromatics: While this step is technically optional, I always add vegetables and herbs to my pot. I’ll toss in carrots, celery, garlic, rosemary, a bay leaf, and more.
- Add in liquid: I’ll now add the apple cider to the pot, along with enough water to cover everything in the Instant Pot. I use about 4-5 cups of water, depending on how many bones I use.
- Cook the broth: I lock the lid in place and cook the broth for 120 minutes on high pressure.
- Release the pressure: Once the timer sounds, I allow 20-30 minutes for the pressure inside the pot to naturally release. Then, I flip the vent valve to ‘Venting’ to release any residual pressure.
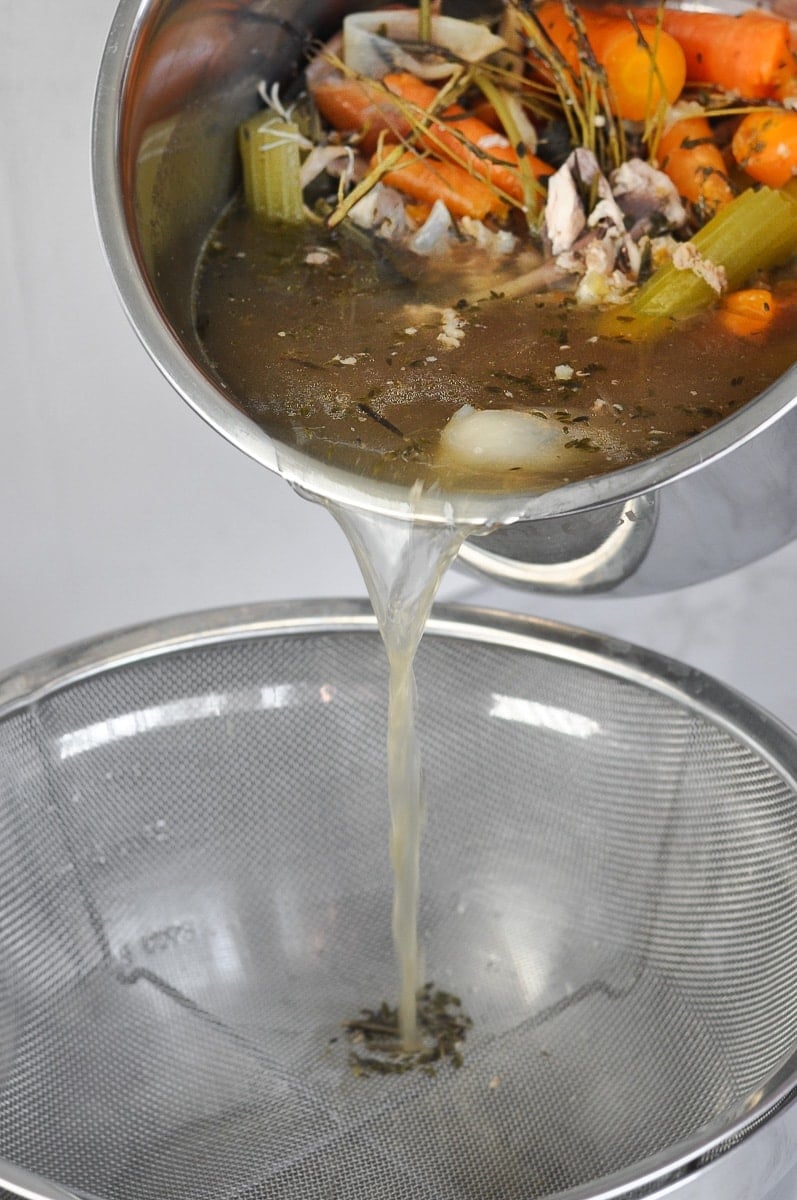
- Finish it off: After the pressure has been released, I taste the broth and add salt until it has the exact flavor I want. I strain the broth into a bowl, then transfer it to jars (leaving the lids off until cooled – I usually let it cool for an hour or 2).
And just like that, I now have the best bone broth to add to recipes and enjoy!
For serving size and the complete directions and ingredient amounts, scroll down to the recipe card below. All of our recipes include the nutrition analysis, listing calories (kcals), protein, carbohydrates/carb, fiber, sugar, sodium, cholesterol, and more per serving.
Looking for a Stovetop Bone Broth Recipe? If you don’t have an Instant Pot, you can still make healing bone broth using a pot on the stovetop.
Make It Gelatinous
To make my broth gelatinous, I run the 120-minute cycle a second time on ‘low-pressure’ this time. The bone broth then has to be cooled for it to gelatinize. Once it’s reheated, it will return to a liquid consistency. I’ve now got a broth that I know for a fact is rich in collagen.
How To Serve
I use this bone broth in any recipe that calls for broth. Some of my favorite recipes for utilizing this chicken bone broth are:
- Slow Cooker Chicken Corn Chowder
- Instant Pot Tortilla-less Soup
- Slow Cooker White Chicken Chili
- Creamy Ham Soup Potato Soup
- Creamy Potato Leek Soup with Bacon (dairy-free)
- Crockpot Marry Me Chicken
- Slow Cooker Chicken Pot Pie Soup
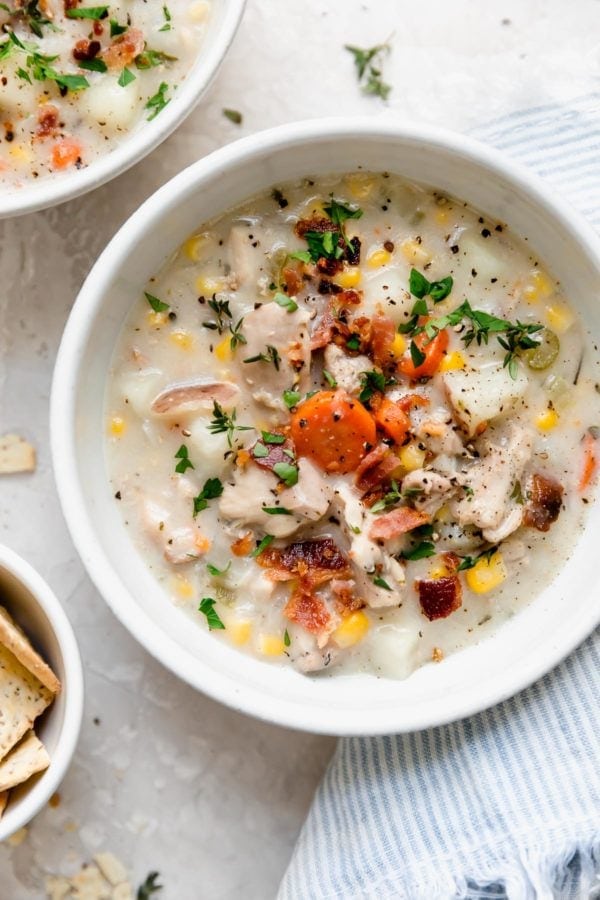
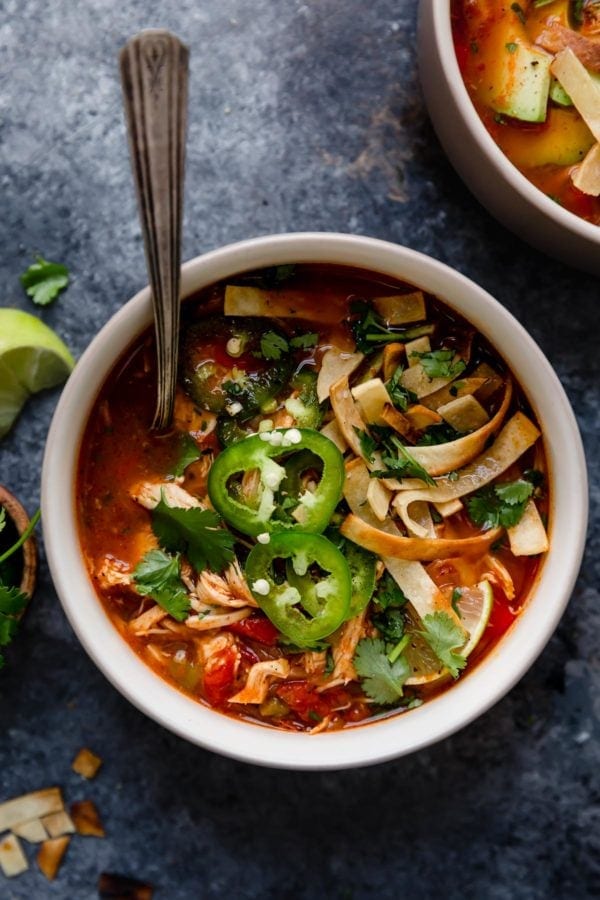

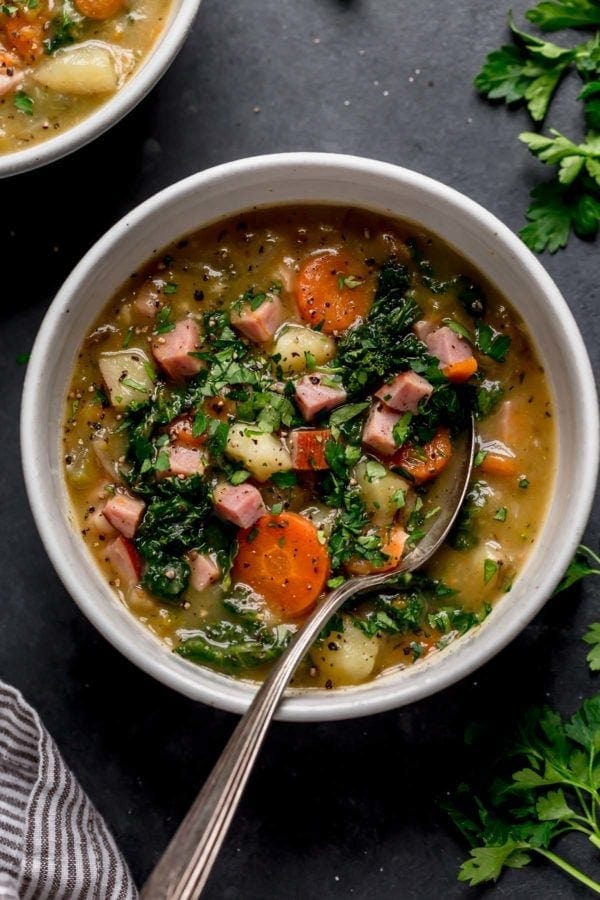
I can also use bone broth in so many more ways than just as a standard broth replacement. I can:
- Sip bone broth warm in a mug (to replace my morning coffee or tea)
- Make a homemade gravy using bone broth
- Use bone broth in place of water to cook rice, quinoa, pasta, or grain
- Add it to a smoothie for a nutrition boost
- Use bone broth instead of water when making homemade BBQ Sauce
- Use bone broth to make perfect chicken breasts every time
How To Store
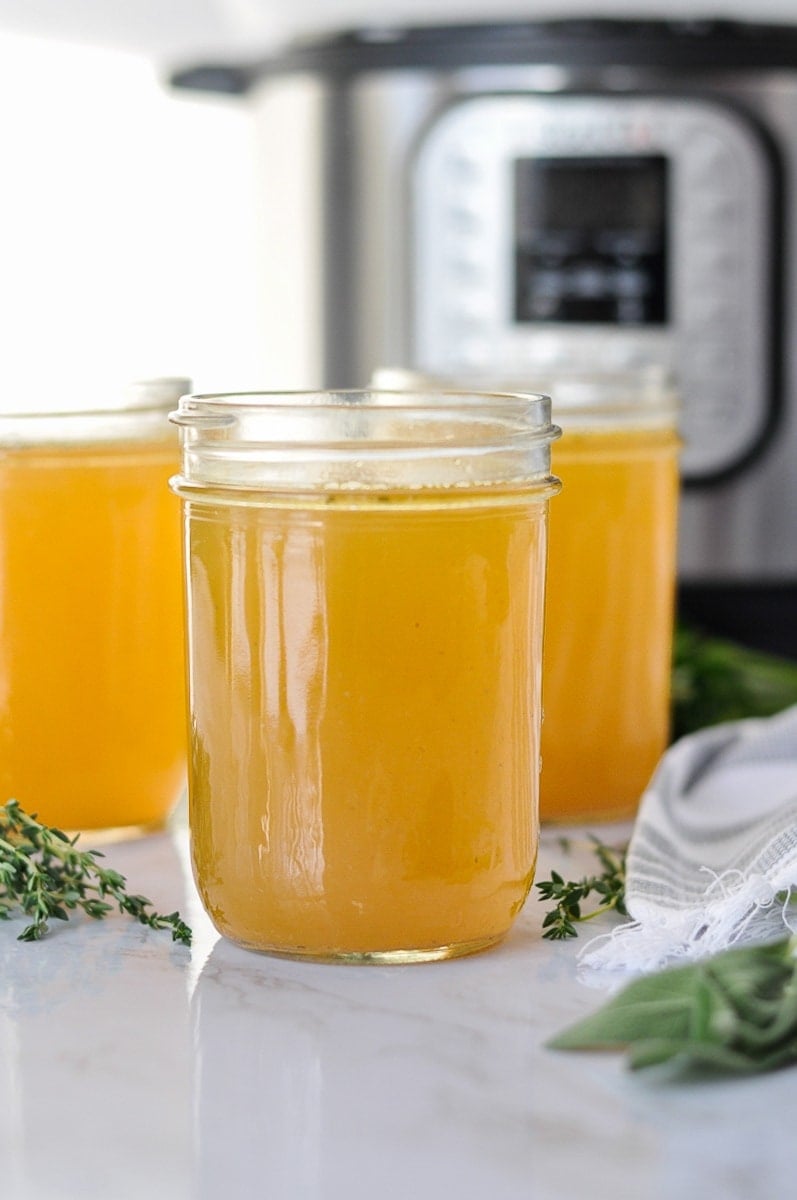
This broth can be kept in the refrigerator in an airtight container for up to 5 days. I typically store mine in mason jars. To make it last longer, I can also freeze or pressure can it.
To freeze it, I simply:
- Freeze the broth in silicone muffin cups or ice cube trays.
- Once the broth has frozen solid, I remove the bone broth “cubes” from the tray. A ziplock bag or other freezer-friendly sealed container works great.
- Finally, when I’m ready to use the broth, I remove the amount I need and reheat the “cubes.” I do this on the stovetop or in the microwave.
Frequently Asked Questions
While this is possible, it is highly unlikely that you’ll do this – unless you exceed the cook time by an hour or more. You’ll know a broth is overcooked if it has a bit of a bitter taste when you try it.
You can make this Instant Pot recipe in a slow cooker. Just know, though, that it takes quite a bit longer to make broth in a slow cooker (24-36 hours) than in an Instant Pot (less than 2 hours).
Want to save this recipe?
Enter your email below & we’ll send it straight to your inbox. Plus you’ll get great new recipes from us every week!
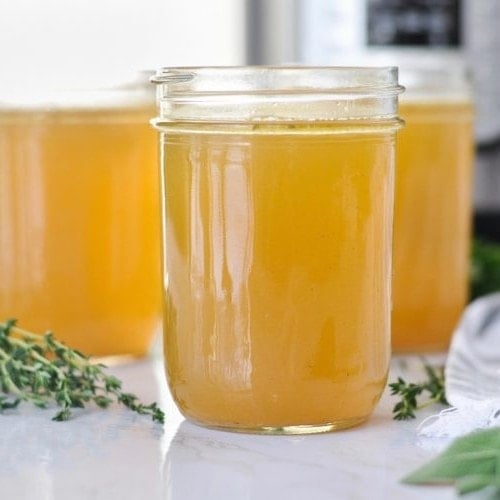
How to Make Instant Pot Bone Broth
Easy, nourishing, and incredibly economical, bone broth is a great way to stretch your food dollar and provide your body with wholesome goodness.
Ingredients
- bones from (1) 3-4lb. chicken
- 1 tablespoon apple cider vinegar
- Water
- Salt to taste
We recommend adding vegetables and herbs (such as these below), as they add great flavor and nutrients. However, they are optional.
- 2 medium carrots, scrubbed and cut in half
- 1 medium parsnip, scrubbed and cut into large chunks (may substitute more carrots, if desired)
- 3 celery ribs (or ends and leaves to equal 1 cup)
- 1 large yellow onion, quartered with skin and root end intact
- 6 garlic cloves, lightly smashed
- 1 bay leaf
- 8–10 peppercorns
- A handful of fresh herbs (sage, rosemary, thyme, and/or parsley)
Instructions
- Place bones, vegetables, peppercorns, herbs, and vinegar into the pot of the Instant Pot.
- Add enough water to just cover the bones and vegetables in the pot, about 3/4 full.
- Wipe rim of insert dry with a towel. Place lid on Instant Pot and lock into place.
- Flip vent valve to ‘Sealing’.
- Select ‘Manual’ or High-Pressure setting and adjust the cooking time to 120 minutes.
- Optional: to ensure a gelatinous bone broth, run the cycle a second time for 120 minutes on low-pressure.
- When cooking is done, allow pressure to release naturally (10-20 minutes).
- Release any residual pressure using the vent valve before removing the lid.
- Allow broth to cool before straining the broth through a mesh lined strainer into jars for storage.
- Add salt to taste.
Last Step! Please leave a review and rating letting us know how you liked this recipe! This helps our business thrive so we can continue providing free recipes and high-quality content for you.
Notes
**If adding additional cooking time, you may need to release the pressure, remove the lid, and add more water to prevent the contents of the pot from burning.
Nutrition Information
- Serving Size: 2 cups
- Calories: 80
- Fat: 0
- (Sat Fat: 0)
- Sodium: 270 mg
- Carbohydrate: 0
- (Fiber: 0
- Sugar: 0)
- Protein: 20 g
Dietary
For ultimate success, we highly recommend reading the tips in the full blog post above. All photos and content are copyright protected. Please do not use our photos without prior written permission. If you wish to republish a recipe, please rewrite the recipe in your own unique words. Link back to the source recipe here on The Real Food Dietitians. Thank you!


Good recipe. Very flavorful. I found the cook time needs to be 50% longer to achieve a congealed product
I use it for everything. Sipping , for Rice or potato soup. I make it in a pot on the stove and it’s a lot of work. Can’t wait to try it in the insta pot. Sounds a whole lot easier! Thanks
DOES THIS INSTANT POT BROTH COOK LONG ENOUGH TO REALLY PULL OUT THE COLLAGEN IN THE BONES… OR IS IT MORE OR A SOUP BROTH ?
THANKS
Hi Denise. This is going to be depend on the bones. So if you want to be sure the cook time really allows for the collagen to be pulled out of the bones, you can run the Instant Pot a second cycle. That’s what I do and I get a very nicely, gelatinized bone broth.
I am a diabetic, is there a way to get rid of or lower sodium?
Just omit the salt in the recipe.
I read in another bone broth blog that the fats can oxidize when left on the high pressure for too long (which is terrible for us). They recommended running a 30 min high pressure cycle, and pouring that off as a ‘meat broth’. The fat will have rendered (and can be scooped off the top when cooled). Then they said to fill the IP with water again and the 120 min cycle can safely be run for bone broth. With most of the fat rendered and poured off in the first batch of broth, you no longer have to worry about those fats oxidizing. I’m curious, as a registered dietitian if you’ve done any research on this? Was this information accurate? I can’t seem to find any other bone broth blogs that talk about it. I don’t want to think I’m doing something good for our family but actually be causing harm if the fats do, in fact, oxidize when cooked at high temperature and pressure for too long. I’m curious about the science behind it. Also, do you pour off the first batch of broth, refill with water and run again at low pressure for the gel-like consistency? Or are you running the same batch twice? Thanks! Just found your blog today. Looking forward to looking around more.
Hi Sarah, thanks for you insights on this topic. This is the first we have heard of this. You could always run two cycles on low pressure to keep the temp lower if that eases your mind. You’ll still end up with a delicious, gelatinous broth. We have never poured off any of the broth and have been making bone broth for years. I have never seen that in a recipe. Honestly, there are so many other things we can focus on like eating more fruits and veggies, reducing processed foods, making healthy lifestyle choices like moving our bodies, limiting alcohol intake, sleeping well, managing stress, mitigating environmental risks, etc. We our big proponents of doing your best and really focus on what truly matter and what is proven to make one healthier (and happier). There is a lot of misinformation out there (as you are aware), so unless it’s something we’re seeing show up consistently in research and in credible studies, we don’t let ourselves worry about something that ‘could’ be. So yeah, that’s a bit of our take on nutrition and how we approach healthy living and eating. In the end, making your own bone broth at home is going to be a better for you choice as compared to purchasing a box of it at the grocery store (which we also do from time to time when we’re out of our freezer-stash of bone broth). It’s all about doing your best and balance 🙂
Thanks! Made this using beef and pork bones from a local rancher who uses regenerative ranching practices and forest-foraged pigs. (In Black Forest, so if you’re still in Colorado and looking for good meat, you can check out Corner Post Meats) So good! We’ve had the best soup this week. I’m making it again next week after I try your instant pot whole chicken. Looking forward to trying more of your recipes!