DIY Kitchen Tutorial:
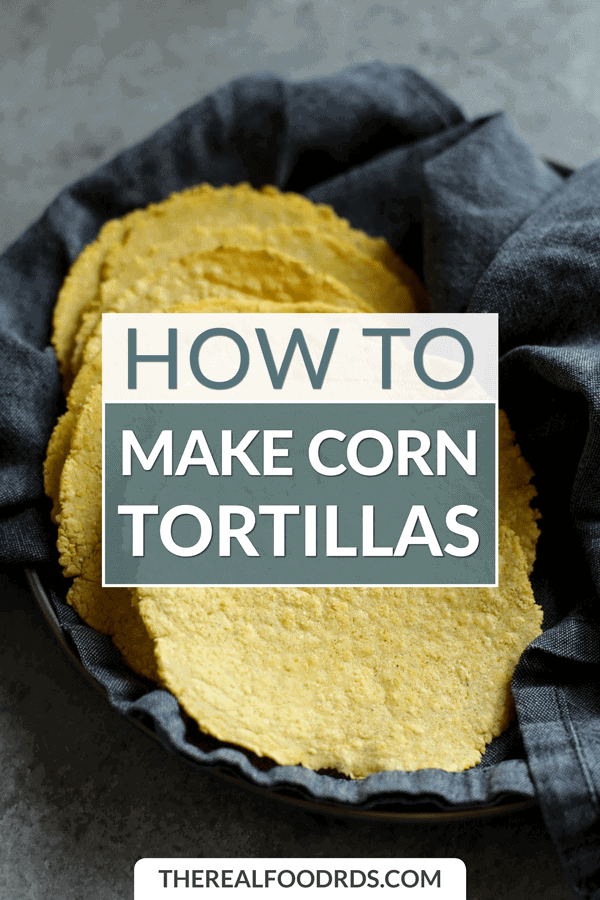
How to Make Corn Tortillas and take taco night to the next level
Tacos are a love language.
Laugh all you want, but can you remember the last time you DIDN’T love tacos? Tacos are great – they’re easy, affordable, family-friendly, delicious and infinitely customizable. We love tacos so much here that we’ve even created our own recipe for homemade taco seasoning, which works perfectly in these Slow Cooker Chicken Tacos, this One-Pan Chicken Fajita Bake or these Sheet Pan Chicken Tostadas, all of which aren’t complete (in our minds) without really good tortillas. The tortillas are also perfect when cut into strips and toasted to top a bowl of chicken tortilla soup.
I’ll be honest, they’re not the fastest food to make, but there isn’t a whole lot of hands-on time involved. They’re also freezer-friendly and fun to make with kids or partners who want to be more involved in the kitchen. And it’s 100% worth the effort to wrap your favorite taco fixings in a warm, soft corn tortilla that you made with your own two hands with just 3 ingredients.
What you’ll need to make homemade corn tortillas:
- Mixing bowl, large spoon, and measuring cups and spoons, towel, cast iron skillet or griddle
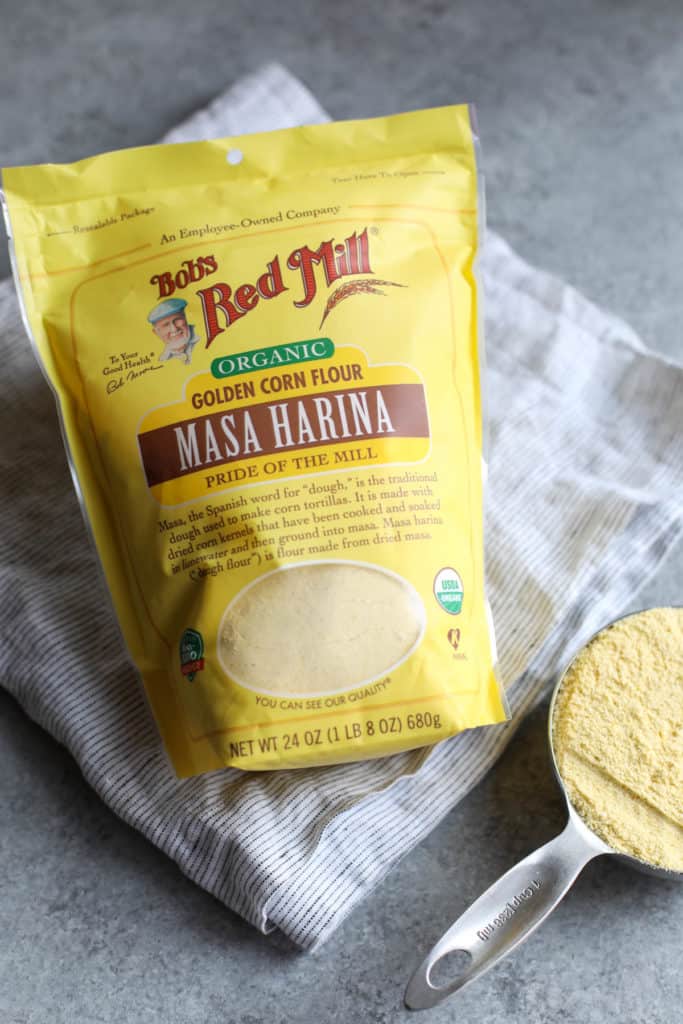
- Masa harina (finely ground corn flour). We use and recommend Bob’s Red Mill Organic Masa Harina
- Salt
- Tortilla press or rolling pin
- Parchment paper or a reusuable quart-size plastic zip-top bag
Before we get started, a quick note…
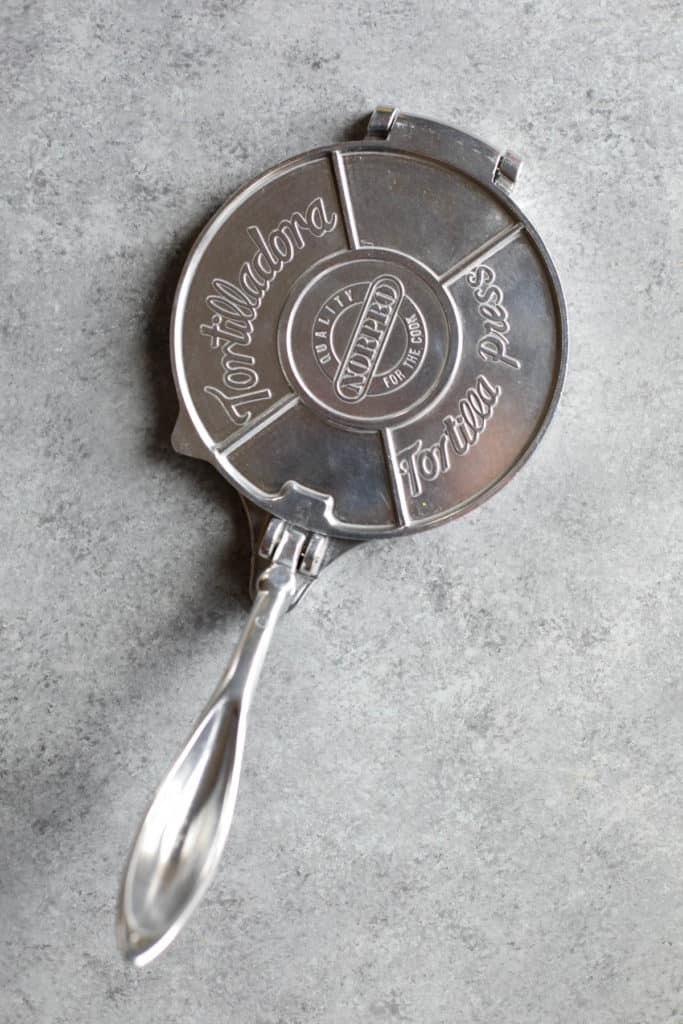
As you can see, you don’t need very much to make homemade corn tortillas. Though really nice to have (and very inexpensive) a tortilla press isn’t mandatory. It does, however, make really quick work of flattening the dough into thin, round disks. A rolling pin will do the job, but it takes more effort and your tortillas aren’t nearly as pretty.
OK, ready? Let’s do this!
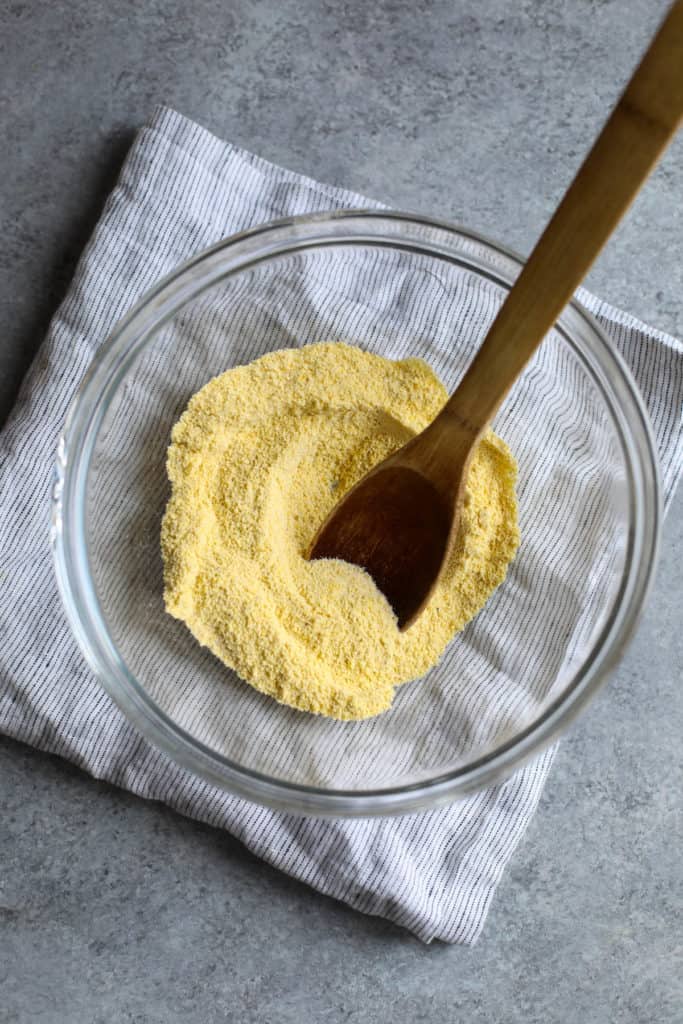
Gather your ingredients (masa harina, water, and salt) plus a mixing bowl, measuring cups and spoons and a large spoon to stir with.
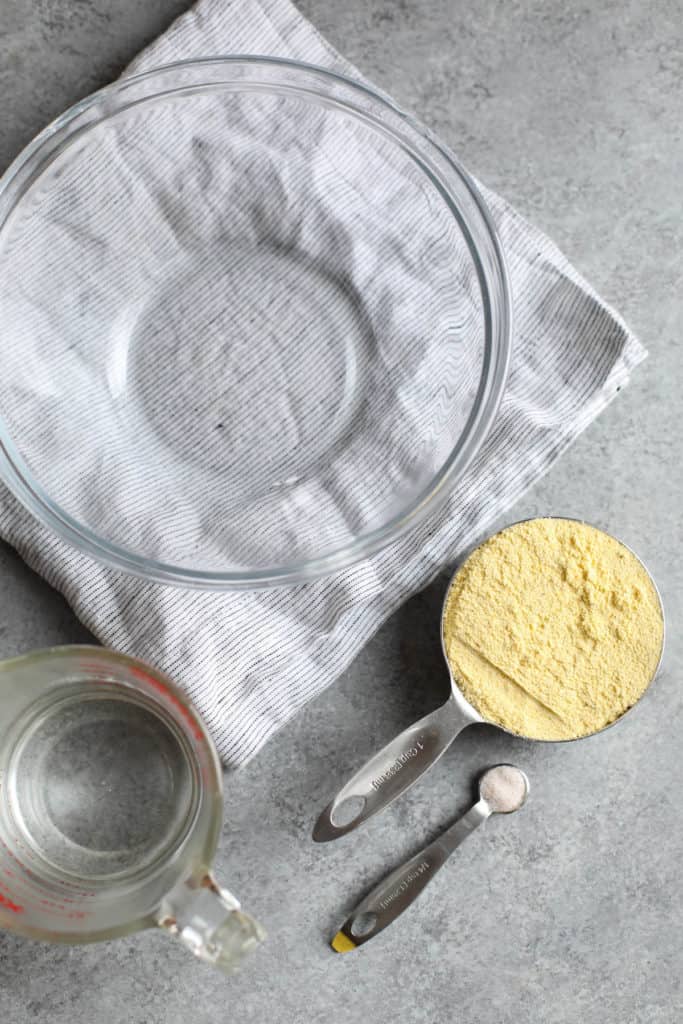
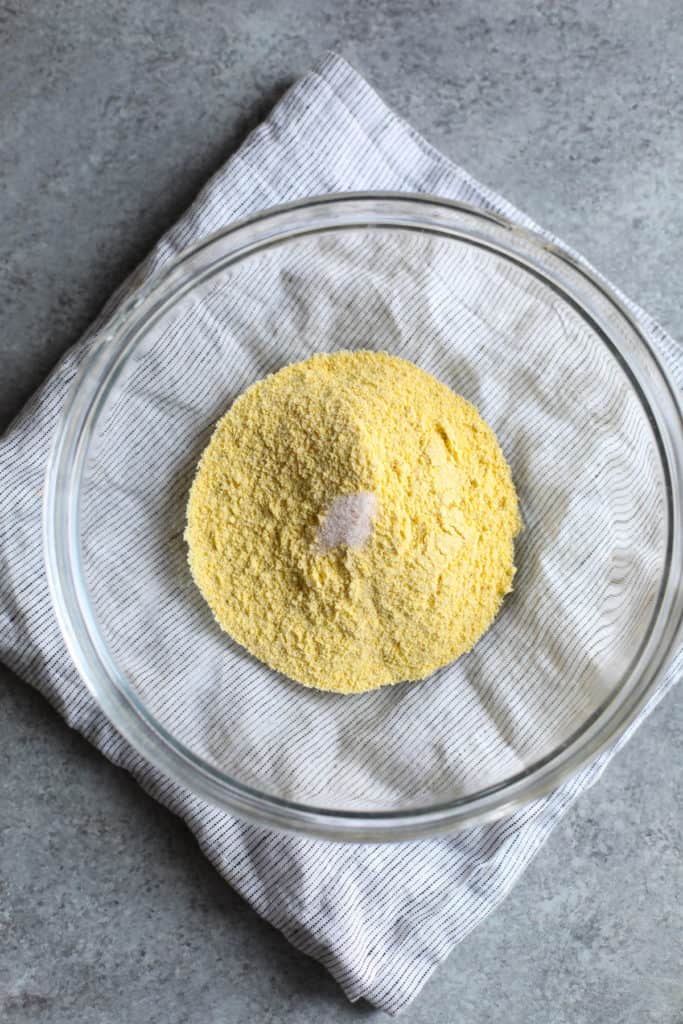
Add 2 cups of masa harina and ½ teaspoon of salt to the mixing bowl. Stir to combine. Now add 1½ cups hot water (just hot from the tap, no need to use boiling water) and stir.
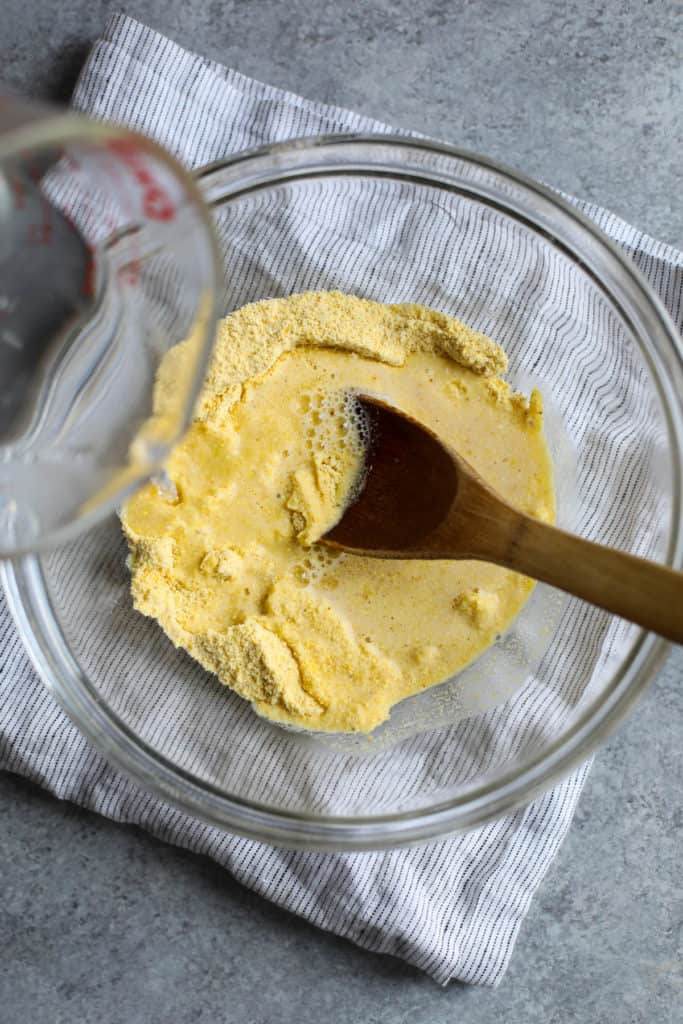
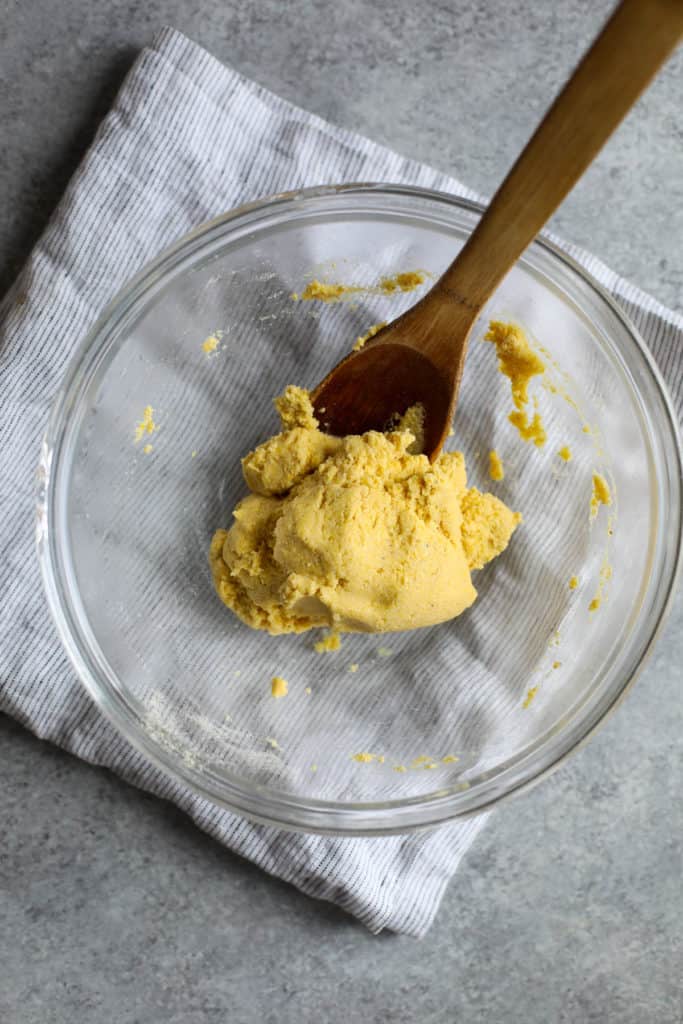
The dough should start to come together though will likely look dry and crumbly. Slowly add a little more water and continue to stir until the dough is firm and springy*, not dry or sticky. If the dough is too dry, add more water a few teaspoons at a time. If it’s too sticky, then add a pinch of two of masa harina and mix it in. I have found this to be an inexact science from batch to batch depending on the humidity, time of year, how long my bag of masa harina has been open, how accurately I measured the masa and water, and even how much moisture the masa itself contains (this will vary depending on where you live and your average relative humidity).
*Dough will not bounce back when touched, but it should feel soft yet have some resistance when touched with two fingers.
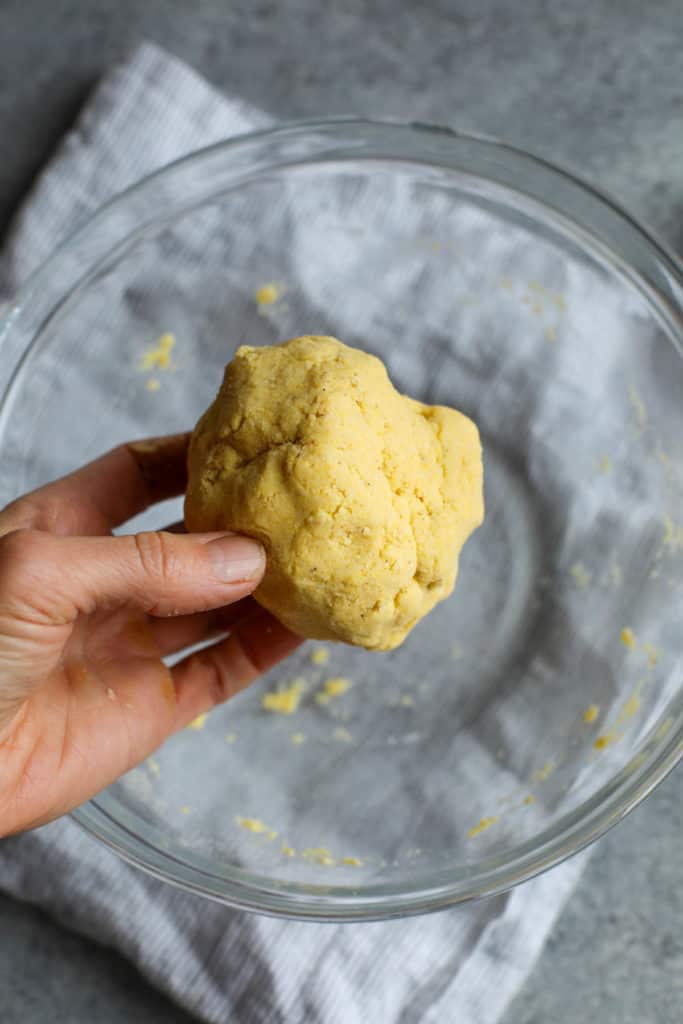
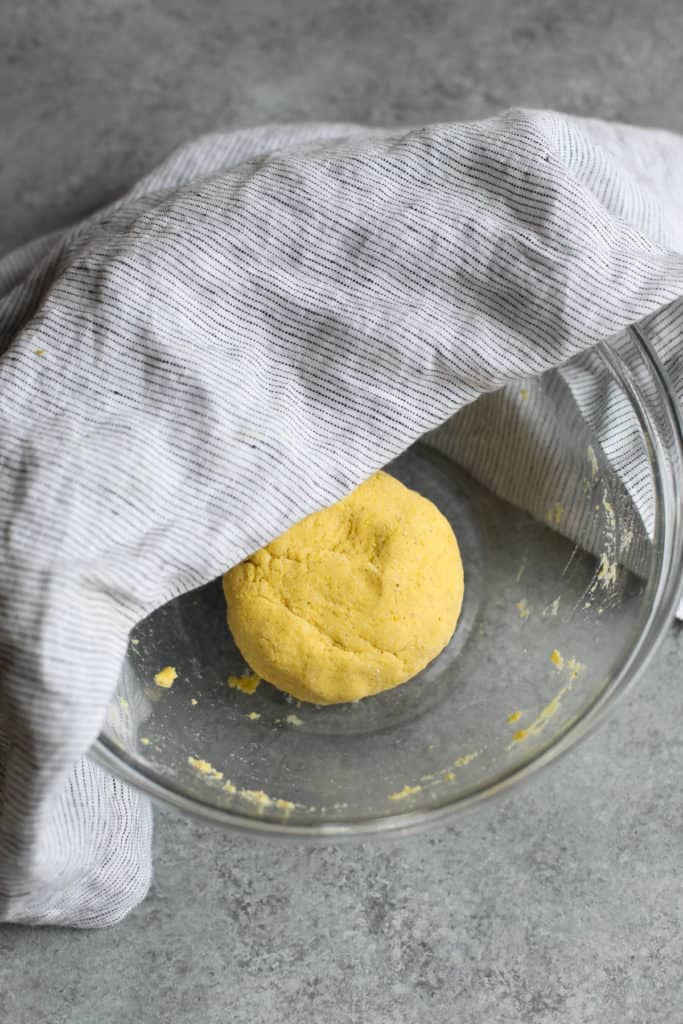
Once the dough is formed, cover the bowl with a slightly damp towel and allow it to rest on the counter for 1 hour. During this time, you can pull out your tortilla press or rolling pin and get ready for the next steps.
If using a tortilla press:
Find something to line your press with. This will keep the dough from sticking to the press and make it super easy to transfer the tortilla to the hot pan when it’s time to cook. This is my favorite hack: Cut the top off of a quart-size plastic bag then cut down both sides to make a rectangular plastic sheet with a fold in the middle (scroll down to see photos below). You can wash and reuse the bag many times so don’t toss it out when you’re done here. You can use parchment paper though I have found that because of the pressing action of the tortilla press, the sheets tend to be harder to manage.
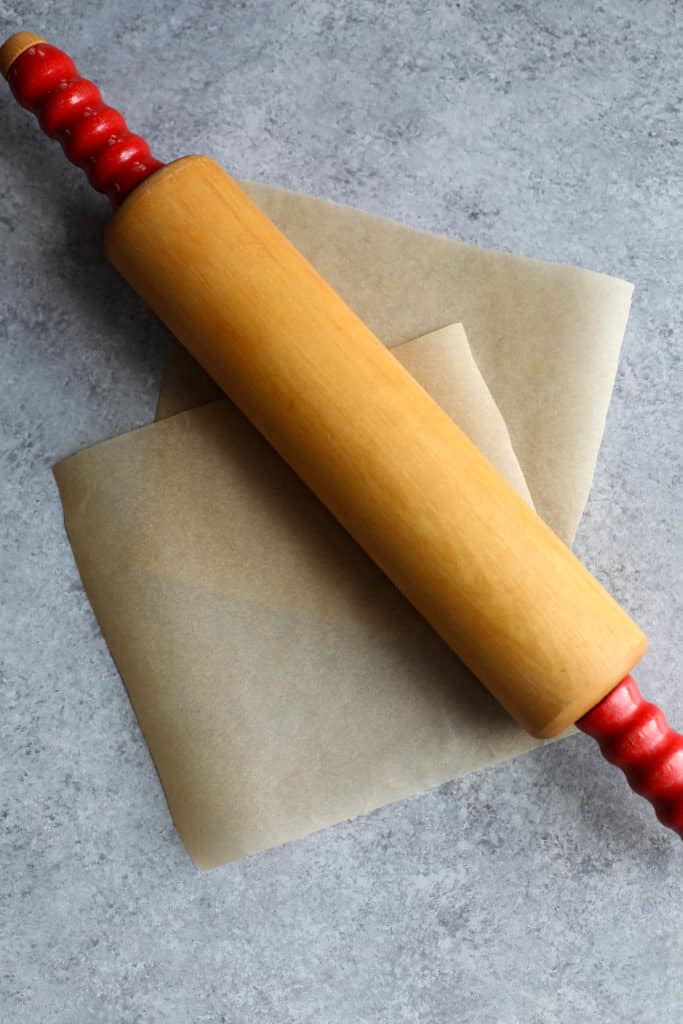
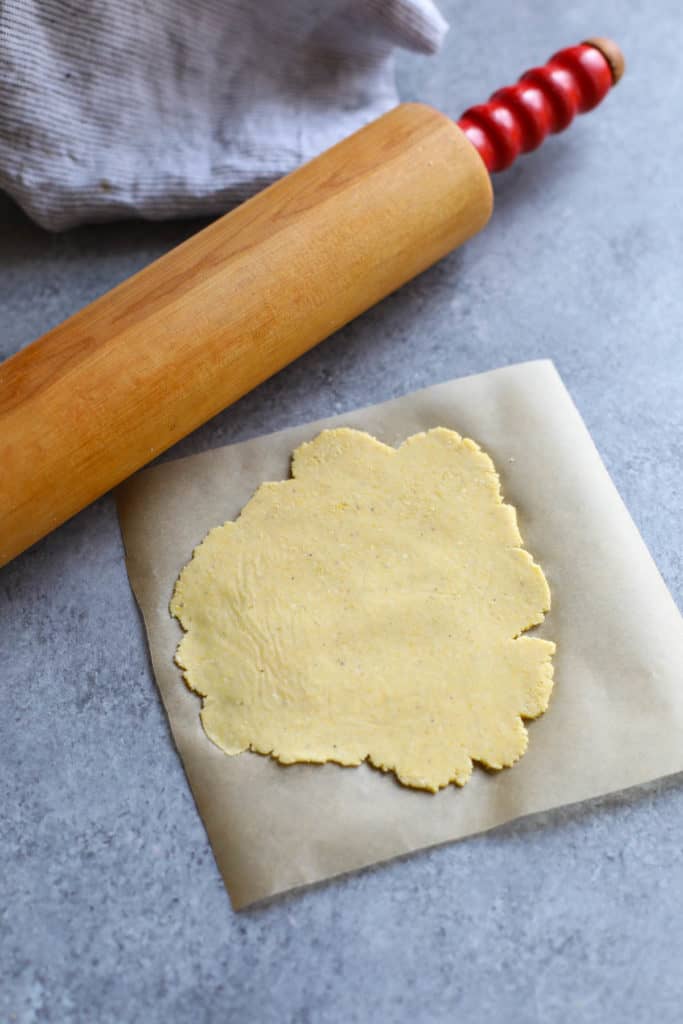
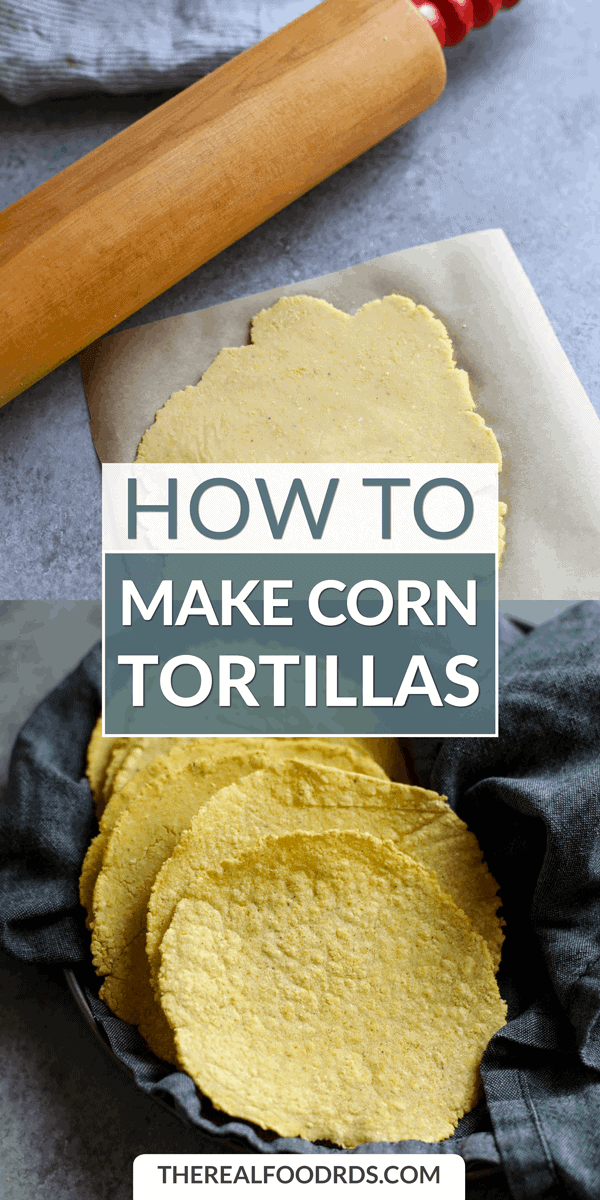
If using a rolling pin:
Cut two pieces of parchment paper about 8″ x 8″. You’ll place the dough between the sheets and use the rolling pin to roll the dough into a thin, flat disk. Warning: This method produces less than perfectly round tortillas unless you’re really good at rolling with a rolling pin – BUT it gets the job done.
After the dough has rested for 1 hour, use your hands to shape the dough into golf ball-sized balls, then lightly roll them in your hands until fairly smooth. Set the dough balls aside and cover with the damp towel until ready to flatten. When the balls are rolled, it’s time to get your pan or griddle heating.
Place a large cast iron skillet or griddle over medium-high heat. If you don’t have a cast iron pan, you can use another pan (such as stainless or anodized steel), but try to avoid those with non-stick coatings as the coatings aren’t meant to be subjected to high temperatures. If you don’t already own a cast iron skillet, this may be a good time to invest in one – they’re incredibly affordable and when cared for properly, they’ll last a lifetime. <<— I’m not kidding. I use my great-grandmother’s cast iron skillets daily.
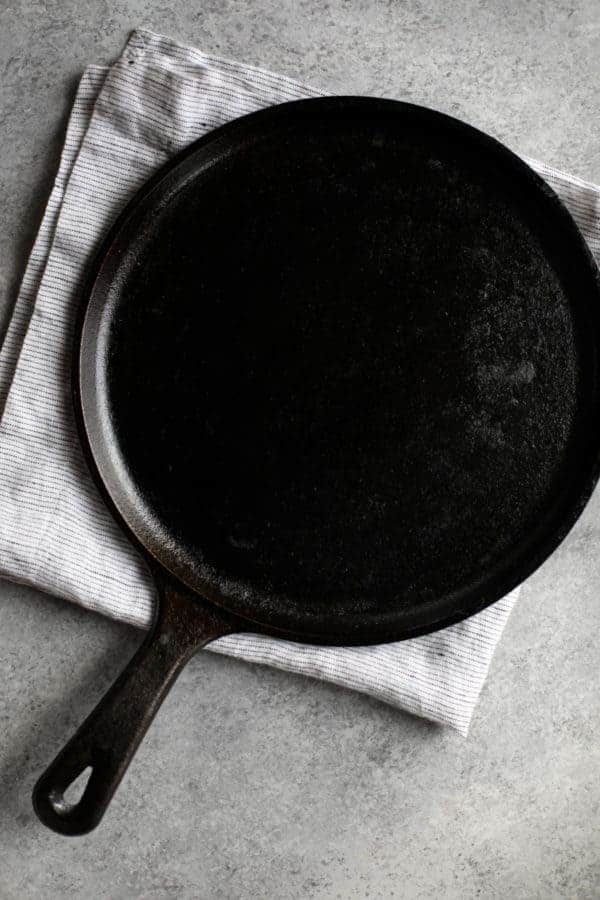
This is the pan that I use. It’s somewhere between and skillet and griddle and sweet little find I picked up at a flea market several years ago. Yours doesn’t have to be just like this, a regular cast iron skillet will work great.
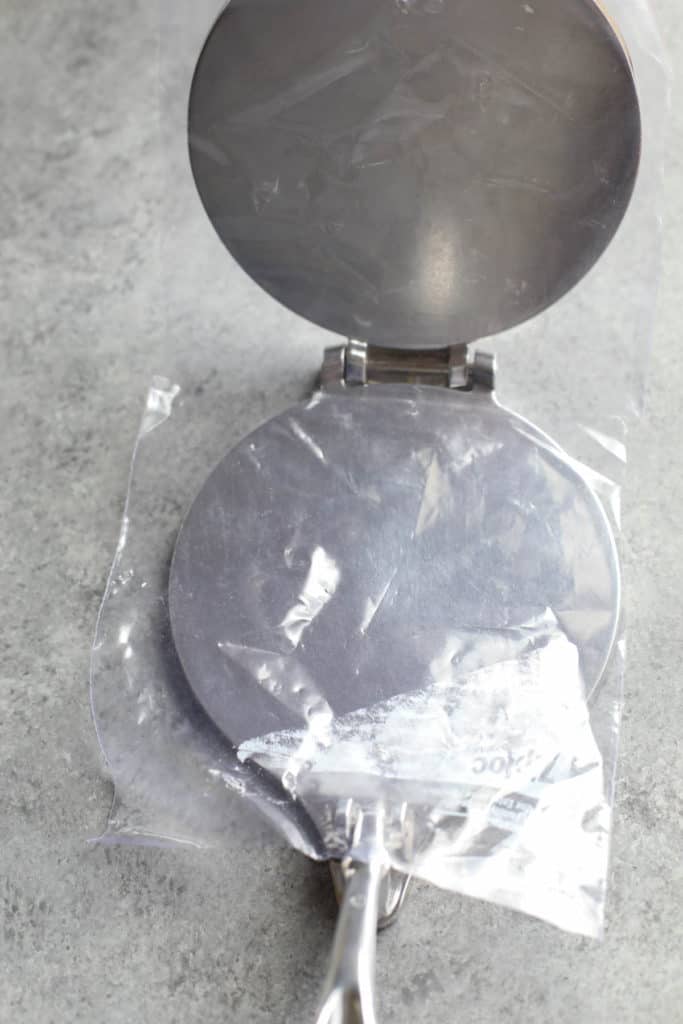
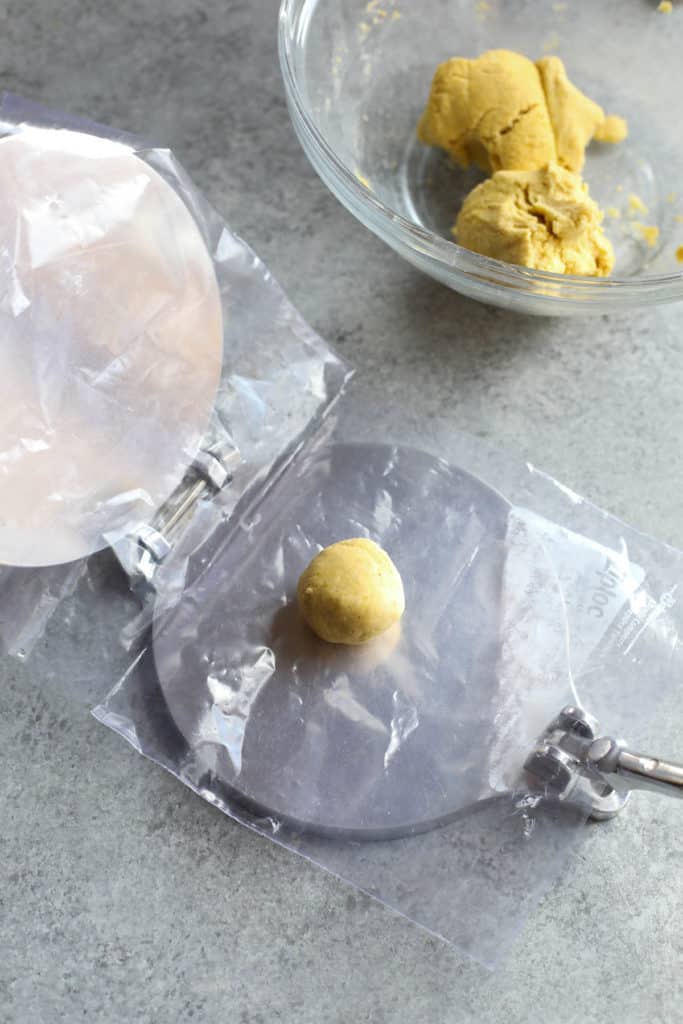
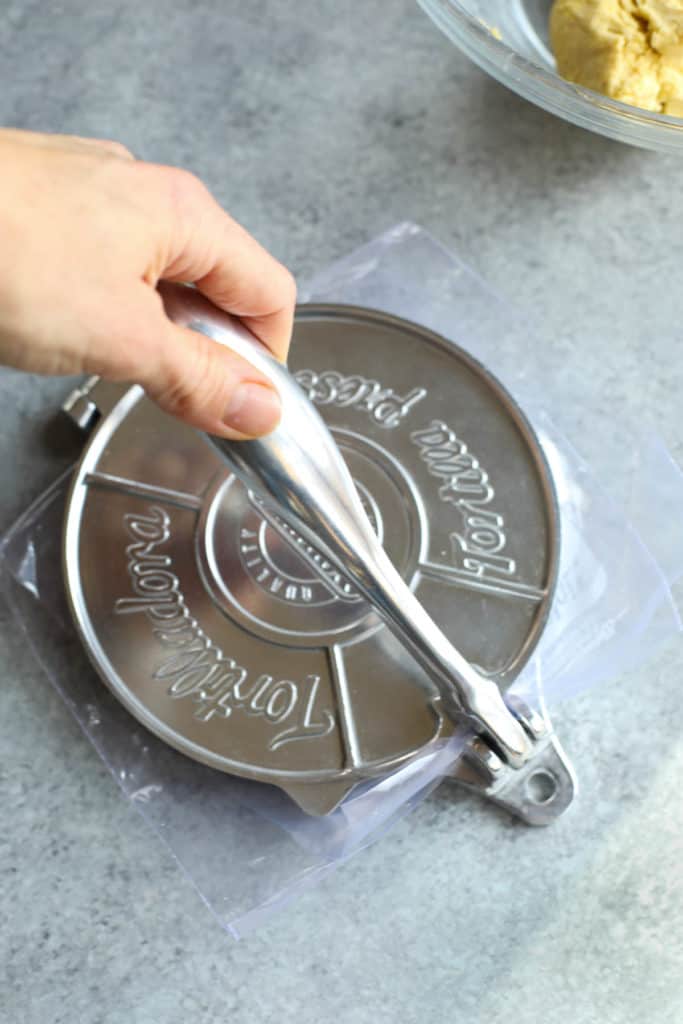
To flatten the tortillas using a tortilla press: place the plastic sheet (made by cutting apart a zip-top bag) on the open press. Place a ball of dough in the center of the press then slowly lower the top of the press applying firm, even pressure to the handle. Since I find that the side of the tortilla nearest the handle tends to get a little thinner than the side near the hinge, I just open the press, give the tortilla a 180-degree turn then press again. You should have a tortilla that’s about 6 inches in diameter but feel free to make them larger or smaller to suit your needs.
A note about pressing: It’s easy to press too hard and make the tortillas too thin so I don’t recommend putting all of your weight into the pressing. A firm press should be fine. If you’re new to making tortillas then it’s a good idea to make a few small ‘test tortillas’ then toss them onto the hot skillet for 1 minute on each side and then see what you think about that thickness.
If they too thick for your taste then you know to press a little more, if they’re too thin and they break when you fold them then press a little less next time. Don’t worry, you’ll get the hang of it!
It’s best not to press all of your tortillas at once, instead press them and add them to the hot pan as you go. This will eliminate the step of having to peel the tortilla from the plastic or parchment, set it down, then try to pick it back up again without it tearing, etc. It’s also best to keep the dough balls covered as you go to keep them from drying out.

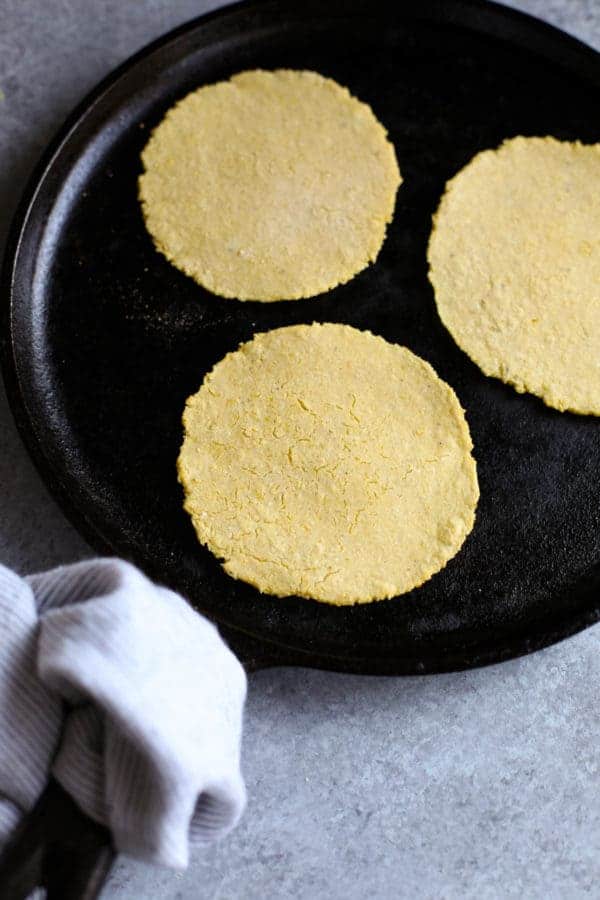
Now that you’ve got the hang of pressing the tortillas and the pan is hot, it’s time to make some tortillas. The pan has been heating over medium-high heat, but now it’s time to crank up the heat to high (and possibly turn on your vent fan or crack a window as it can get a wee bit smoky – but not terrible). Place tortilla(s) onto the hot, dry skillet or griddle (do not add any oil) and cook for 1 minute on each side until tortillas have a cooked appearance – meaning they’re no longer wet and doughy, but dry and the dough is set and you see cracks on the surface. Resist the urge to overcook them!
Note: You will not see brown or charred spots on your corn tortillas. They’ll simply be a nice golden color all over. Those charred spots you see in photos comes from heating the cooked tortilla over an open flame (such as a gas burner or grill).
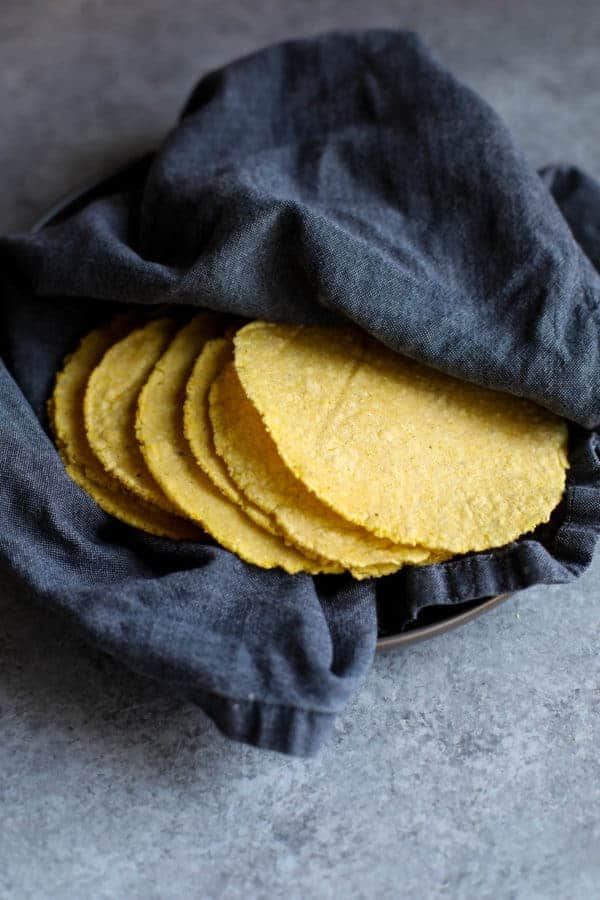
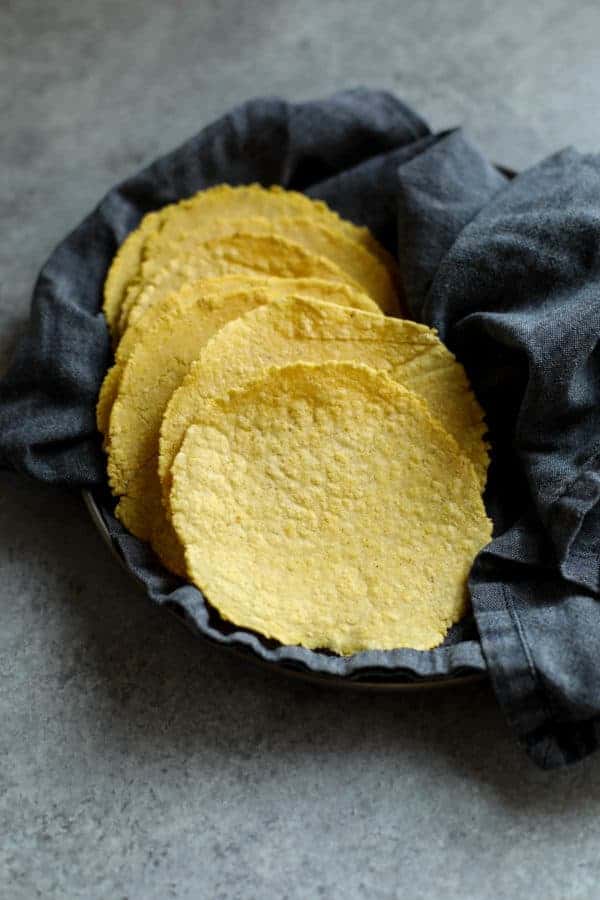
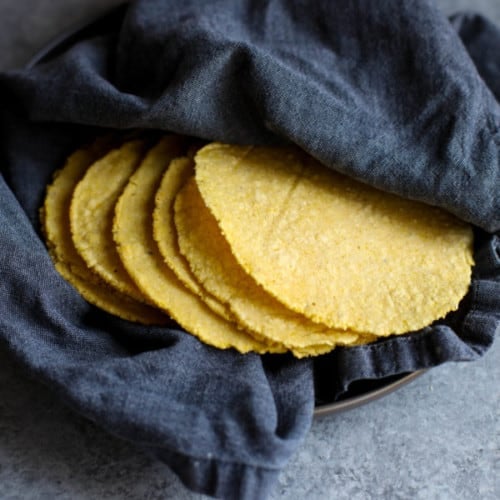
When tortillas are cooked on both sides, remove to a plate lined with a clean cloth napkin or thin kitchen towel. Cover tortillas with a towel to keep them warm. Their heat will create a bit of steam which softens them so they are perfectly pliable when it’s time to enjoy. Repeat with remaining dough until all of your tortillas have been cooked then serve or allow to cool completely on a wire rack before transferring to a container with lid for storage. Tortillas will keep for up 2 days on the counter or in the fridge.
To reheat corn tortillas, warm them in a toaster oven, oven or microwave or place over the flame of a gas burner (using tongs to turn them frequently to prevent them from burning).
Tortillas may also be frozen for longer storage. To freeze, place cooled tortillas in a single layer (with multiple layers separated by parchment paper) on a rimmed baking sheet. Place baking sheet in the freezer until tortillas are frozen, about 4 hours. Transfer frozen tortillas to a freezer-safe container and use within 1-2 months. Thaw at room temperature or in the microwave when ready to use.
Want to save this recipe?
Enter your email below & we’ll send it straight to your inbox. Plus you’ll get great new recipes from us every week!
How to Make Corn Tortillas
Ingredients
- 2 cups masa harina (we use Bob’s Red Mill Organic Masa Harina)
- ½ tsp. salt
- 1½ – 2 cups hot water
Instructions
- Add masa harina and salt to a mixing bowl. Add 1½ cups hot water and stir until a dough forms, adding more water a little at a time until dough is soft and springy. If the dough is too dry, add more water. If the dough is too sticky, add another pinch or two of masa harina.
- Cover dough in the bowl with a damp towel and allow it to rest for 1 hour.
- Place a large cast iron skillet or griddle pan over medium-high heat once it’s time to start rolling out or pressing the dough into tortillas.
- Roll dough into golf ball-sized balls then press (using a tortilla press) or roll tortillas (using a rolling pin) between two sheets of parchment paper or a plastic zip-top bag whose zipper has been cut off and the side have been cut to create a rectangular sheet of plastic. Tortillas should be about 6 inches in diameter* and very thin, but not so thin that they break when transferring them to the hot pan.
- The pan should be really hot at this point. Now increase the temperature to high heat and add your first tortilla(s) to the pan. Cook for 1 minute on each side then transfer to a plate lined with a cloth napkin or think kitchen towel. Keep tortillas covered with the towel or napkin while you work to keep them warm and pliable.
- Repeat with remaining tortillas until all of the dough has been used. Enjoy immediately or cool completely before storing in a covered container for 1-2 days or freezing for longer storage.
*For street taco-size tortillas, use less dough and shape tortillas into 4-inch disks before cooking.
Last Step! Please leave a review and rating letting us know how you liked this recipe! This helps our business thrive so we can continue providing free recipes and high-quality content for you.
Notes
All photos and content are copyright protected. Please do not use our photos without prior written permission. If you wish to republish this recipe, please rewrite the recipe in your own unique words and link back to the source recipe here on The Real Food Dietitians. Thank you!
Nutrition Information
- Serving Size: 2 tortillas
- Calories: 88
- Fat: 1g
- Sodium: 116mg
- Carbohydrate: 18g
- (Fiber: 2g
- Sugar: 1g)
- Protein: 2g
Dietary
This post may contain affiliate links which won’t change your price but will share some commission.
Do you ever flavor them? So many things to do to them.
We do not flavor them.