Any meal is better when you add this beautiful and delicious Gluten-Free Apple Pie with Crumb Topping to the menu. We’ve turned the traditional double-crust apple pie into an easy-to-make, gluten-free Dutch Apple Pie with a quick and easy crumb topping in place of a top crust or lattice topping, both of which can be quite time consuming. With a tender and juicy spiced apple pie filling, harvest flavors, and a flaky homemade, easy, gluten-free pie crust, it’s a heavenly pie to serve at any occasion, from holiday gatherings to homey fall weekends.
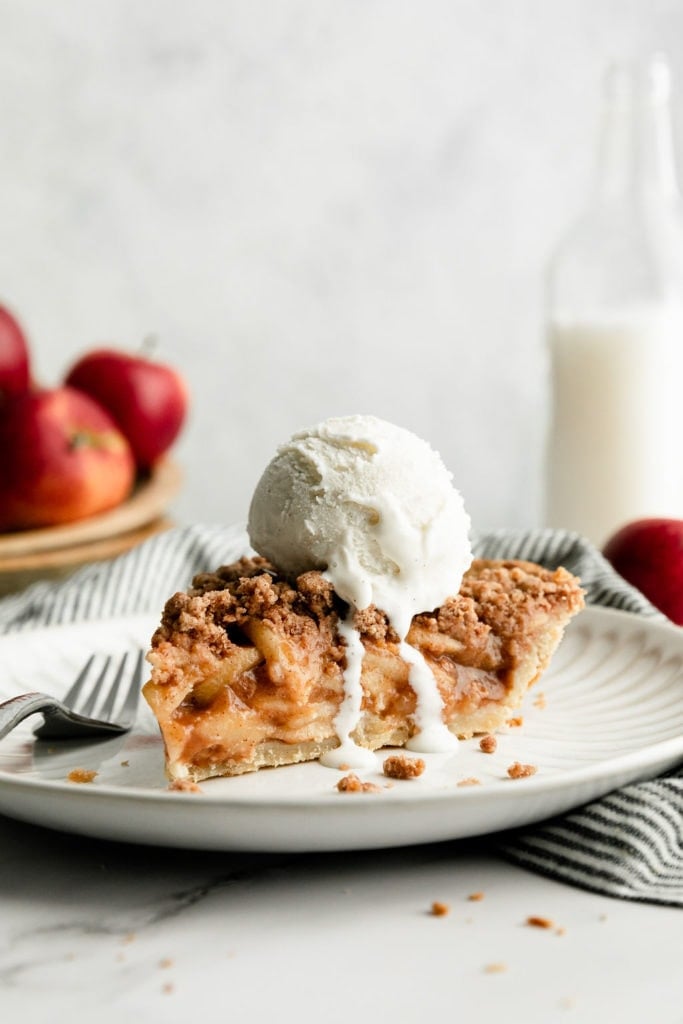
Gluten-Free Apple Pie You will love
We’ve upped the ante on traditional apple pie, making ours gluten-free and with a delicious crumb topping. If you’ve been wanting to make a homemade apple pie but feel a little intimidated to make one from scratch, we’ve simplified the recipe and provide easy-to-follow directions at every step of the way. Break it down into three simple steps: 1) make our Gluten-Free Pie Crust, 2) slice and season the apple pie filling, and 3) mix the easy crumb topping. Think of this as a simple version of a gluten-free Dutch Apple Pie with a healthier-for-you filling.
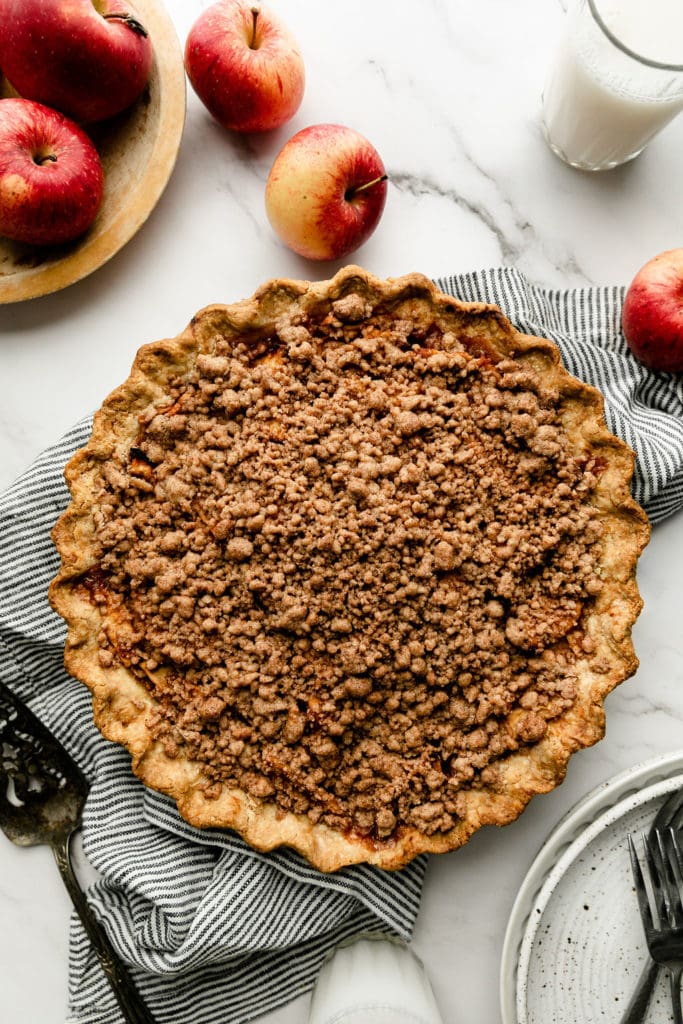
Healthy-for-you apple pie filling
An apple pie filling that has less sugar, fewer ingredients, and is good for you? We’ve taken on the challenge to create an apple pie that has much less sugar than a traditional recipe while maintaining the classic apple pie flavors we all love. Ditch the syrupy canned apple pie filling and instead opt for this delicious fresh filling made with apples, lemon juice, cinnamon, vanilla, and a touch of gluten-free flour to thicken it just right.
How to Make the Best Apple Pie Filling
After making the filling, let it sit in the bowl at room temperature about 30 minutes. This will allow the apples to release their juices, creating a tender, moist, and soon-to-be-thick apple pie filling. During baking, the filling will thicken and caramelize because of the addition of lemon juice and a touch of gluten-free flour (no corn syrup or extra sugar here!).
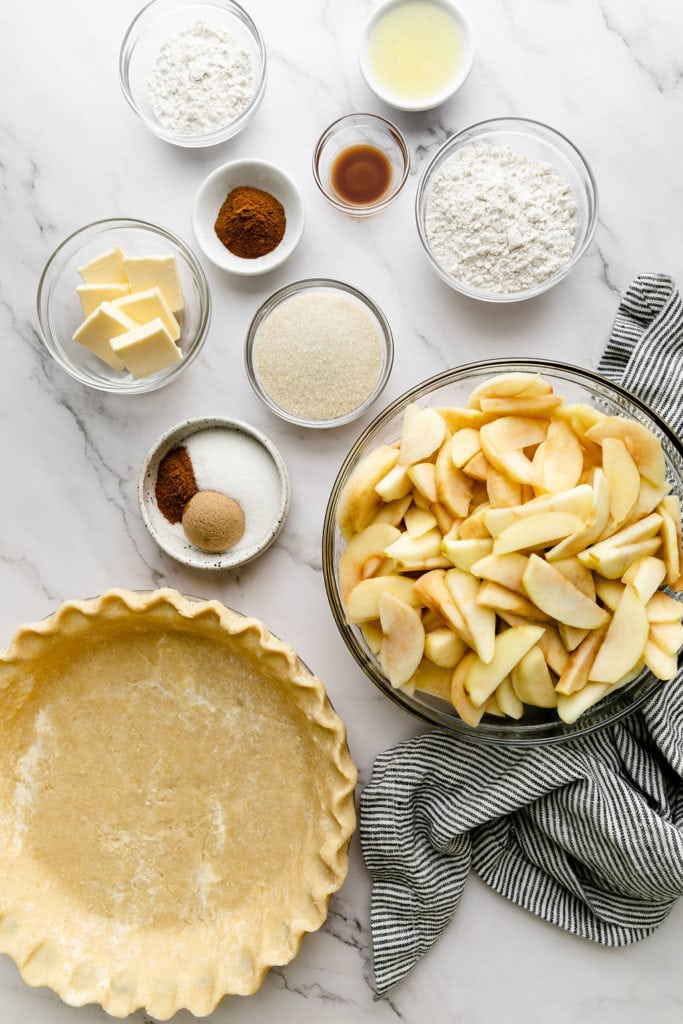
Ingredients for this gluten-free apple pie recipe
You guessed it: you’ll need apples! Gather these other ingredients, too:
- Gluten-Free Pie Crust – use our easy recipe for gluten-free pie crust recipe or use any pie crust recipe, or make it super simple with a store-bought pie crust. In the recipe below, we use an unbaked pie crust, but you can par-bake the pie crust if you’d like a flakier crust.
For the Apple Pie Filling:
- Apples – use your favorite variety of fresh apples, such as Pink Lady, Honeycrisp, or Granny Smith (Granny Smith makes for a more tart apple pie)
- Cinnamon
- Sugar – use cane sugar or coconut sugar
- Vanilla – pure vanilla extract with no added sugars or alcohols
- Gluten-free flour blend – we recommend using Bob’s Red Mill One-to-One Gluten-Free Baking Flour or King Arthur Measure-for-Measure Gluten-Free Flour; you can also use unbleached all-purpose flour if you don’t need apple pie that’s gluten free
- Lemon juice – use fresh squeezed lemon juice (you’ll need one small lemon) or 100% lemon juice from a bottle
For the Crumb Topping:
- Gluten-free flour blend – we recommend using Bob’s Red Mill One-to-One Gluten-Free Baking Flour or King Arthur Measure-for-Measure Gluten-Free Flour; you can also use unbleached all-purpose flour if you don’t need apple pie that’s gluten free
- Cinnamon
- Sugar – use cane sugar or coconut sugar
- Brown sugar – adding a touch of brown sugar here helps the crumb topping caramelize and gives a richer look to your apple pie
- Butter – unsalted butter; for vegan or dairy-free, use plant-based stick butter
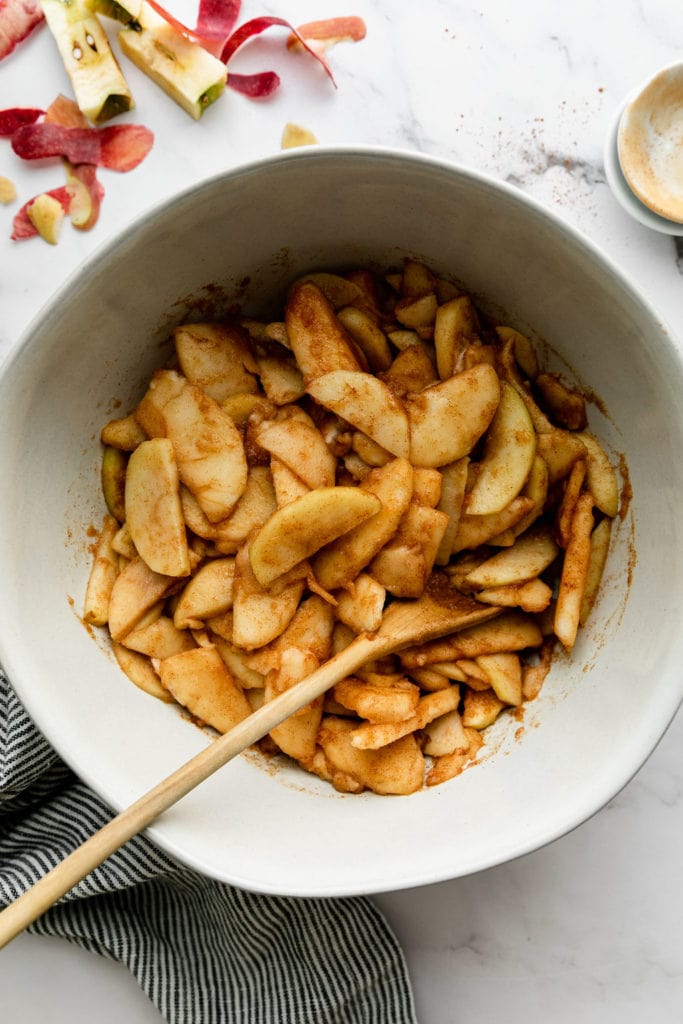
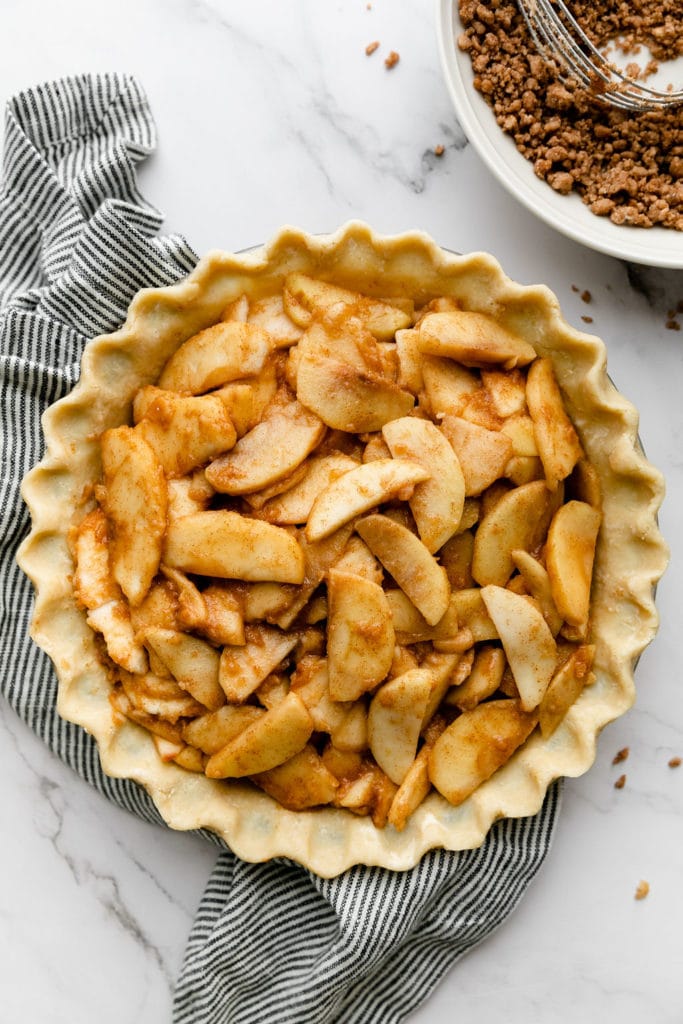
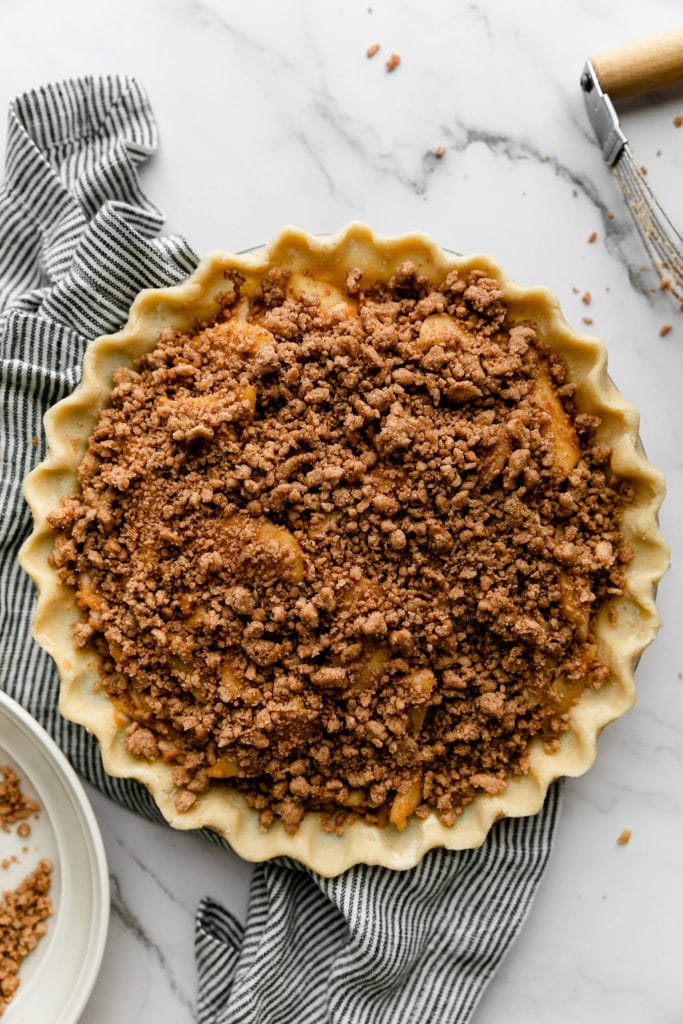
How to make Gluten-Free Apple Pie in 5 Steps
When making a pie, it’s one step at a time. Here’s how to break it down:
- Make a pie crust: We suggest using our tried-and-true Gluten-Free Pie Crust
- Prepare the apple pie filling: Core, peel, and slice the apples. Place apples in a large mixing bowl. Add cinnamon, sugar, vanilla, flour, and lemon juice. Stir to evenly coat the apples. Set aside at room temperature for 20 to 30 minutes.
- Make the crumble topping: In a medium bowl, add the flour, cinnamon, sugars, and cold butter. Using a pastry cutter, cut the butter into the mixture until crumble forms.
- Assemble the pie: With the pie dough in the 9-inch pie plate, next fill the pie with the filling. Spread the apple slices out and top with the crumble mixture.
- Bake: Send your beautiful pie to the oven for 50 minutes or until lightly golden brown. If the dough edge is browning too quickly, cover it with a strip of aluminum foil. Allow the pie to cool partially or completely before slicing.
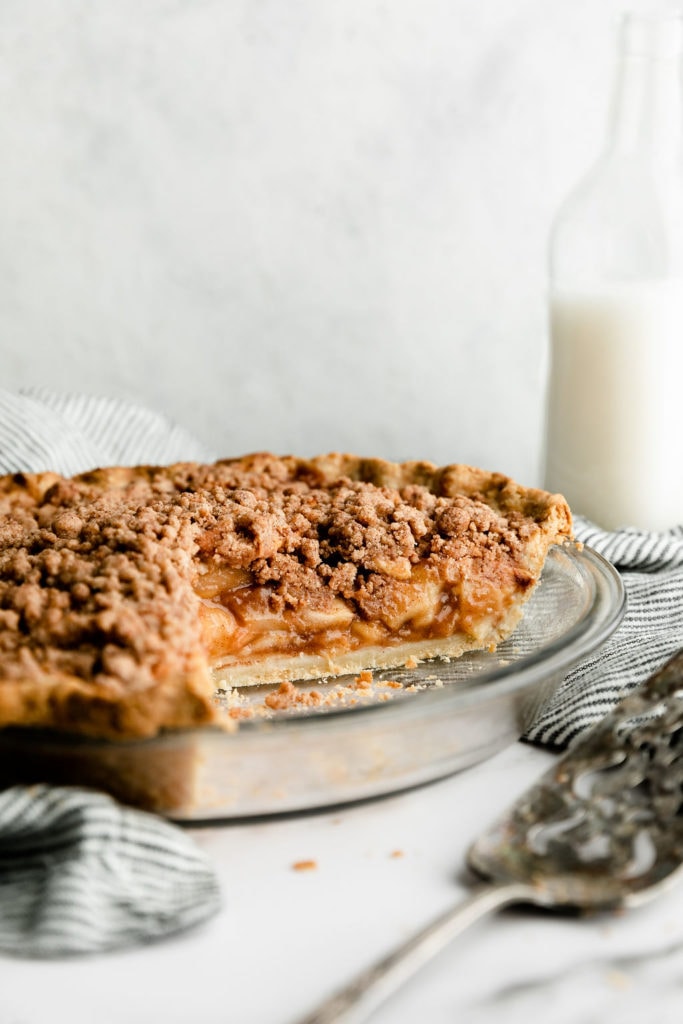
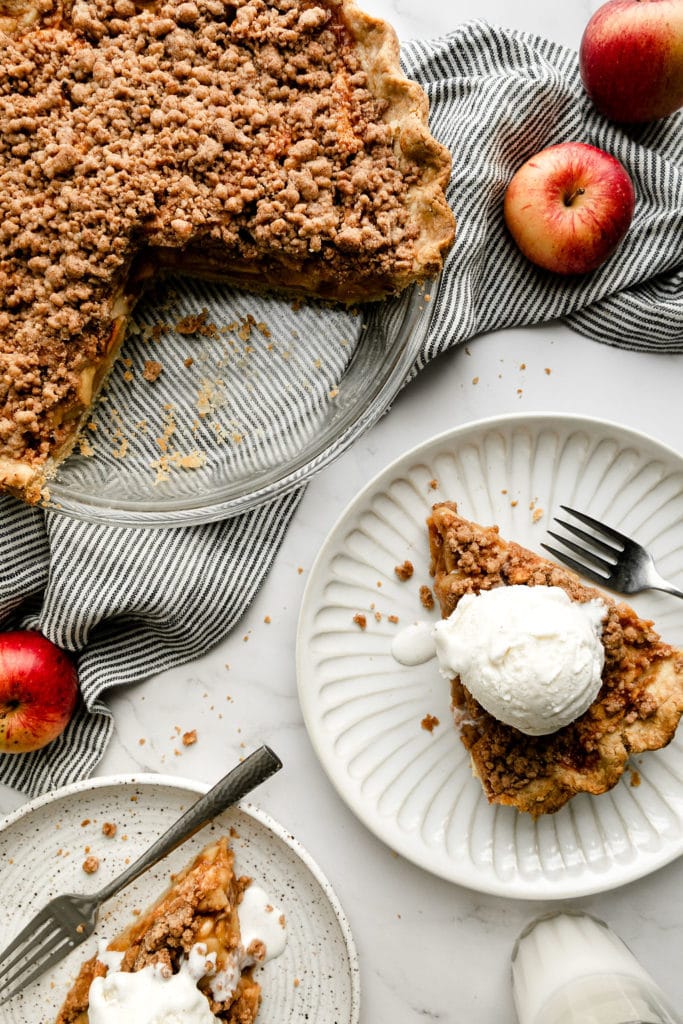
How to serve this apple crumb pie recipe
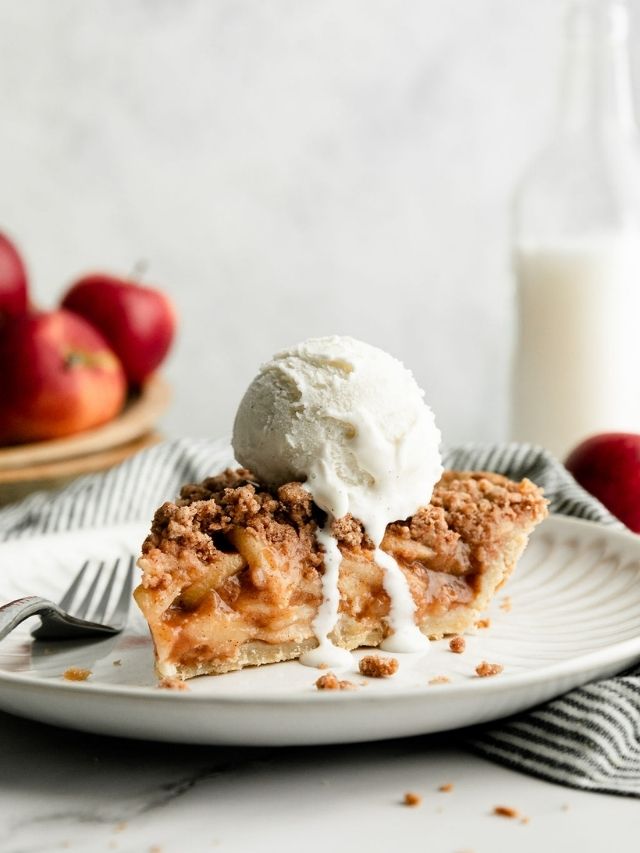
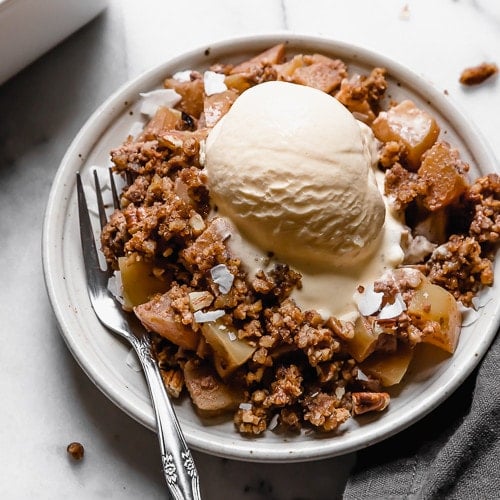
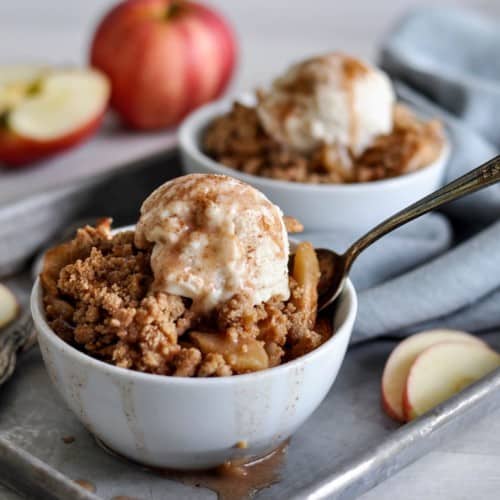
We love to serve this beautiful apple pie still slightly warm. Elevate any dessert experience by adding a scoop of vanilla ice cream (use non-dairy if needed) or whipped cream on top. The crumb topping adds delicious crunch and warming, caramelized flavor. We’re sure you, your family, and friends are going to love each bite!
Can I make this apple pie recipe ahead of time?
We’re all about making life and meals easy here at The Real Food Dietitians, and that includes dessert, too! For a done-for-you meal, you can make this pie up one to two days before you plan to serve it. Store it in the refrigerator and let it come to room temperature about an hour before serving (or even warm it slightly in a 250-degree oven). If you’re following our Done-For-You Thanksgiving Menu, we suggest getting your pie making out of the way early. Make this pie the day before a big gathering then warm it in the oven shortly before it’s time for dessert.
How to Get the Best Flaky Crust
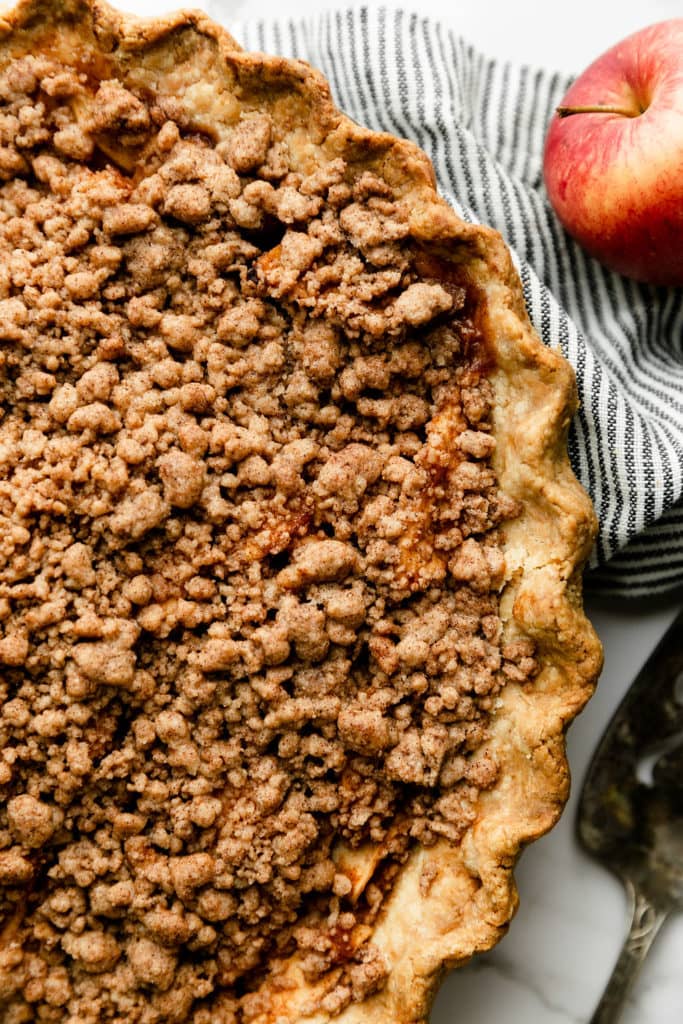
Is there anything better than a buttery flaky pie crust? To achieve the best flaky crust, par bake (pre-bake or blind bake) the pie crust for 15-20 minutes in a 350 degree oven. Let the pie crust cool completely before adding the apple pie filling. Then bake the filled pie for 40-50 minutes, placing a pie shield or strip of aluminum foil over the outer crust edge to prevent it from getting too dark.
How to store this apple crumble pie
Store any leftover pie in a covered container in the fridge for up to 5 days. To reheat, place individual slices in the microwave and heat for 30 second increments until warm to your liking. To reheat the entire pie, place the pie in a preheated 250 degree oven and bake for 15-20 minutes or until heated through.
Want to save this recipe?
Enter your email below & we’ll send it straight to your inbox. Plus you’ll get great new recipes from us every week!
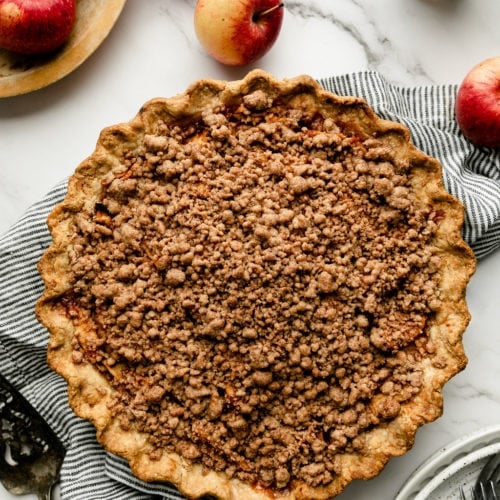
Gluten-Free Apple Pie with Crumb Topping (Easy to Make)
A delicious, easy, homemade, gluten-free apple pie with a buttery and flaky gluten-free pie crust can be yours. Our fresh, spiced filling is made with half the sugar. Get classic apple pie flavors with a crunchy crumb topping.
Ingredients
- 1 unbaked or parbaked pie crust of choice (we suggest our Gluten-Free Pie Crust)
For the Apple Pie Filling
- 8 medium or 5 large apples, cored, peeled, and sliced ¼-inch-thick (8 cups total)
- ⅓ cup cane or coconut sugar
- 3 tablespoons gluten-free flour blend*
- 2 teaspoons ground cinnamon
- 1 teaspoon pure vanilla extract
- 2 tablespoons lemon juice
For the Crumb Topping
- ½ cup gluten-free flour blend*
- 3 tablespoons cane or coconut sugar
- 1 tablespoons brown sugar
- 1 teaspoon ground cinnamon
- 4 tablespoons butter (salted or unsalted), cold and cut into pieces
Instructions
- If not already prepared, make the pie crust. Keep the crust unbaked or parbake it for 15-20 minutes for a flakier crust.
- Preheat the oven to 400℉.
- To make the filling: In a large mixing bowl, place the sliced apples. Add 1/3 cup sugar, 3 tablespoons flour, the cinnamon, vanilla, and lemon juice. Stir until the apples are evenly coated. Set filling aside at room temperature for 20 to 30 minutes.
- To make the crumble: In a medium bowl, combine the 1/2 cup flour, cinnamon, sugar, brown sugar, and cold butter. Using a pastry knife, cut the butter into the mixture until it forms a crumble.
- Transfer the apple slices into the 9-inch pie plate with the unbaked or parbaked crust. Spread the filling out evenly and top with the crumble mixture.
- Bake for 40 to 50 minutes or until lightly golden brown. Note, if your oven runs hot or if you have parbaked the crust, we suggest using a pie shield or placing a strip of aluminum foil over the edge of the crust to prevent it from getting too dark.
- Allow pie to cool partially or completely before slicing.
Last Step! Please leave a review and rating letting us know how you liked this recipe! This helps our business thrive so we can continue providing free recipes and high-quality content for you.
Notes
* For gluten-free flours, we recommend Bob’s Red Mill One-to-One Gluten-Free Baking Flour or King Arthur Measure-for-Measure Gluten-Free Flour. If you don’t need pie that’s gluten free, you can also use regular unbleached all-purpose flour.
Store leftover apple pie in a covered container in the fridge for up to 5 days.
Can prepare and fully bake the apple pie one to two days before serving; let cool to room temperature, then store in the refrigerator. If desired, warm the pie in a 250-degree oven before serving.
Nutrition Information
- Serving Size: 1 slice (1/10 of pie)
- Calories: 281
- Fat: 15 g
- (Sat Fat: 8 g)
- Sodium: 197 mg
- Carbohydrate: 34 g
- (Fiber: 2 g
- Sugar: 17 g)
- Protein: 2 g
- Cholesterol: 43 mg
Dietary
Pin It Now to Make It Later!
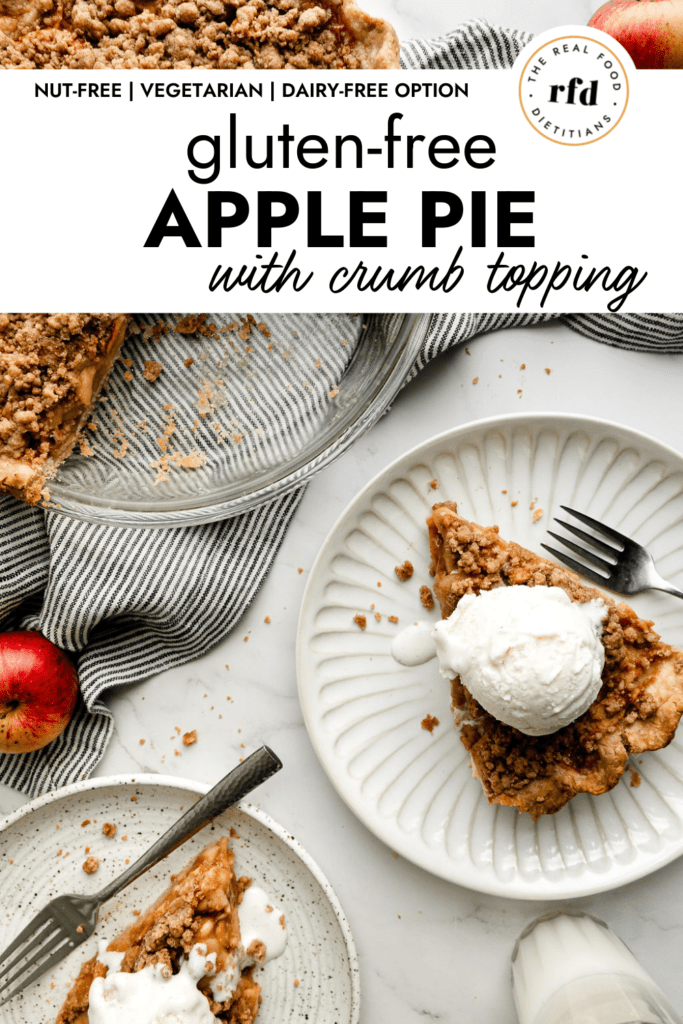
Photo Credit: The photos in this blog post were taken by Rachel Cook of Half Acre House.
All photos and content are copyright protected. Please do not use our photos without prior written permission. If you wish to republish this recipe, please rewrite the recipe in your own unique words. Link back to the source recipe here on The Real Food Dietitians. Thank you!

I love this pie! Can it be frozen? If so, can you please give instructions. Thanks. I love your recipes.
Hi Linda, yes you can freeze this pie either prior to baking or after. If you freeze after assemble, but before baking the pie, add ~10 minutes to the baking time when you bake the pie from frozen, covering the edges with aluminum foil halfway through baking time so they don’t get too dark. If you freeze the fully baked and cooled pie, you can place the frozen pie in the oven and heat until it is bubbly, again covering the edges so they don’t get too dark.
If you freeze the fully baked and cooled pie, you can place the frozen pie in the oven and heat until it is bubbly, again covering the edges so they don’t get too dark.
At what temperature would I reheat the pie? Any idea how long you would bake it to get bubbly thank you.
Bake at 400 degrees, and start checking it around 30 minutes.
Can this pie be assembled a day or two before baking? Love this pie.
Hi Linda! Thank you! Yes, you can prepare the pie a day or two in advance!
Can this pie be assembled a day or two before baking and kept in the refrigerator?
Hi Linda! We’re all about making life and meals easy here at The Real Food Dietitians, and that includes dessert, too! For a done-for-you meal, you can make this pie up one to two days before you plan to serve it. Store it in the refrigerator and let it come to room temperature about an hour before serving (or even warm it slightly in a 250-degree oven). If you’re following our Done-For-You Thanksgiving Menu, we suggest getting your pie making out of the way early. Make this pie the day before a big gathering then warm it in the oven shortly before it’s time for dessert. Enjoy!
Can you use frozen pie crust?
Yes Morgan, will work fine! Enjoy!