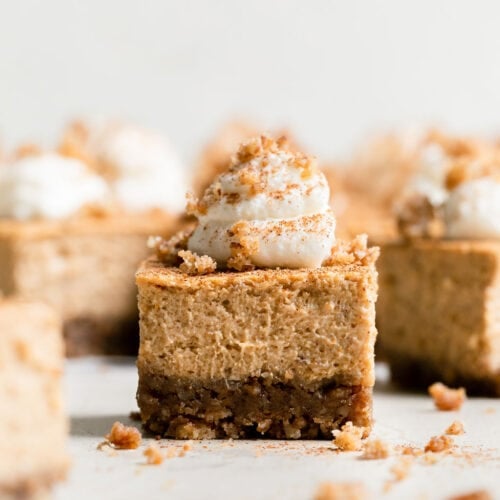
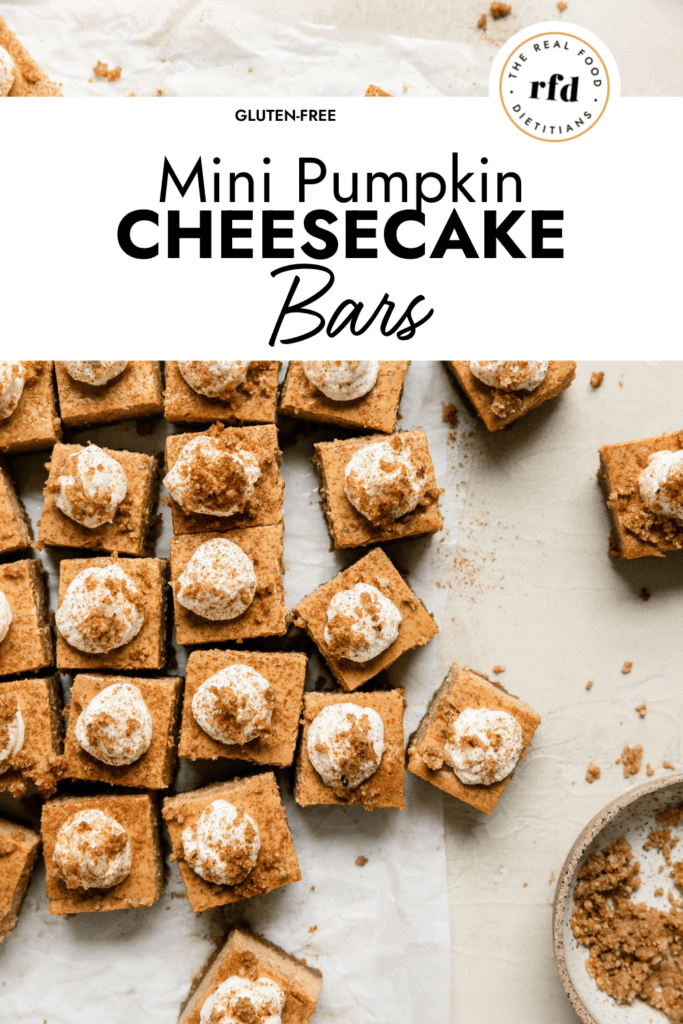
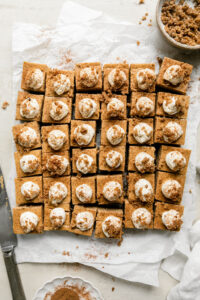
Pumpkin pie meets cheesecake in these adorable and irresistible Mini-Pumpkin Cheesecake Bars. Two popular desserts come together to make a perfect-for-fall treat that you’ll love to share. These easy bars start with a graham cracker pecan crust that gets a luscious layer of pumpkin cheesecake added on top. Baked to perfection and topped with a dollop of maple-syrup infused whipped topping and a sprinkle of the pecan crust mixture. This better-for-you dessert is one you’ll be so glad you made!
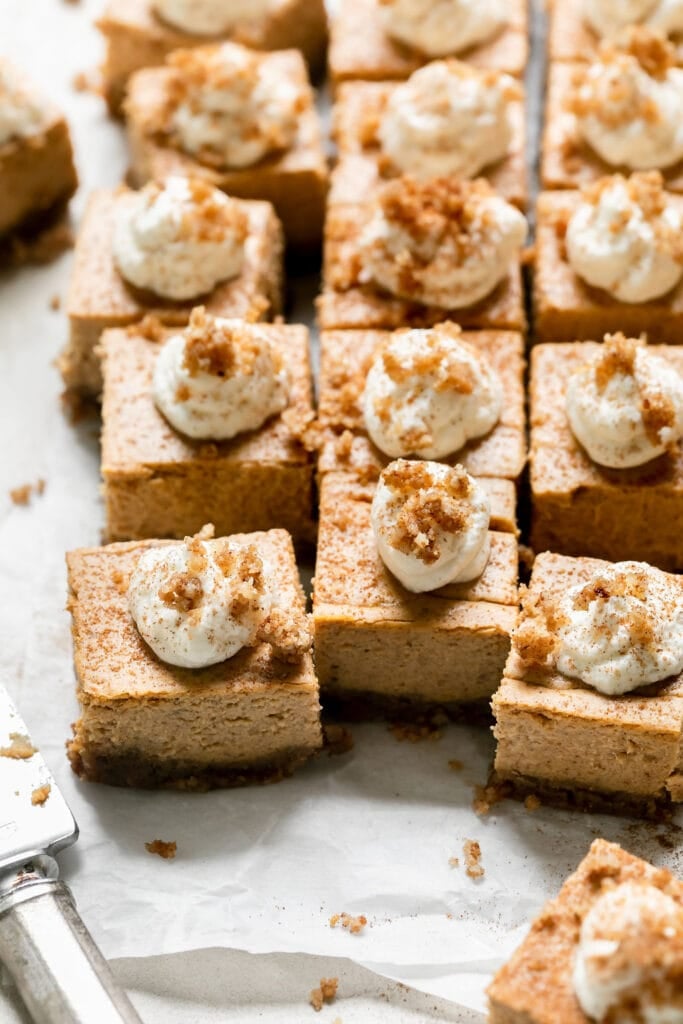
This Pumpkin Cheesecake Recipe is made with Greek Yogurt and less Sugar
The even amounts of cream cheese and Greek yogurt create a creamy texture and the most perfect cheesecake flavor with a nice, subtle tang. With health in mind, we made these pumpkin cheesecake bars with less sugar. These bars are true perfection and have been tested again and again until they were just right to share with you! Best of all, they are freezer-friendly – a nice treat to pull out when you want a little something delicious or to serve guests.
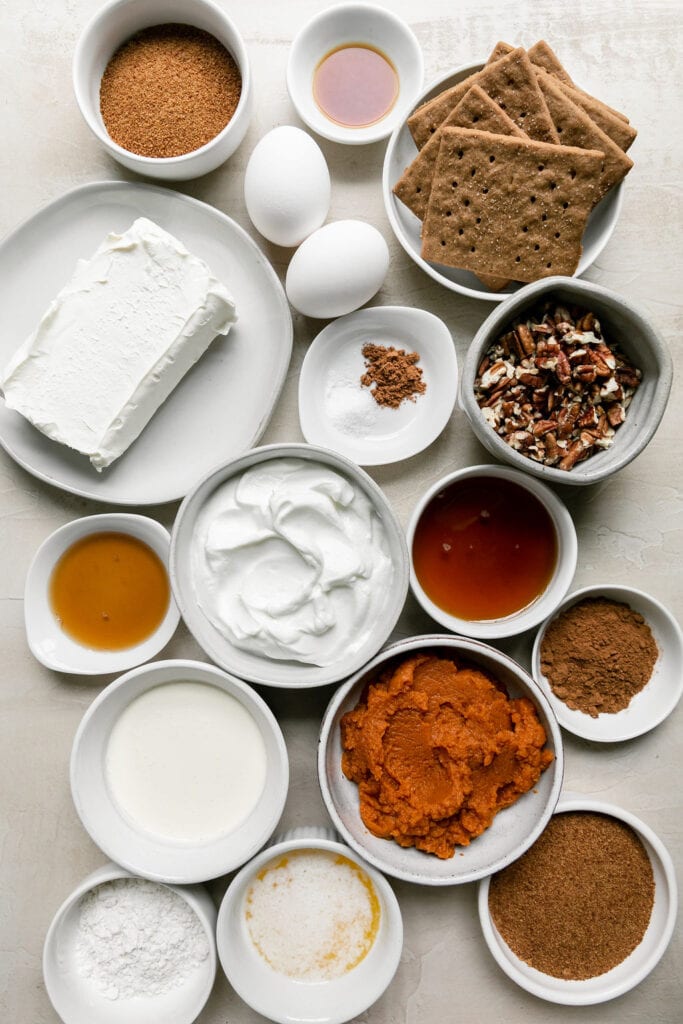
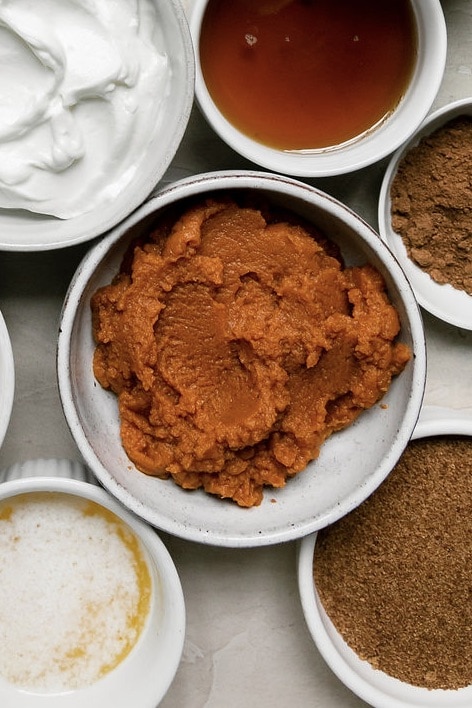
Ingredients You Will Need to Make this Pumpkin Cheesecake Recipe
This recipe is fun to make and the perfect dessert to serve or bring to a fall gathering with friends or family. Here is what you’ll need to make it:
- Graham crackers – use gluten-free if needed such as Pamela’s Graham Crackers.
- Chopped pecans – for a nut-free option, try unsweetened coconut flakes.
- Sugar or coconut sugar – this recipe has been tested with both regular sugar and coconut sugar. Both work great.
- Pumpkin pie spice – the perfect spice blend for fall cooking. Pumpkin spice is made up of a blend of cinnamon, ginger, nutmeg, and cloves. Stock up on spices and seasoning at Thrive Market!
- Pumpkin puree – a pantry staple
- Unsalted butter
- Full-fat plain Greek yogurt – we love the addition of plain Full-fat Greek yogurt in this recipe. A pumpkin-flavored Greek yogurt would also be delicious. For a lighter cheesecake, try 2% or Low-fat Greek yogurt.
- Cream cheese – try Neufchatel, a low-fat version of cream cheese, for a lighter option.
- Eggs – this recipe has not been tested without eggs.
- Pure vanilla extract
- Maple syrup – you can’t beat the flavor that real maple syrup adds to this pumpkin cheesecake recipe. We recommend pure maple syrup for best flavor.
- All-purpose flour – use gluten-free baking flour if needed. We like Bob’s Red Mill 1-to-1 Gluten-free Baking Flour.
- Heavy cream – for the maple-whipped topping which we highly-recommend but for an easy option or if you’re running short on time, you can use store-purchased whipped topping.
Ingredients list with exact measurements can be found in the recipe card below.
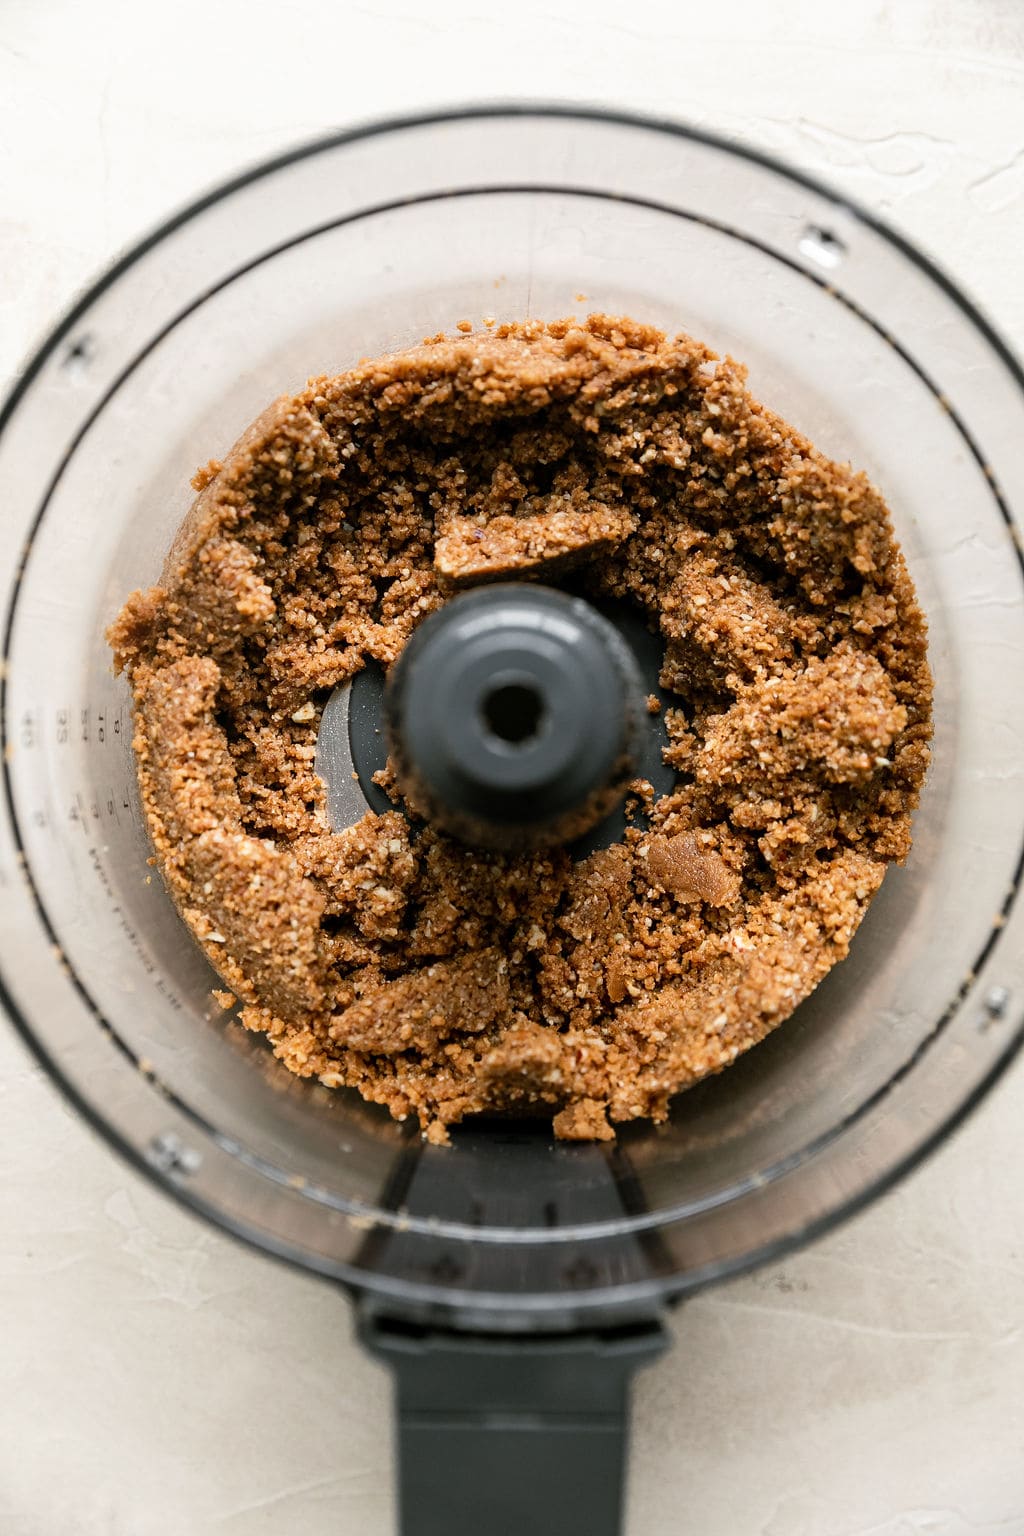
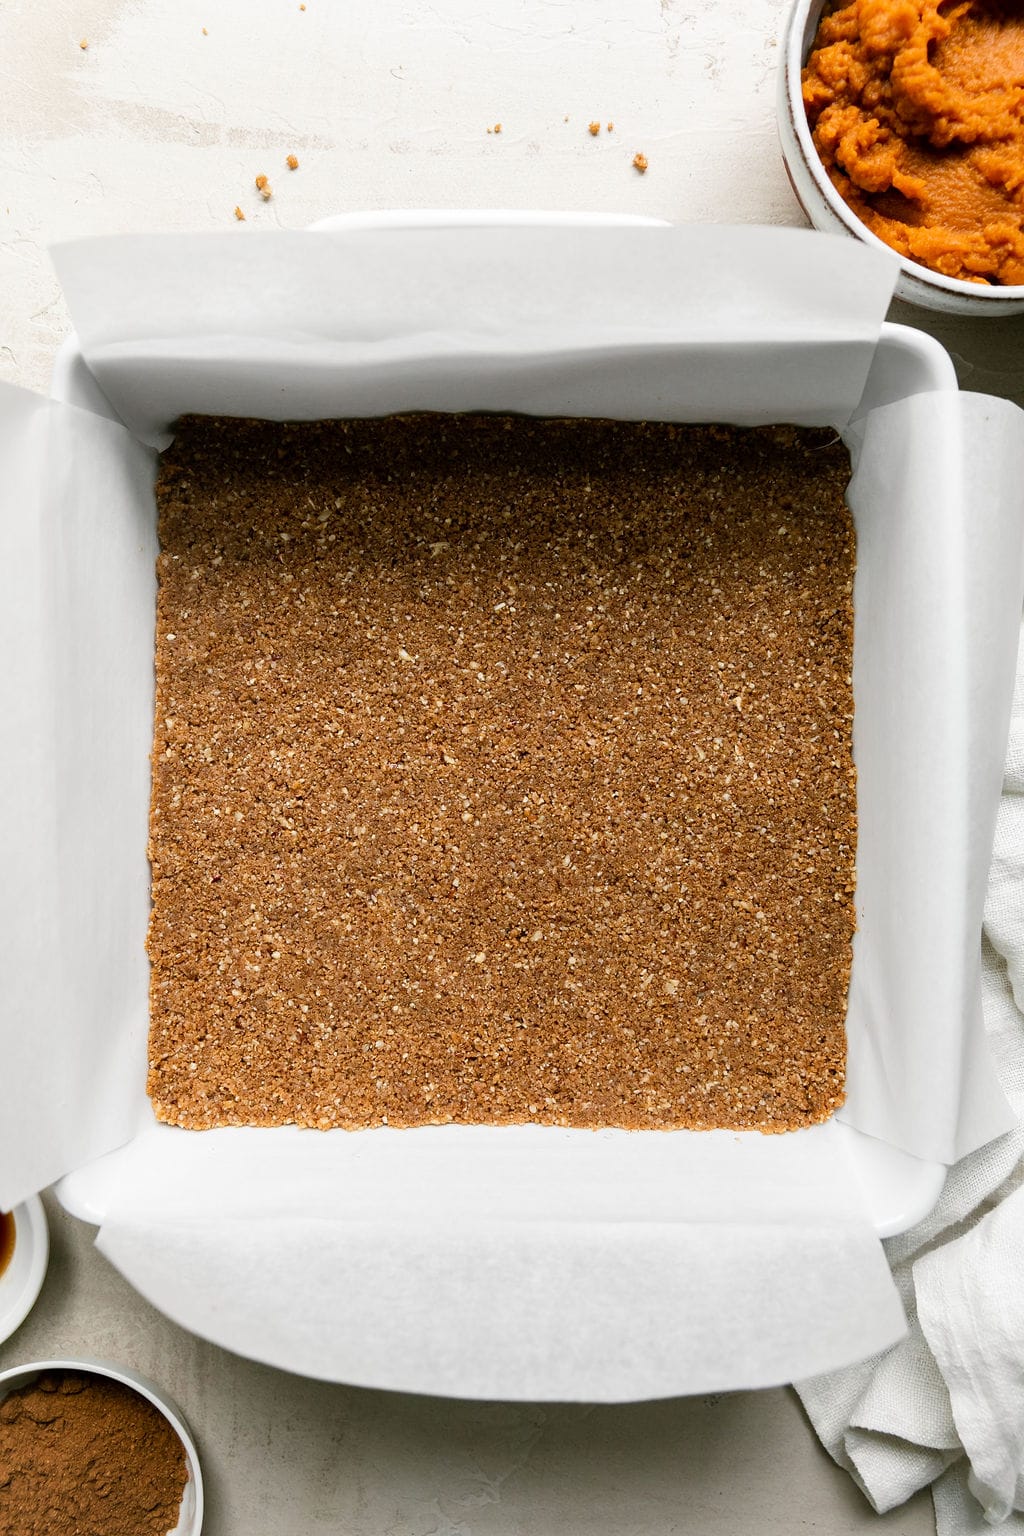
How to make Mini-Pumpkin Cheesecake Bars
There are three components of this recipe. The crust, the filling, and the topping. Here’s how to make this recipe:
- Make the crust: The first step of this recipe is to make the crust. For this step you will need a 9×9-inch baking dish or pan, parchment paper, measuring cups and spoons, and a food processor (or blender). Simply process all of the crust ingredient and press into the prepared 9×9 inch pan. Then bake.
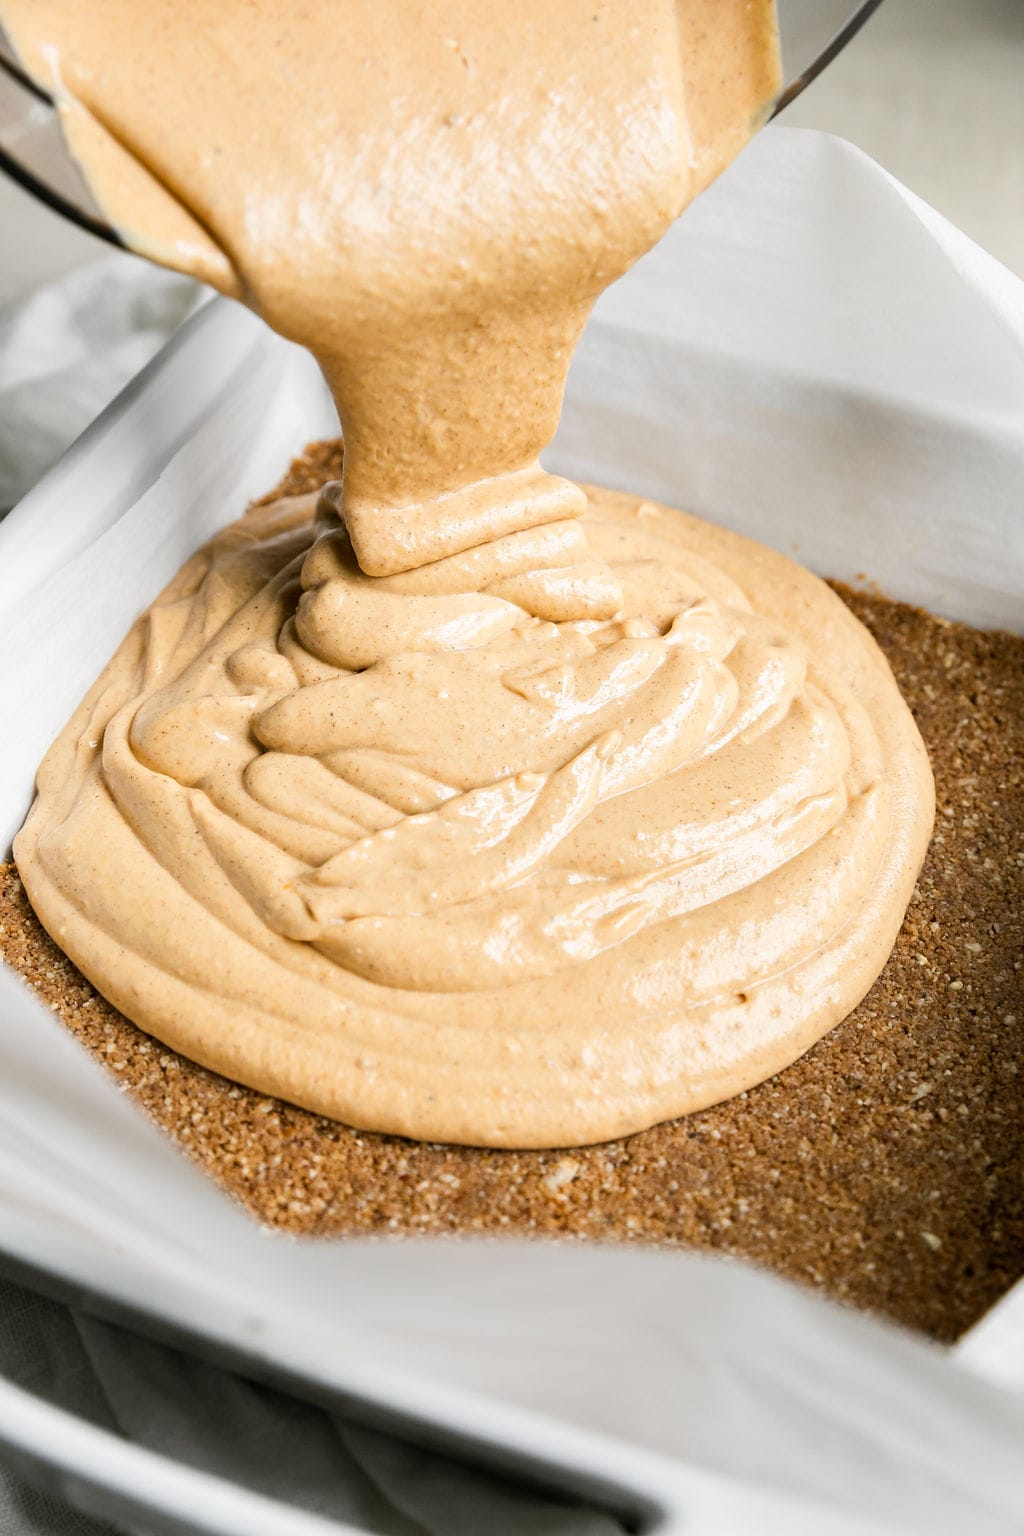
- Make the cheesecake filling: For this step you will need the food processor (or blender) again. Add all of the cheesecake ingredients to the processor and process until smooth. Once made, pour the filling onto the pre-baked crust and spread it out evenly then transfer to the oven to bake. When done baking, cool completely before cutting into bite-size squares.
- Make the homemade whipped topping: With a handheld mixer or stand up mixer, whip the heavy cream. Once whipped add the maple syrup and mix until just combined. Top each bar with a dollop of whipped cream (may use a piping bag for a pretty presentation), a sprinkle of the reserved crust mixture, and a dusting of pumpkin pie spice.
For the complete directions, ingredient amounts, and nutrition analysis that lists calories, protein, carbohydrates, fiber, sugar, sodium per serving, scroll down to the recipe card below.
Yes, This Can Be A Make-Ahead Recipe!
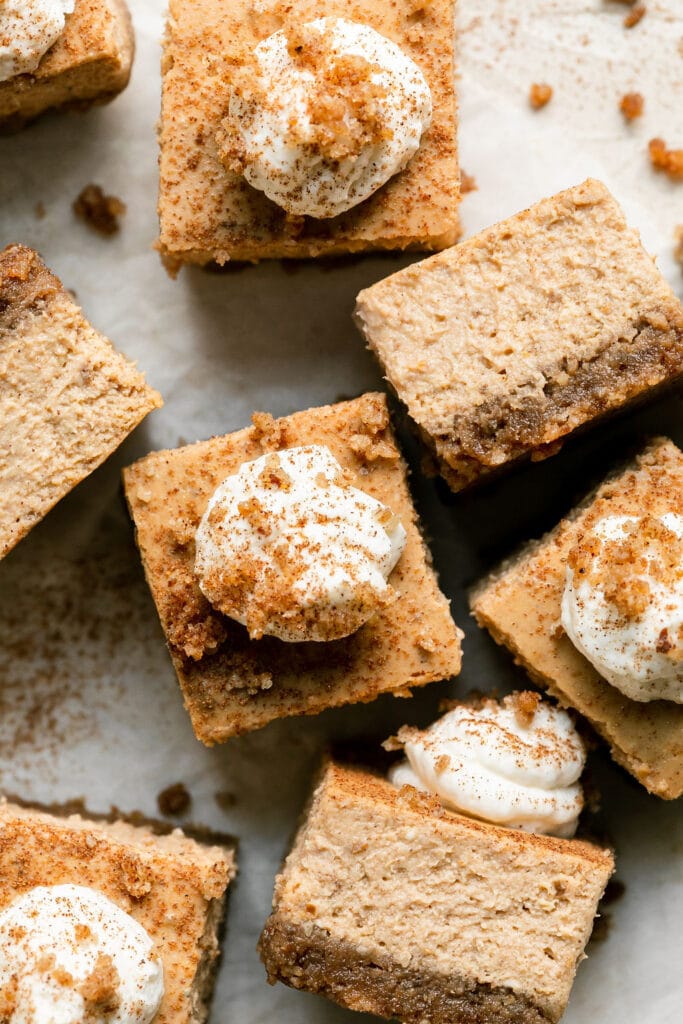
This pumpkin cheesecake recipe can be made ahead! Here is what you can do 1-3 days before you plan to serve the cheesecake to get a jumpstart on this recipe:
- Make and bake the cheesecake start to finish. Allow to cool and then cover it and refrigerate until ready to serve. The pumpkin cheesecake cuts best when cooled so we recommend waiting.
- Pre-prep the topping.
- Make the whipped topping and store in a container or piping bag in the refrigerator.
- When you’re ready to serve, remove the cheesecake from the pan, cut into 36 bites, and place them on a serving platter. Add a dollop of the whipped topping to each square, a sprinkle of the reserved crust crumbs, and a dusting of pumpkin pie spice.
This Recipe is Freezer-Friendly, Too!
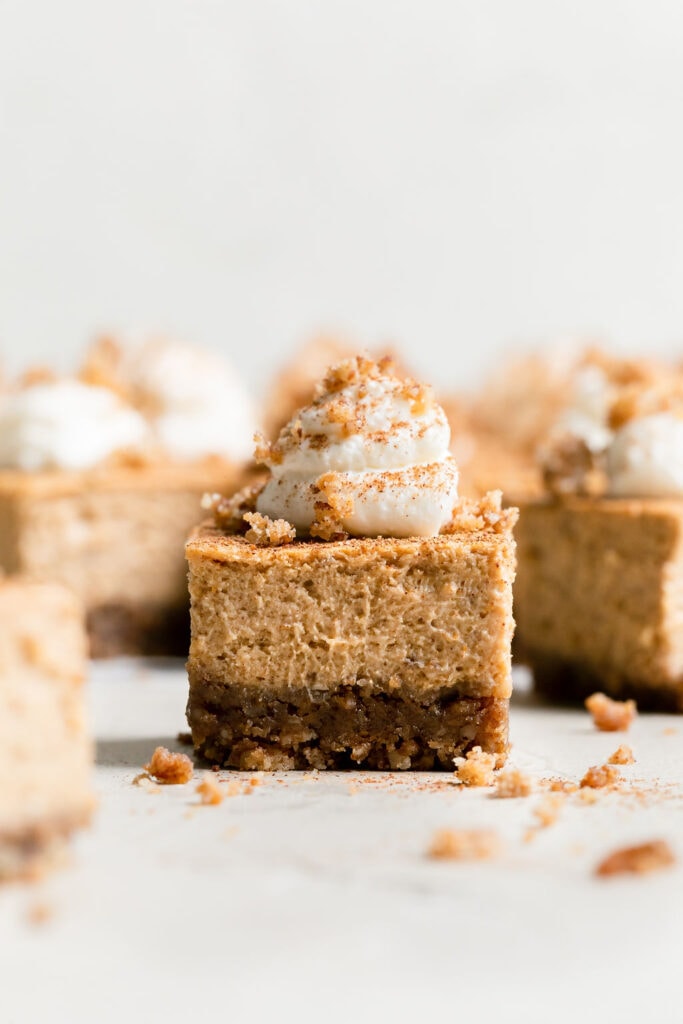
We love a good freezer-friendly recipe! These Pumpkin Cheesecake Bars are a nice treat to pull out when an unexpected guest arrives to your home.
- To freeze: Freeze the bites with the topping or without (whatever works best for you). Freeze them in an airtight storage container for up to 3 months.
- To serve: Remove from the freezer and allow to thaw 12-24 hours before serving. But if they don’t fully thaw, they also are a delicious frozen treat!
Mini-Pumpkin Cheesecake Bars: Frequently Asked Questions
- How do you know when the cheesecake is done? there are a couple of ways you can test for doneness of cheesecake. One way is to use 1 to 2 fingers to touch the center of the cheesecake. Very gently touch the surface of the center of the cheesecake. The cheesecake should be slightly firm to touch. Another way is to jiggle the pan gently, wearing oven mitts, of course. If the cheesecake looks nearly set and only center jiggles slightly, it’s done.
- Can I make this recipe if I don’t have a food processor? yes, you can! A blender also works for making the crust and cheesecake filling.
- What the best way to top the bars with the whipped topping? for the topping, we like to use a piping bag to get the perfect dollop. However, if you don’t have a piping bag you can use a small spoon.
Here’s The Best Way to Cut Cheesecake
To keep the cheesecake bites looking nice, you first want to be sure the cheesecake is fully cooled before cutting into. The best knife to use is one with a non-serrated blade that’s sharp and thin. Lastly, be sure to clean the knife (by dipping it in warm water and/or wiping it with a wet paper towel) between every cut to prevent tearing the cheesecake.
Where to serve Pumpkin Cheesecake Bars
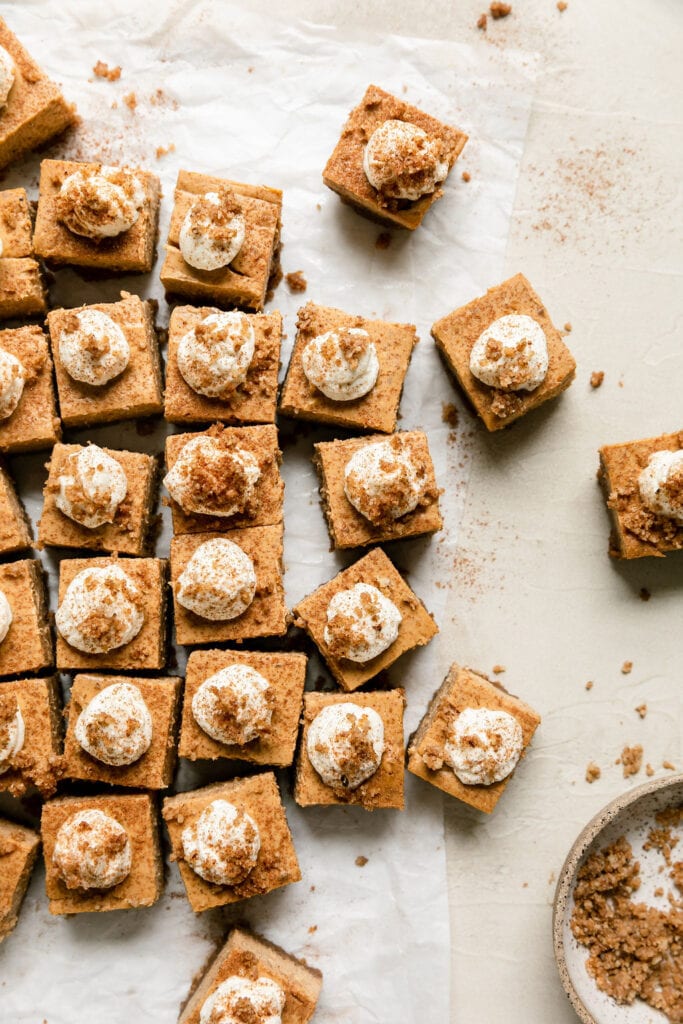
Truly, this is the most perfect dessert for fall. Get ready to be handing out the recipe to anyone and everyone who tries it (Tip: just print some extra copies right now)! And if you’ve landed on this recipe and it’s not fall, we still want you to make this recipe because it’s just too good to pass by. Here are a few occasions that come to mind where we personally will be serving this dessert:
- Autumn gatherings – planning a birthday party? Bridal shower or baby shower? These are all perfect occasions where you could serve and share this bite-sized dessert.
- Thanksgiving – this pumpkin cheesecake recipe will make a delicious addition to your upcoming Thanksgiving menu along with our famous Apple Pie with Crumb Topping.
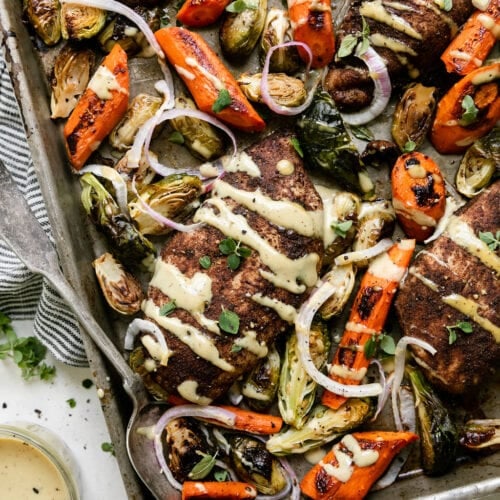
- Dinner with friends – get social and host a dinner party with friends. These pumpkin cheesecake bars will be the star of the show. For the main entree, we recommend making our One-Pan Pork Loin with Brussels and Apples.
Want to save this recipe?
Enter your email below & we’ll send it straight to your inbox. Plus you’ll get great new recipes from us every week!
Mini-Pumpkin Cheesecake Bars (made with Greek Yogurt)
Here’s an irresistible dessert that’s prefect for fall. Mini-Pumpkin Cheesecake Bars come together with a yummy graham cracker-pecan crust, a luscious layer of pumpkin cheesecake, and a dollop of maple syrup-infused whipped topping. It’s a dessert that will impress! This pumpkin cheesecake recipe is made with Greek yogurt and less sugar.
Ingredients
For the Crust:
- 9 graham cracker sheets (use gluten-free if needed)
- ½ cup chopped pecans
- 3 tablespoons cane sugar or coconut sugar
- ¼ teaspoon pumpkin pie spice
- ¼ teaspoon fine salt
- ¼ cup unsalted butter, melted
For the Cheesecake:
- 1 cup full-fat plain Greek yogurt
- 8 ounces cream cheese, softened at room temperature
- ¾ cup canned pumpkin puree
- 2 large eggs
- 1 teaspoon pure vanilla extract
- ⅓ cup cane sugar or coconut sugar
- 3 tablespoons pure maple syrup
- 2 tablespoons all-purpose flour (use gluten-free baking flour, if needed)
- 2 teaspoons pumpkin pie spice
For the Maple Whipped Topping:
- ½ cup heavy cream
- 2 teaspoons pure maple syrup
- Optional for topping: reserve 2 tablespoons of the crust mixture to sprinkle over the whipped topping, and a dash of pumpkin pie spice
Instructions
For the crust:
- Preheat the oven to 325 degrees F. Line a 9×9 inch pan with parchment paper making sure there is enough excess that hangs over the edge for easy removal.
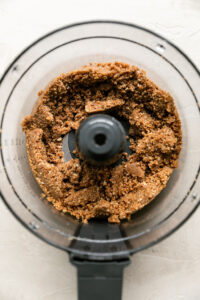
- In a large food processor or blender, add the graham crackers and process them into fine crumbs. Next add the pecans, sugar, pumpkin pie spice, salt, and melted butter. Continue to process until everything comes together.
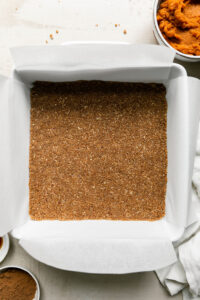
- Remove 2 tablespoons of the crust mixture and set aside to reserve for a topping. Then transfer the remaining mixture to the prepared pan and spread it out evenly. garnish Then, using clean hands, press the crust mixture firmly into the prepared pan.
- Bake the crust until golden brown, 8-10 minutes. When the crust is done, remove from the oven and set aside.
For the cheesecake filling:
- While the crust is baking, make the cheesecake filling. In the same food processor (wiped out) or a blender, add the yogurt, softened cream cheese, pumpkin puree, eggs, vanilla, sugar, maple syrup, flour, and pumpkin pie spice. Process until smooth.
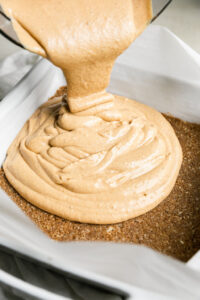
- Pour the filling onto the pre-baked crust and spread it out evenly.
- Bake for 40-50 minutes or until the center is slightly firm to the touch. (Note: Baking time will depend on dish or pan used. Start checking at 40 minutes, and continue as needed.) When done, remove the cheesecake from the oven and place on a cooling rack. Allow the cheesecake to cool completely in the pan for 2-3 hours, then transfer to the fridge to chill. If making ahead, after the cheesecake comes to room temperature, you can store it in the refrigerator until ready to serve.
- Once the cheesecake is chilled, remove it from the pan by grabbing the parchment paper edges and lifting up. With a sharp, non-serrated knife, cut the cheesecake into 36 squares (6 x 6 rows). Clean the knife between each cut to prevent tearing the cheesecake.
For the maple whipped topping:
- In a small bowl, add the heavy cream. Using a handheld mixer (or stand up mixer), whip the cream for 2-3 minutes until peaks form and it stiffens. Drizzle in the maple syrup and mix until just combined.
To serve:
- Top each bar with a dollop of whipped cream (or use a piping bag for a polished presentation). Garnish the whipped cream with a sprinkle of the reserved crust mixture and a light dusting of pumpkin pie spice.
Last Step! Please leave a review and rating letting us know how you liked this recipe! This helps our business thrive so we can continue providing free recipes and high-quality content for you.
Notes
To freeze: Whether you freeze the bites with whipped topping already added or without, we recommend storing them in a single layer in airtight storage container for up to 3 months. To serve, remove from the freezer and allow to thaw in the refrigerator. However, thawing isn’t necessary as these can also be served as a delicious frozen treat!
Tip: To keep the cheesecake bites looking nice you want to be sure the cheesecake is fully cooled before cutting into it. The best knife to use is one with a non-serrated blade that’s sharp and thin. Lastly, be sure to clean the knife between each cut to remove any bits of cheesecake that could interfere with getting a clean cut.
Nutrition Information
- Serving Size: 1 square
- Calories: 100
- Fat: 7 g
- (Sat Fat: 3 g)
- Sodium: 60 mg
- Carbohydrate: 9 g
- (Fiber: 0 g
- Sugar: 6 g)
- Protein: 2 g
- Cholesterol: 25 mg
Dietary
Pin It now to make It later
For ultimate success, we highly recommend reading the tips in the full blog post above. All photos and content are copyright protected. Please do not use our photos without prior written permission. If you wish to republish a recipe, please rewrite the recipe in your own unique words. Link back to the source recipe here on The Real Food Dietitians. Thank you!
The photos in this blog post were taken by Rachel Cook of Half Acre House.
5+ for great recipe instructions, easy to make, pecan crust ( adds so much!) and even great cutting instructions. I didn’t have whipping cream and used sour cream with the maple syrup to spread on top in the last 5 min of baking. This will be made again.
Yay! We’re so glad you loved this one and will be making it again. Thank you for the feedback and 5-star rating, Paula!
I only have 8×8 or 9×13 pan, what would you recommend using and how would you change the recipe?
You can use an 8×8 pan. That will work just fine!
These look delicious! Can you replace the pecans in the crust with something else?
Hi Melissa, in place of the pecans in the crust, we would suggest trying walnuts or almonds. But you could try any favorite nut or pumpkin seeds.
You all outdid yourself with this recipe, it’s to die for! My husband said this is in the top 3 desserts I’ve ever made. This recipe couldn’t be easier and wow, the flavors blew me away. It’s definitely impossible to eat just one little square!! Highly recommend!
This is so great to hear! Thank you so much for leaving a 5-star rating and review!
This really is the perfect fall recipe. Easy to make and turned out perfectly! These pumpkin cheesecake bites will be making an appearance on Thanksgiving!
We’re so honored to be part of your holiday spread this year!
Delicious and very easy!