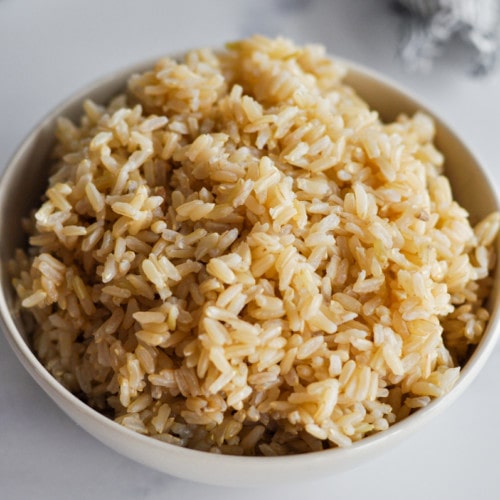
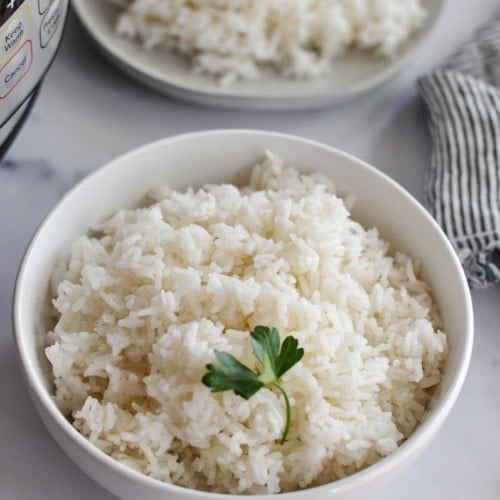
Turn to your Instant Pot to make fool-proof, just-right-every-time brown rice that is tender and perfectly cooked. When you learn how easy it is to make Instant Pot Brown Rice, you’ll use this method every time. No stuck-on-the-pan rice, no watching to make sure the pot doesn’t boil over, no chewy under-done grains. Just perfect brown rice from the Instant Pot that makes an easy, nutritious side dish.
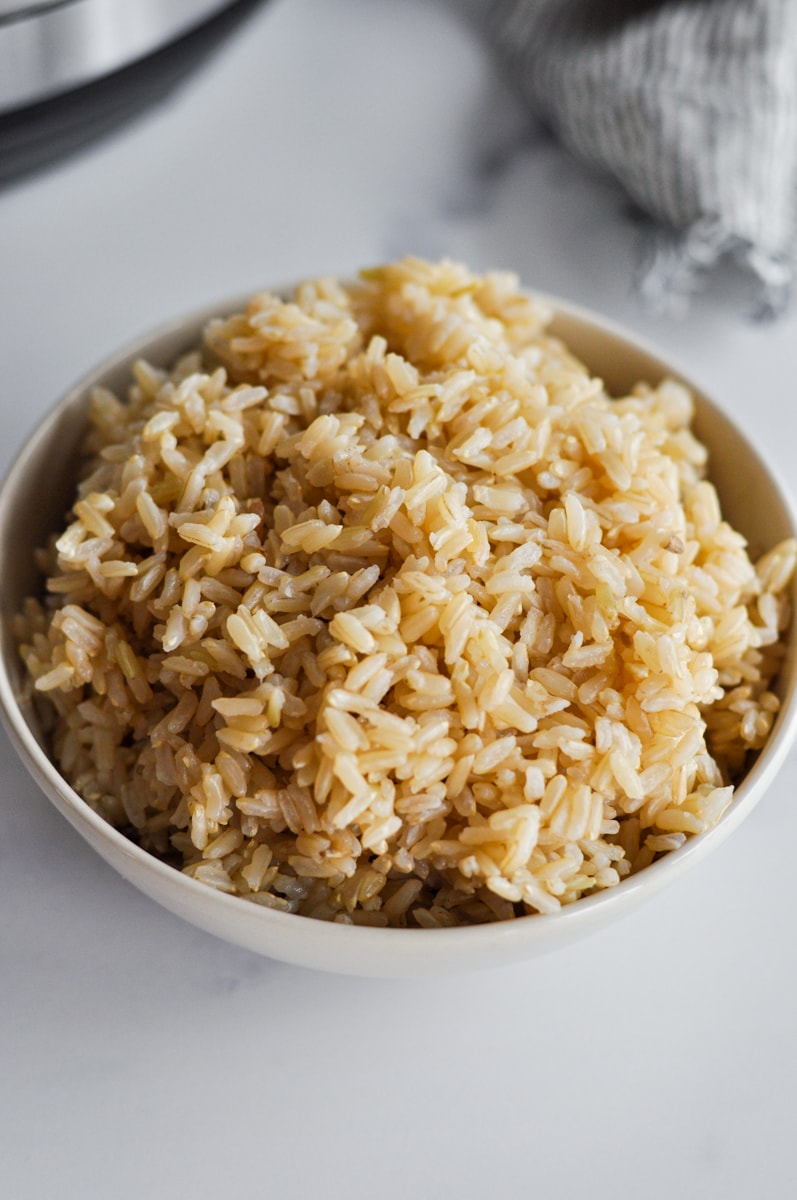
Instant Pot Brown Rice cooked perfectly Every Time
Wondering how you can make brown rice in the Instant Pot? We love to cook brown rice as a perfect whole-grain side dish to add many meals. What we don’t love is taking up space on our stovetop to do so, or brown rice that is under-cooked or too mushy. That’s why we turned to our Instant Pot to cook brown rice (after all, the Instant Pot is really a built-in rice cooker) so we can just dump the ingredients in, seal the lid, and set the timer. This method allows us to focus on other dinnertime tasks while the Instant Pot cooks perfectly tender brown rice every time.
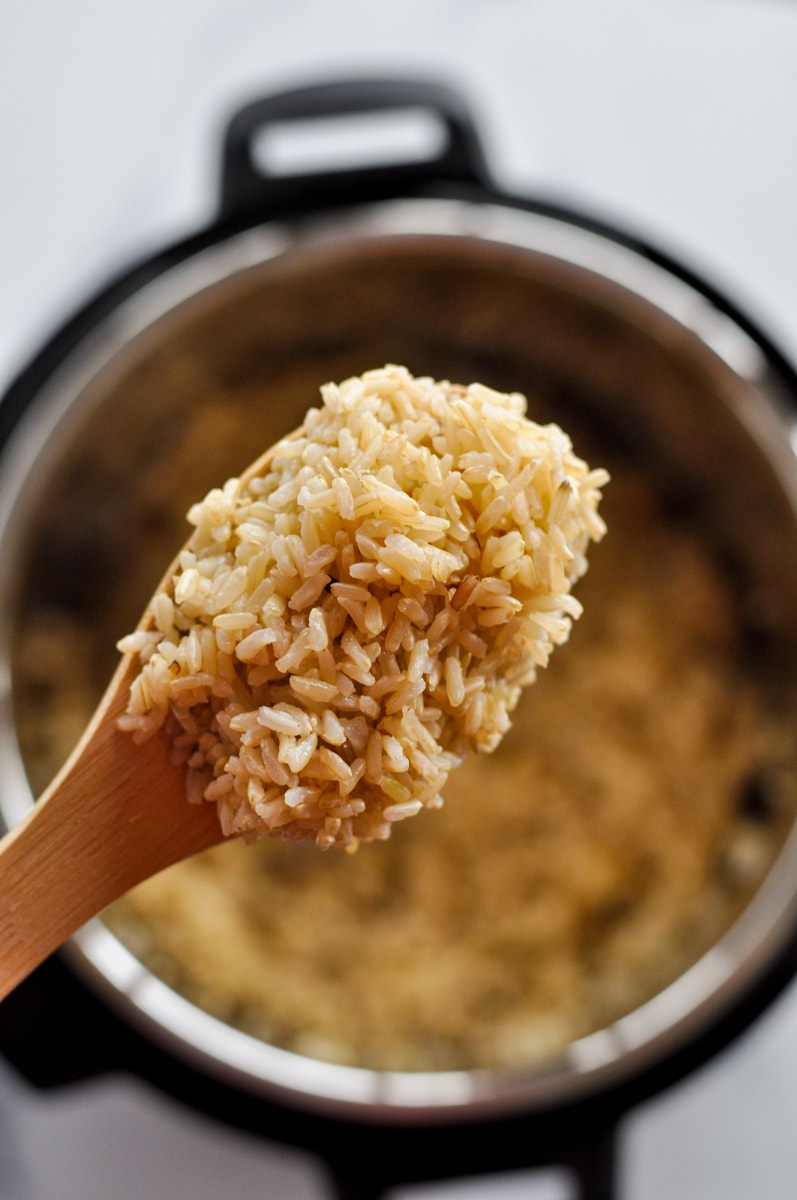
what you need to make instant pot brown rice
Anyone can cook brown rice in the Instant Pot once they know the right ratio of rice to water plus the correct cooking time. We’ve listed all the information here for you so you can make it just right every time.
To make light and fluffy brown rice in the Instant Pot, you will need:
- Uncooked brown rice
- Water
It’s really as simple as that. Some recipes will call for added oil or salt in the Instant Pot, but you don’t need those. If you’d like to flavor the brown rice with seasonings, butter, ghee, or oil, do that after the rice is done cooking in the Instant Pot.
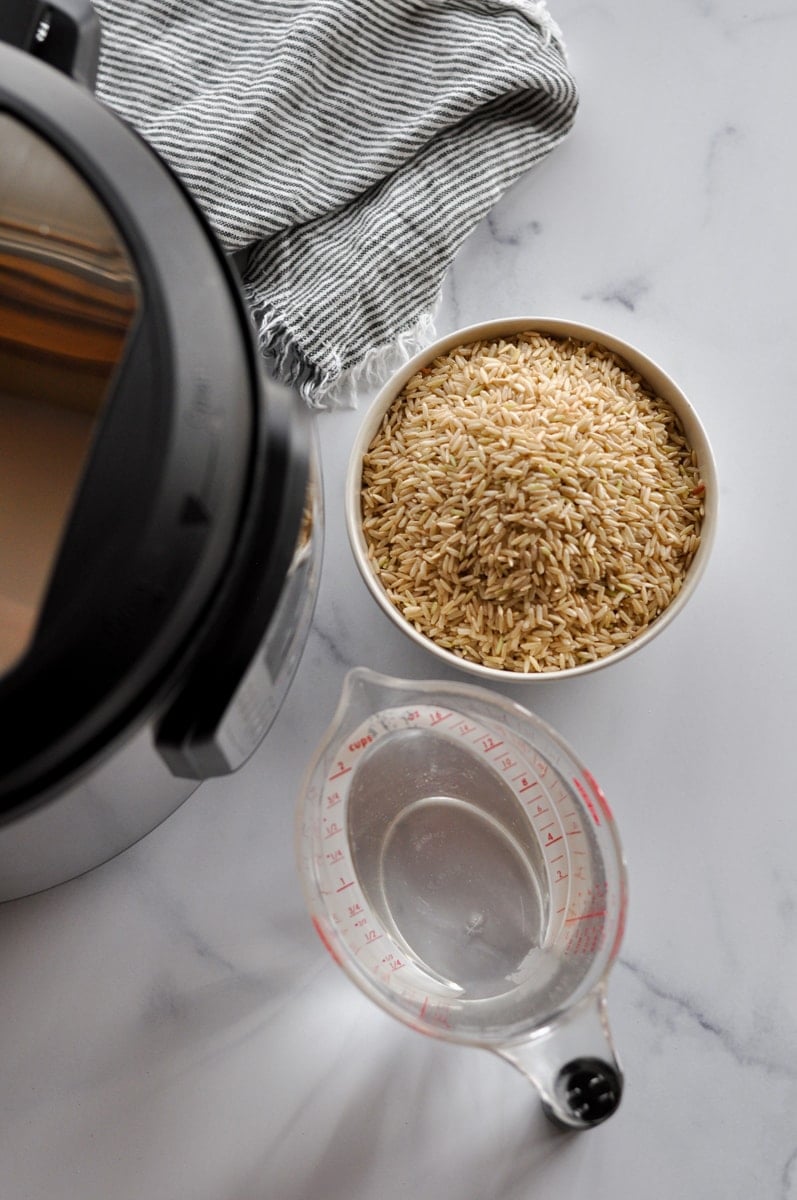
How to make instant pot brown rice: Step-by-step photo tutorial
Follow these 6 steps to cook perfectly fluffy brown rice in Instant Pot. Each of these steps matches up with the step shown in the six photos below.
- Rinse the brown rice in a fine-mesh strainer under running water. This removes impurities and starch that can make the rice clump together.
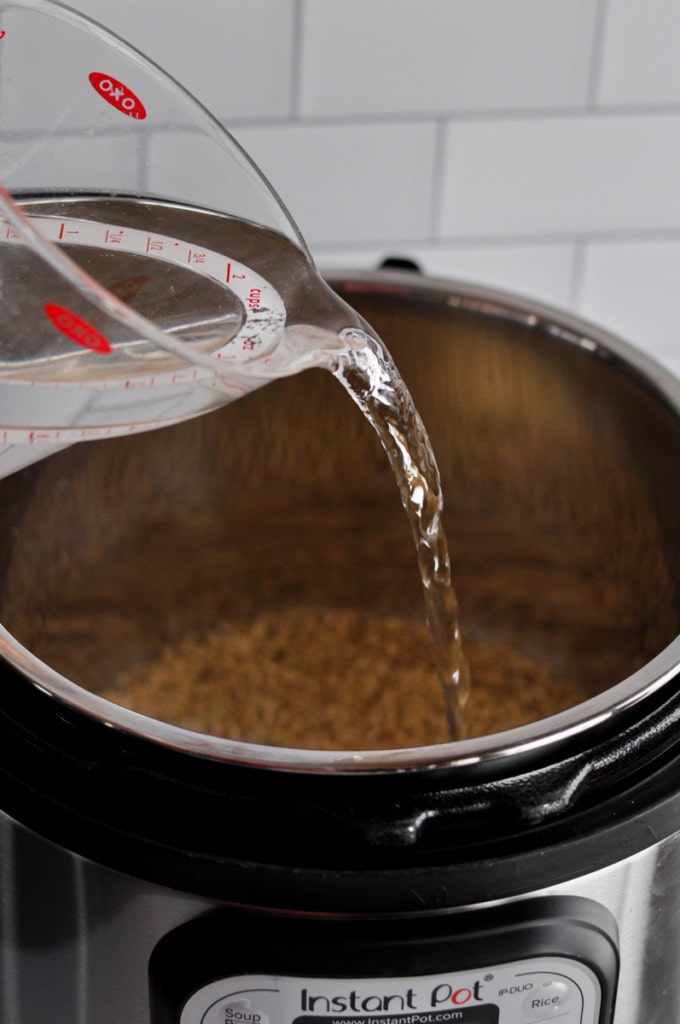
- Add the rinsed rice and water to the Instant Pot and give it a stir.
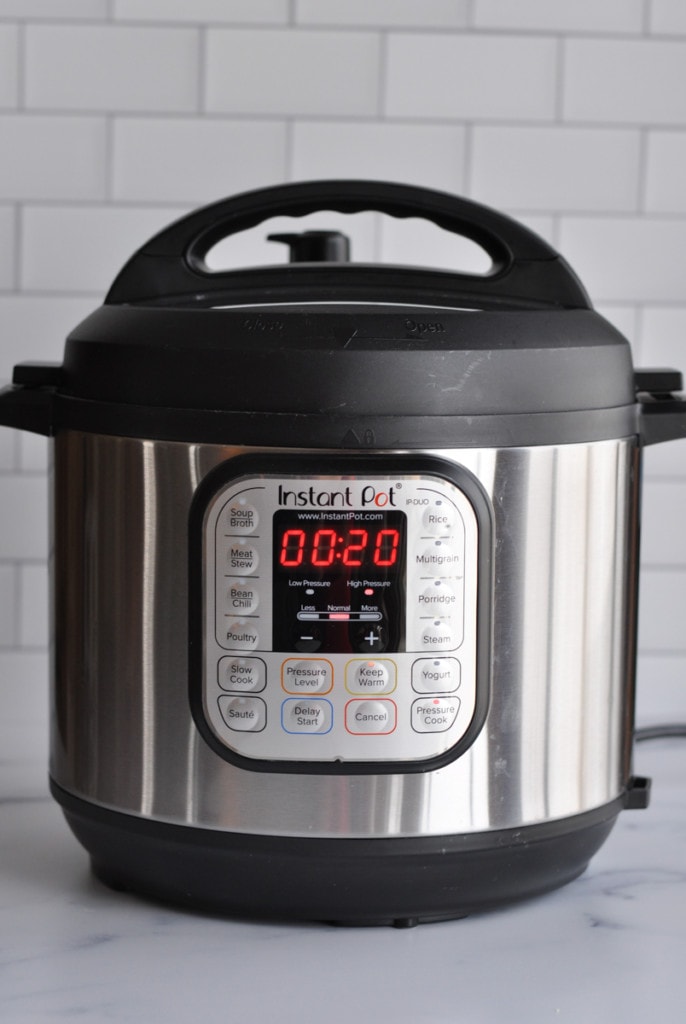
- Close and lock the lid. Make sure the release valve is turned to the “sealed” position. Press the “Pressure Cook” or “Manual” button and then set to 20 minutes of pressure cooking time. It will take a few minutes for the Instant Pot to build up pressure, and once pressure cooking starts the timer will start counting down.
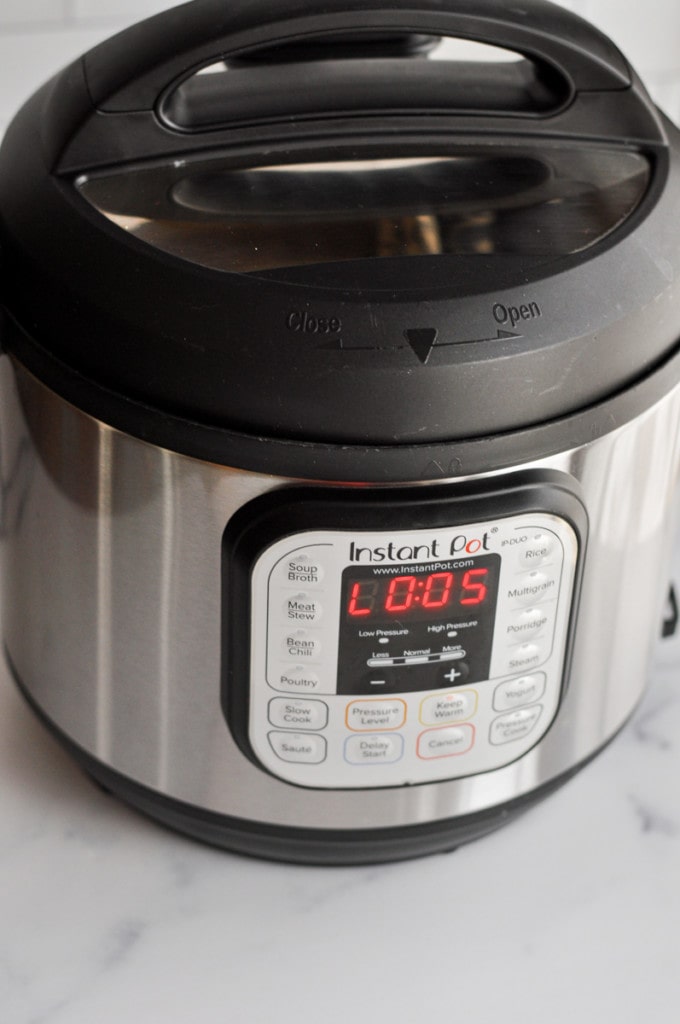
- When the 20 minutes is up, allow the rice to remain in the Instant Pot with lid closed as the setting automatically switches over to “Keep Warm” warm and starts counting up. Let it sit this way until the timer counts up to 3 to 5 minutes.
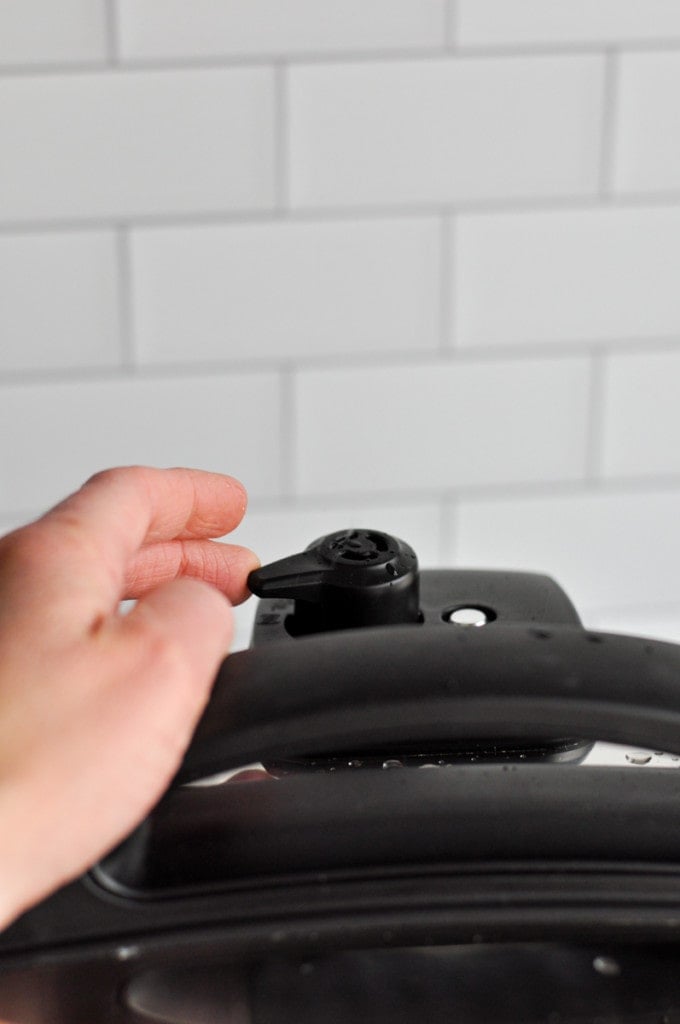
- After 3 to 5 minutes, press “Cancel” and position the steam release valve on the lid to the “Venting” position to release any remaining steam.
- Open the lid and fluff the brown rice. Serve the brown rice as is, or season it with butter, ghee, oil, and/or seasonings if you’d like.
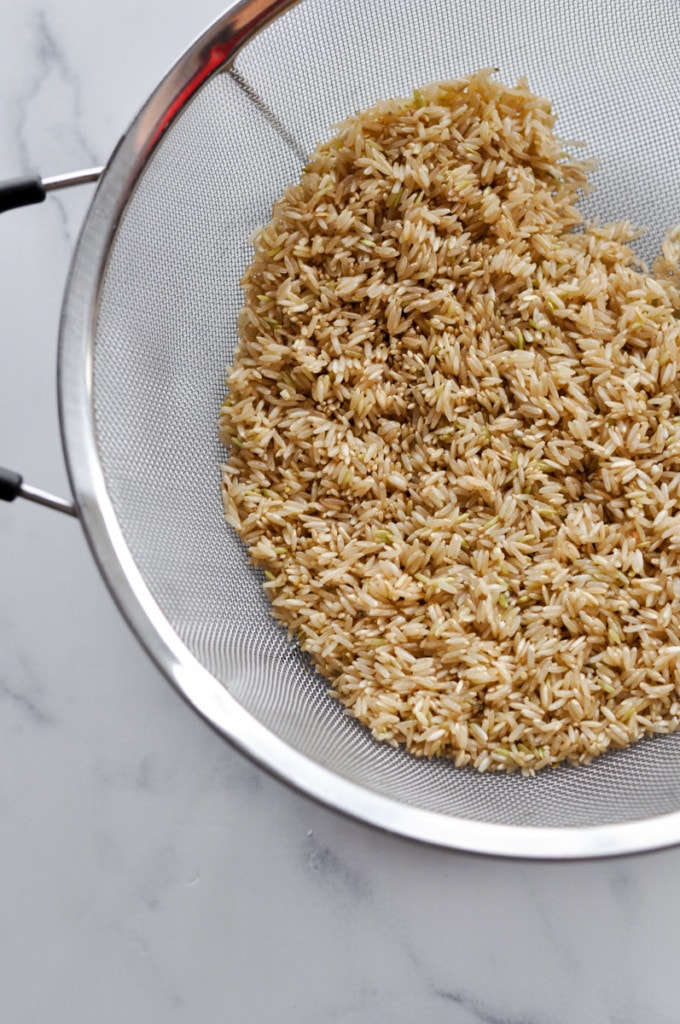
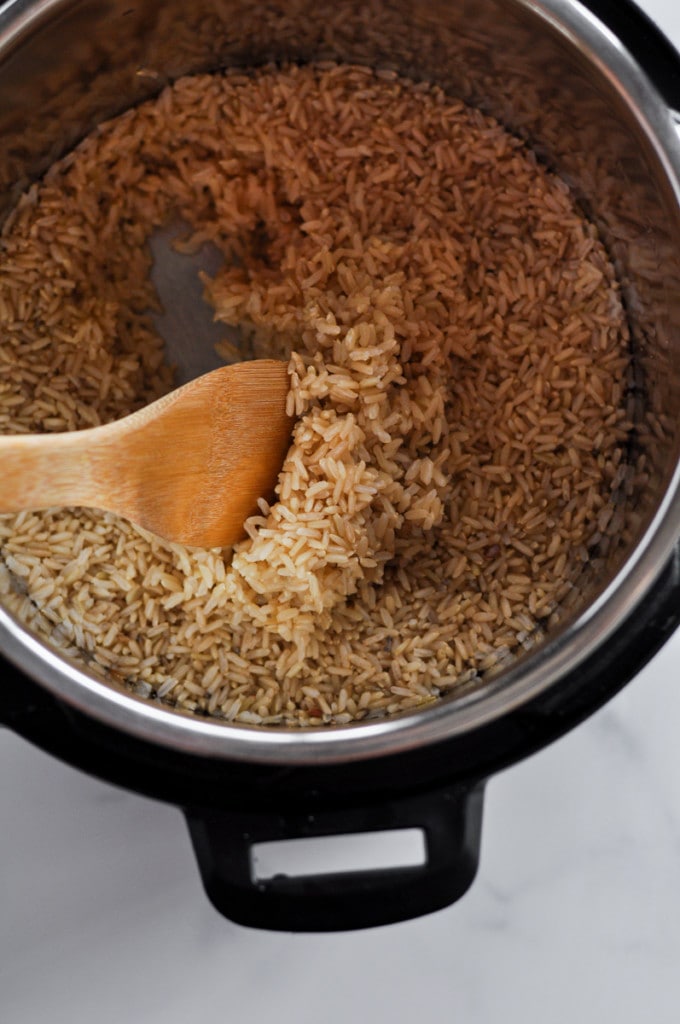
Do I need to rinse brown rice before cooking it?
It is always a good idea to rinse rice, not matter the variety, before cooking it. The main reason is that rinsing rice helps remove a lot of the starch that could cause cooked rice to have a gummy texture or clump together. Rinsing brown rice also helps remove debris and impurities that can gather because of the way rice is grown (in flooded fields of water).
How Long To Cook Brown Rice In Instant Pot
You’ll set your Instant Pot to cook for 20 minutes, then naturally release for 3 to 5 minutes.
To make Brown Rice in an Instant Pot:
- Add the ingredients to the Instant Pot, close the lid, and make sure the release valve is turned to the “sealed” position.
- Select ‘Pressure Cook’ and set the timer to 20 minutes. The pressure cooker needs to build up steam before the timer will start counting down. It will take less than 5 minutes to build up steam, then you will notice that the timer starts to count down from 20 minutes.
- When the 20 minutes is up, don’t do anything yet. Let the Instant Pot go into Keep Warm mode, and it will automatically start counting up. Let it count up to 3 to 5 minutes, which will release most of the steam naturally.
- After 3 to 5 minutes, position the steam release valve to the ‘Venting’ position to release any final steam.
Here’s how your total time breaks down:
- Preparing ingredients = 1 minute
- Building up steam = 3 to 5 minutes
- Pressure cooking time = 20 minutes
- Natural steam release in Keep Warm mode = 3 to 5 minutes
- Total time = 27 – 31 minutes
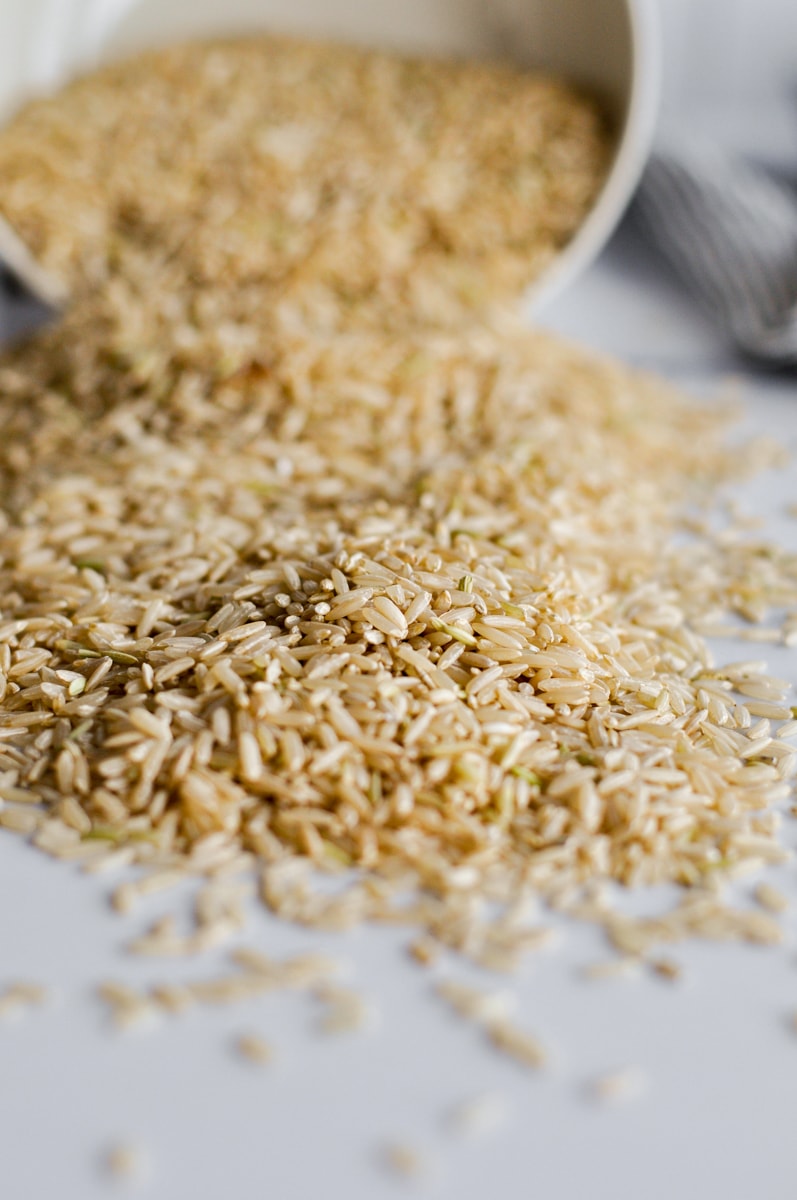
the health benefits of brown rice
Brown rice is less processed than white rice, which has the hull, bran, and germ removed. Since those parts are still intact in a grain of brown rice, brown rice is considered a whole grain. Although brown rice and white rice are similar in calories and carbohydrate amounts, brown rice contains more and higher amounts of important nutrients compared to white rice. Brown rice is a good source of fiber, folate, riboflavin, potassium, calcium, and manganese. Here’s why we need these nutrients:
- fiber – brown rice contains more than 3x the amount of fiber than white rice does. The fiber in brown rice is associated with improved heart health, lower blood pressure, lower calorie intakes, and lower inflammation
- folate – this nutrient is especially important for women who are pregnant (for proper development of baby’s brain and spine), and for all people to keep red blood cells counts at the right levels
- riboflavin – this nutrient (also known as vitamin B2) is necessary to help convert the food you eat into energy, as well as healthy cell growth throughout your life
- potassium – this mineral is essential for the proper functioning of your nerves and muscles. It can also help blunt the impact of high-sodium foods and diets
- calcium – your heart, muscles, and nerves all need calcium in order to function optimally, and calcium is highly connected to bone health. Beyond that, emerging research shows that calcium, when consumed with vitamin D, has cancer protective qualities and helps guard against high blood pressure and diabetes
- manganese – this mineral plays an important role in fat and carbohydrate metabolism, calcium absorption, and blood sugar regulation
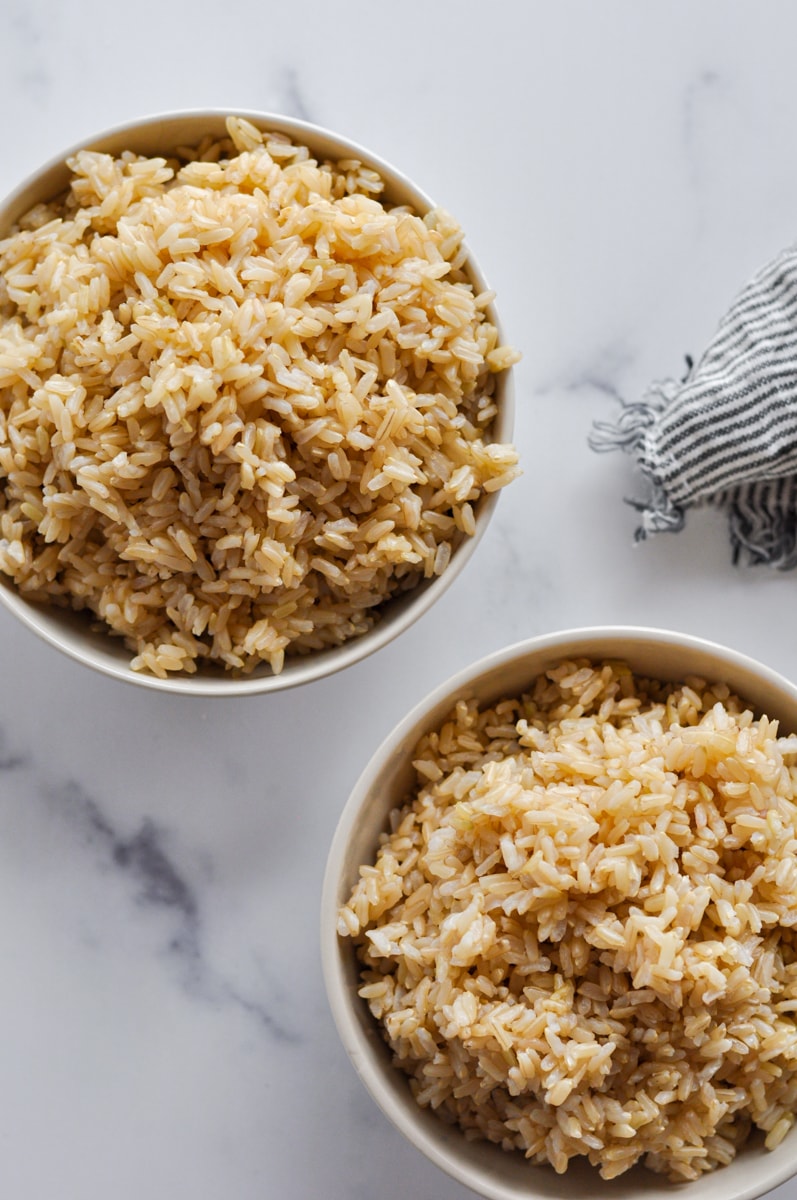
is brown rice gluten free?
Yes, brown rice and all types of rice are naturally gluten free. In fact, brown rice flour and brown rice syrup are ingredients often used to make gluten-free products. People who have celiac disease or a gluten intolerance can enjoy brown rice as a gluten-free grain choice.
Looking for Grain-Free Rice?
Check our post on How to Make Homemade Cauliflower Rice.
how to store instant pot brown rice
The best tried-and-true method for storing rice is to freeze it when it’s still hot, to lock in some of the steam. You can store leftover rice in the refrigerator for up to 3 days, but it will become gummy and clumpy over time. We like the rice storage directions from Just One Cookbook the best, which detail several methods for storing and reheating cooked rice.
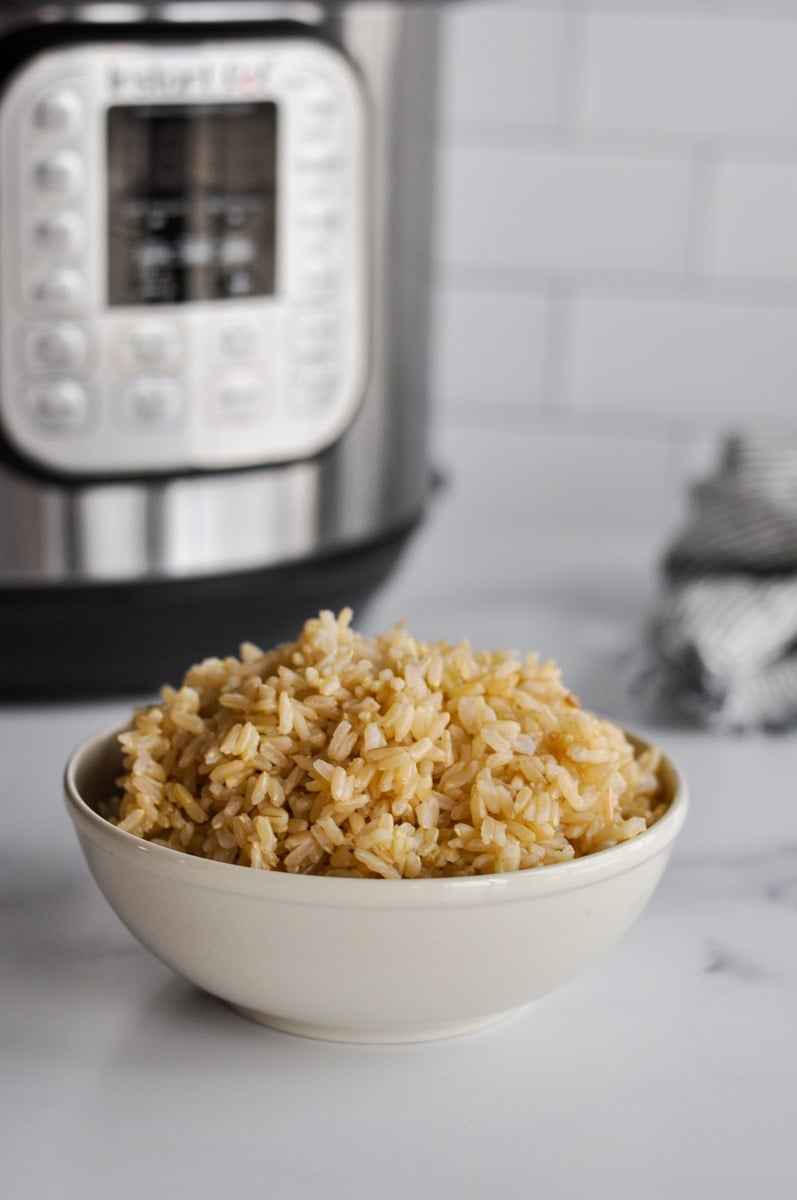
What to serve with brown rice
What what kinds of foods and recipes pair well with brown rice? Because of its slightly more dense texture, brown rice is an excellent choice for making stir-fries, fried rice, and rice pilaf. Brown rice is also an excellent pairing for saucy dishes, rice bowls, Thai and other Asian flavors, and Mexican meals. And it’s the perfect side dish to serve with quick and flavorful salmon filets or sesame chicken.
Want to save this recipe?
Enter your email below & we’ll send it straight to your inbox. Plus you’ll get great new recipes from us every week!
Instant Pot Brown Rice (Tender Every Time)
Follow these simple, clear instructions to make brown rice in the Instant Pot. This easy Instant Pot method makes brown rice that is fluffy, tender, and perfect every time.
Ingredients
Instructions
- Rinse the brown rice in a fine-mesh strainer under running water.
- Add rinsed rice and water to the Instant Pot. Close and lock the lid. Press the “Pressure Cook” or “Manual” button and then set to 20 minutes of pressure cooking time. It will take a few minutes for the Instant Pot to build up pressure, and once pressure cooking starts the timer will start counting down.
- When the 20 minutes is up, allow the rice to remain in the Instant Pot with lid closed as the setting automatically switches over to “Keep Warm” warm and starts counting up. Let it sit this way until the timer counts up to 3 to 5 minutes.
- After 3 to 5 minutes, press “Cancel” and position the steam release valve on the lid to the “Venting” position to release any remaining steam. Open the lid and fluff the brown rice.
- Serve the brown rice as is, or season it with butter, ghee, oil, and/or seasonings if you’d like.
Last Step! Please leave a review and rating letting us know how you liked this recipe! This helps our business thrive so we can continue providing free recipes and high-quality content for you.
Notes
Need more rice? You can also use 3 cups uncooked brown rice and 3 cups water to yield 9 cups cooked brown rice.
Store leftover cooked brown rice in a covered container in the refrigerator for up to 3 days or freeze hot cooked rice for up to 3 months (freezing it while still hot helps lock in the moisture).
Nutrition Information
- Serving Size: 3/4 cup
- Calories: 150
- Fat: 1 g
- (Sat Fat: 0 g)
- Sodium: 5 mg
- Carbohydrate: 35 g
- (Fiber: 3 g
- Sugar: 1 g)
- Protein: 3 g
- Cholesterol: 0 mg
Dietary
For ultimate success, we highly recommend reading the tips in the full blog post above. All photos and content are copyright protected. Please do not use our photos without prior written permission. If you wish to republish this recipe, please rewrite the recipe in your own unique words and link back to the source recipe here on The Real Food Dietitians. Thank you!
Pin Now to Make Later!

Thanks for spelling out how to use the instant pot! This is my first run and it turned out great!
We’re so glad you found this tutorial helpful!
My husband and I just finished a year-long Inch by Inch program and our instructor/dietician recommended this site. Glad she did!
We’re so glad your dietitian sent you our way – welcome, Constance!