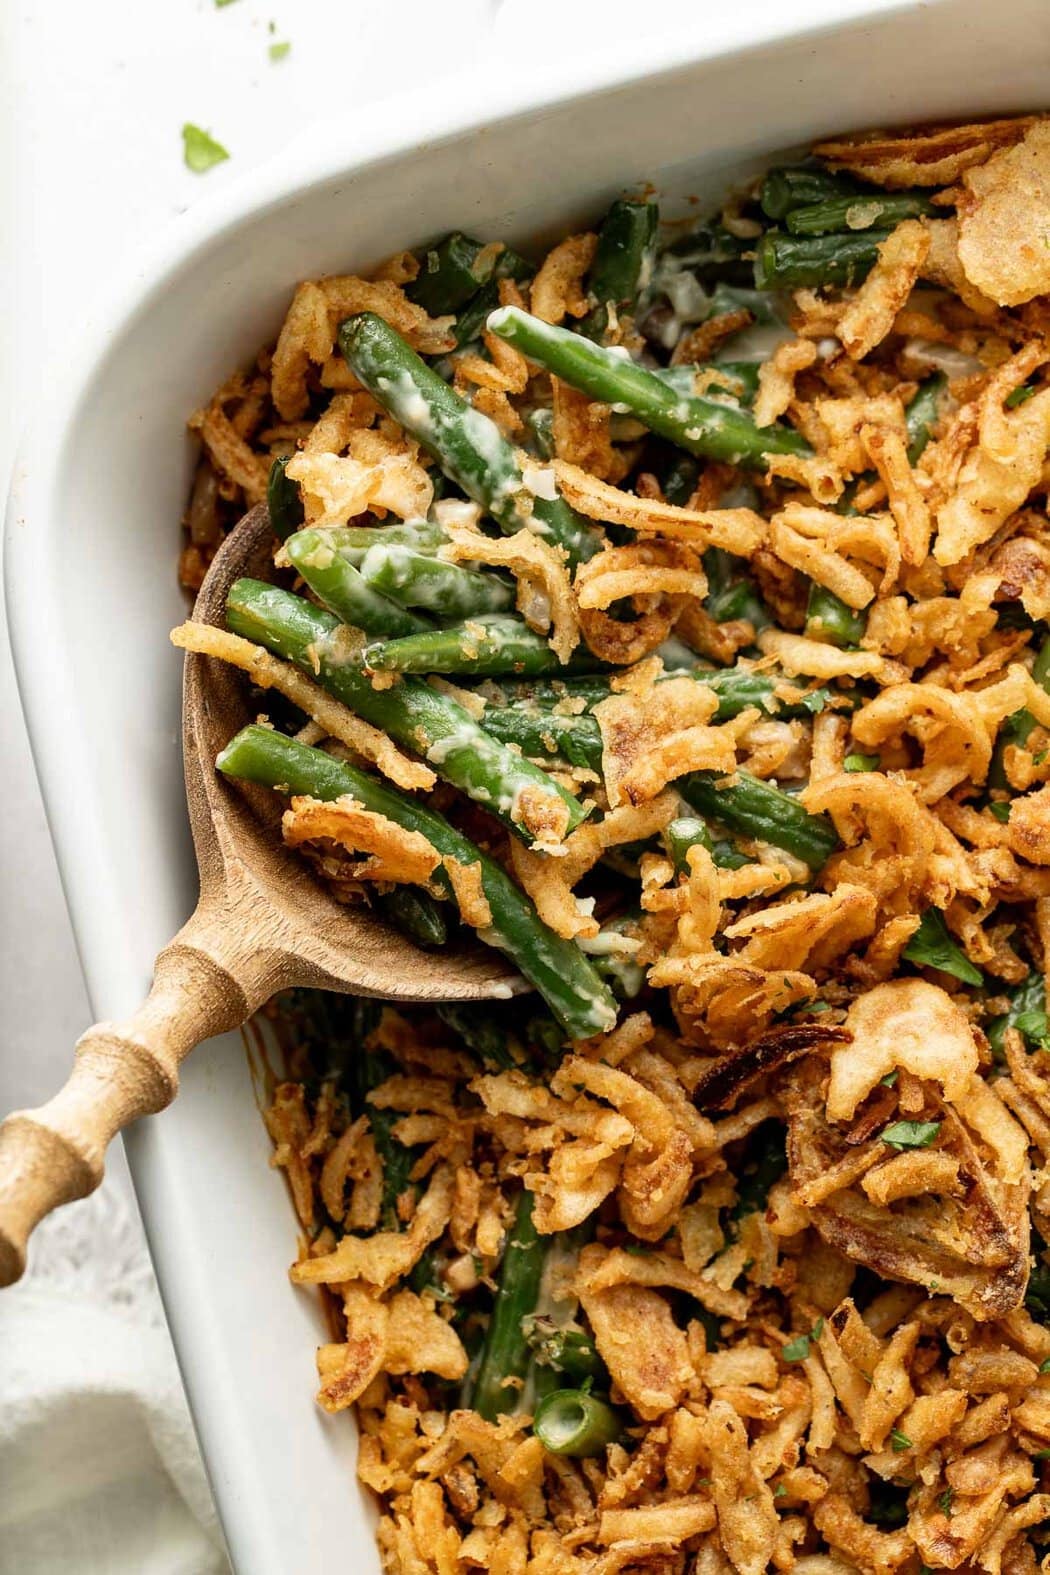
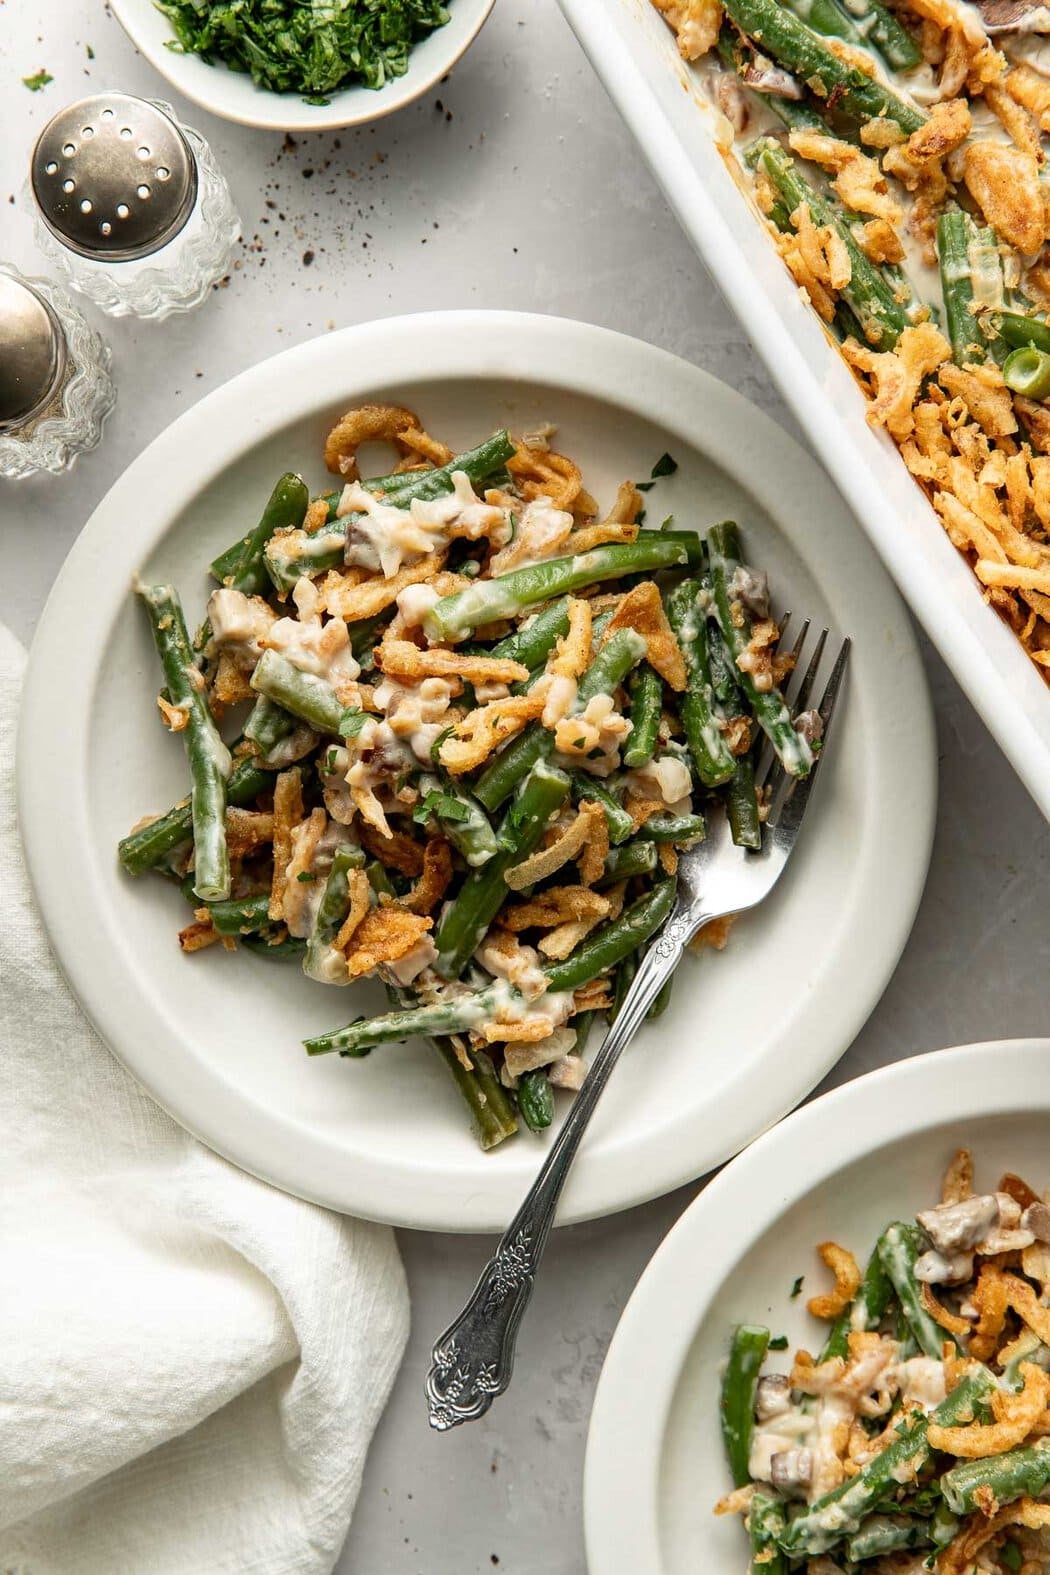
Classic green bean casserole was a staple at just about every holiday gathering while growing up in Minnesota, but the traditional canned version was never my favorite. But making it from scratch with fresh green beans and a creamy homemade mushroom sauce has completely changed my opinion. This version is so flavorful and a classic vegetable side dish I actually look forward to serving.
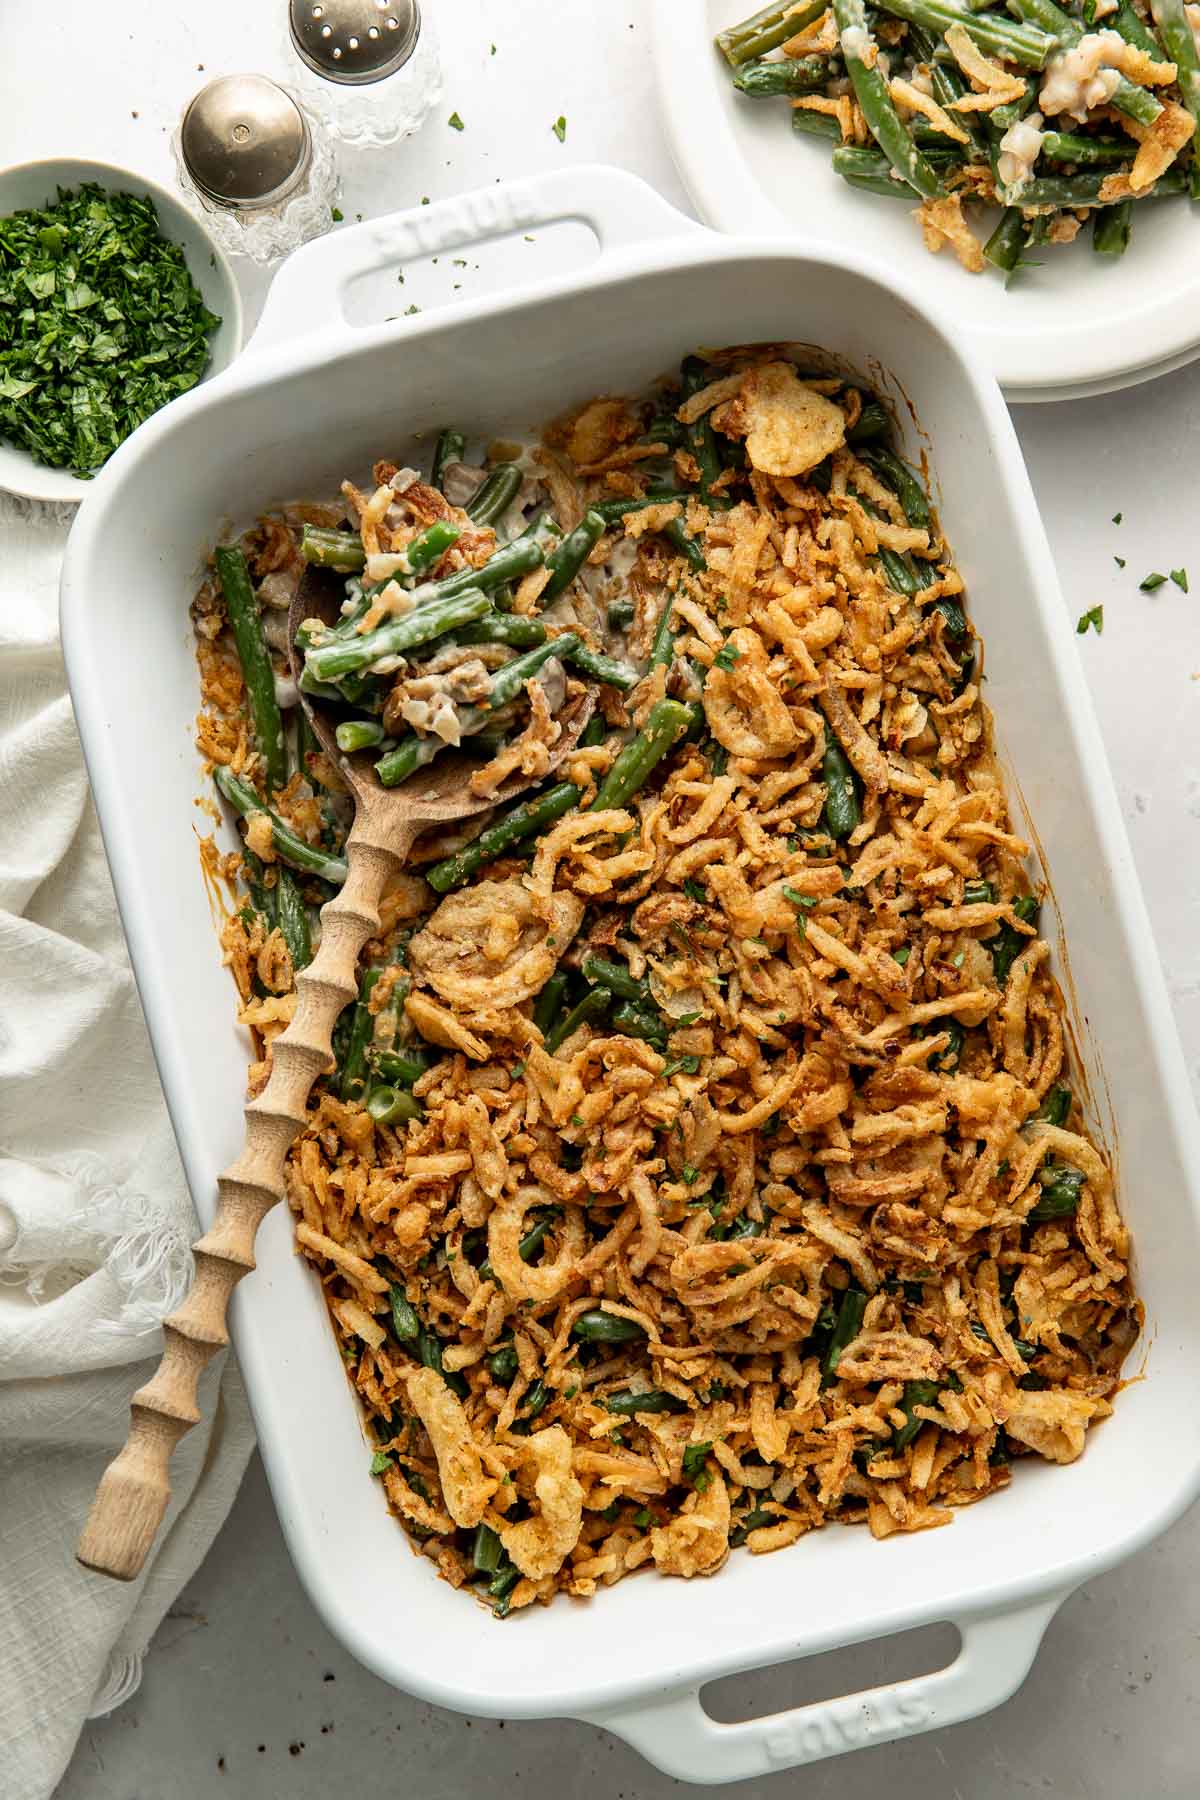
Recipe Highlights
Fresh take on a classic: Fresh green beans replace the canned variety, giving this casserole a tender-crisp texture and making it feel more like a true vegetable side dish.
No canned cream soup: A simple homemade sauce made from mushrooms, onions, garlic, broth, and half-and-half delivers all the creamy, savory goodness I love in this favorite holiday recipe without relying on high-sodium condensed cream of mushroom soup.
Balance of flavor: A small splash of soy sauce adds just enough umami to deepen the flavor of the mushroom sauce without making the dish taste too salty. It’s a little addition that makes a noticeable difference.
Easy to adapt: With a few simple ingredient swaps, this casserole can easily be made gluten-free or vegetarian without sacrificing its classic holiday appeal.
Key Ingredients And Substitutions
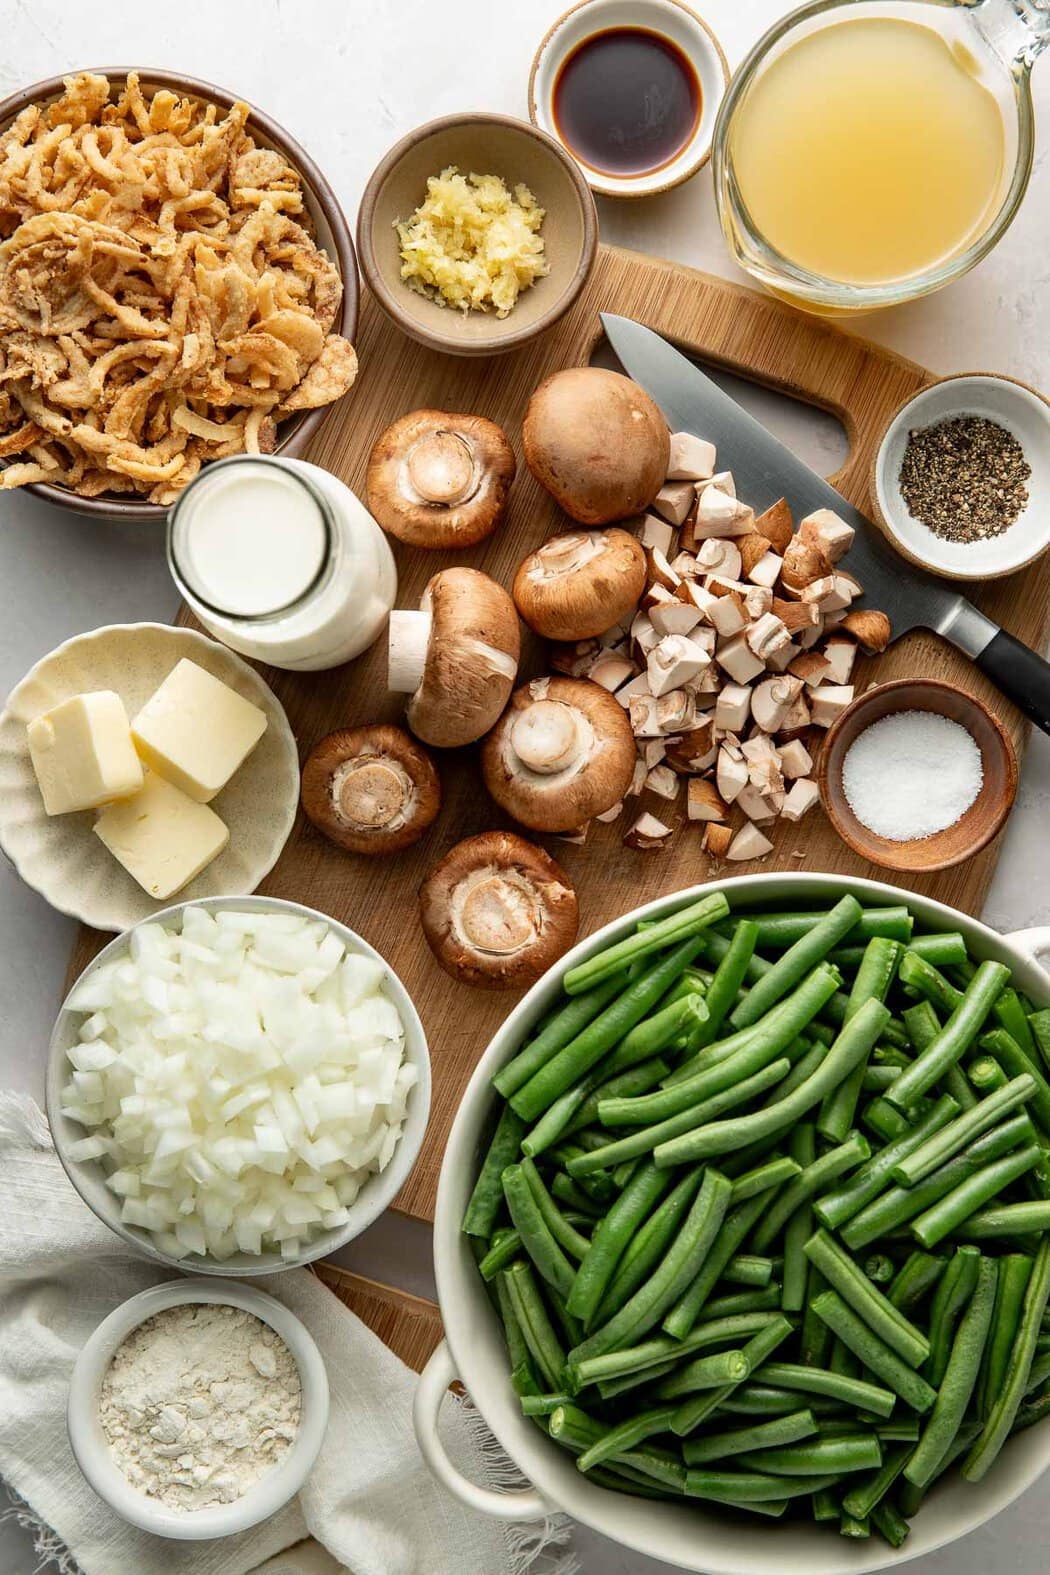
I tested a few different versions of this casserole recipe before landing on this winner. Here are my notes about why I chose each ingredient for my green bean casserole recipe:
- Fresh green beans: I recommend fresh green beans over canned green beans for the best texture. They hold their shape beautifully and have a much fresher flavor than canned or frozen beans. Trim the ends and cut them in half for easier serving.
- Butter: A little butter provides a base fat for sautéing the vegetables while also adding flavor in a way that oil can’t. Salted or unsalted butter both work.
- Yellow onion: I like yellow onions for the little sweetness and savory flavor they add to my homemade mushroom sauce. Finely chopping it helps it blend into the sauce.
- Garlic: Freshly minced garlic provides another layer of flavor that pairs especially well with the mushrooms.
- Mushrooms: Baby bella or white button mushrooms are both great choices. Baby bellas have a slightly deeper, earthier flavor, while white button mushrooms offer a milder, more traditional mushroom taste. I finely chop the mushrooms so they distribute throughout the sauce rather than leaving large mushroom pieces.
- All-purpose flour: This is the thickening agent for the homemade sauce. A gluten-free 1:1 flour blend can be substituted.
- Chicken broth: Adds savory flavor and helps create the base of the sauce. Vegetable broth works equally well for a vegetarian version.
- Half-and-half: Gives the mushroom sauce its creamy consistency without making it overly heavy. Whole milk or heavy cream can work in a pinch, though the sauce may be slightly thinner or thicker.
- Soy sauce: This is my little secret ingredient! Just one teaspoon adds the perfect amount of umami and makes the mushroom sauce taste richer and more savory. And it doesn’t make the sauce taste like soy sauce either. Use tamari for a gluten-free option. I would skip coconut aminos here since their natural sweetness could throw off the savory flavor.
- French fried onions: The classic crispy shallots topping is a must for green bean casserole. I use store-bought French fried onions to keep things easy, and gluten-free versions are available.
Find the ingredient list with exact measurements in the recipe card below.
How To Make This Creamy Casserole
My homemade green bean casserole comes together in a few simple steps. The biggest difference from traditional recipes is that the green beans are blanched separately and the mushroom sauce is made from scratch on the stovetop before everything goes into the oven.
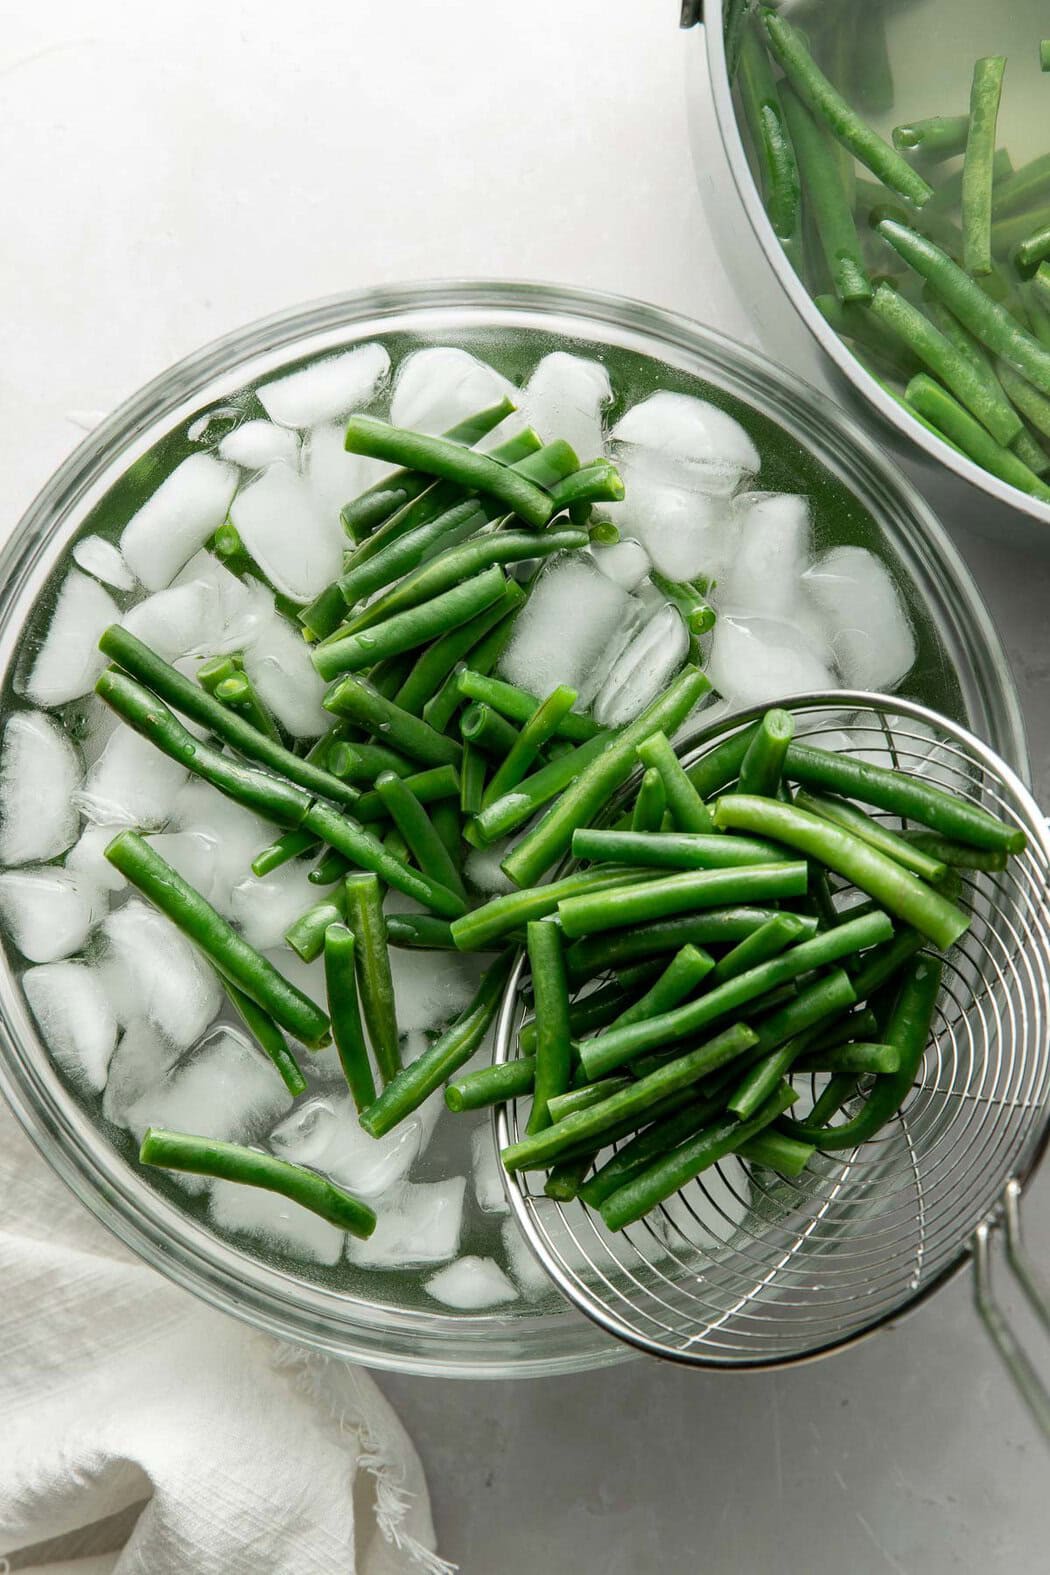
- Blanch the green beans. Bring a large pot of salted water to a boil and cook the green beans just until they’re tender and bright green. Immediately transfer them to an ice bath to stop the cooking process. This step is important so that the beans don’t get mushy in the finished casserole.
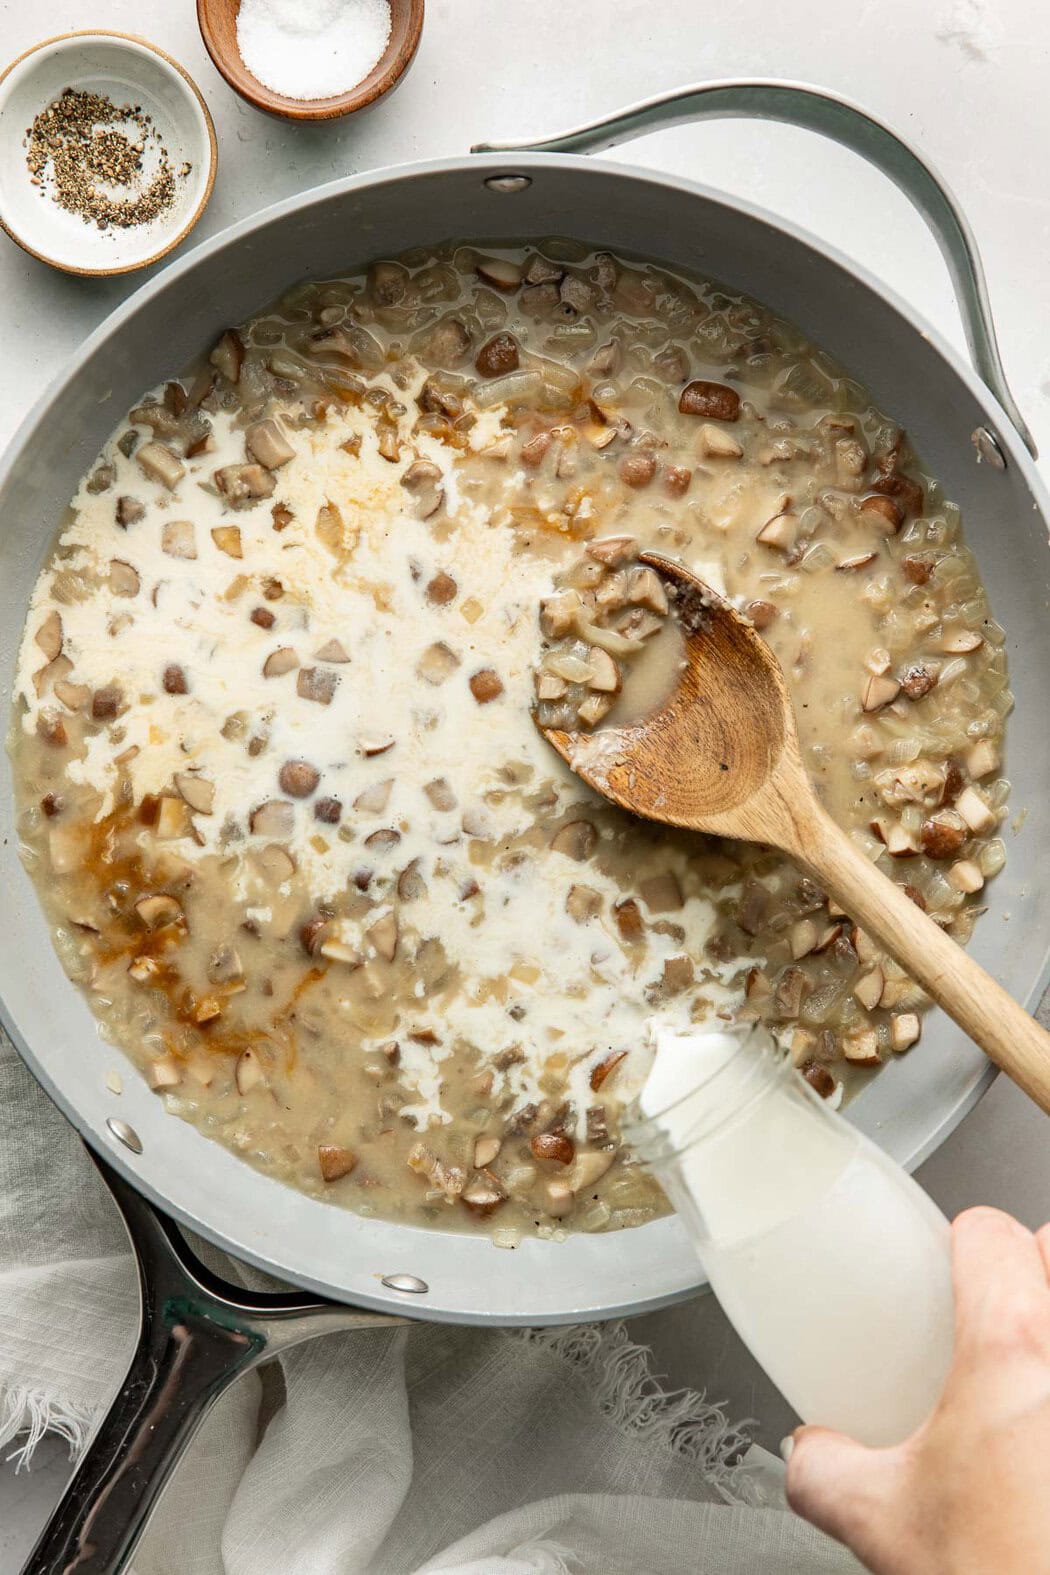
- Start the mushroom sauce. Melt the butter in a large skillet, then sauté the onions, mushrooms, and garlic until softened. Sprinkle the flour over the mushroom mixture and stir until everything is evenly coated. Continue cooking for 2-3 minutes, stirring constantly. This step is important so don’t rush it! Cooking the flour briefly before adding the liquid helps eliminate its raw flour taste and creates a smooth, creamy sauce.
- Finish the sauce. Slowly stir in the broth, followed by the half-and-half, and then the soy sauce. Let the mixture gently simmer until it thickens enough to coat the back of a spoon.
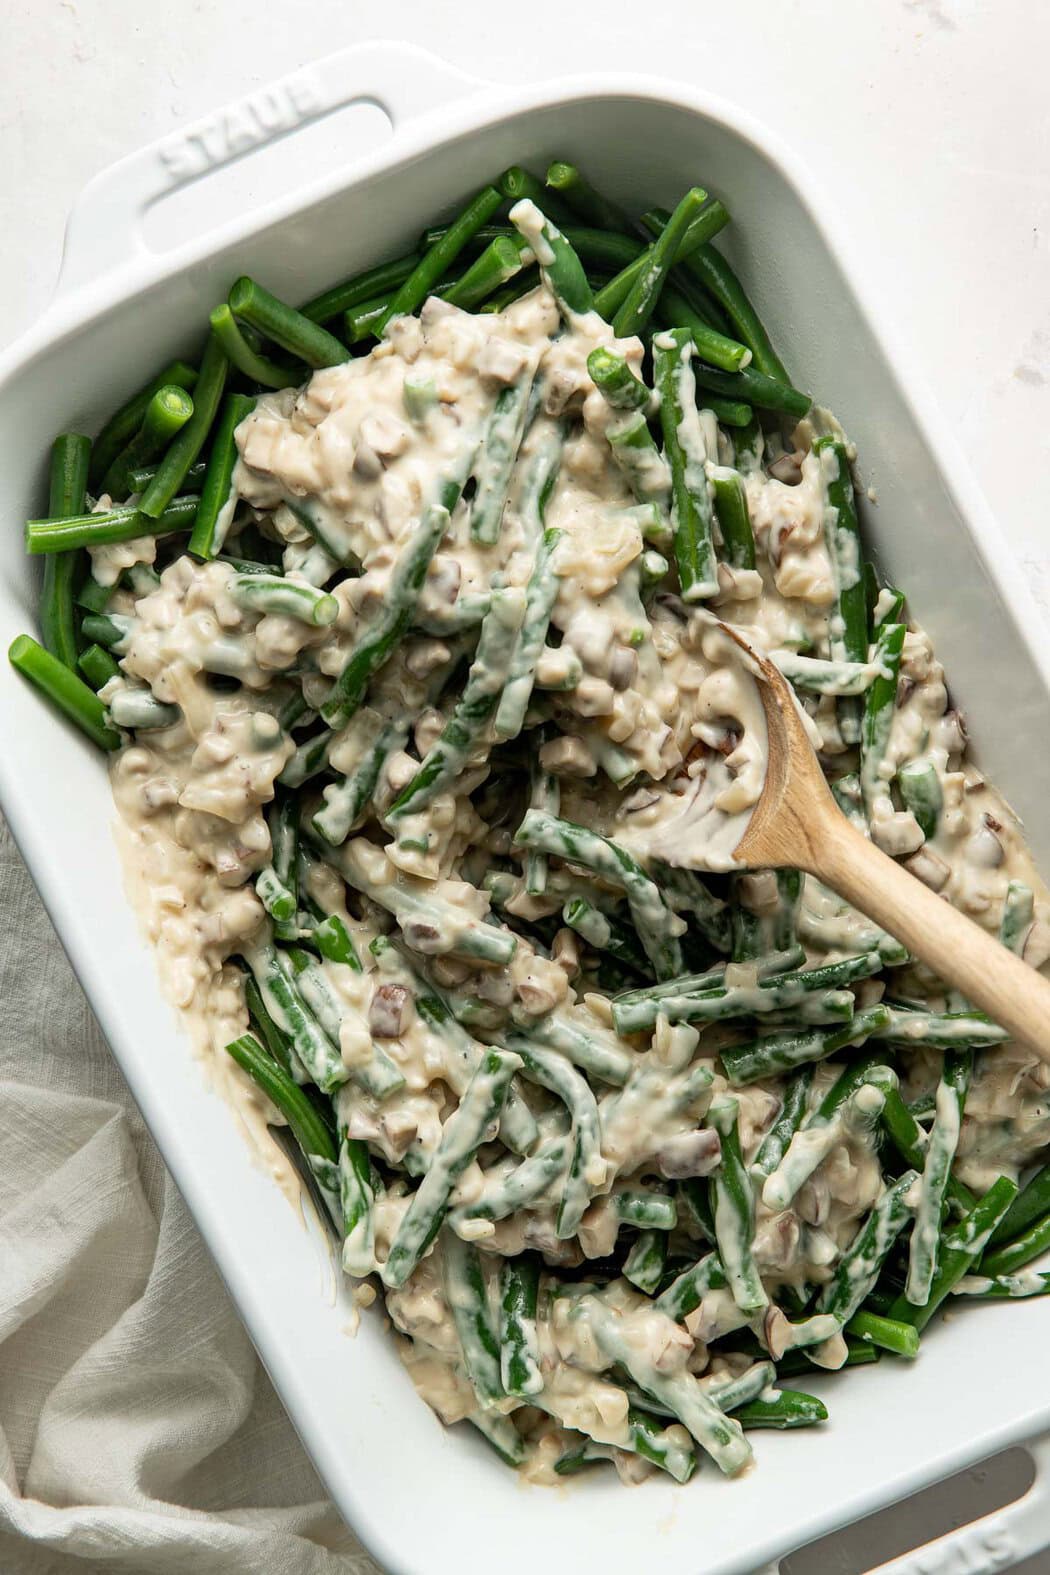
- Assemble the casserole. Add the drained tender green beans to a greased 9×13-inch casserole dish. Pour the mushroom sauce over the top and stir until the beans are evenly coated.
- Bake uncovered. Bake at 375°F for 20 minutes. I intentionally leave the casserole uncovered during this first bake to help preserve the texture of the green beans.
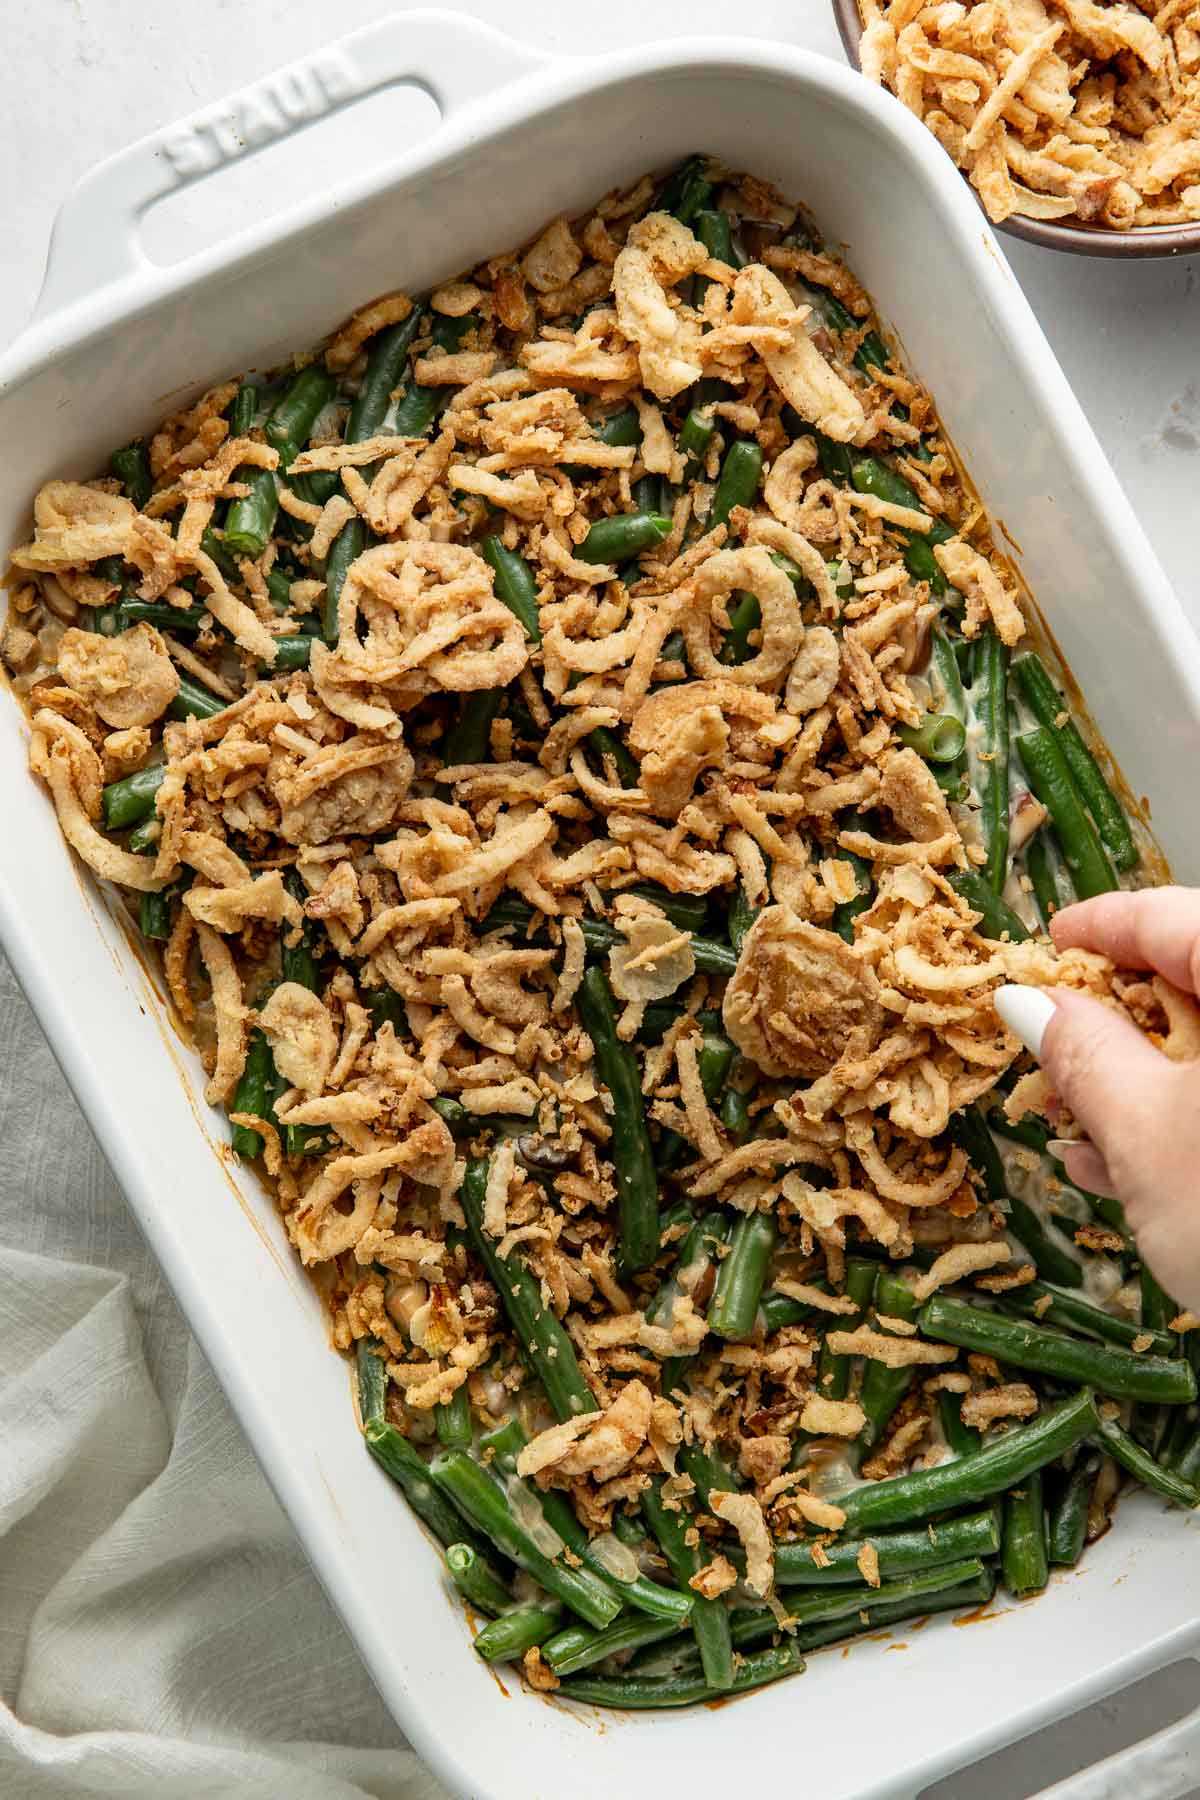
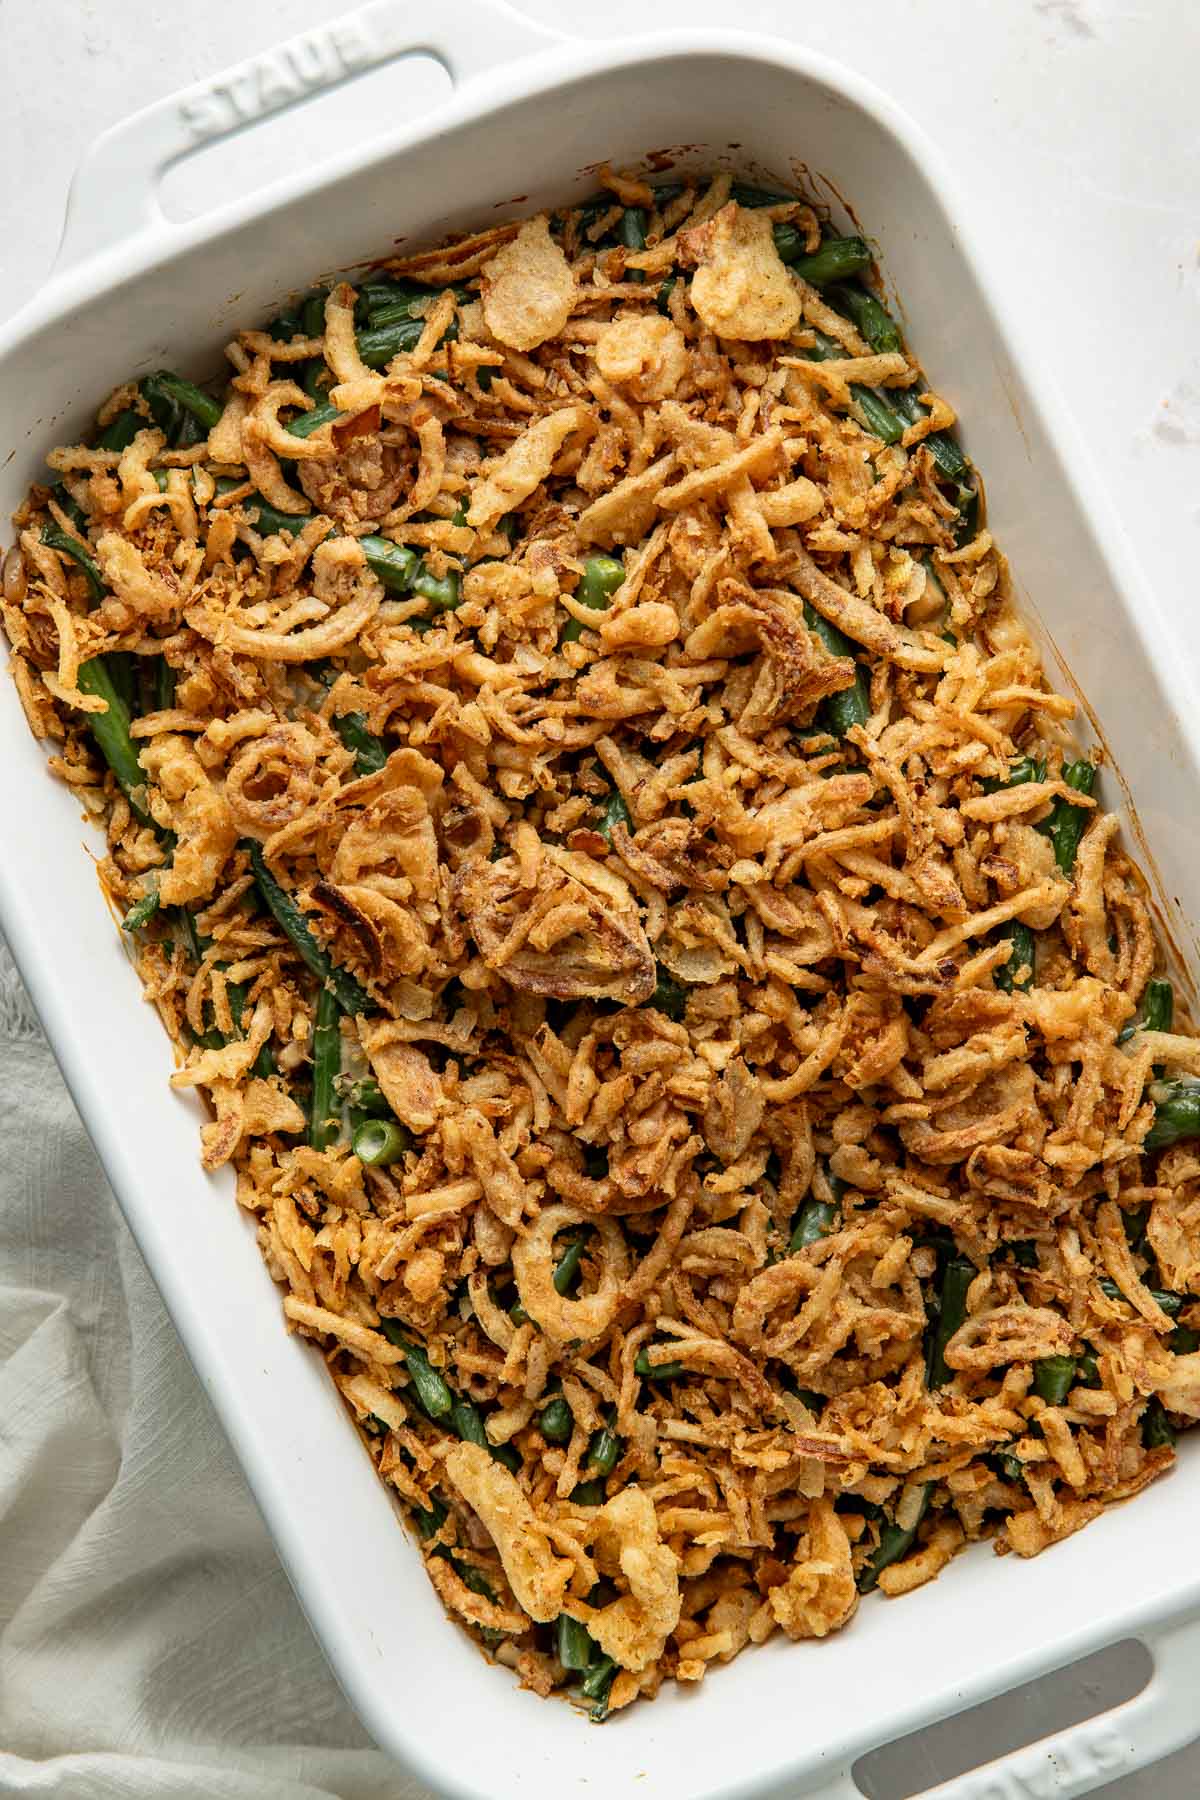
- Add the crispy topping. Remove the casserole from the oven, give everything a stir, and sprinkle the French fried onions evenly over the top. Return to the oven for a few minutes, until the sauce is bubbling and the onions are golden brown. Let the casserole rest for about 5 minutes before serving. The sauce will settle and thicken slightly as it cools.
For serving size and the complete directions and ingredient amounts, scroll down to the recipe card below. All of our recipes include the nutrition analysis, listing calories (kcals), protein, carbohydrates/carb, fiber, sugar, sodium, cholesterol, and more per serving.
Blanching Makes The Difference
Blanching the green beans before assembling the casserole is one of the most important steps for getting the texture right. It partially cooks the beans so they don’t need to spend as much time in the oven, which helps prevent them from becoming overly soft.
I cook the beans just until they’re bright green and slightly tender but still have a little bite. Then I immediately transfer them to a bowl of ice water. This ice bath stops the cooking process so the residual heat doesn’t continue to soften the beans.
Without the ice bath, the beans continue cooking even after they’ve been drained, which increases the chances of ending up with a mushy casserole. This extra step is well worth it for green beans that still taste and feel like fresh green beans rather than what my kids affectionately call “soaked green beans.”
Make It Gluten Free
This green bean casserole is easy to make gluten-free with three simple substitutions:
- Flour: Swap the all-purpose flour for a gluten-free 1:1 baking flour blend.
- Soy sauce: Use tamari instead of regular soy sauce. Tamari offers a similar savory, umami-rich flavor and is typically gluten-free (check the label).
- French fried onions: Check the label and choose certified gluten-free French fried onions, such as MaeMai or Feel Good Foods brands.
Make It Vegetarian Or Vegan
For a vegetarian version, use vegetable broth instead of chicken broth. And for a vegan green bean casserole, use vegetable broth, then use plant-based stick butter instead of dairy butter. And check the label to ensure the fried onions are vegan, too.
Complete Your Holiday Table
Green bean casserole deserves a spot alongside all the other holiday side dishes. I love serving it as a traditional Thanksgiving side dish right alongside the roasted turkey for Thanksgiving dinner. But it pairs just as nicely with other foods and more casual fall dinners, too.
I’ve made it to serve with this crockpot pork roast, this sheet pan Caesar chicken, and this chili cornbread casserole as an alternative to sauteed green beans or roasted green beans. And I also love to make it for other holiday meals, like when I’m serving my glazed ham for Christmas dinner and Easter.
Make-Ahead Tips And Leftovers
A little advance prep can make holiday cooking much easier, especially when oven space is limited.
- Make the mushroom sauce ahead: The homemade creamy mushroom sauce can be prepared up to 2 days in advance. Let it cool, transfer it to an airtight container, and refrigerate. When ready to assemble the casserole, gently warm the sauce on the stovetop, stirring until smooth. If it has thickened too much in the refrigerator, add a small splash of broth or half-and-half to loosen it.
- Blanch the green beans ahead: The green beans can also be blanched, cooled in an ice bath, and refrigerated for up to 2 days. Make sure they’re thoroughly drained and patted dry before assembling the casserole.
- Assemble before baking: For the best texture, I don’t recommend to make green bean casserole ahead of time from start to finish. However, the green beans and sauce can both be prepped separately and stored up to 3 days in the fridge, then assembled prior to baking. This helps keep the beans from sitting in the sauce and softening.
- Store and reheat leftovers: Transfer leftover casserole to an airtight container and refrigerate for up to 4 days. Reheat individual portions in the microwave or warm a larger portion in a 350°F oven until heated through. The fried onion topping will soften during storage, so adding a few fresh French fried onions before reheating or serving is a nice way to bring back some crunch.
Frequently Asked Questions
A soupy green bean casserole usually happens because of excess moisture or sauce that wasn’t thickened enough before baking. Make sure the green beans are thoroughly drained after blanching and the ice bath.
Also, don’t rush the mushroom sauce. Cook the flour with the mushrooms for about 3 minutes before adding the liquids and allow the sauce to simmer for about 10 minutes to help it reach the right consistency. The sauce should be thick enough to coat the back of a spoon before it goes into the baking dish.
My best tip is to make the mushroom cream sauce from scratch. Fresh mushrooms, sautéed onion, garlic, and a little black pepper create a much more flavorful base than canned cream of mushroom soup. Then, my favorite flavor trick is adding a teaspoon of soy sauce. It brings out the savory, earthy flavor of the mushrooms. Also, use baby bella mushrooms instead of white button mushrooms to add more depth.
I prefer the oven for this version because it helps preserve the texture of the fresh green beans and keeps the fried onion topping crispy.
But to adapt the recipe for a slow cooker, blanch the green beans and prepare the mushroom sauce on the stovetop as directed. Combine them in a greased slow cooker and cook on low for 2-3 hours. Then add the French fried onions during the last 15-20 minutes with the lid slightly ajar, or transfer the casserole to an oven-safe dish and broil briefly to crisp the topping. Keep in mind that slow cooker times can vary, and the beans will generally become softer with this method.
More Holiday Recipes To Try




Want to save this recipe?
Enter your email below & we’ll send it straight to your inbox. Plus you’ll get great new recipes from us every week!
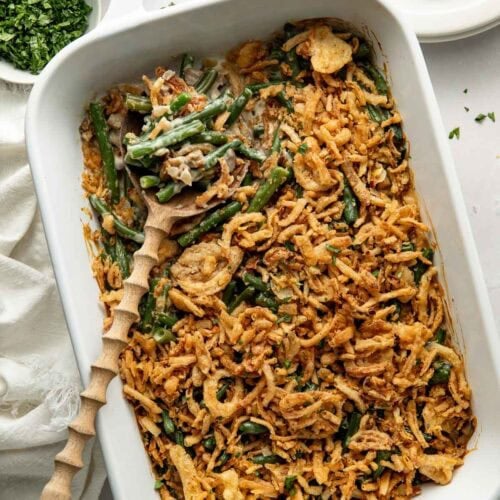
Green Bean Casserole
This homemade green bean casserole has all the flavors of the classic holiday side but is made even better with fresh green beans and a creamy from-scratch mushroom sauce.
Ingredients
- 2 lbs fresh green beans, ends trimmed, cut in half
- 3 tablespoons salted or unsalted butter
- 1 medium yellow onion, finely chopped (~ 1½ cups)
- 3 garlic cloves, minced
- 8 ounces baby bella or white button mushrooms, finely chopped
- ½ teaspoon fine salt, plus more to taste
- ½ teaspoon fresh ground black pepper
- ¼ cup all-purpose flour
- 1 cup low-sodium chicken broth
- 1 cup half and half
- 1 teaspoon soy sauce
- 6 ounces french fried onions
Instructions
- Preheat the oven to 375° F. Grease a 9×13 glass baking dish with butter or mist it with cooking spray; set aside.
- Bring a large pot of lightly salted water to a boil. While the water comes to a boil, fill a large bowl with ice water to create an ice bath.
- Once the water is boiling add the green beans and cook until they are just tender and bright green, 5-7 minutes.
- Drain the green beans in the sink through a colander then immediately plunge the beans into the ice bath to stop the cooking process. NOTE: This will prevent the beans from becoming overcooked and mushy. Drain the beans again; set aside.
- Place a large skillet over medium heat. Add the butter and, when the butter is melted, add the onions, mushrooms and garlic. Cook and stir until the onions start to soften and the mushrooms release their liquid, 5-6 minutes, stirring occasionally.
- Season with the salt and pepper. Then sprinkle the flour over the mushroom-onion mixture and stir to combine. Continue to cook for 2 to 3 minutes while stirring constantly.
- Add the broth and stir until all of the flour has been incorporated.
- Reduce the heat slightly to hold it just above medium-low. Stir in the half-and-half and soy sauce. Cook the sauce until thickened, stirring occasionally, about 10 minutes. Taste and adjust the salt and pepper if necessary.
- Place the blanched and drained green beans in the prepared baking dish.
- Pour the mushroom mixture over the green beans and stir well to combine.
- Place the dish in a preheated oven and bake, uncovered, for 20 minutes.
- Remove the baking dish from the oven, stir, and then sprinkle the french fried onions over the top. Return to the oven and bake until bubbly and the onions are golden brown, about an additional 5-7 minutes.
- Remove the baking dish from the oven and let it cool for 5 minutes before serving.
- Store leftovers in an airtight container in the refrigerator for up to 4 days.
Last Step! Please leave a review and rating letting us know how you liked this recipe! This helps our business thrive so we can continue providing free recipes and high-quality content for you.
Notes
For gluten free, use gluten-free 1:1 flour, tamari instead of soy sauce, and use gluten-free crispy fried onions, such as MaeMai or Feel Good Foods brands.
For vegetarian, use vegetable broth instead of chicken broth. For vegan, use vegetable broth, plant-based butter, and check that the fried onions are vegan.
Nutrition Information
- Serving Size: 1/12th of the recipe or ~⅔ cup
- Calories: 186
- Fat: 12 g
- (Sat Fat: 6 g)
- Sodium: 255 mg
- Carbohydrate: 16 g
- (Fiber: 3 g
- Sugar: 4 g)
- Protein: 3 g
- Cholesterol: 15 mg
Dietary
The photos in this post were taken by Megan McKeehan.
For ultimate success, we highly recommend reading the tips in the full blog post above. All photos and content are copyright protected. Please do not use our photos without prior written permission. If you wish to republish a recipe, please rewrite the recipe in your own unique words. Link back to the source recipe here on The Real Food Dietitians. Thank you!