
As a registered dietitian, I have a unique understanding and appreciation for adding fermented foods to my meals. And these fermented carrots are one of my favorite places to start. While sauerkraut and kimchi are both excellent options, I know that their bold cabbage flavor isn’t always appealing to everyone. Fermented carrots, on the other hand, have a naturally sweet, tangy, pickle-like taste and stay wonderfully crisp, making them an approachable introduction to homemade fermentation.
These pickled carrots are a delicious change from more traditional veggie sides and traditional carrot recipes like roasted carrots or candied carrots. They’re crisp, tangy, refreshing, and incredibly simple to make. Plus, they add bright popping flavor and crunch to any meal or snacktime.
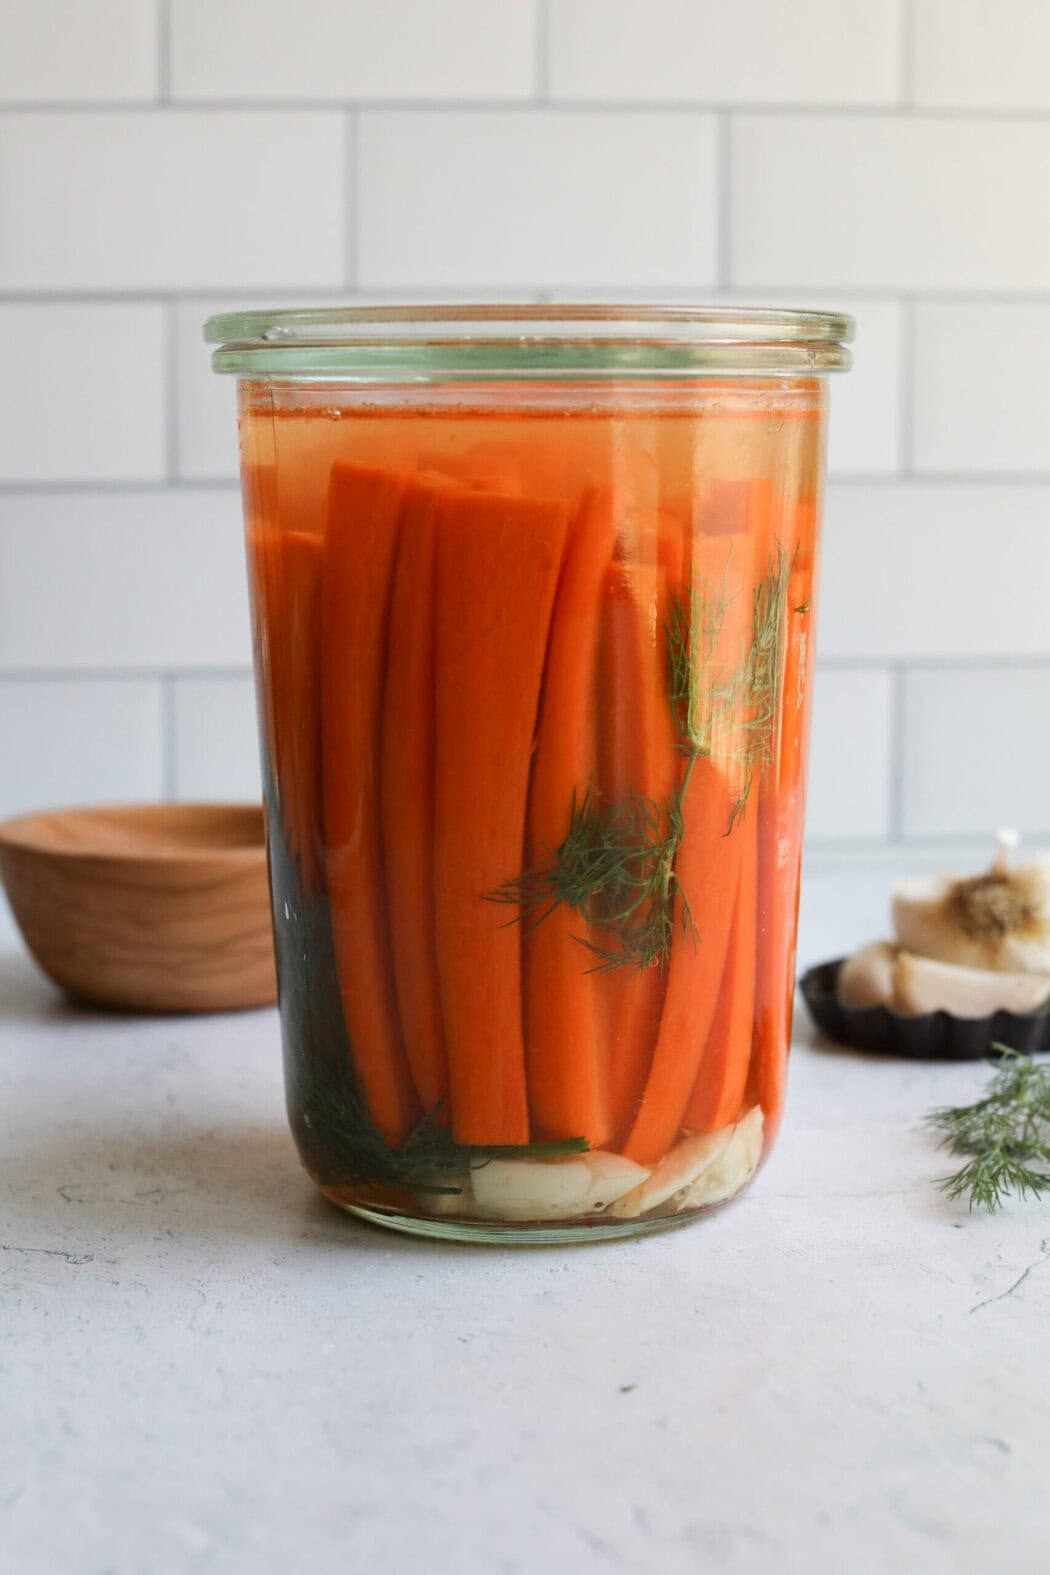
Recipe Highlights
Only 5 ingredients: Fresh carrots, water, salt, fresh dill, and garlic are all that’s needed to make a flavorful batch of my fermented carrots. There’s no vinegar, canning, or special ingredients required.
Easy and low cost: Fermented carrots are one of the easiest vegetables to ferment at home. The simple process and naturally firm texture make them a great first recipe for anyone exploring homemade fermentation.
Naturally crisp: As the carrots ferment, they develop a tangy, pickle-like flavor while maintaining their signature crunch. Fresh dill and garlic add even more savory flavor without overpowering the carrots.
Great to prep ahead: Once fermentation reaches the desired level of tanginess, the carrots keep well in the refrigerator for weeks. They’re easy to grab for snacks, add to lunch plates, toss into salads and grain bowls, or serve alongside meals.
How Fermentation Works
Fermented carrots are made through lacto-fermentation, a natural process that occurs when fresh vegetables are submerged in a saltwater brine. The lactic acid bacteria that is naturally present on the carrots multiplies and converts the vegetables’ natural sugars into lactic acid. As the lactic acid builds, it creates the signature tangy flavor while helping preserve the carrots.
One of the most important steps is to keep the carrots fully submerged beneath the salty brine. The brine creates the low-oxygen environment that beneficial bacteria need to thrive while also discouraging the growth of unwanted microorganisms that can spoil the ferment.
Despite its name, lacto-fermented foods, including lacto-fermented carrots, don’t require dairy or whey. The “lacto” refers to lactic acid, not lactose. While some recipes use whey as a starter culture, it’s completely optional because the naturally occurring bacteria on fresh carrots are more than capable of starting the fermentation process on their own. A simple saltwater brine is all that’s needed.
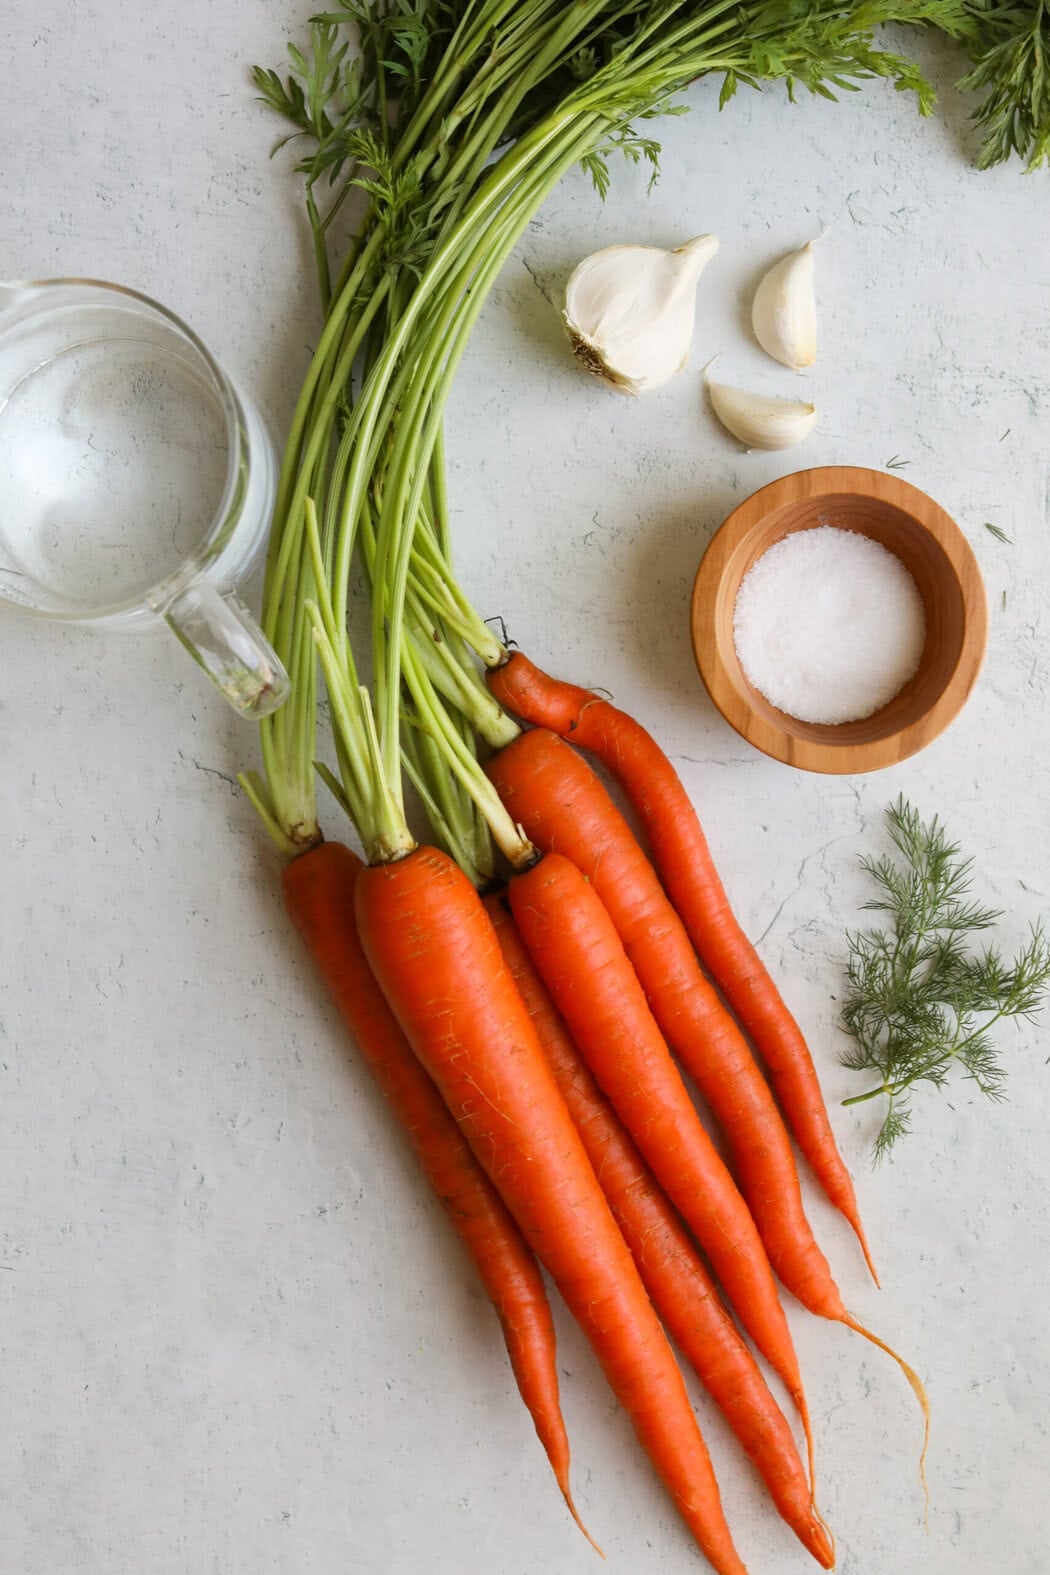
Ingredient Notes And Substitutions
Pickled carrots might sound fancy, but they come together with just a few simple ingredients. Here’s everything needed, along with a few of my notes for the best results:
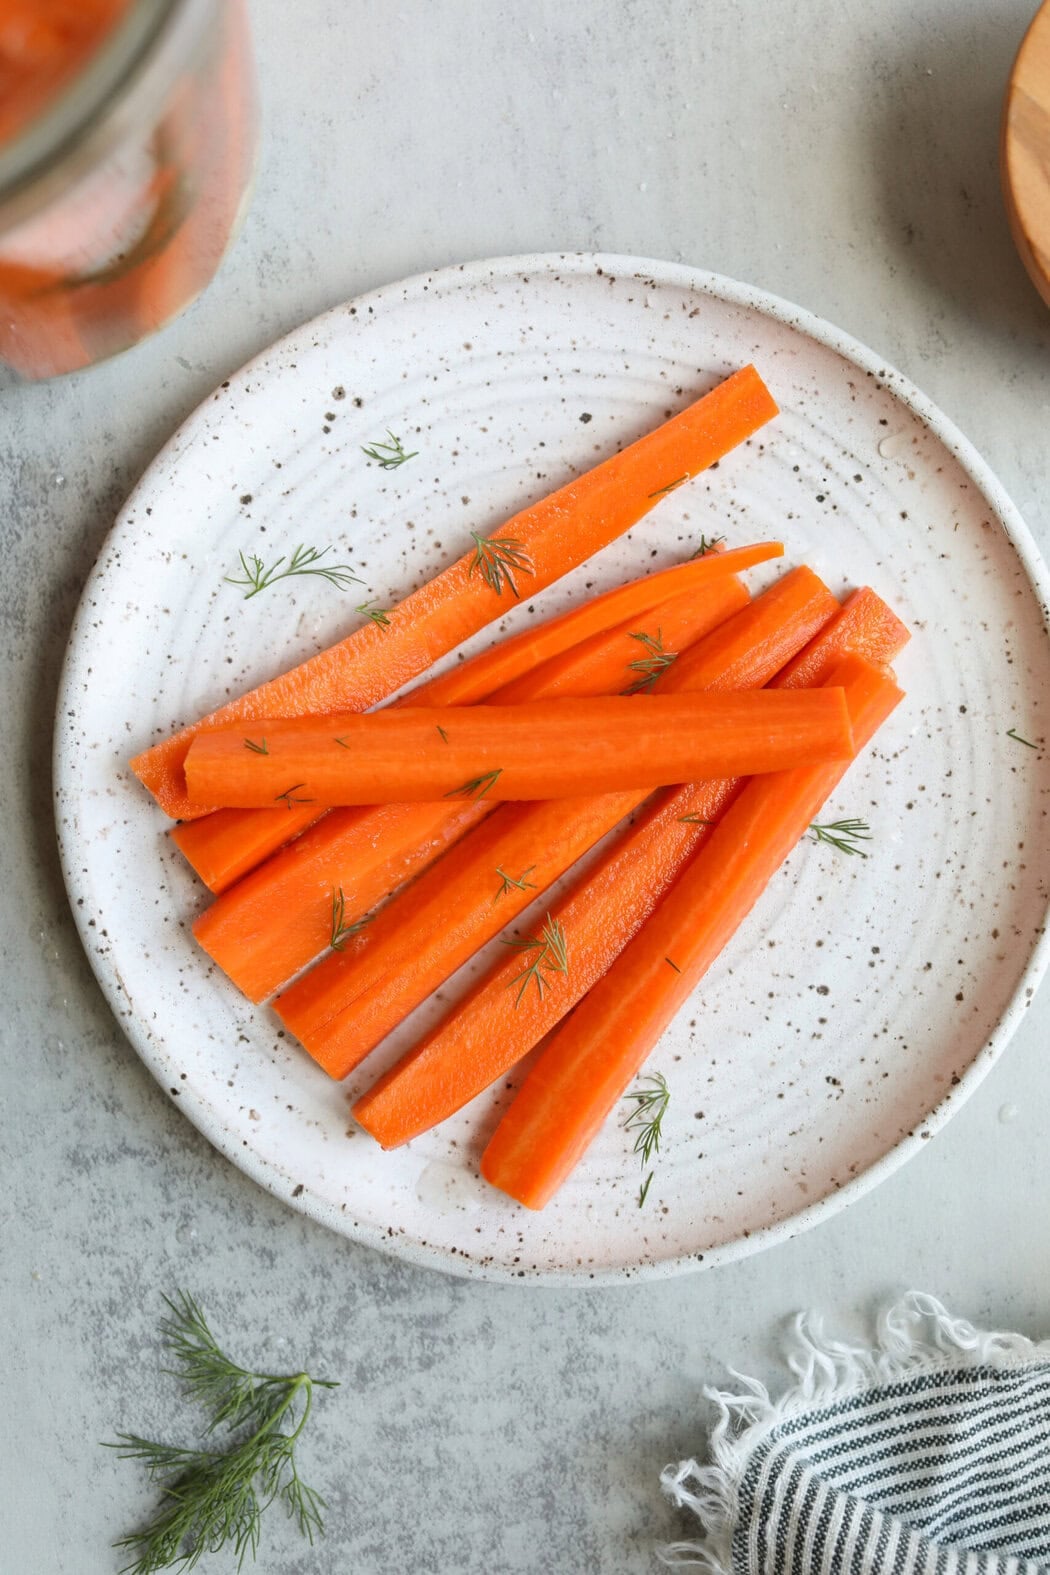
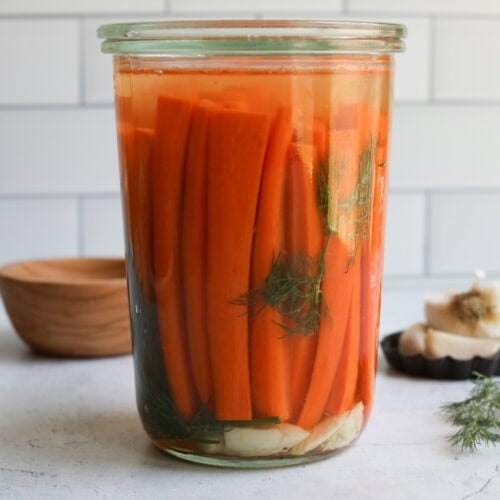
- Carrots: Fresh, firm carrots produce the best texture and stay crisp throughout fermentation. I only peel my carrots if they have a thick, bitter peel or aren’t especially fresh. Carrots can be cut into sticks, rounds, or crinkle-cut slices, but try to keep the pieces a similar size so they ferment evenly. I don’t recommend using baby carrots.
- Sea salt: I make sure to use unrefined, non-iodized sea salt. Iodized table salt can interfere with fermentation and may affect the flavor and texture of the finished carrots.
- Filtered water: Chlorine can inhibit the beneficial bacteria needed for fermentation, so filtered or bottled spring water works best. Avoid distilled water, which lacks the naturally occurring minerals that support fermentation.
- Fresh dill: Fresh dill gives these carrots their classic dill pickle flavor, but dried dill also works well. Other fresh herbs, such as thyme, rosemary, sage, or marjoram, are delicious alternatives, and can create a slightly different taste.
- Garlic: Fresh garlic adds savory flavor that complements the tangy carrots. For a different flavor profile, replace the garlic with thin slices of fresh ginger and a few strips of lemon peel, which pair especially well with Asian-inspired meals and salads. Or, include peppercorns for a spicier kick or a bay leaf for an herby finish.
Find the ingredient list with exact measurements in the recipe card below.
Choosing A Carrot Cut
I’ve tested this recipe with carrot sticks, carrot coins (rounds), and shredded carrots, and they all work great. Here are the primary differences:
Carrot sticks: Stay crisp throughout fermentation and are easy to pack tightly into the jar. Cutting whole carrots into sticks similar in size also helps them ferment evenly.
Carrot coins (rounds): May ferment a little faster due to the more exposed surface and are easy to toss into salads, grain bowls, or serve on snack plates.
Shredded carrots: Long carrot peels ferment the quickest, but they don’t stay as crunchy as sticks or coins. Their softer texture makes them a great addition to salads, wraps, sandwiches, or to use as a topping for tacos and grain bowls, a lot like pickled red onions.
No matter which cut is used, keeping the pieces as uniform in size as possible helps ensure even fermentation and consistent texture.
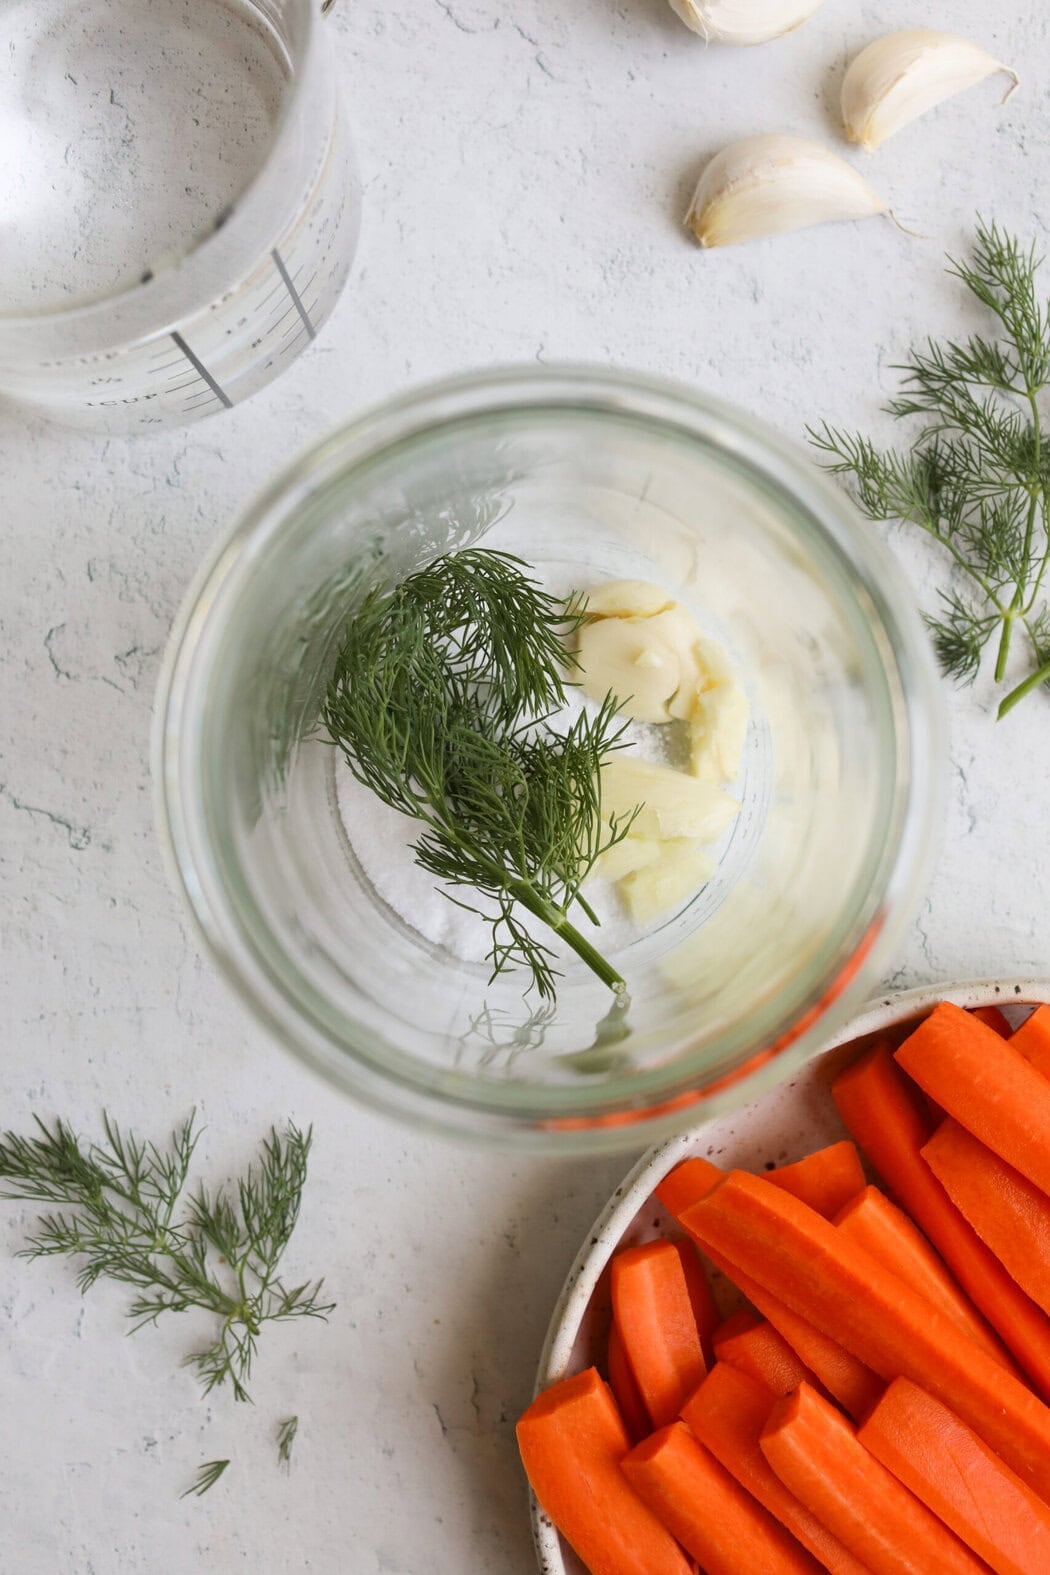
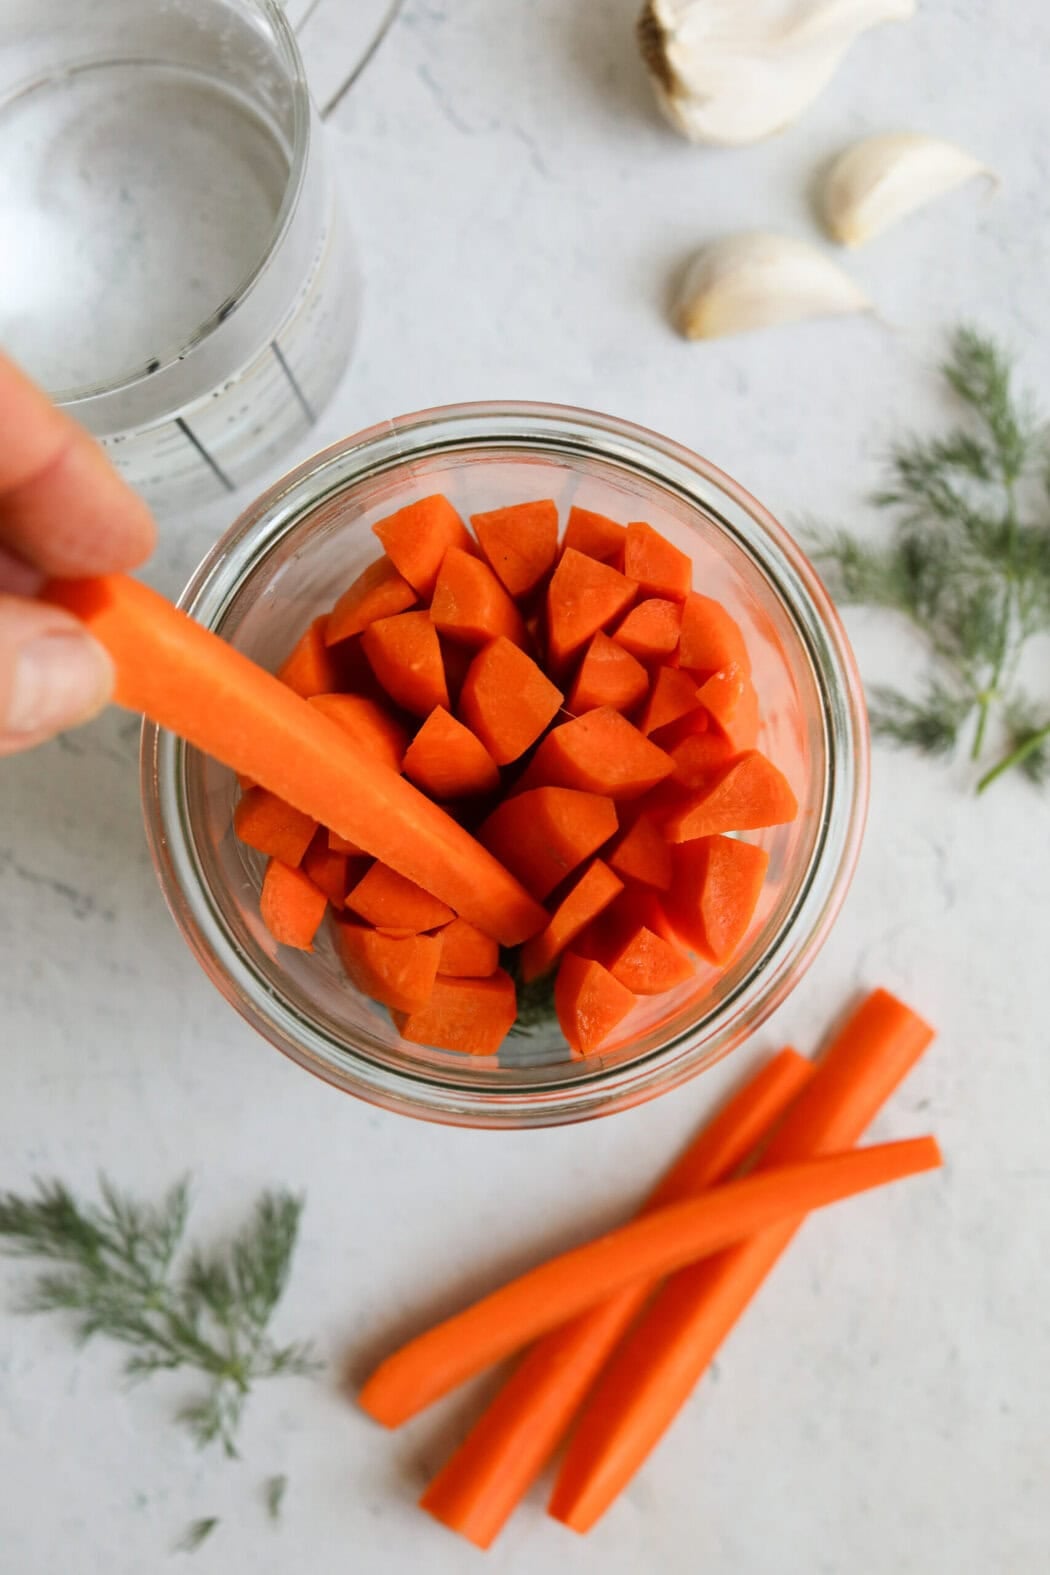
How To Make A Batch
Making fermented carrots is a simple process, but there are a few key steps to ensure a sour flavor and proper crunch:
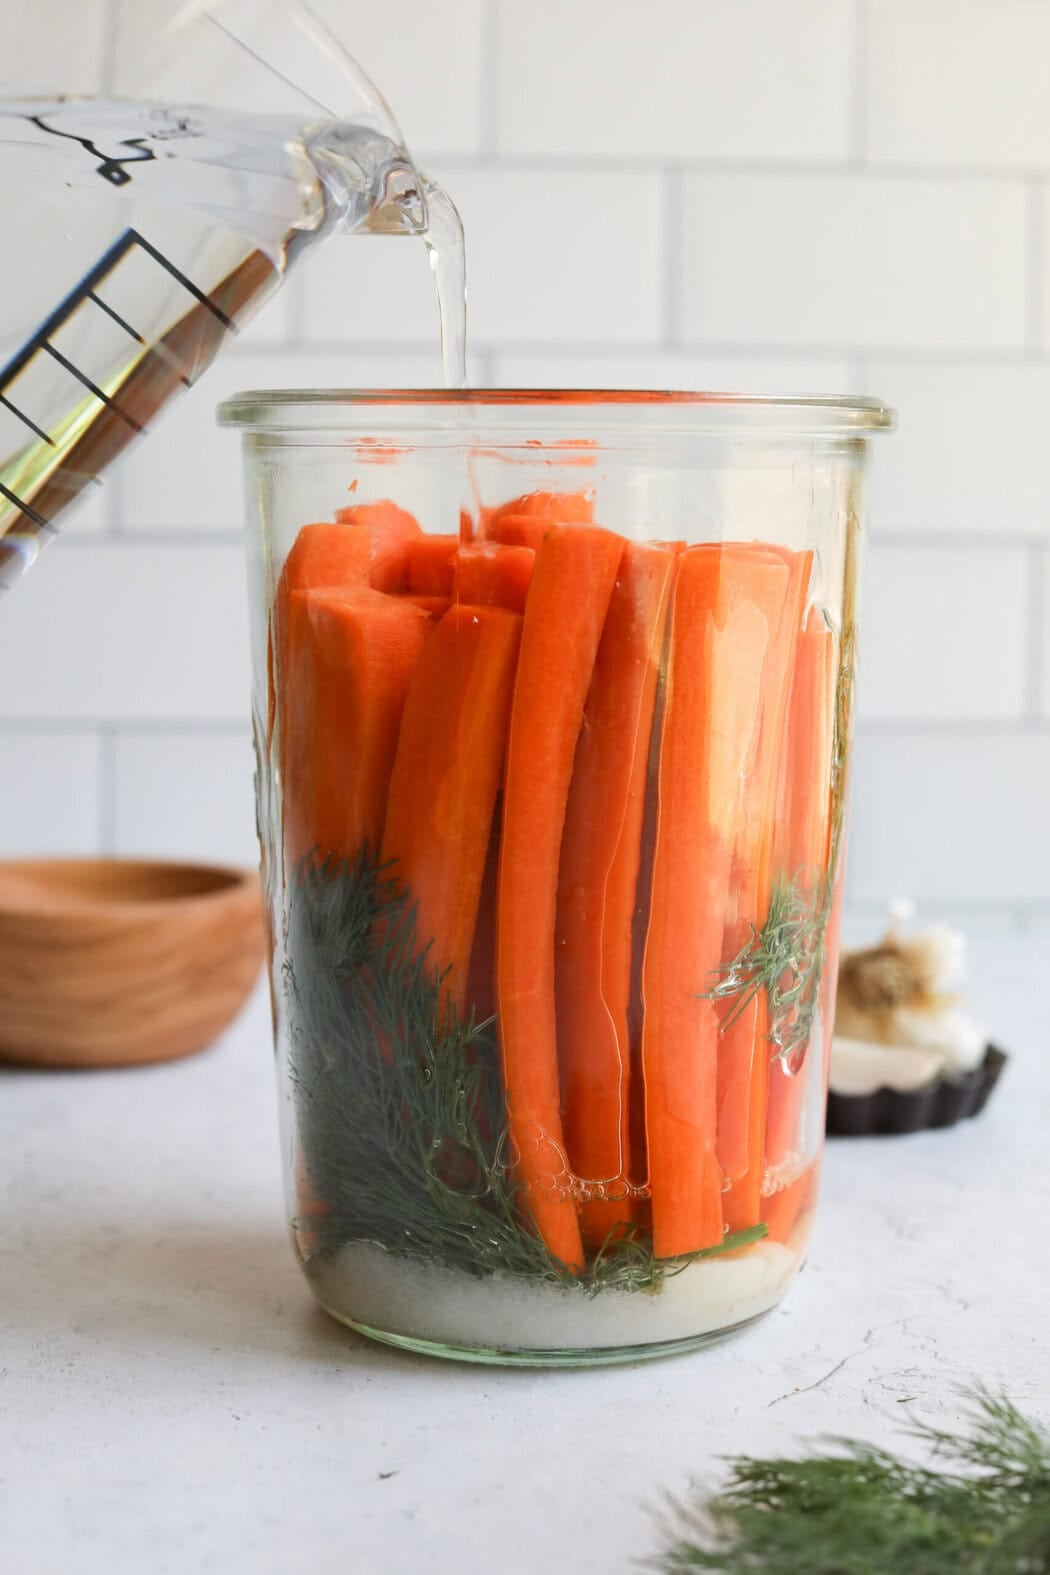
- Combine ingredients: I start by placing the garlic, dill, and salt into a quart-size glass mason jar. Then, I add the carrot sticks, packing them into the jar as tightly as I can. This helps prevent them from floating to the surface, which increases the risk of spoilage.
- Add liquid: Next, I fill the jar with filtered water, leaving about an inch of headspace at the top, screw on the lid, and shake to mix.
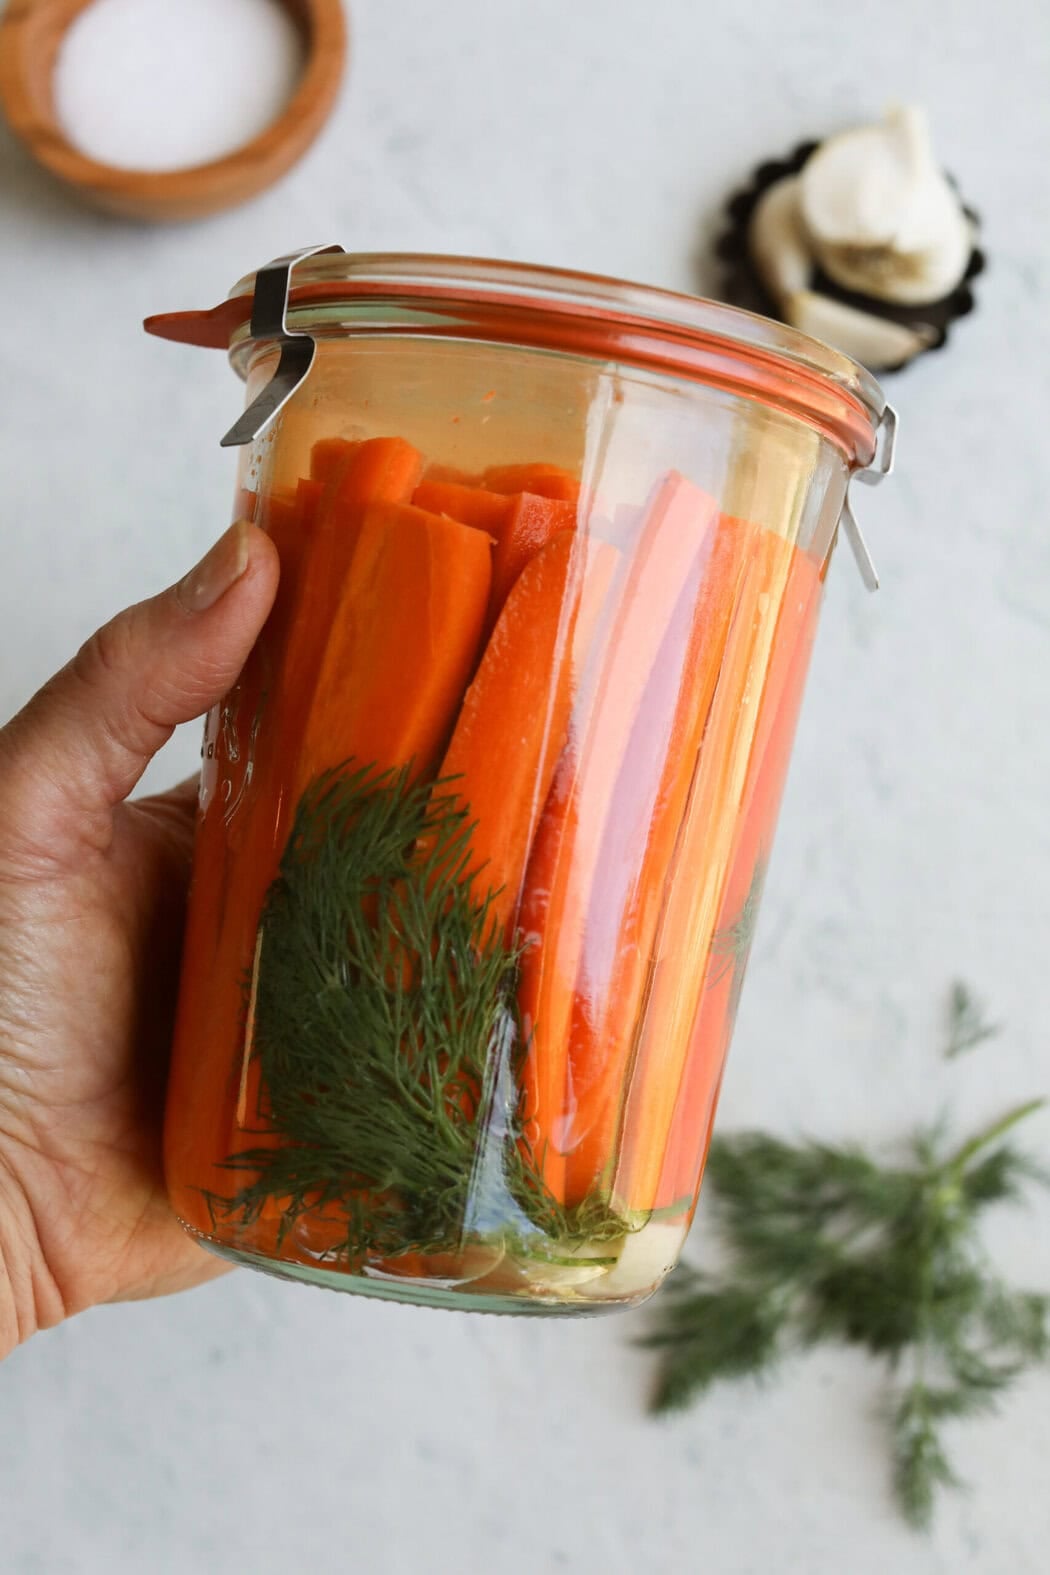
- Ferment: I always remove the lid to make sure my carrots are still submerged in the liquid. Then, I screw the lid back on very loosely and let the jar sit at room temperature for a few days. I start checking on my carrots after day 3. If I’m not happy with their texture and sourness, I let them go another day and check again. I find that if my kitchen is particularly warm, 3 days is usually plenty of time.
For serving size and the complete directions and ingredient amounts, scroll down to the recipe card below. All of our recipes include the nutrition analysis, listing calories (kcals), protein, carbohydrates/carb, fiber, sugar, sodium, cholesterol, and more per serving.
Keep The Carrots Below The Brine
Keeping the carrots fully submerged beneath the brine is one of the most important steps for successful fermentation. The saltwater creates the low-oxygen (anaerobic) environment that beneficial lactic acid bacteria need to thrive while discouraging the growth of unwanted microorganisms. Packing the carrots tightly into the jar helps prevent them from floating, and checking the jar daily ensures everything stays below the surface as the fermentation progresses.
A standard quart-size mason jar with a lid is all that’s needed for this recipe. However, optional fermentation lids with one-way air valves can make the process a little more hands-off by allowing carbon dioxide to escape while keeping air out. Fermentation weights can also help keep the carrots submerged beneath the brine, but they aren’t required when the carrots are packed tightly into the jar.
How To Tell When They’re Ready
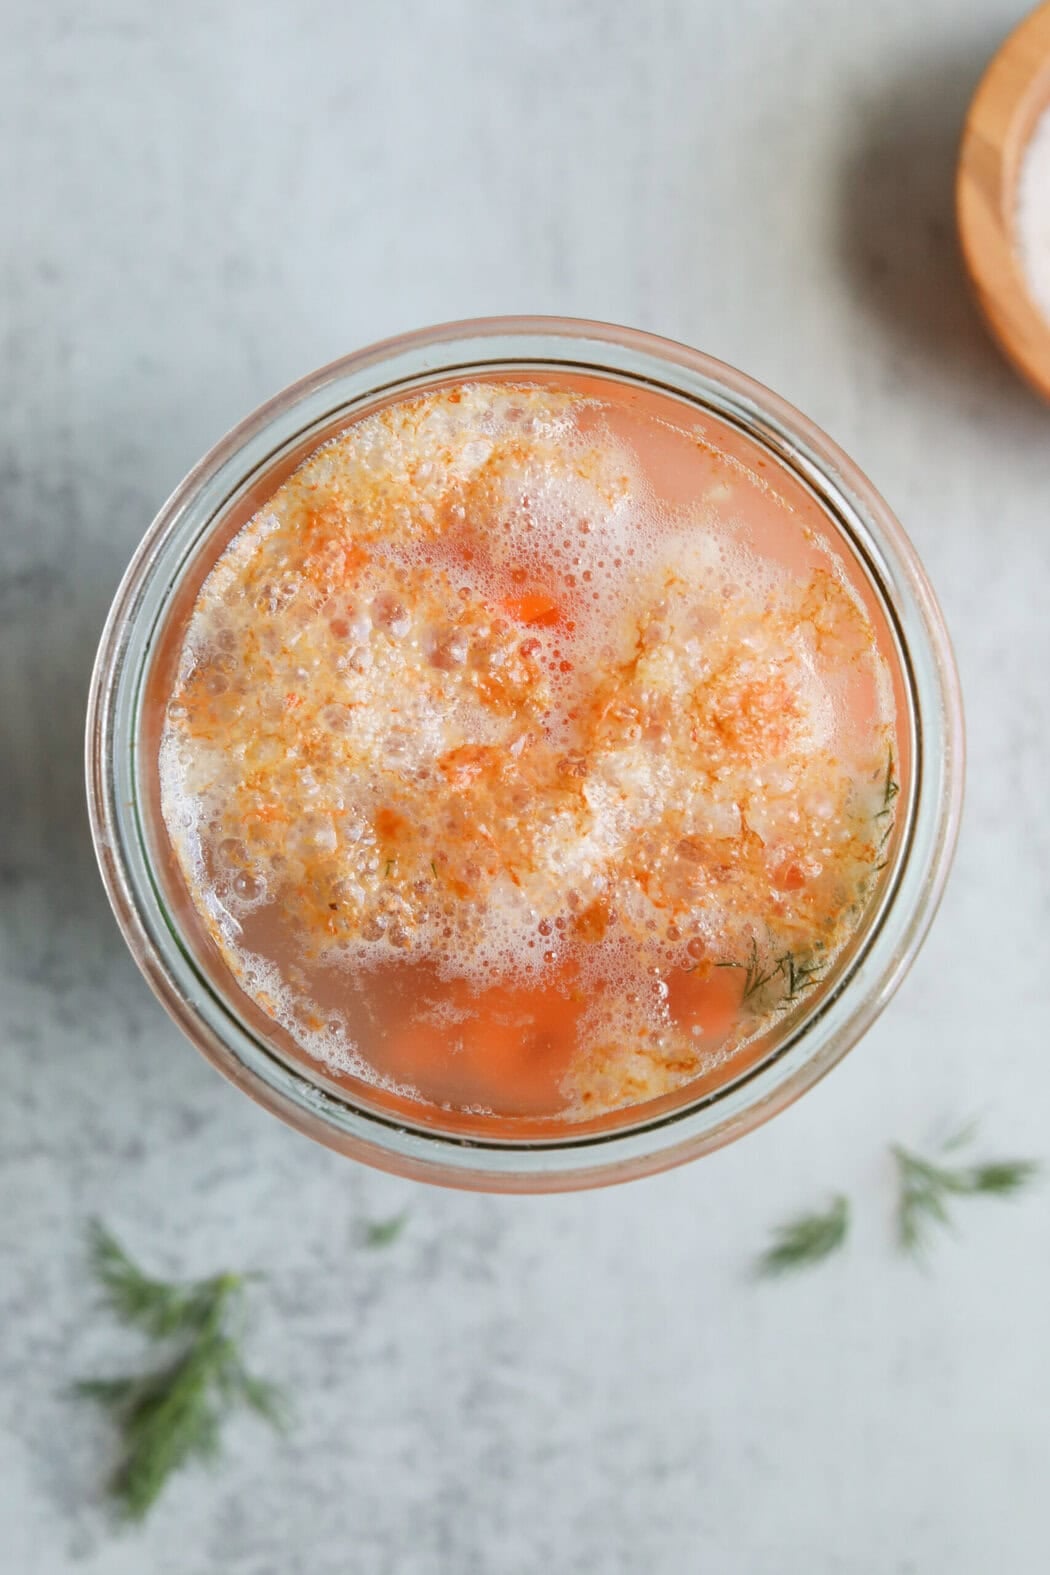
Fermentation is a gradual process, and the carrots will change a little each day. Within the first 24 hours, the brine may become cloudy, and tiny bubbles often begin to appear. After 2 to 3 days, a slightly sour aroma and a little white surface scum are both normal signs that fermentation is underway.
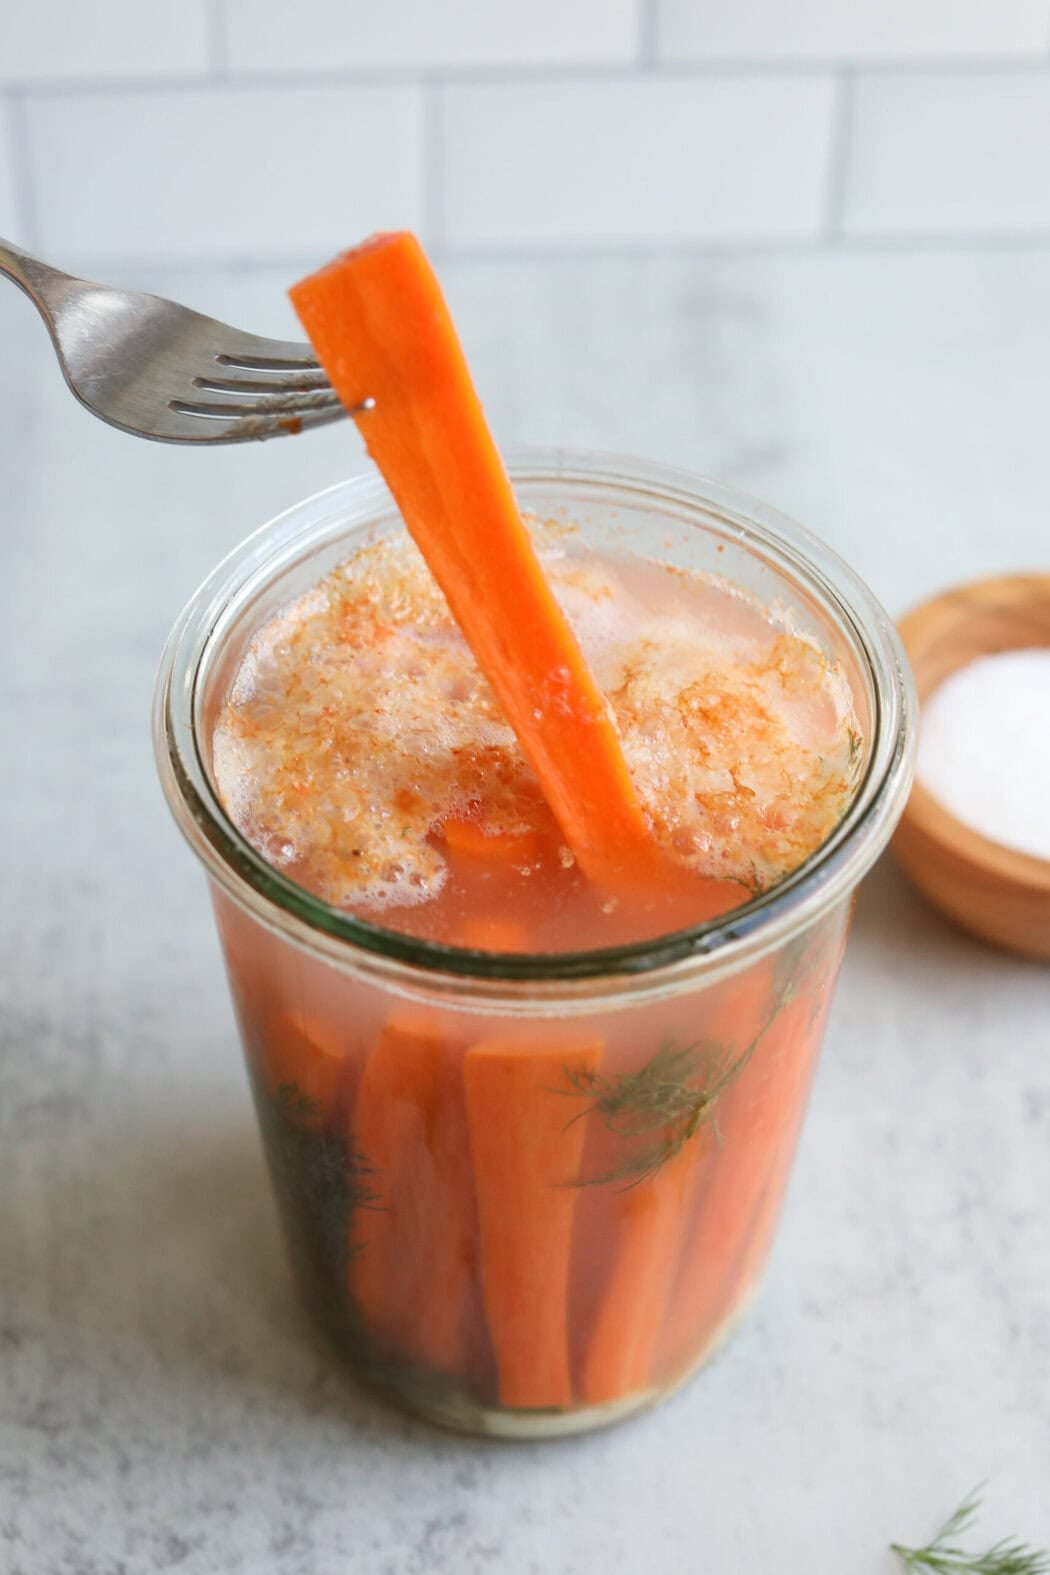
Kitchen temperature plays a big role in how quickly the carrots ferment. Cooler temperatures slow the process, while warmer kitchens speed it up. Begin tasting the carrots around day 3 or 4 using a clean stainless steel utensil. The perfect time to refrigerate them is when they’ve reached the ideal balance of tanginess and crunch. For a more pronounced sour flavor and softer texture, simply allow them to ferment another day or two before transferring them to the refrigerator.
Normal Changes Versus Spoilage
Many changes during fermentation are completely normal. A cloudy brine, tiny bubbles, fizzing when the lid is loosened, white surface scum, and a pleasantly sour aroma are all signs that beneficial bacteria are actively fermenting the carrots.
However, some changes indicate the batch should be discarded. If pink or red mold, black growth, a putrid odor, or a slimy brine develops, the carrots have spoiled and should not be eaten. When in doubt, it’s always safest to throw the batch away and start fresh.
Ways I Like To Serve Them
I almost always keep a jar of these fermented carrot sticks in the refrigerator because they’re such an easy way to add crunch and tangy flavor to meals. Most often, I enjoy them straight from the jar as a snack. But I also pack them into lunchboxes and serve them alongside sandwiches or wraps in place of pickles. I especially enjoy them as a side with these peanut chicken wraps.
These fermented carrots are also delicious chopped into salads and grain bowls, like my Mediterranean bowl with salmon. I add them to snack boards with cheese and crackers, or pair them with garlic hummus and other dips for an easy appetizer or afternoon snack.
⭐⭐⭐⭐⭐
Everyone loves these carrots! They have amazing flavor on their own but also make a great addition chopped up and added to salad with ranch dressing! The recipe is definitely going to be a staple in our home! – Janae
Storage Directions
Once the carrots have reached my preferred balance of tanginess and crunch, I simply tighten the lid and transfer the jar to the refrigerator. The cold temperature slows the fermentation process significantly, helping preserve the flavor and texture while allowing the carrots to continue fermenting very slowly over time.
Fermented carrots keep well in the refrigerator for up to 6 months. Because fermentation continues at a much slower pace, pressure can still build inside the jar. I always recommend opening the lid carefully, especially after longer periods of storage, to prevent it from exploding off.
Glass fermentation weights aren’t necessary once the carrots move to the refridgerator. Since active fermentation has slowed considerably, simply keeping the carrots covered with brine and the lid tightly sealed is sufficient.
Frequently Asked Questions
Fermented foods of all kinds offer health benefits. Fermented carrots, in particular, provide the same nutrients found in fresh carrots, including vitamin A, fiber, and antioxidants. During fermentation, naturally occurring beneficial bacteria multiply, which makes fermented carrots a natural source of live probiotics when eaten raw and not heat-treated. Including probiotic-rich fermented foods as part of a varied diet may help support gut health and the immune system.
A small serving is a great place to start. About 2 to 4 carrot sticks (or a few slices) is enough to enjoy their flavor and beneficial bacteria that help improve digestion. If fermented foods are already a regular part of the diet, enjoy larger servings based on personal preference.
Start with a small serving once a day and gradually increase the amount over time. Introducing fermented foods slowly gives the digestive system time to adjust while making it easier to discover favorite flavors and textures. This fermented carrots recipe is one of my favorite beginner-friendly options because the carrots are naturally sweet, have a crunchy texture and mild, pickle-like flavor, and tend to be more approachable than stronger-tasting ferments like homemade sauerkraut or kimchi.
More Fermented Foods To Try
Want to save this recipe?
Enter your email below & we’ll send it straight to your inbox. Plus you’ll get great new recipes from us every week!
Fermented Carrots Recipe
Packed with fresh dill and garlic, these fermented carrots are crisp, sweet, savory, and tangy. Made with just five simple ingredients, they’re an easy, beginner-friendly way to enjoy homemade probiotic-rich fermented vegetables while adding flavor and texture to a variety of meals.
Ingredients
- 1 lb. carrots, peeled and cut into sticks of similar size (or enough to tightly pack the jar)
- 1 Tbsp. unrefined, non-iodized fine sea salt
- ½ tsp. dried dill or 1 sprig fresh dill
- 3 cloves garlic, peeled and smashed
- Filtered water
Instructions
- Into a quart-size mason jar, place the garlic, dill, and salt
- Pack carrot sticks, standing on end, into the jar as tightly as you can. This will prevent them from floating up to the surface, which increases the risk for spoilage. The carrots should be covered completely with liquid at all times during fermentation.
- Fill the jar to within one inch of the top with filtered water, screw on the lid tightly, and shake gently to mix.
- Remove the lid to check that all of the carrots are still submerged, then screw the lid back onto the jar very loosely and allow the jar to sit at room temperature (~70 degrees F) for 3-5 days. Try them on the third day and check if you like their texture and sourness. If not, loosely re-cover the jar and check again the next day and possibly the day after that. If your kitchen is warm (75-85 degrees F), you may only need to ferment the carrots for 3 days total, so keep an eye on them and check them often.
- Once you find your “bliss point” of crunch and sour, screw the lid on tightly and store the fermented carrots in the refrigerator for up to 6 months.
Last Step! Please leave a review and rating letting us know how you liked this recipe! This helps our business thrive so we can continue providing free recipes and high-quality content for you.
Notes
Use filtered or spring water: Chlorine can inhibit the naturally occurring beneficial bacteria needed for fermentation. If filtered water isn’t available, bottled spring water is the best alternative. Avoid distilled water.
Choose non-iodized salt: Unrefined sea salt or kosher salt works best. Avoid iodized table salt, which can interfere with the fermentation process.
Pack the carrots tightly: Arranging the carrot sticks snugly in the jar helps keep them submerged beneath the brine, creating the ideal environment for successful fermentation.
Ferment at room temperature: Store the jar out of direct sunlight in a spot that’s approximately 60°F to 70°F. Warmer temperatures speed up fermentation, while cooler temperatures slow it down.
Check the jar daily: It’s normal for the brine to become cloudy and for bubbles to form as fermentation progresses. Daily checks also make it easy to ensure the carrots remain beneath the brine and to begin tasting around day 3 or 4 until the preferred balance of tanginess and crunch is reached.
Optional fermentation equipment: A quart-size mason jar and lid are all that’s needed for this recipe. Fermentation lids with one-way air valves and fermentation weights can make the process more convenient, but they aren’t necessary for a successful batch.
Nutrition Information
- Serving Size: 3 carrots
- Calories: 10
- Fat: 0 g
- (Sat Fat: 0 g)
- Sodium: 220 mg
- Carbohydrate: 3 g
- (Fiber: 0 g
- Sugar: 1 g)
- Protein: 0 g
- Cholesterol: 0 mg
Dietary
For ultimate success, we highly recommend reading the tips in the full blog post above. All photos and content are copyright protected. Please do not use our photos without prior written permission. If you wish to republish a recipe, please rewrite the recipe in your own unique words. Link back to the source recipe here on The Real Food Dietitians. Thank you!

I rushed and don’t think I left enough headspace. I saw one carrot breaching the surface a tiny bit. Will these be salvageable? Dangerous ? Thanks
Hi Link – You should be able to just poke that one below the surface with a clean finger and carry on with your ferment. Unless, of course, you see mold or the carrots smell off.
I had tried a recipe with a little more salt before I found yours and I think it was too much. I left mine on the counter for 5 days and when I pulled the first carrot out to taste, it was slimy. I washed it off and tasted it–not too bad but definitely too salty. Is the slime bad? suggestions?
Fizz and scum are a normal part of fermentation as both bacteria and yeast are hard at work preserving your vegetables. After just 24 hours you’ll notice that the water has turned cloudy and you may even see some tiny bubbles rising to the surface. After 2-3 days, depending on how warm your kitchen is, if you remove the lid you’ll probably see some white scum. This is completely harmless and normal. If see red or pink mold, black scum or the smell is unmistakably putrid and you have a slimy brine then it’s time to pull the plug and toss your carrots. This is a sign that something went wrong and your carrots have spoiled. But fear not, in all of my years of fermenting I’ve had only a handful of ferments go bad and it’s never been a jar of carrots. Hope this helps, enjoy!
Everyone loves these carrots! They have amazing flavor on their own but also make a great addition chopped up and added to salad with ranch dressing! The recipe is definitely going to be a staple in our home!
Thanks for the great feedback, Janae! We appreciate the 5-star review!
This was my first time fermenting carrots and they turned out very tasty. I do have a question regarding safe storage. As I have removed carrots to eat, less brine is displaced and the carrots are starting to stick out about the brine. Is this ok or should I mix up some more brine to bring the level back up above the carrots? I have added brine to sauerkraut for the same reason, but I’m not sure if doing so is necessary or not once the product is refrigerated.
I’m happy to hear your carrots turned out well! Once you move them the the fridge it’s okay if some of the carrots poke above the brine as you enjoy them. Refrigeration slows or stops the fermentation process making it less likely to spoil.