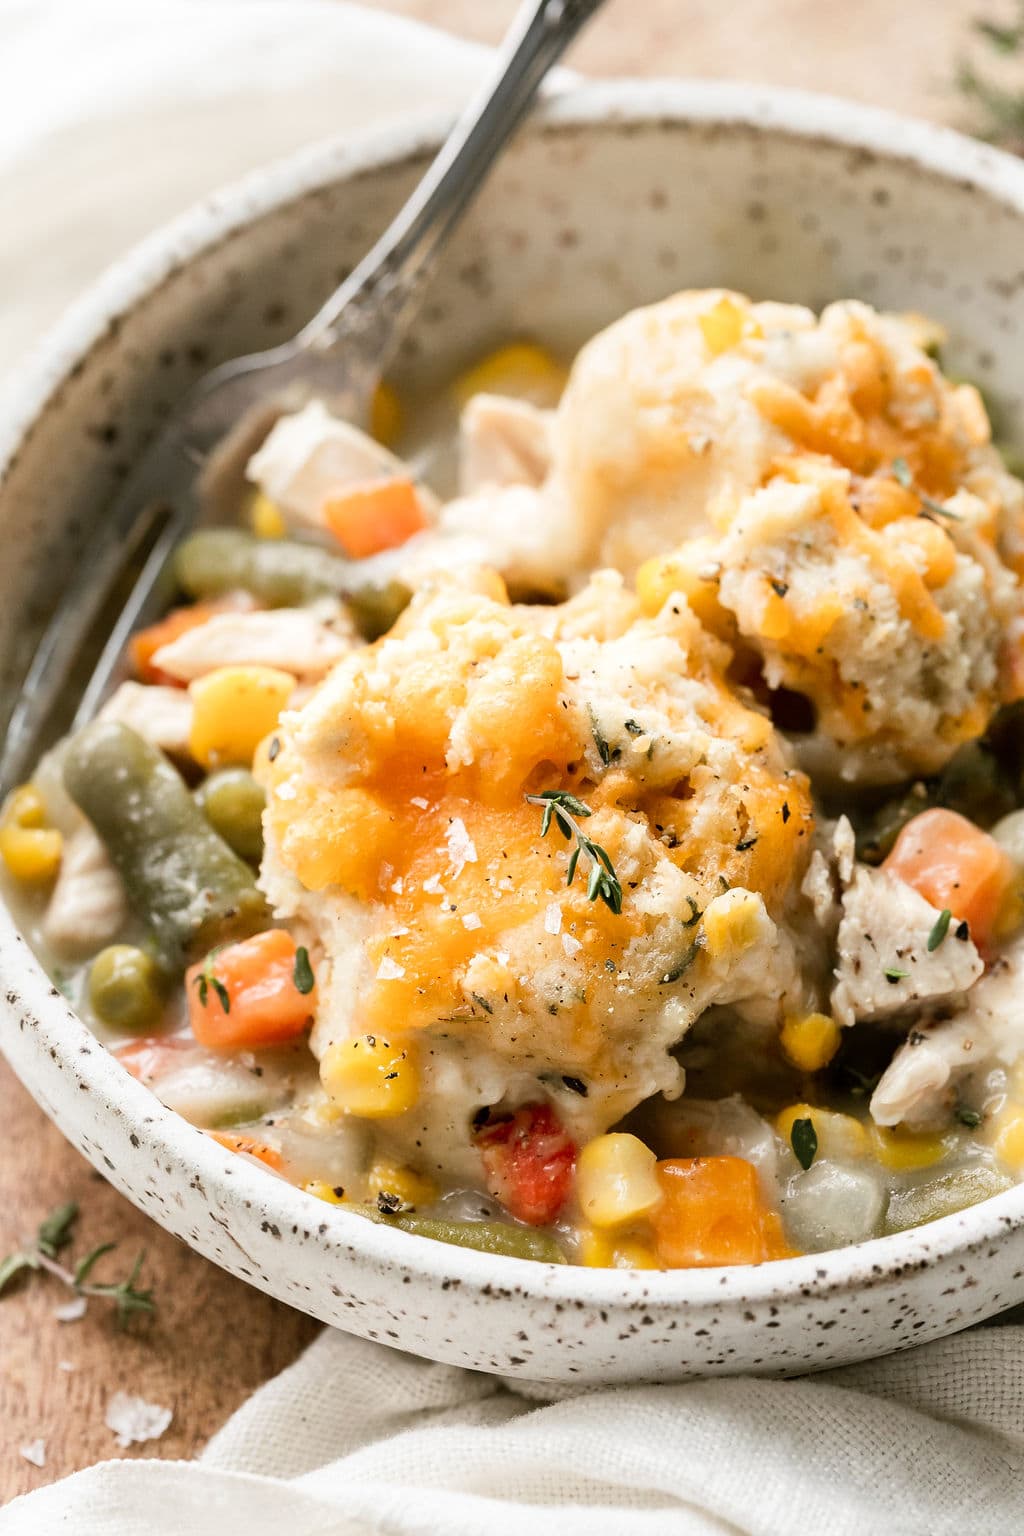
This Chicken Pot Pie Casserole utilizes those favorite pot pie flavors in an easy-to-make, well-rounded, and comforting dinner that will have the entire family eager to gather around the table. Featuring all the classic chicken pot pie flavors you know and love, this recipe uses drop biscuits in place of crust for a quick-assembly dish. Keep reading to learn what you’ll need, discover our best tips, and find out how to make this chicken pot pie casserole recipe gluten-free, if needed.
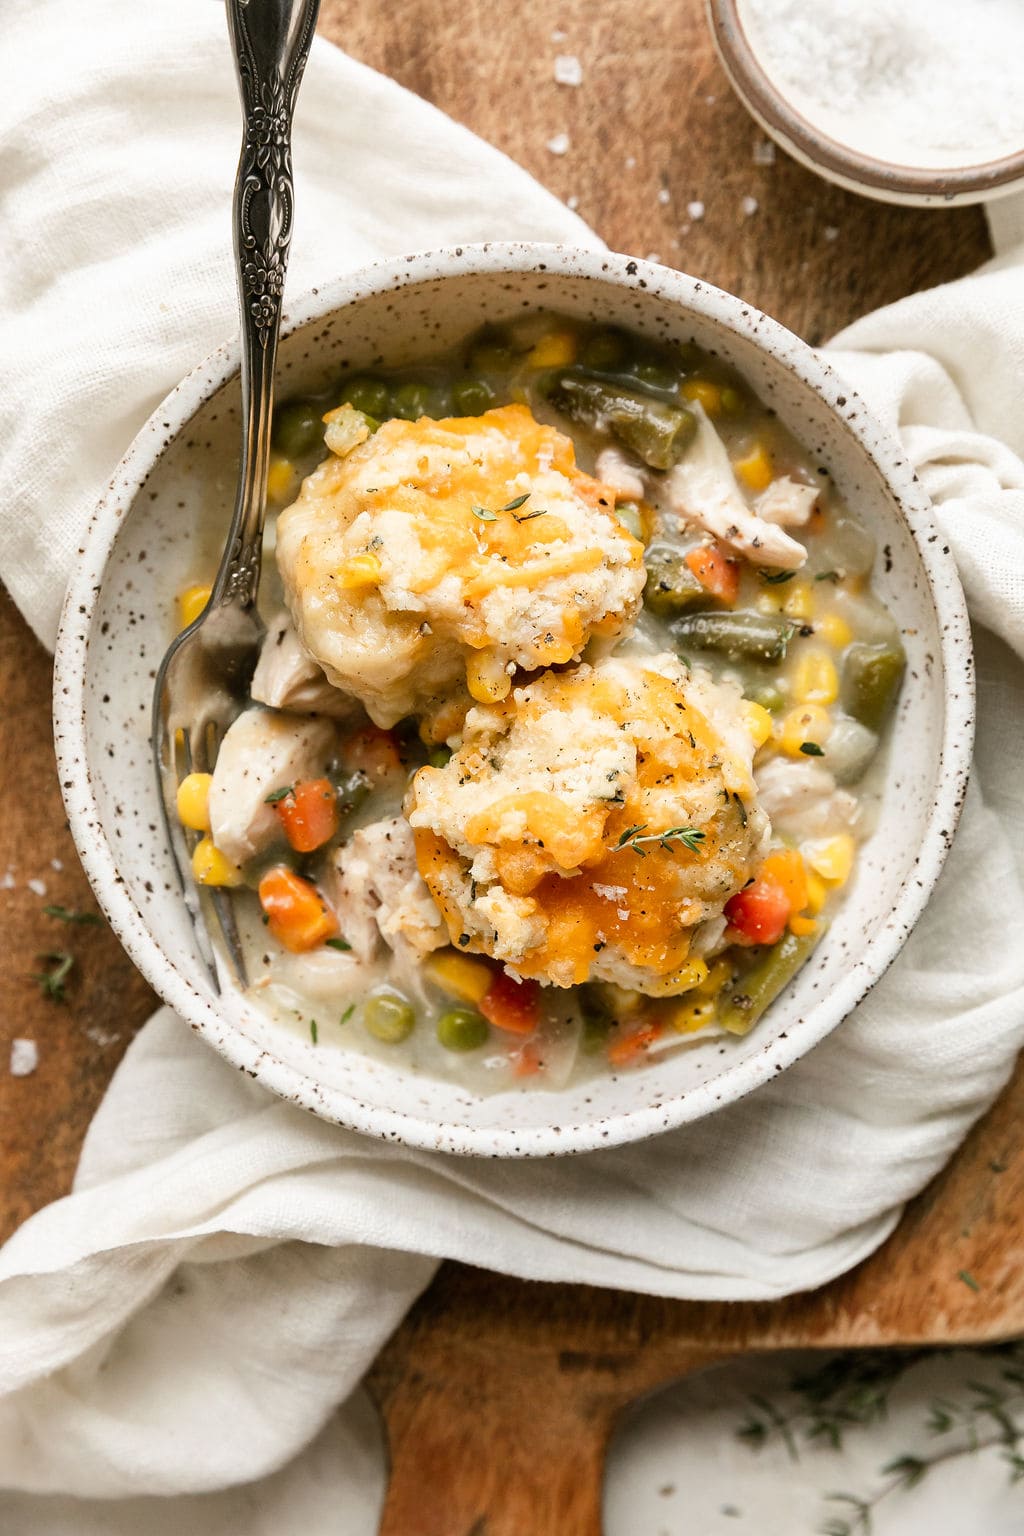
Highlights: Chicken Pot Pie Casserole
We love dependable dinner recipes that we know everyone is going to enjoy, and this chicken pot pie casserole with biscuits has quickly become a new favorite. Simple and easy to make, we know it will be a weeknight dinner saver for you, too. Here’s what makes it great:
- It’s easier to make than a traditional pot pie. By topping the chunky pot pie gravy with drop biscuits instead of pie crust, you significantly speed up the prep and baking time
- It’s both comforting and nourishing. Like so many of our real-food recipes, we’ve packed this casserole with plenty of veggies for color, texture, vitamins, and fiber
- You can customize it. You can use any favorite protein or veggies to make this pot pie. Additionally, you can use easy swaps to make it gluten-free or dairy-free, if needed
- Great for feeding a bigger group. With 8 servings from one recipe, this casserole is great for family gatherings, potlucks, hungry kids, or providing leftovers to enjoy later
Healthy Chicken Pot Pie Casserole made easy
Who doesn’t love a good chicken pot pie? A classic comfort food, it always hits the spot. Comfort food that’s also healthful due to the chicken protein and all the health benefits. However, we don’t always have time to form, roll out, and bake a pot pie crust from scratch. So instead of pie crust, we opted to top this casserole with easy-to-make, free-form drop biscuits to save time. From start to finish, this chicken pot pie casserole is ready in an hour and makes a well-rounded dish with plenty of leftovers to reheat and enjoy later. One bite of the warm gravy filling, and you’ll be adding this recipe to your weekly meal prep on repeat.
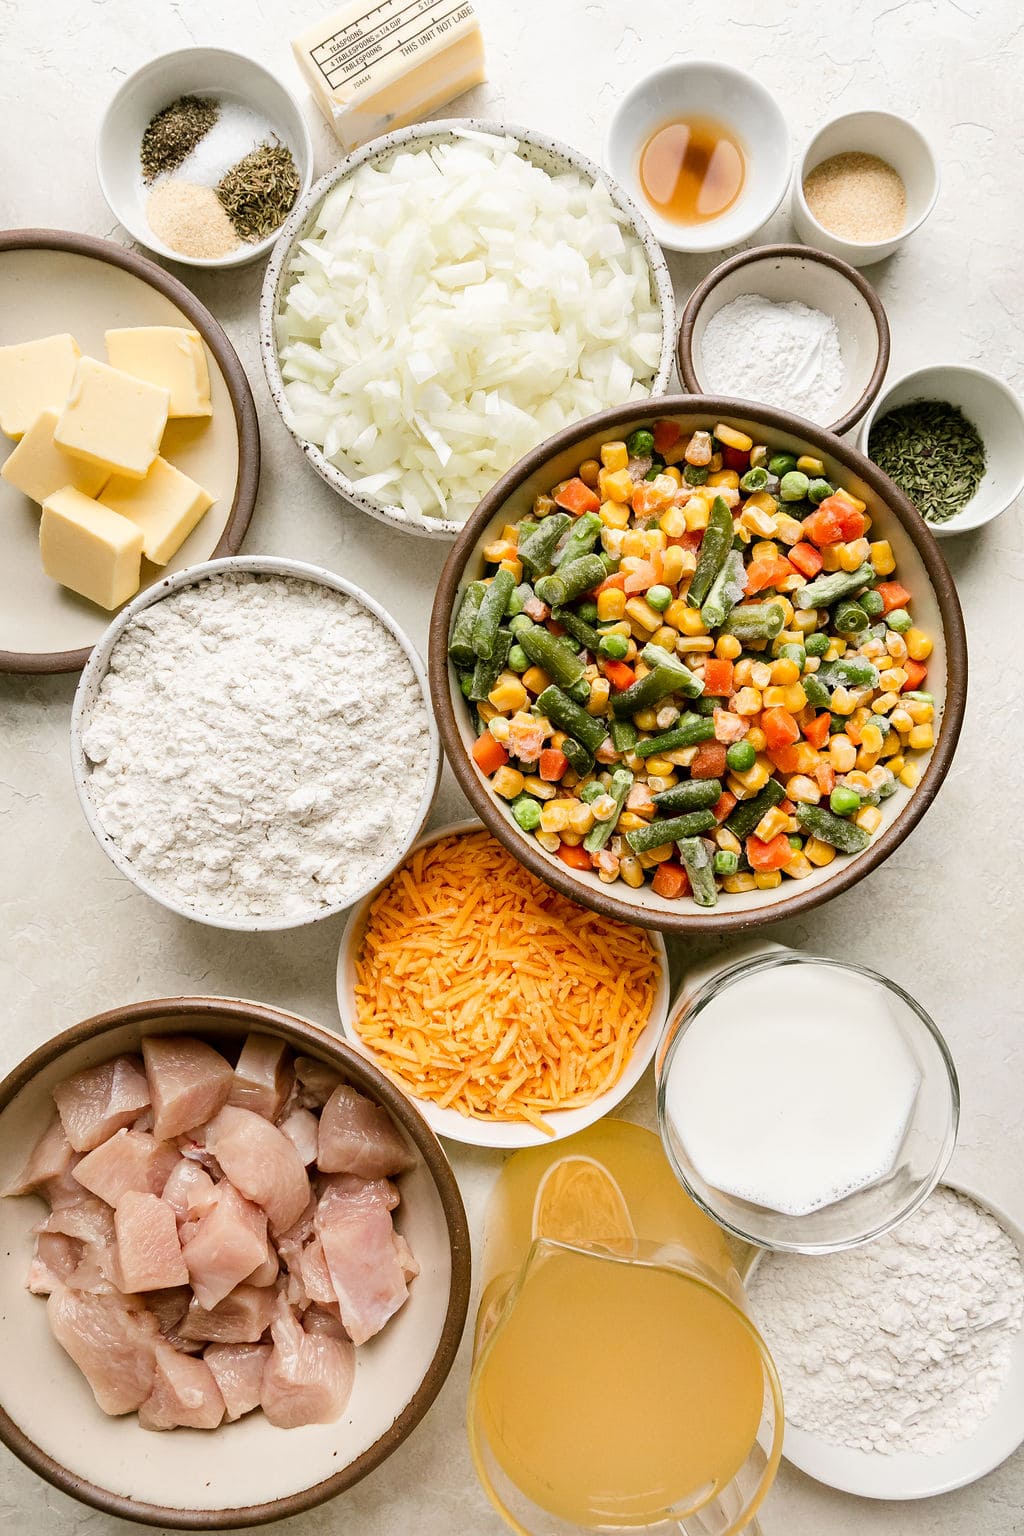
Ingredients for Chicken Pot Pie Casserole
This easy chicken pot pie casserole with biscuits comes together from freezer and pantry staples you probably already have on hand, such as flour, frozen veggies, and herbs.
- Unsalted butter
- Frozen vegetables – use a fresh yellow onion and a bag of frozen mixed vegetables including corn, carrots, peas, and green beans
- Flour – choose all-purpose flour or a gluten-free flour blend such as Bob’s Red Mill One-to-One Gluten-Free Baking Flour or King Arthur Measure-for-Measure Gluten-Free Flour
- Chicken broth – use store-bought broth, or make your own broth using our guide with step-by-step photos
- Seasonings – there’s no shortage of flavor here! Salt, dried thyme or parsley, garlic powder, and black pepper combine for a savory taste
- Chicken breast – you can use either pre-cooked or raw chicken (see recipe card for directions on how to use both types of chicken)
- Baking powder
- Shredded Cheddar cheese – can sub in Colby, Cheddar, or any other shredded cheese of choice, including dairy-free varieties
- Milk – use your favorite dairy or unsweetened non-dairy milk
- Vinegar – apple cider vinegar or white vinegar will work for this recipe
Find the ingredient list with exact measurements in the recipe card below.

Ingredient Spotlight: Frozen Mixed Vegetables
Frozen vegetables are a nutritious option and a staple we turn to often. Not only are they convenient, budget-friendly, and easy to use, but they’re also harvested and frozen at the peak of their ripeness. As a result, frozen vegetables are a nutrient-dense option that we love to use in recipes. We always keep a bag or two of frozen mixed vegetables on hand for recipes like this chicken pot pie casserole, our favorite hearty vegetable beef soupand this easy crockpot version of pot pie.

How to make Chicken Pot Pie Casserole
This easy chicken pot pie casserole recipe breaks down into a few simple steps:
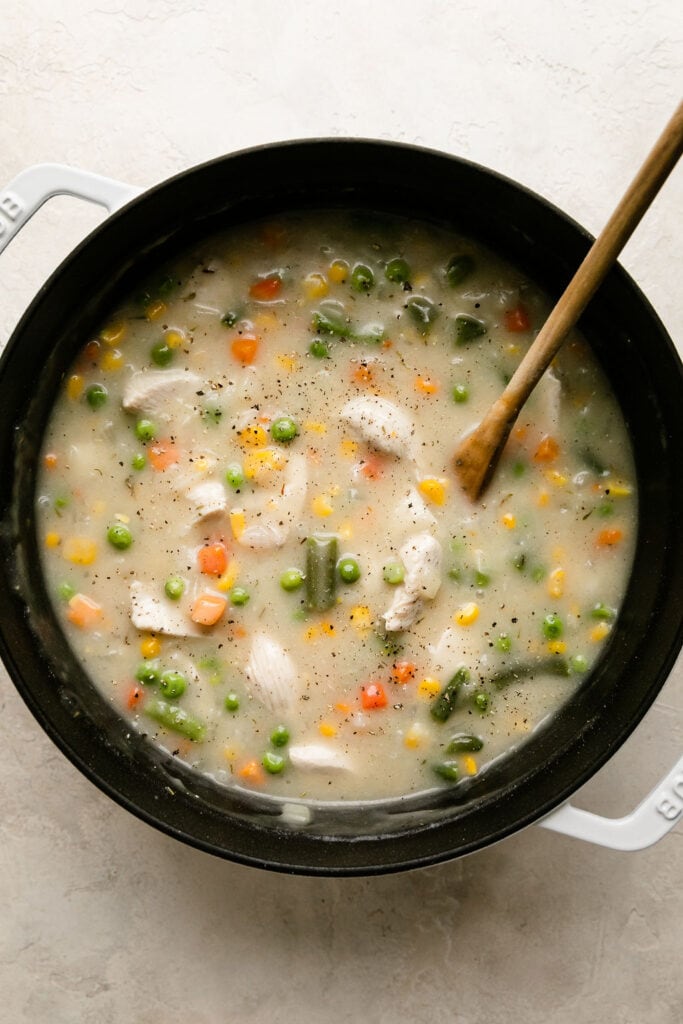
- Make the veggie gravy: Cook the vegetables until soft, then add the flour to make a roux. Reduce the heat, and slowly add in the broth. Mix in the seasonings, increase the heat, and allow the mixture to boil and thicken to a gravy
- Add the chicken and bake: Stir the chicken into the gravy, letting it cook until it is opaque, and transfer to a baking dish and bake
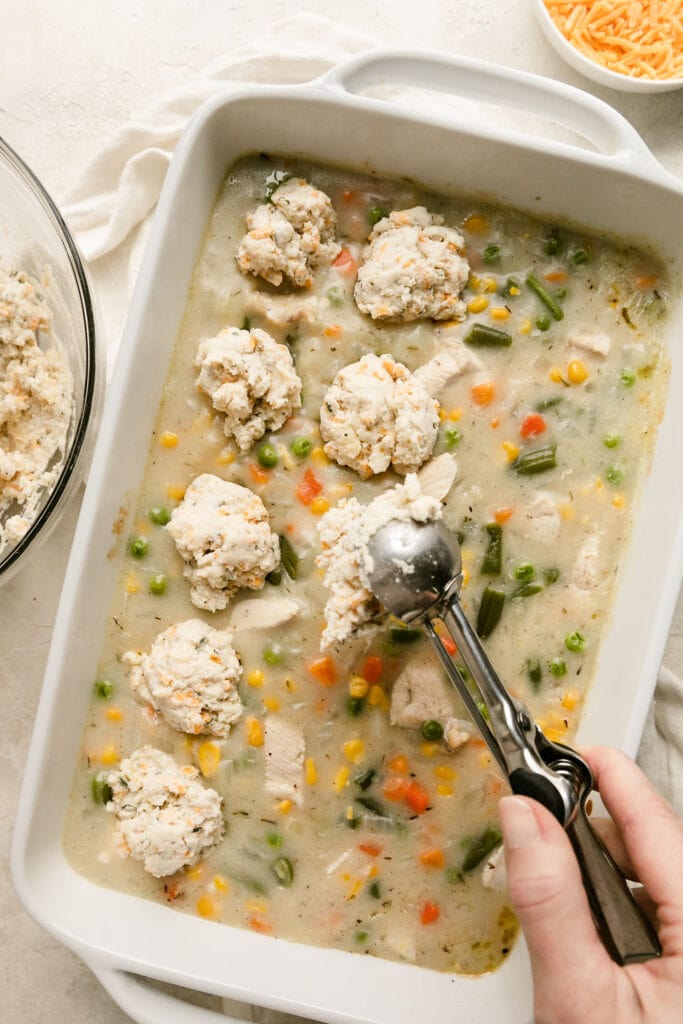
- Drop the biscuits over the casserole: While the chicken pot pie casserole bakes, combine the ingredients for the biscuit dough. Then, drop the dough into small mounds all over the hot pot pie filling
- Bake until done: Return the chicken pot pie casserole to the oven, and continue to bake. Sprinkle the remaining cheese on top of the biscuits. Then, return to the oven one final time until the biscuits are baked and tender
Making the Best Biscuits
You might be surprised to find vinegar in the ingredient list, but this is our secret to creating fluffy and tender biscuits, especially when using gluten-free flour. The acidic vinegar reacts with the baking powder, creating a chemical process that produces carbon dioxide and lifts the batter as it bakes. Once formed, we prefer to use a cookie scoop to dollop the biscuit dough over the filling to create even dollops and ensure we don’t overwork the dough.

Frequently Asked Questions
Yes, there are two ways you can prep this casserole for the freezer:
1. Fully baked: Prepare the casserole as directed and bake it fully. Allow the casserole to cool to room temperature, then cover with a double layer of aluminum foil and freeze for up to 3 months. To reheat, transfer the casserole from the freezer to the refrigerator 24 hours prior to baking. Then, bake just until heated through.
2. Freeze without the biscuits: You may also freeze just the pot pie filling portion of the casserole, either in a freezer-safe bag or in a casserole dish; cover and freeze up to 3 months. To assemble, allow the filling to thaw, then place it in a casserole dish. Prepare the drop biscuit dough as directed, and then assemble the casserole and bake.
Store leftovers in a covered container in the refrigerator for up to 4 days. Reheat in the microwave, a toaster oven, or on the stovetop.
Yes, if using pre-cooked chicken, you’ll need about 3 ½ cups. See the recipe card below for how to adjust the recipe for pre-cooked chicken.
Yes, if making smaller biscuits, you’ll get about 2 biscuits with every serving. If you top the casserole with 8 larger biscuits, you’ll get 1 biscuit per serving. Adjust the baking time as needed as larger biscuits may need a bit longer in the oven.
Let It Sit To Thicken Up
We know it’s tempting to dig in as soon as this chicken pot pie casserole comes out of the oven. But, letting it sit for 10 minutes after removing it from the oven allows the gravy to thicken. Much recommended!
When to Serve This Chicken Pot Pie Casserole
In our opinion, there’s never a bad time to serve this dish. It always hits the spot! However, it comes in particularly useful for those times when you need a tasty recipe for:
- Pleasing family dinners
- Weekly meal prep
- Potlucks and gatherings
- Gifting to new parents, sick friends, or anyone who may be in need of a homemade meal
Video: How to make Chicken Pot Pie Casserole
Want to save this recipe?
Enter your email below & we’ll send it straight to your inbox. Plus you’ll get great new recipes from us every week!

Chicken Pot Pie Casserole
An easy take on a classic main dish, this chicken pot pie casserole comes together in one dish and is topped with no-fuss drop biscuits. Rich, creamy, and loaded with veggies, it’s a well-rounded dinner with flavors that please all eaters. May use raw or pre-cooked chicken breast or thighs.
Ingredients
For the Filling
- ¼ cup unsalted butter
- 1 medium yellow onion, diced
- 1 (16-oz) bag frozen mixed vegetables (mix of corn, carrots, peas, green beans)
- ½ cup + 1 tablespoon flour*
- 4 cups low-sodium chicken broth
- 1 teaspoon fine salt
- ½ teaspoon dried thyme or dried parsley
- ½ teaspoon garlic powder
- ¼ teaspoon black pepper
- 1 lb chopped boneless skinless chicken breast or thighs**
For the Biscuits
- 2 cups flour*
- 1 tablespoon baking powder
- 1 teaspoon garlic powder
- ½ teaspoon baking soda
- ¼ teaspoon fine salt
- 6 tablespoons cold unsalted butter
- 1 cup shredded cheddar cheese, divided
- 1½ teaspoons dried thyme or dried parsley
- 1 cup dairy or unsweetened non-dairy milk of choice
- 1 teaspoon apple cider vinegar or white wine vinegar
- Flaky sea salt
Instructions
- Preheat the oven to 400℉. Mist a 9×13-inch (or other 3-quart) baking dish with nonstick cooking spray.
- In a Dutch oven, large pot, or extra-large skillet over medium-high heat, heat the butter until melted. Add the onion and frozen mixed vegetables and cook until the vegetables are softened and tender, 5-6 minutes. Add the flour, tossing to coat the ingredients, and cook 1 minute more while stirring constantly.
- Reduce the heat to low and add the broth, ½ to 1 cup at a time, stirring after each addition. Be patient and stir slowly as you continue adding the broth. Stir in the salt, thyme, garlic powder, and pepper. Increase the heat to medium-high and allow the mixture to come to a boil for 2-3 minutes as it thickens to a gravy-type sauce. Reduce the heat to medium-low. Add the chicken, stirring until well incorporated, and cook for 5-7 minutes more, until the chicken becomes opaque (it doesn’t need to be cooked all the way through, as it will continue to cook in the oven).
- Transfer the mixture to the prepared baking dish and spread into an even layer. Bake, uncovered, for 10 minutes.
- Meanwhile, make the biscuit dough. In a bowl, stir together the 2 cups of flour, baking powder, garlic powder, baking soda, and salt. Using a pastry blender or two knives, cut the 6 tablespoons of cold butter into the dry ingredients until the mixture resembles coarse crumbles.
- Stir in ¾ cup of the shredded cheese and the thyme or parsley. Then, add the milk and vinegar; stir until the mixture forms a soft slightly sticky dough.
- After 10 minutes, remove the casserole from the oven and, using two spoons or a cookie dough scoop, drop the dough into small mounds (1-2 tablespoons each) all over to cover the hot pot pie filling layer. It’s OK if the top is not completely covered with the biscuit dough, as they will expand during baking.
- Return the casserole to the hot oven and bake for 15 minutes. Remove the casserole dish from the oven and sprinkle the remaining ¼ cup cheese over the biscuit layer and sprinkle with the flakey salt. Return to the oven and bake until the biscuits start to brown, an additional 8 to 10 minutes.
- Allow the casserole to cool at least 10 minutes before serving, or longer. The gravy will continue to thicken as it cools a bit. Store leftovers in a covered container in the fridge up to 4 days.
Last Step! Please leave a review and rating letting us know how you liked this recipe! This helps our business thrive so we can continue providing free recipes and high-quality content for you.
Notes
* May use unbleached all-purpose flour or, if gluten-free is desired, use a gluten-free flour blend, such as Bob’s Red Mill One-to-One Gluten-Free Baking Flour or King Arthur Measure-for-Measure Gluten-Free Flour
**May use boneless skinless chicken breast or thigh meat in this recipe.
If using pre-cooked chicken, you’ll need about 3 ½ cups. Add it in at the end of Step 3 like normal, and without cooking it any longer on the stovetop, move directly on to Step 4.
You can form the biscuit dough into 8-10 larger biscuits to cover the filling, if you’d like. But we find that by adding the biscuit dough in a lot of smaller mounds, it ensures the bottoms of the biscuits get baked through.
Nutrition Information
- Serving Size: 1/8 of the recipe
- Calories: 405
- Fat: 20 g
- (Sat Fat: 10 g)
- Sodium: 515 mg
- Carbohydrate: 38 g
- (Fiber: 4 g
- Sugar: 6 g)
- Protein: 25 g
- Cholesterol: 92 mg
Dietary
The photos in this blog post were taken by Rachel Cook of Half Acre House.
For ultimate success, we highly recommend reading the tips in the full blog post above. All photos and content are copyright protected. Please do not use our photos without prior written permission. If you wish to republish a recipe, please rewrite the recipe in your own unique words. Link back to the source recipe here on The Real Food Dietitians. Thank you!



Delicious! 5/5 from the whole fam which is rare. I used King Arthur 1:1 GF flour and it turned out great. Thanks for this great recipe!
Fantastic, Stephanie!