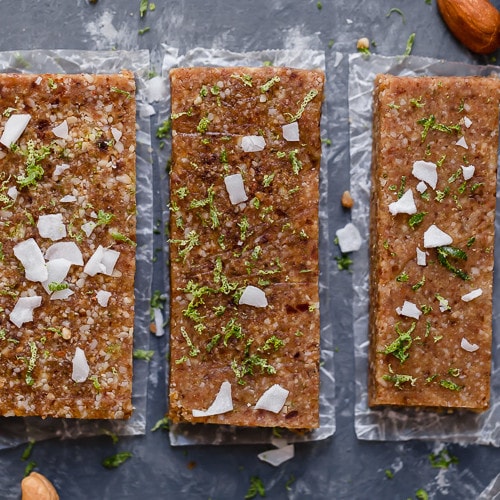
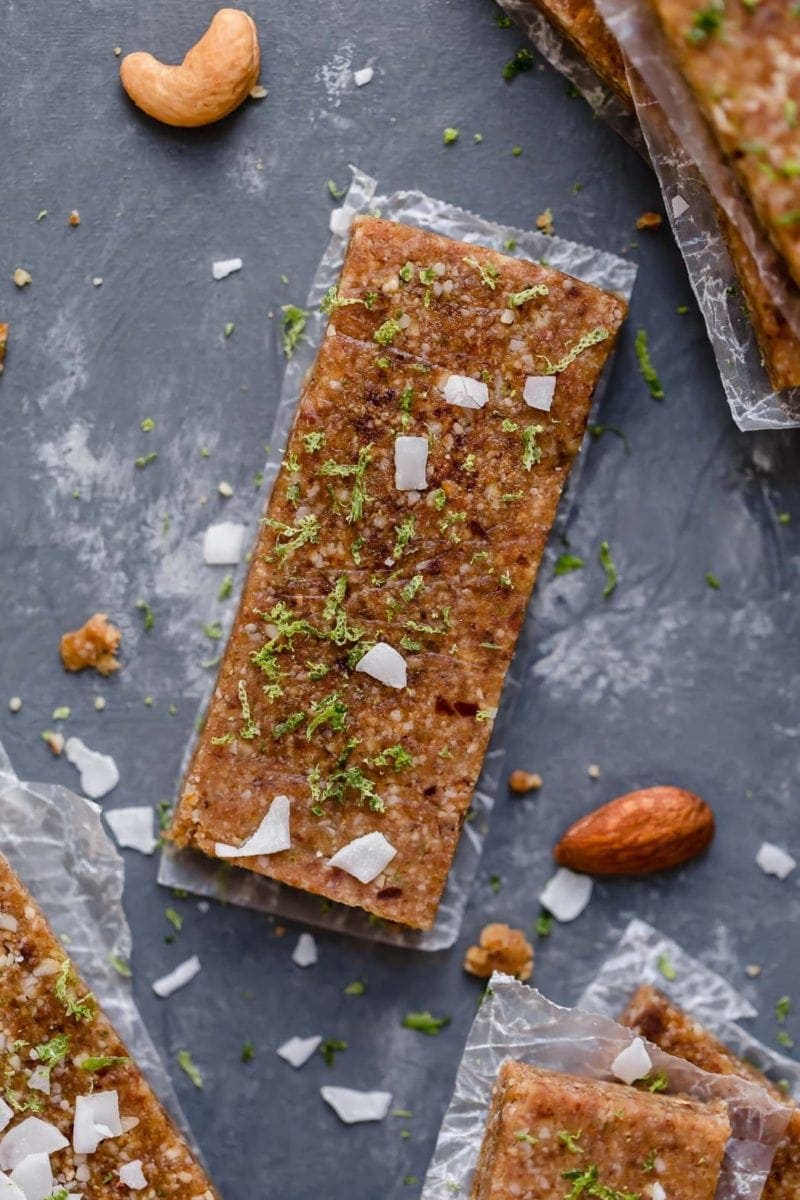
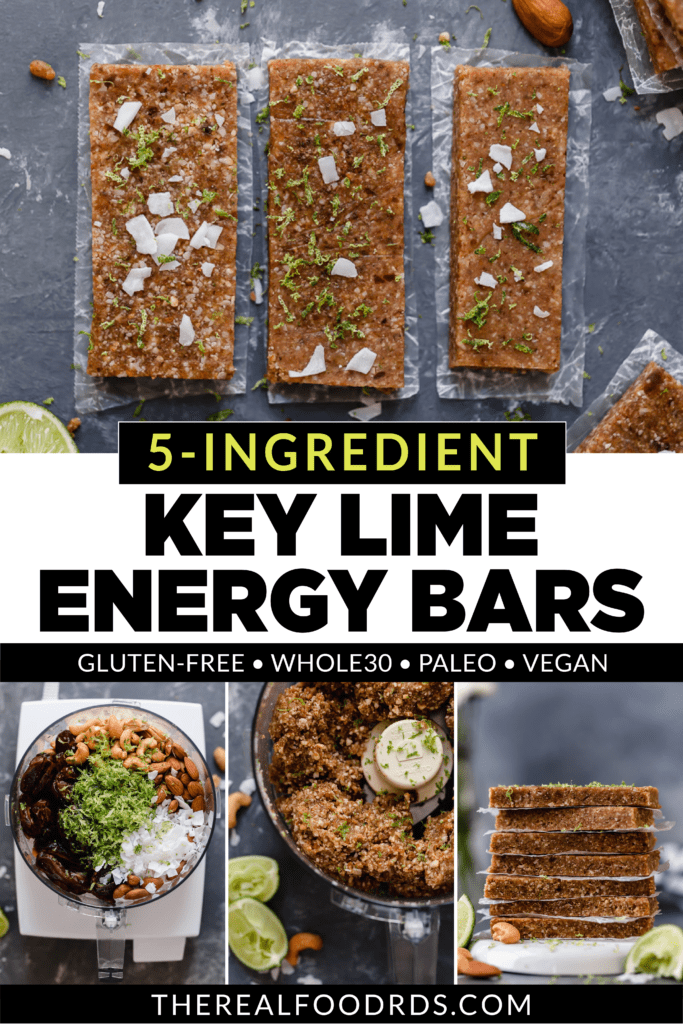
When snack o’clock hits, reach for these Key Lime Energy Bars bursting with citrus lime, sweet dates, and boasting an irresistible nutty texture. Easily made with only 5 ingredients and quickly turned into a nutrient-dense snack within 15 minutes (from start to finish), these energy bars are a limey-coconutty must!
This post was originally published on March 6, 2017. Updated on March 15, 2021.
An energy bar with wholesome ingredients
These Key Lime Energy Bars are made with only 5 ingredients and are packed to the hilt with nutrients to keep you going all afternoon. It’s the ultimate on-the-go snack, made easy! We all get the late afternoon munchies and need a little something to tide us over until dinner. When we reach for a healthy snack that will satiate us, we’re doing our bodies a favor.
These nutritional power houses are packed with:
- Fiber and Antioxidants (from the dates)
- Healthy Fats and Plant-Protein (from the cashews and almonds)
- Boost of Vitamin C (from the fresh limes)
If you’re a fan of our Pumpkin Spice Protein Bars or our No-Bake Apricot Almond Coconut Energy Bites, you’re sure to love these energy bars!
Convenient, DIY Key Lime Energy Bars
These have all the flavors of your favorite store-bought energy bar, without the price tag or extra packaging! And they just about match the convenience of store-bought options as well. All you have to do is throw everything in your food processor, blend and press into your pan of choice!
These energy bars taste just like key lime pie, but without the added sugar of course. This recipe is great for an afternoon snack, as part of a packed lunch, and can be a saving grace when on-the-go and your next meal is going to be delayed.
Energy Bar Ingredients:
- Dates – deglet or Medjool dates will work for this recipe. You can buy pitted dates, or pit them yourself. We like these dates from Thrive Market.
- Almonds – raw or roasted almonds, but look for unsalted like this one
- Cashews – raw unsalted cashews
- Unsweetened coconut – shredded coconut is best for this recipe
- Limes – zest and juice
- Salt
Shop Thrive Market to get the best prices on natural, organic, and specialty foods. PLUS get a free gift valued at $24 when you sign-up! Shop Thrive Market for all of your baking essentials!
How to make these key lime bars
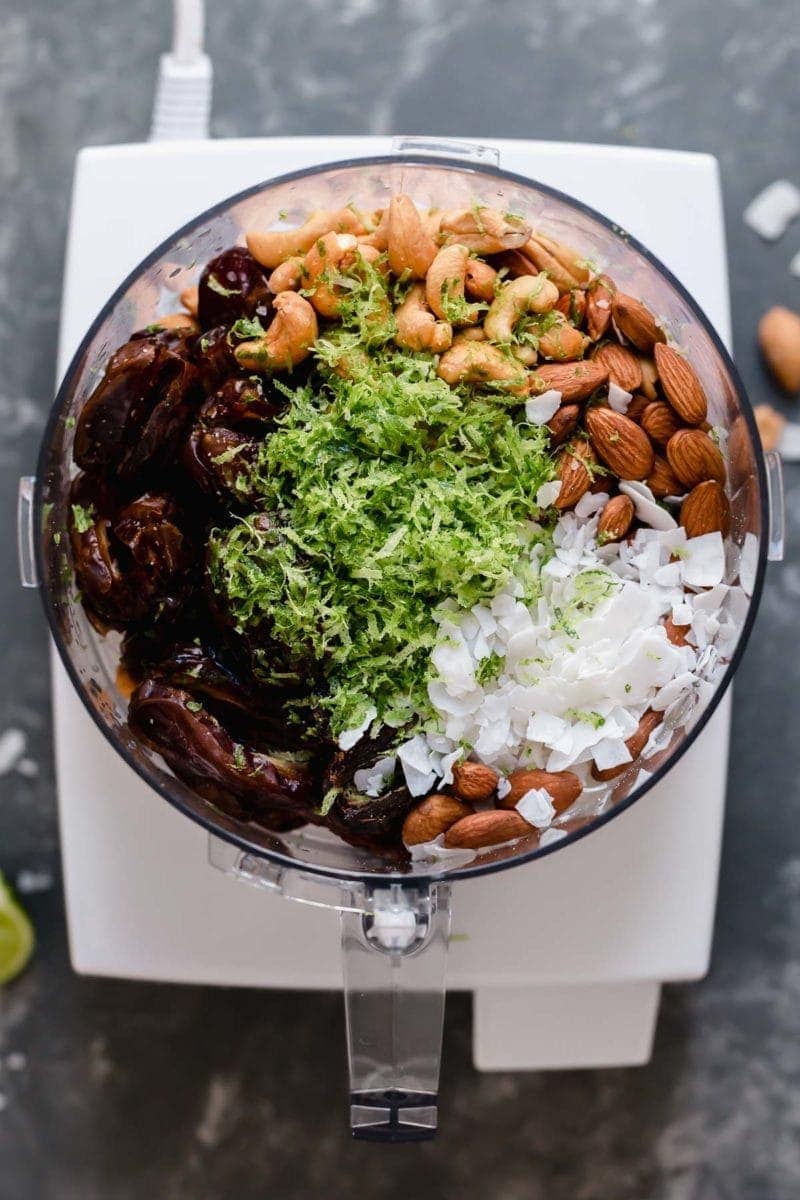
- Place all ingredients into the bowl of a food processor.
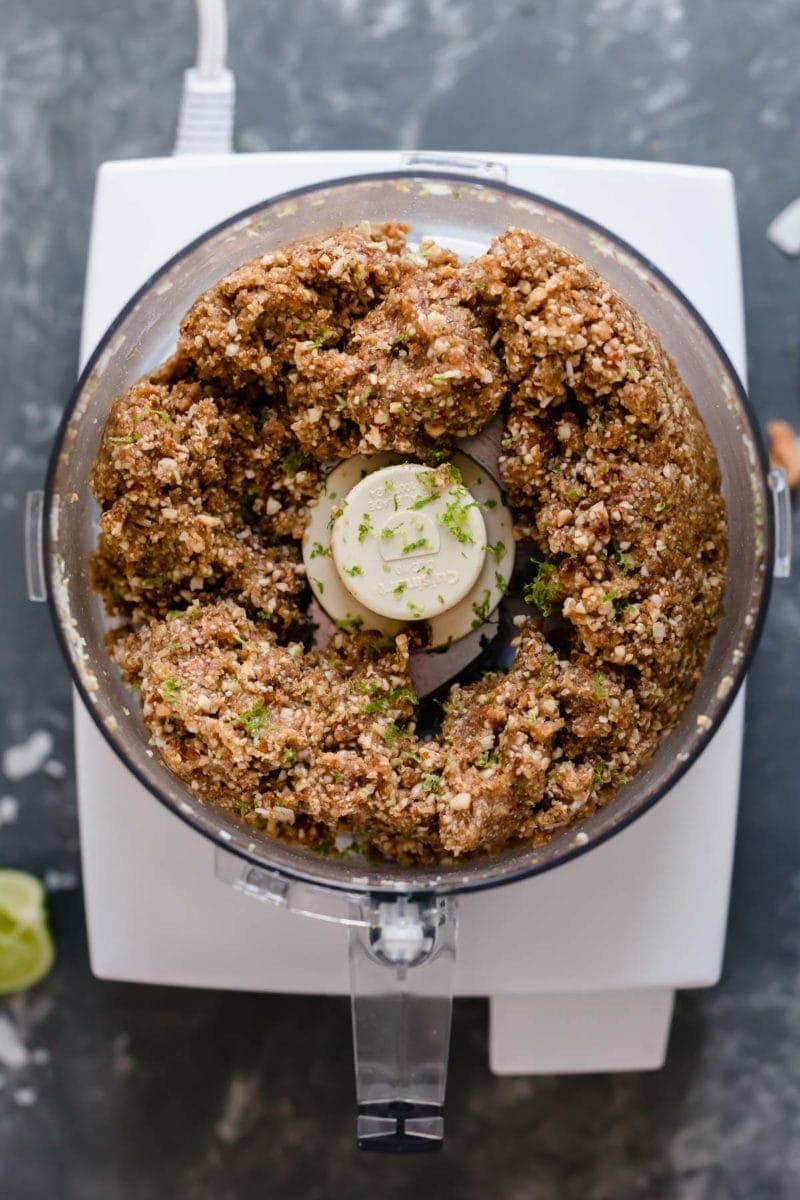
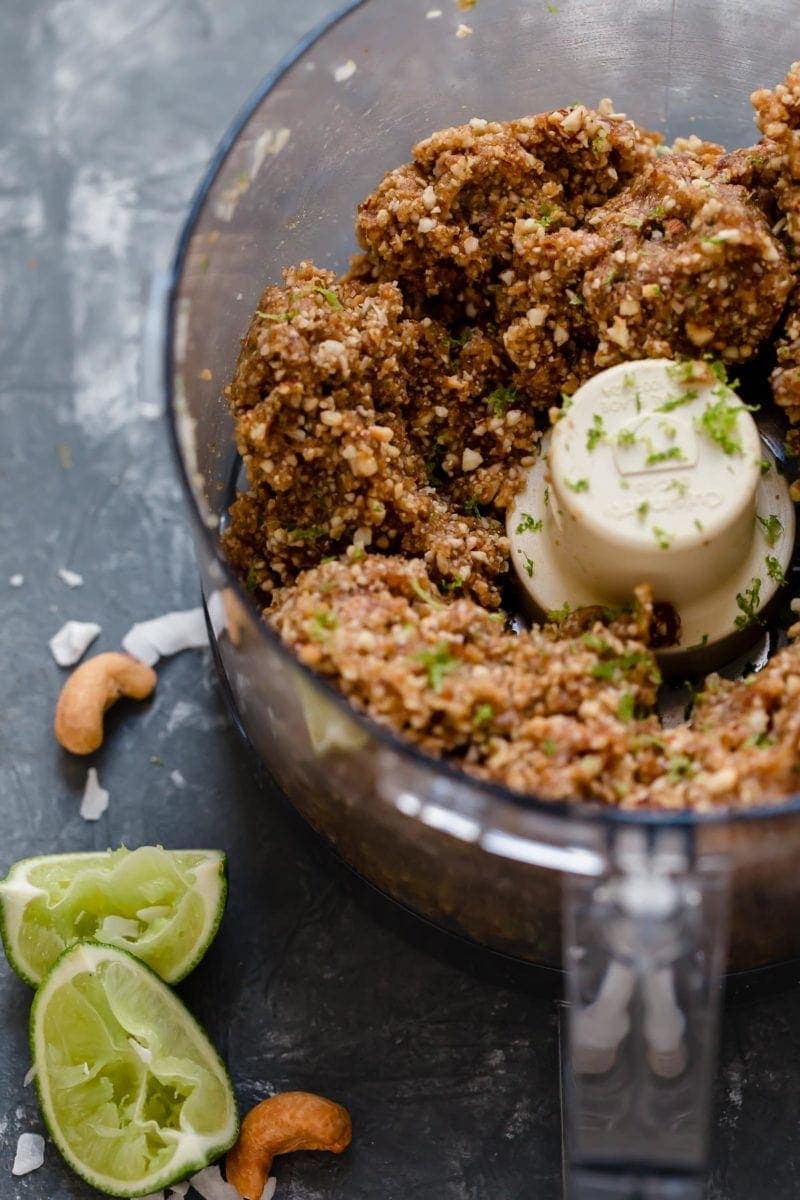
- Process until the mixture is crumbly yet still holds together well when pinched between your fingers.
- If the mixture is too dry, add another date and process again, or add one teaspoon of water at a time until the mixture holds together nicely.
- If the mixture is too wet, add 2 tablespoons of additional nuts at a time and process again until the mixture is moist and holds together.
- Once the mixture has the perfect sticking power, press the mixture onto a parchment paper-lined baking sheet forming a square about 9 x 9 inches. Place bars in the fridge to chill if they are too sticky.
To make into energy balls:
Follow the first two steps, then scoop out two tablespoons of the mixture, roll them between your hands to form into a ball, and place them on a parchment-lined baking sheet. Continue this process until all mixture is used up. This recipe will make about 16 energy bites, depending on how big you roll them. Once all the mixture has been used up and they’re spaced out on the baking sheet, place the baking sheet in the fridge and let the balls set.
How to store energy bars
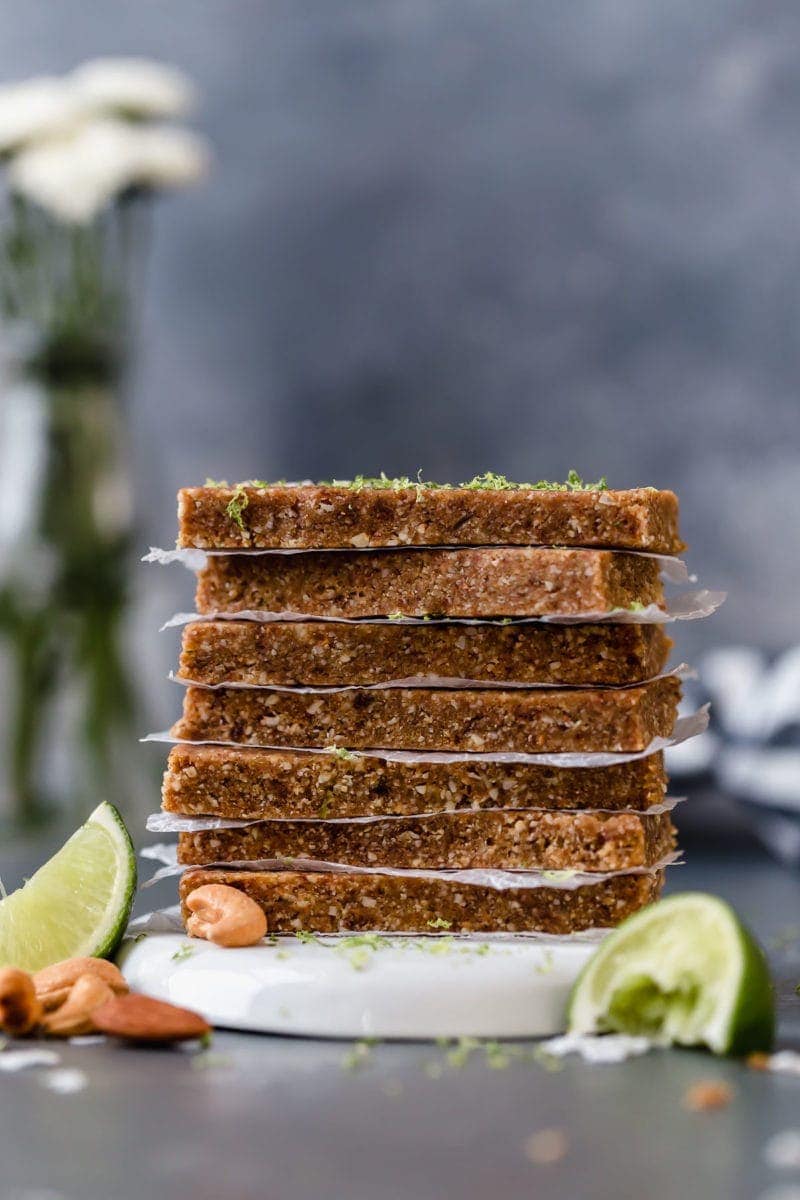
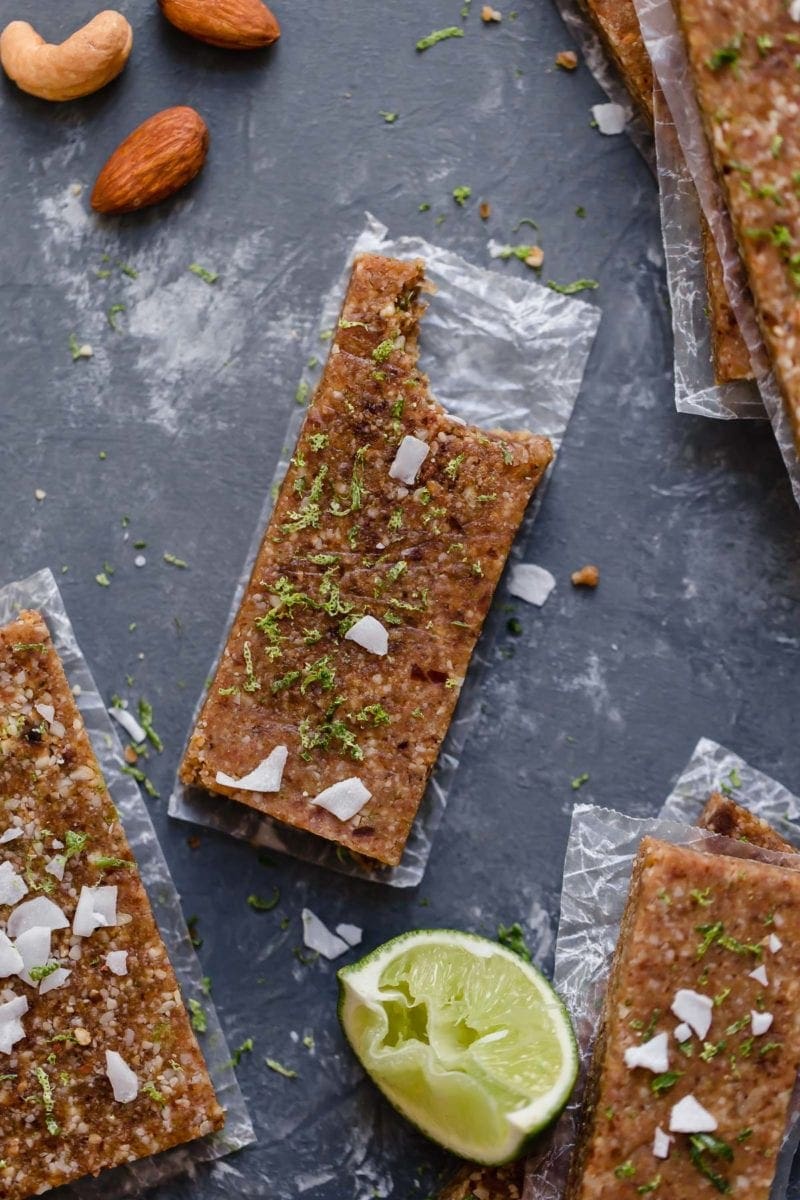
After the energy bars (or energy bites) have set in the fridge, remove, cut into 12 bars, and wrap individually with parchment paper or place in a covered container with parchment paper between layers of bars. For energy bites, place them all in a container or a bag. You can store bars or bites in the fridge for up to one week, or longer in the freezer (notes below!).
Can these energy bars be frozen?
You bet they can be frozen! After the bars are cut into equal sizes, place them on a baking sheet, slightly separated, and place them in the freezer for 30 minutes or until firm. Once the bars are firm, remove from the freezer and place them in a freezer-friendly covered container with parchment paper between the stacked bars and freeze for up to 2 months.
To freeze the key lime energy balls, first place all the rolled out balls on a parchment paper-lined baking sheet and freeze for 30 minutes or until firm. This prevents them from freezing together in a clump! Once the balls are firm, remove from the freezer and place in a covered container or freezer-friendly bag and freeze for up to 2 months.
How to thaw the energy bars
To thaw the bars, simply remove the desired amount of bars from the freezer and let thaw on the counter, about 15 minutes. Or place them in the fridge the night before you wish to serve the bars. If packing the bars for an easy on-the-go energy bar snack, toss them into your bag straight from the freezer and by the time you want to eat it, the bar will be thawed and ready.
More snack ideas for you:
Peanut Butter Oatmeal Balls with Chocolate Chips
Cherry Chocolate Energy Bites (No-Bake)
Sweet & Salty Peanut Butter Bites
5-Ingredient Healthy Peanut Butter Granola Bars
Key Lime Energy Bars
Key Lime Energy Bars, easily made with only 5 ingredients and quickly turned into a nutrient-dense snack within 15 minutes, these energy bars are a limey coconut must!
Ingredients
- 20 pitted deglet dates (or 10 Medjool dates, pitted)
- ¾ cup whole almonds
- ¾ cup raw cashews
- ¼ cup unsweetened shredded coconut
- Zest of 2 limes (2 teaspoons)
- Juice of 1 medium lime (2 tablespoons)
- Pinch of fine salt
Instructions
- Place all ingredients into the bowl of a food processor.
- Process until mixture is crumbly yet still holds together well when pinched between your fingers.
- If the mixture is too dry, add another date and process again, or add one teaspoon of water at a time until mixture holds together.
- If the mixture is too wet, add 2 tablespoons of additional nuts at a time and process again until mixture is moist and holds together.
- Press mixture onto a parchment paper-lined baking sheet forming a square about 9 x 9 inches (or roll them between your hands to form them into 16 balls). Place bars in the fridge to chill if they seem sticky.
- Cut into 12 bars. Wrap in parchment paper and store in a covered container in the fridge for up to 1 week or place in a freezer-friendly container and freeze for up to 2 months.
Last Step! Please leave a review and rating letting us know how you liked this recipe! This helps our business thrive so we can continue providing free recipes and high-quality content for you.
Nutrition Information
- Serving Size: 1 Bar (or 2 Balls)
- Calories: 146
- Fat: 8g
- Sodium: 14mg
- Carbohydrate: 19g
- (Fiber: 4g
- Sugar: 14g)
- Protein: 3g
- Cholesterol: 0mg
Dietary
Pin now to make later!
Photo Credit: The photos in this blog post were taken by Jess of Plays Well with Butter.
This post may contain affiliate links which won’t change your price but will share some commission.
All photos and content are copyright protected. Please do not use our photos without prior written permission. If you wish to republish this recipe, please rewrite the recipe in your own unique words and link back to the source recipe here on The Real Food Dietitians. Thank you!
These sound so good with the exception of the scredded coconut- I’m a texture freak and loathe shredded coconut. Can it be omitted or subbed with something else?
While this recipe is has not been tested without coconut flakes, you could sure try. You could try subbing a bit of ground flax meal or additional chopped nuts. Let us know how they turn out for you!
Can you use a good blender. Instead of a food prosser? The recipe sounds fantastic.
Hi Janet,
You should be able to use a blender with very similar results.
Can these be frozen? I couldn’t use 12 bars in 1 week. Also must the cashews or nuts be raw, could they be roasted but unsalted?
Hi Phoebe,
Yes, you can freeze these for longer storage (I almost always keep mine in the freezer). The nuts do not need to be raw – roasted and unsalted will work just fine though they have a bit more crunch which wouldn’t necessarily be a bag thing!
These are my favourite go to snack! I’ve made them twice now and they hit the spot every time. Thank you for sharing!
Any way to not add coconut? I’m allergic but would love to try this.
Hi Sue,
We have not tried this recipe without the coconut but my guess is that they will turn out just fine without it 🙂