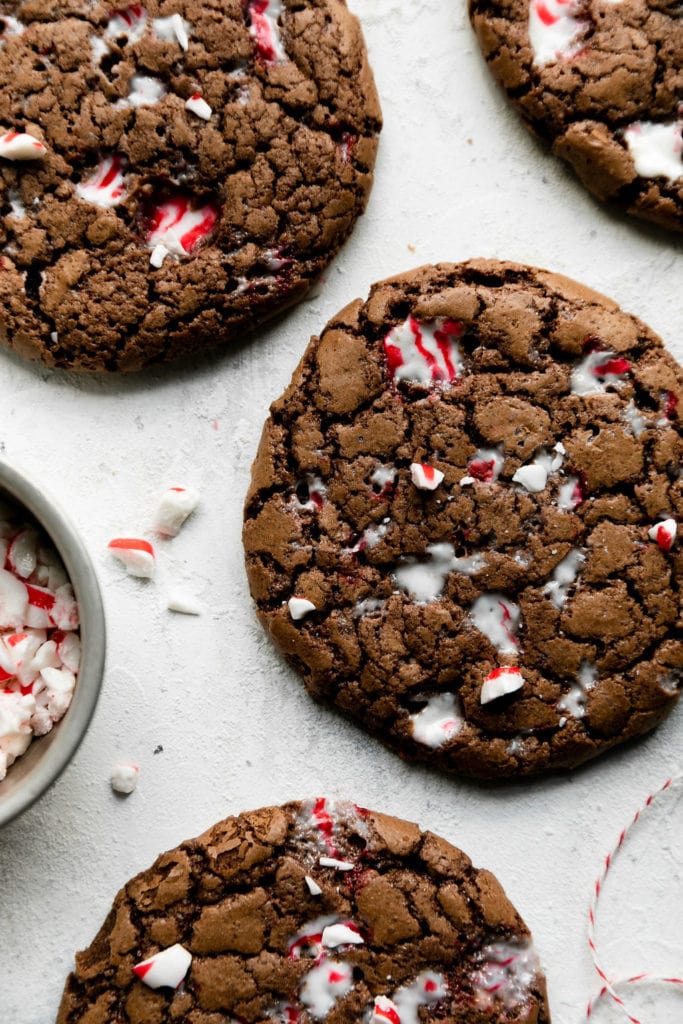
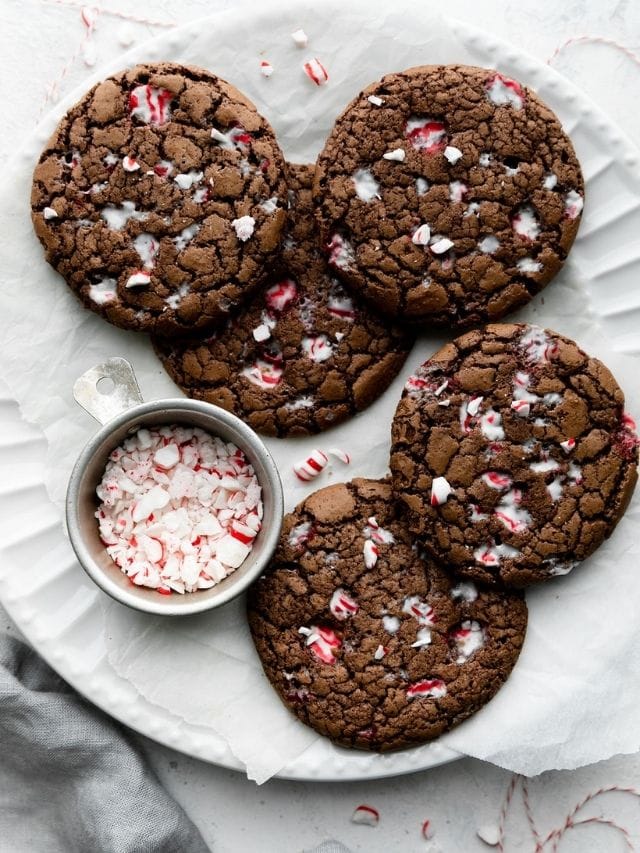
Think of this delicious recipe as a mashup between a cookie and a brownie, making this the holiday treat that everyone will request! Add these easy Gluten-Free Peppermint Brownie Cookies to your holiday baking plans today. Featuring a crisp outside and a soft brownie inside, plus flecks of crunchy peppermint stick, this the holiday cookie is one you’ll look forward to making every year.

When it comes to holiday cookies, some are classics and some are meant to impress. These Chocolate Peppermint Cookies fall into the impressive category! With each bite, you’ll experience a soft and chewy brownie-like taste with a little crispness around the edge. And, of course, the iconic peppermint-chocolate flavor pairing makes these cookies over-to-top gorgeous and delicious!
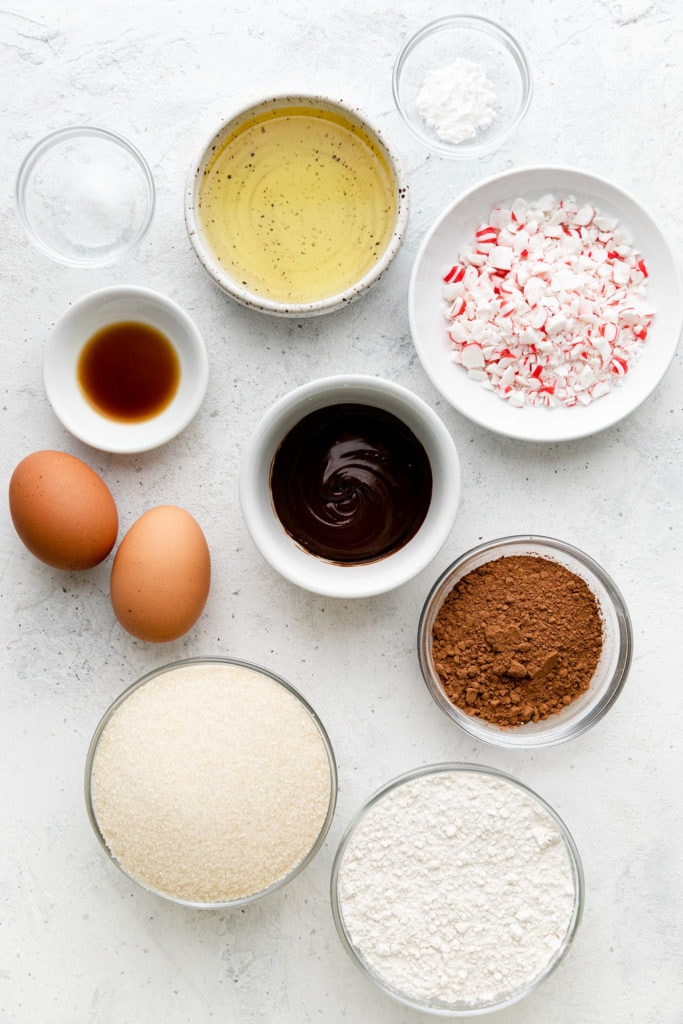
Gathering these ingredients, plus a bowl and whisk, and let’s start baking!
- Eggs – learn more about how to choose quality eggs in this post
- Cane sugar – we like this organic cane sugar from Thrive Market. And you can substitute coconut sugar, if you prefer
- Avocado oil – we recommend using avocado oil (we like the Primal Kitchen Avocado Oil) to give these cookies that brownie-like texture, but you can use melted coconut oil or butter, too (if using the latter, the cookies will spread out a little more during baking)
- Chocolate chips – use any favorite chocolate chips or chocolate chunks. For a dairy-free option, we like these chocolate chunks from Enjoy Life
- Vanilla – we prefer pure vanilla extract with no added sugars, such as this one
- Gluten-free flour blend – we recommend using Bob’s Red Mill One-to-One Gluten-Free Baking Flour or King Arthur Measure-for-Measure Gluten-Free Flour. You can also use an equal amount of unbleached all-purpose flour if you don’t need cookies that are gluten free
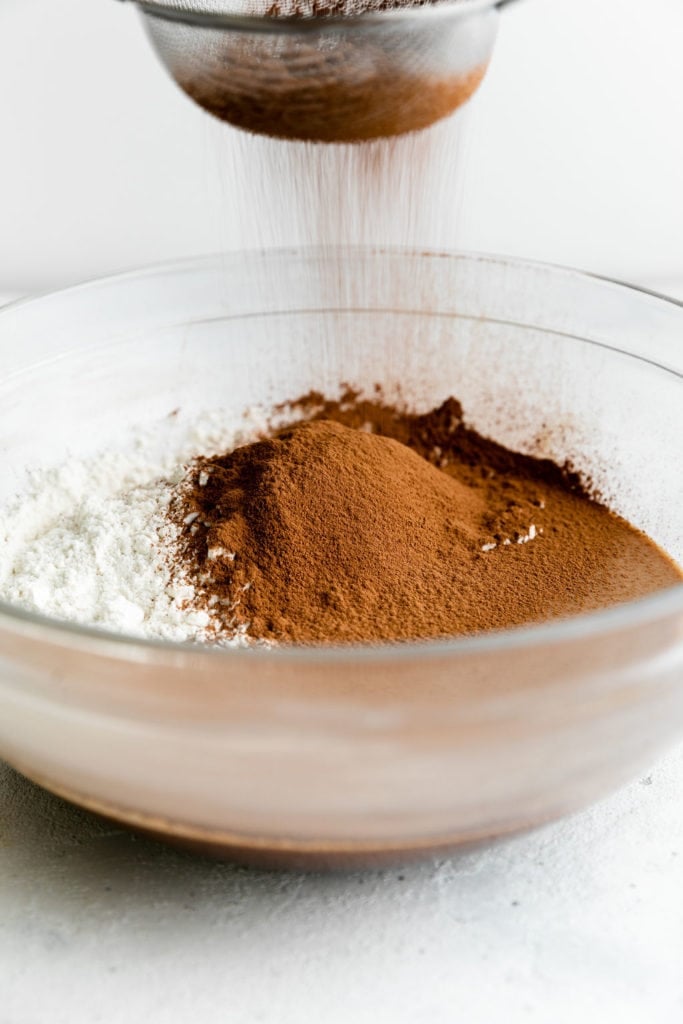
- Cocoa powder – use a 100% pure cocoa and sift the powder into the cookie mix so there aren’t any chunks and the powder melds seamlessly into the dough
- Baking powder
- Salt – use fine salt
- Candy canes – use crushed candy canes or crushed peppermint candy canes such as the ones from Thrive Market
Here are the basic steps in takes to get these delicious holiday cookies baking.
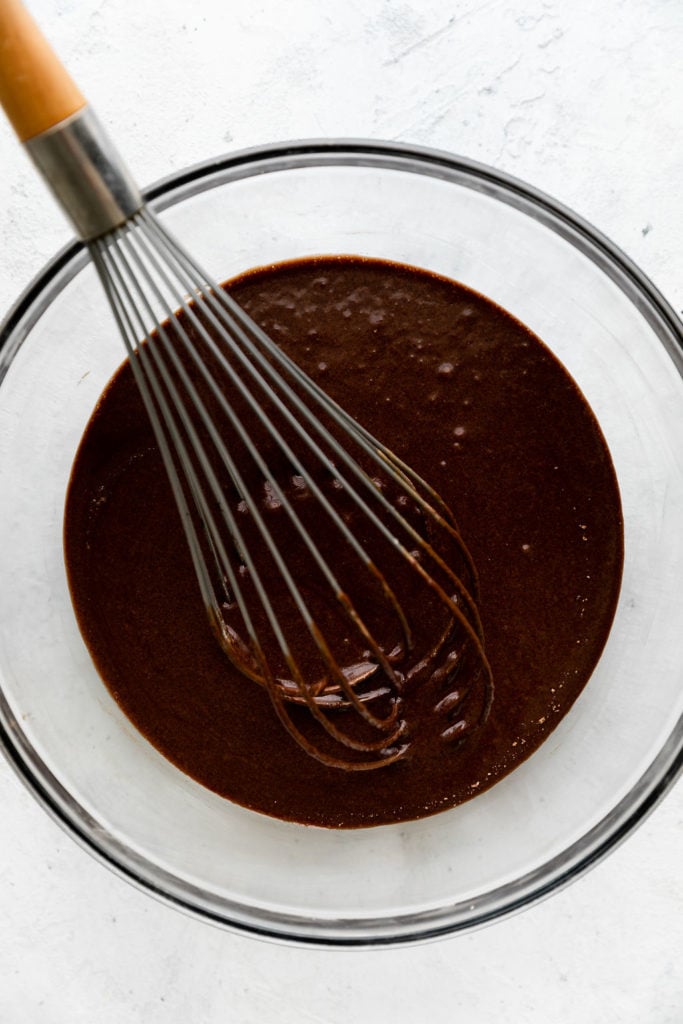
- Make the dough: In a small saucepan over low heat, melt the chocolate. Let this mixture cool slightly. In a mixing bowl, add the eggs, sugar, and oil. Whisk together. Add the melted chocolate and vanilla, whisk again. Add flour, cocoa powder, baking powder, and salt. Stir well.
- Chill the dough: Place the dough in the refrigerator for 1-2 hours.
- Bake the cookies: Preheat the oven to 375 degrees. Line 2 baking sheets with parchment paper. Remove the chilled dough from the fridge, scoop the dough out into rounds (using about 1 to 1-1/2 tablespoons each), and place the dough rounds on the parchment-lined baking sheets. Shape the dough into round discs (the dough will be sticky, so wet your hands when handling the dough). Finally, sprinkle the crushed candy cane pieces over each. Bake for 12-14 minutes. Tops will still be slightly doughy/wet, they will set while cooling.
Tips for Shaping Brownies into Cookies
We all know brownie batter easily pours into a baking dish, so how do we shape brownie batter into cookies? Here are a few tips that help: Be sure to weigh the flour to get the exact correct amount (rather than using the scoop method), since you want the batter to be a little sticky but not mold-able like classic cookie dough. Scoop the batter out with a cookie scoop or large spoon and shape into round mounds with the back of the spoon or with your finger. The dough is designed to be slightly sticky to get that amazing brownie texture! To prevent it from sticking to your fingers, wet your hands with a little water.
Cool the cookies completely before storing them. Stack the cooled cookies in a container using pieces of parchment between layers of cookies. Seal the container and store at room temperature, where the cookies will stay fresh for up to 4 days.
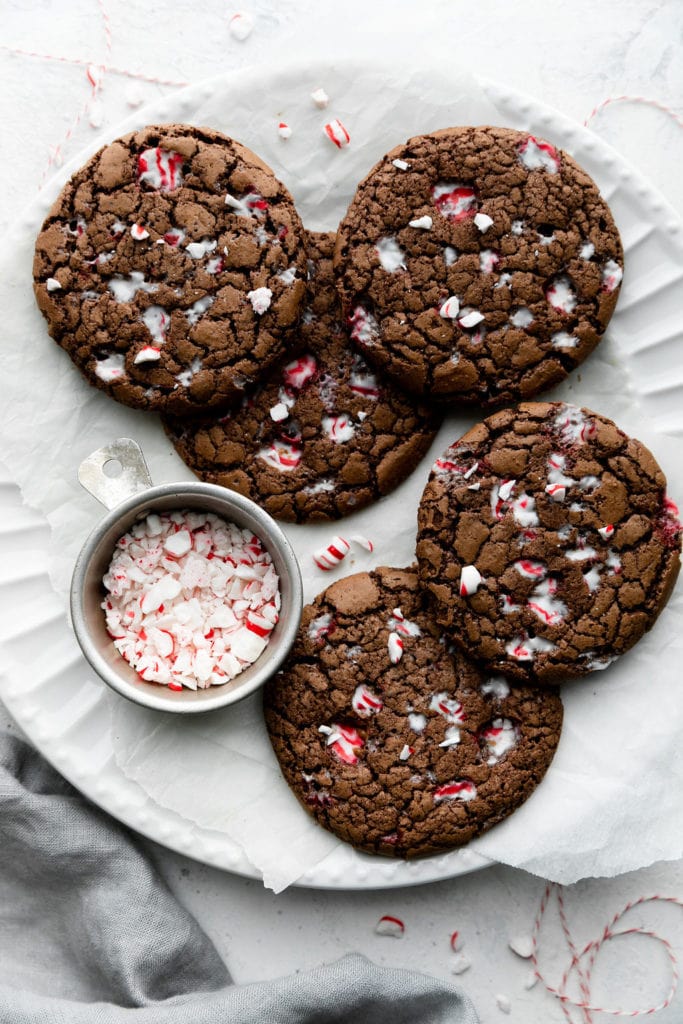
These Gluten-Free Peppermint Brownie Cookies are a great freezer cookie! Bake them before the holidays, keep in the freezer, and they’ll be ready for the cookie tray whenever you need! To freeze, cool the cookies completely then place in a freezer-friendly container or bag and freeze for up to 3 months.
Want to save this recipe?
Enter your email below & we’ll send it straight to your inbox. Plus you’ll get great new recipes from us every week!

Gluten-Free Peppermint Brownie Cookies
Is it a brownie or a cookie? It’s both! Get the best of two favorite treats in these brownie cookie that feature a soft and chewy inside plus a hint of peppermint. Made gluten-free and dairy-free, these Peppermint Brownie Cookies are a great addition to any cookie tray.
Ingredients
- ¼ cup chocolate chips*
- 2 eggs
- 1 cup cane sugar
- ¼ cup avocado oil**
- 1 teaspoon pure vanilla extract
- ¾ cup gluten-free flour blend (110-115g)***
- ¼ cup unsweetened cocoa powder, sifted
- ½ teaspoon baking powder
- ¼ teaspoon fine sea salt
- Crushed candy canes or peppermint candies for topping
Instructions
- In a small saucepan over low heat, slowly melt the chocolate chips. Let cool slightly.
- In a mixing bowl, whisk together the eggs, sugar, and oil.
- Pour the melted chocolate and vanilla into the egg-sugar mixture, whisk again.
- Add flour, cocoa powder, baking powder, and salt. Stir well.
- Chill dough in a bowl in the refrigerator for 1-2 hours.
- Preheat the oven to 375 degrees. Line 2 baking sheets with parchment paper.
- Remove the dough from the fridge, scoop out dough into 12 mounds on each baking sheet, using an approximate 1- to 1-1/2-tablespoon portion of dough for each. Using your hands, shape each dough mound into a round disc. The dough will be sticky, so wet your hands with a little water when handling the dough, to prevent sticking. Sprinkle with crushed candy cane pieces over each dough round.
- Bake cookies for 12-14 minutes. The tops will still be slightly doughy/wet when you first remove them from the oven, but the cookies will set while cooling.
- Remove the cookies to wire racks to cool completely.
Last Step! Please leave a review and rating letting us know how you liked this recipe! This helps our business thrive so we can continue providing free recipes and high-quality content for you.
Notes
* For a dairy-free option, we like these chocolate chunks from Enjoy Life
** You can also use melted coconut oil or butter, though the cookies will spread more when baking.
*** We recommend using Bob’s Red Mill One-to-One Gluten-Free Baking Flour or King Arthur Measure-for-Measure Gluten-Free Flour. You can also use an equal amount of unbleached all-purpose flour if you don’t want or need cookies that are gluten free.
Nutrition Information
- Serving Size: 1 cookie
- Calories: 85
- Fat: 3 g
- (Sat Fat: 1 g)
- Sodium: 37 mg
- Carbohydrate: 14 g
- (Fiber: 1 g
- Sugar: 9 g)
- Protein: 1 g
- Cholesterol: 14 mg
Dietary
Pin now to make later
Photo Credit: The photos in this blog post were taken by Rachel of Half Acre House.
All photos and content are copyright protected. Please do not use our photos without prior written permission. If you wish to republish this recipe, please rewrite the recipe in your own unique words and link back to the source recipe here on The Real Food Dietitians. Thank you!






Wondering if an egg replacement would work with this recipe?! They look amazing! But I recently found out I’m allergic to egg whites :/
We haven’t tested this recipe with an egg replacer so we can’t say for sure how they would turn out. If you give it a try, we’d love to know how it went.
P.S. From one egg allergy sufferer to another, I’m so sorry to hear about your allergy. Stay safe!
These cookies are super easy and super delicious!! I used swerve (sugar sub) instead of cane sugar 1:1, and they were amazing! The consistency was the same as noted in the recipe as well. Happy holidays!!
We’re so glad you loved them, Debbie! Thanks for sharing your success using Swerve 1:1 for the sugar.
Delicious! I doubled the recipe and only got 36 cookies, but maybe I make my cookies too big 🙂 I didn’t like the look of mine with the melted candy pieces after being in the oven (too sloppy looking), so I added some extra on top and then switched to topping them immediately after taking them out of the oven (skipping putting them on before all together). Tasted great either way though! Will definitely be making these again.
Thanks for sharing your modifications and it’s good to hear you enjoyed the taste of these cookies and will be making them again!
Can you freeze the dough longer than 1-2 hours? I would like to make a double or even triple the dough and have them at the ready for last minute treats to savor or share. Thank you in advance.
The dough is chilled in the refrigerate for 1-2 hours. Not in the freezer. So if you make the dough ahead of time and freeze it, you’ll just have let it sit at room temperature (or refrigerator) to thaw before continuing on with step 6 of the recipe.
I left in fridge overnight and it worked out fine. Made double batch and only got 25 so I’m curious what diameter yours end up as?
Hi Christina, the cookie diameter is about 3 to 3 1/2 inches each
Hello,
I haven’t made this recipe, but I am excited to try it out. I had a question, how is this recipe dairy free or vegetarian because of the eggs?
Hi! Eggs, while sometimes included in the dairy family at grocery stores and supermarkets, are not actually a dairy food as they do not contain any dairy proteins (whey or casein) or sugars (lactose). Also, eggs are included in a vegetarian diet but not in a vegan diet.