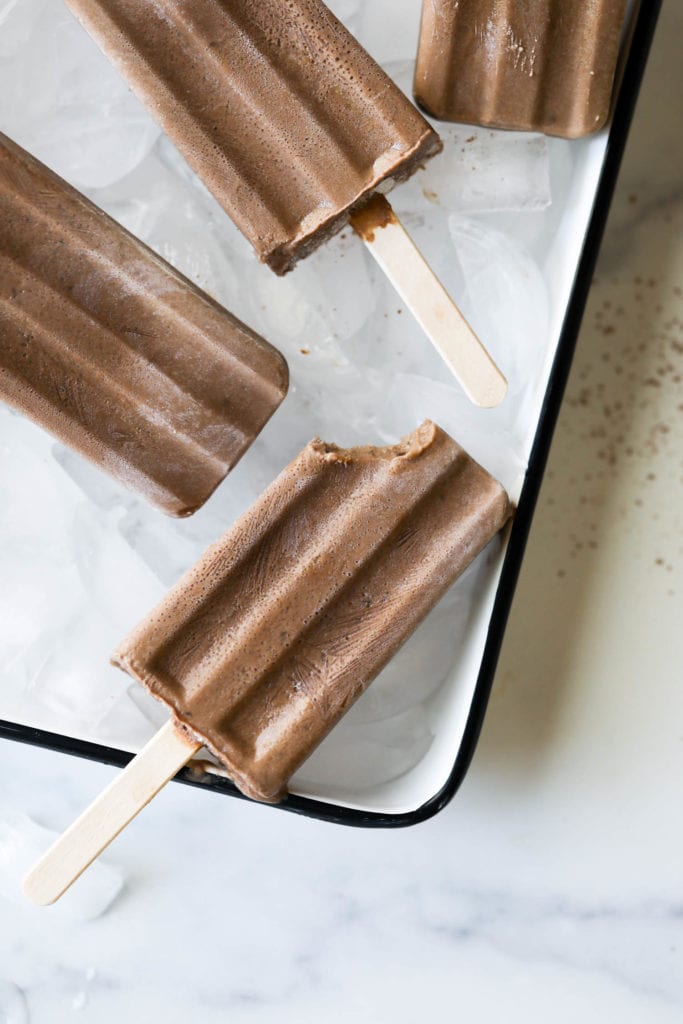
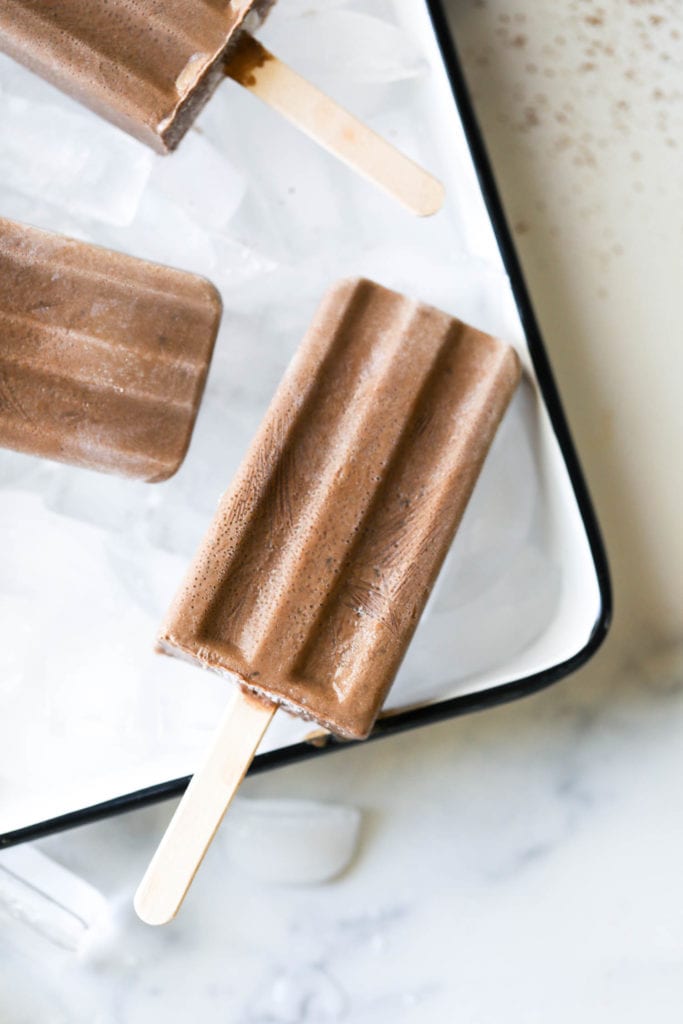
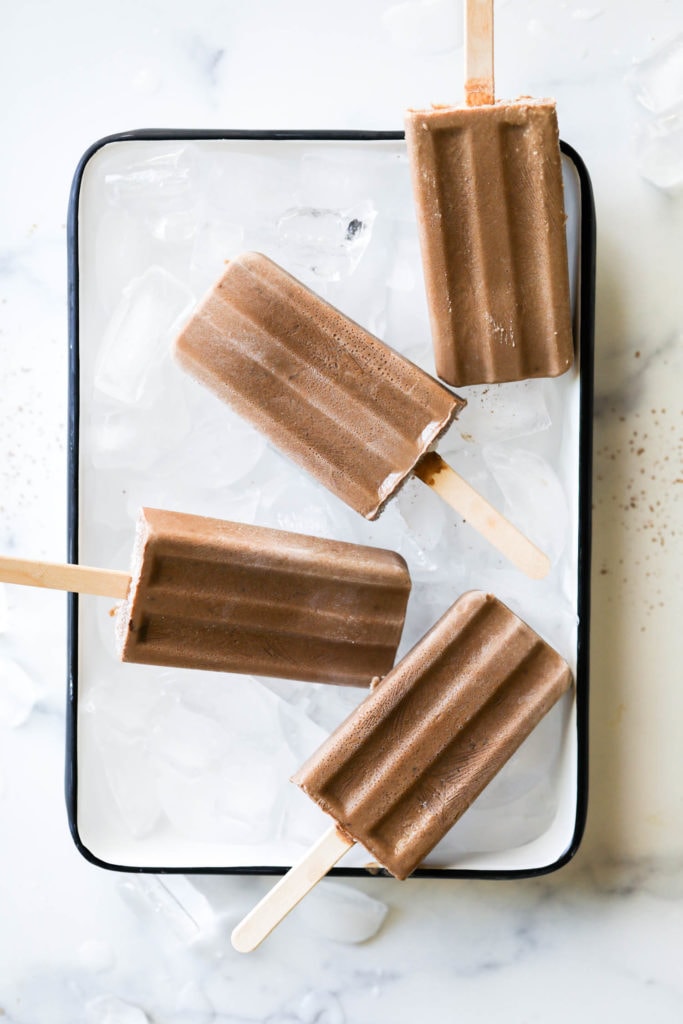
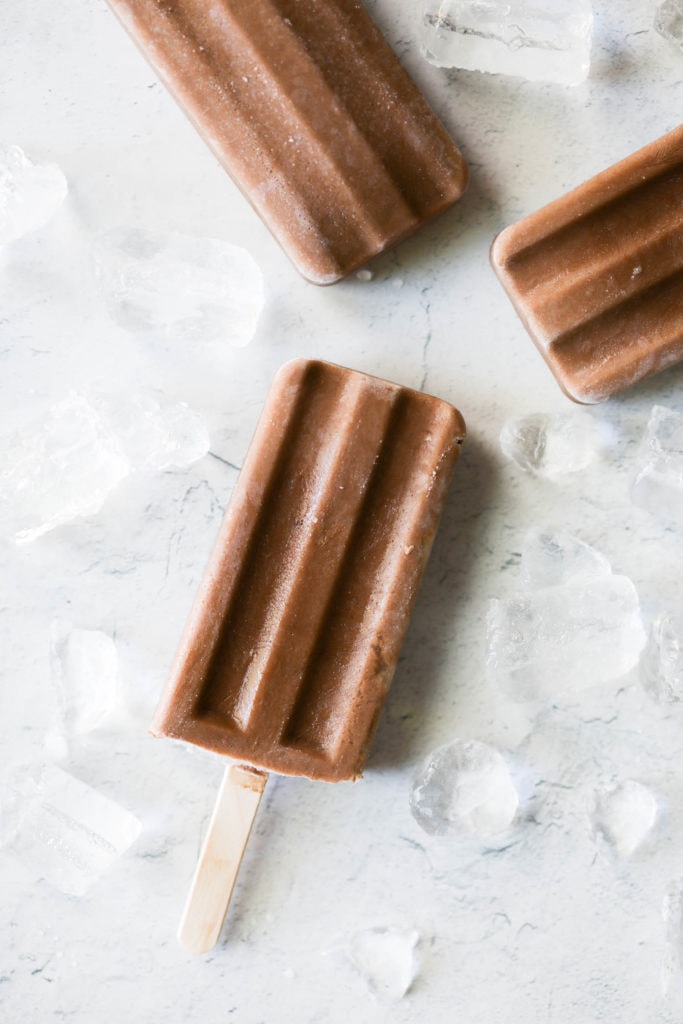
These quick and easy dairy-free fudgesicles prove that you can make decadent, creamy fudgesicles at home, just like you’d get at the local ice cream shop – only better, for less money, and dairy-free. It takes just five everyday pantry staples to get a batch in the freezer. One taste and we guarantee you’ll stop what you’re doing so you can savor every last creamy, dreamy, chocolaty lick of these adult- and kid-friendly fudge popsicles!
Dairy-Free Fudge Pops Are A Taste of Summer Bliss
If your summer bucket list includes “Make Homemade Fudge Popsicles” then you already know how the simple things in life help make every season special. If you don’t have a fudgesicle plan for your summer, then it’s never too late to add one! This recipe for dairy-free fudgesicles is simple and has a fudge ice-cream-like texture, but without any dairy, making it a pleasing treat recipe that everyone can enjoy. We tested it multiple times (not that we minded) to get the creamiest results and a fool-proof fudge pop recipe that you’ll enjoy right down to the last chocolaty drip!
Ingredients to Make Dairy-Free Fudgesicles
Check your pantry – you may already have everything it takes to freeze a batch of these quick homemade dairy-free fudge pops today.
- Canned coconut milk – we use canned full-fat coconut milk, but you could also use light coconut milk. We tested the recipe with other non-dairy milk alternatives (ie: almond milk, soy milk), but they resulted in more ice crystals and less creamy pops, so we recommend using full-fat coconut milk
- Unsweetened cocoa powder – we recommend Dutch process cocoa powder because it will dissolve a little better into the liquid, but you can use natural or raw cocoa powder, too. Any kind of unsweetened cocoa powder will work here
- Honey – or use agave nectar or maple syrup to make these vegan fudge pops
- Cornstarch – this ingredient is optional, but it does make for a creamier consistency. You can sub in arrowroot powder.
- Vanilla – a touch of vanilla helps brighten and intensify the chocolate flavor
How to Make Dairy-Free Coconut Fudge Pops
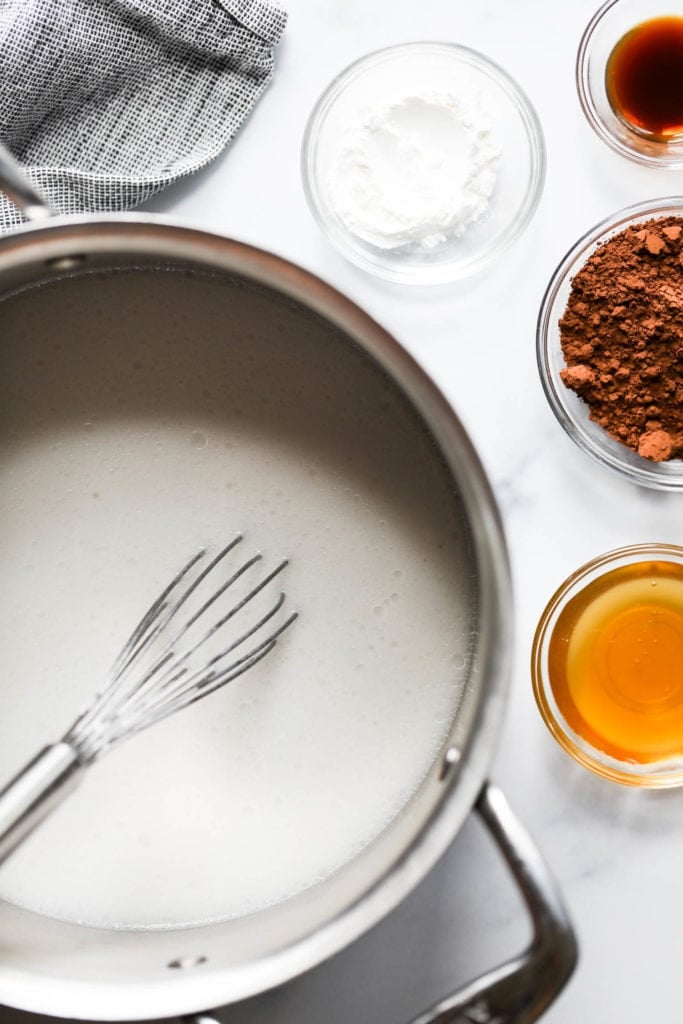
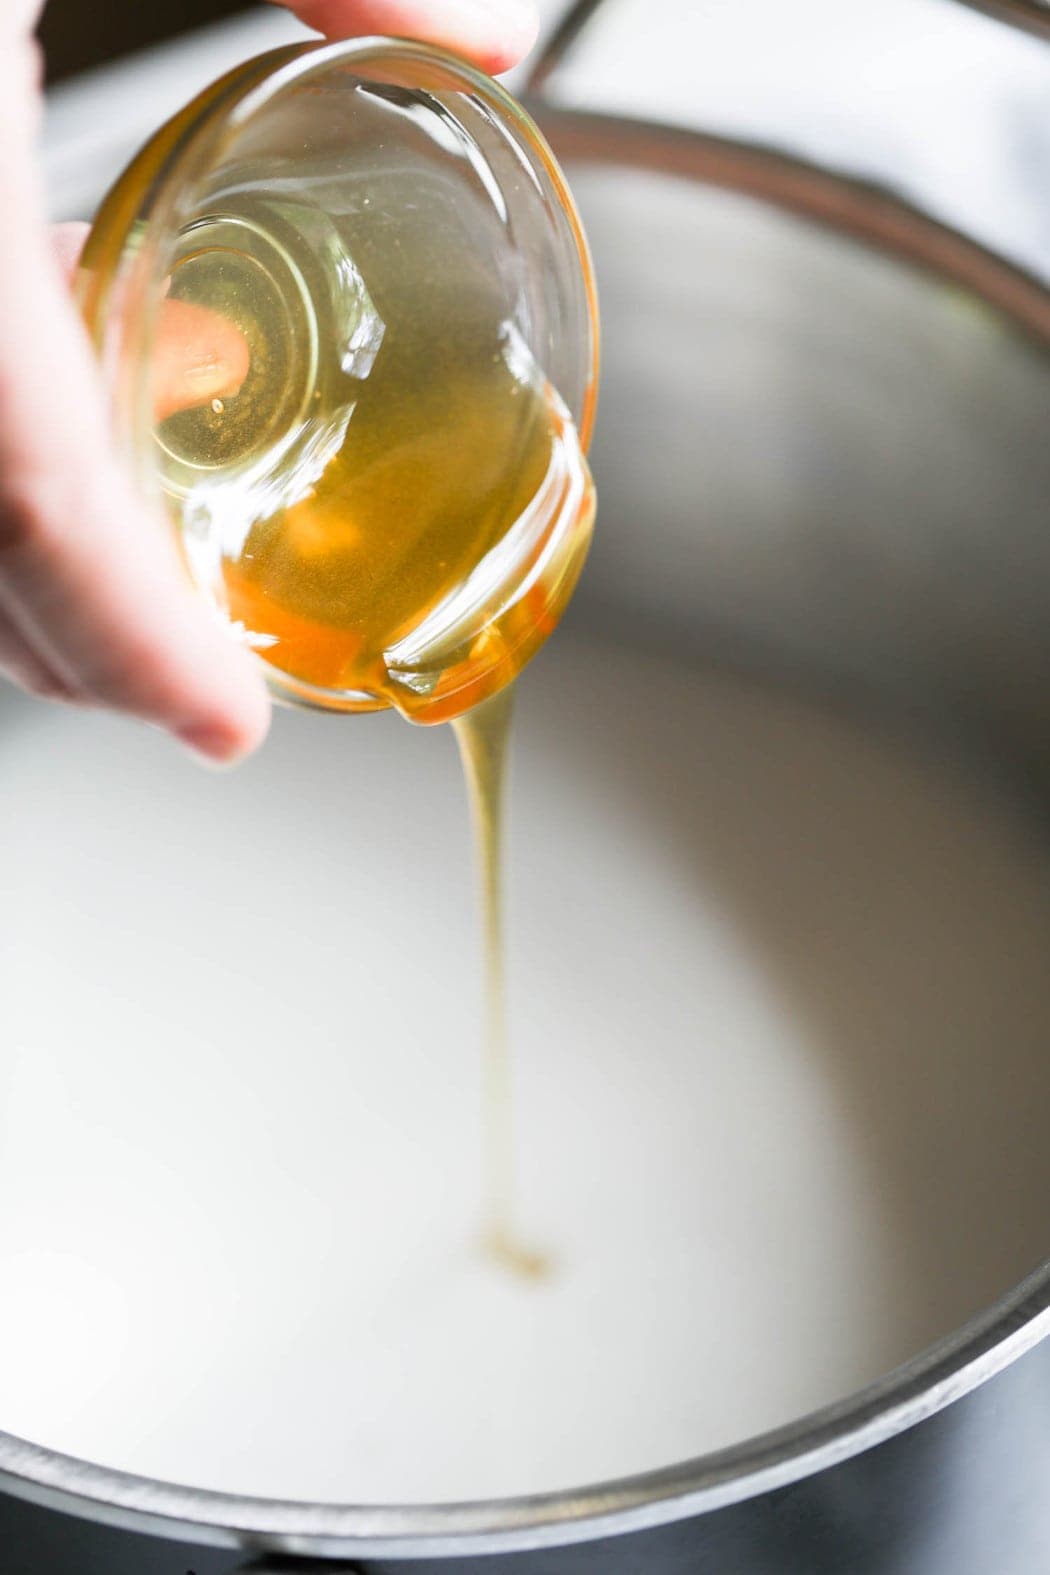
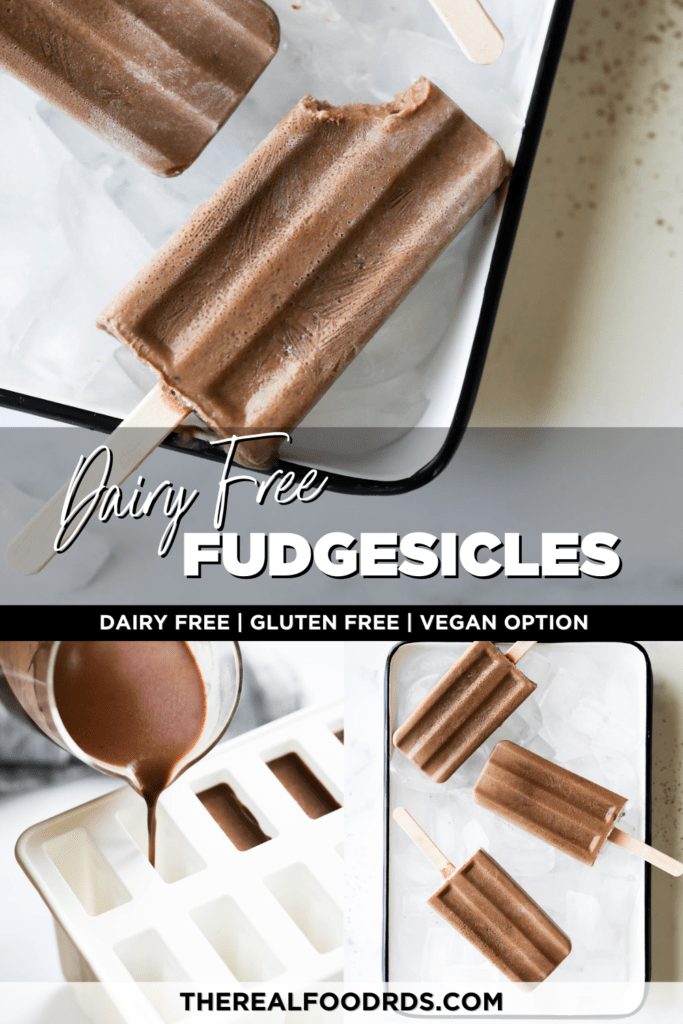
It’s fantastically simple to make these dairy-free fudgesicles. Start by heating the coconut milk and honey in a saucepan to a simmer. Be sure to shake the cans of coconut milk really well before opening them since the fat solids and coconut water can separate (this is normal). If you already have the can open, just spoon it all into the saucepan and whisk it together.
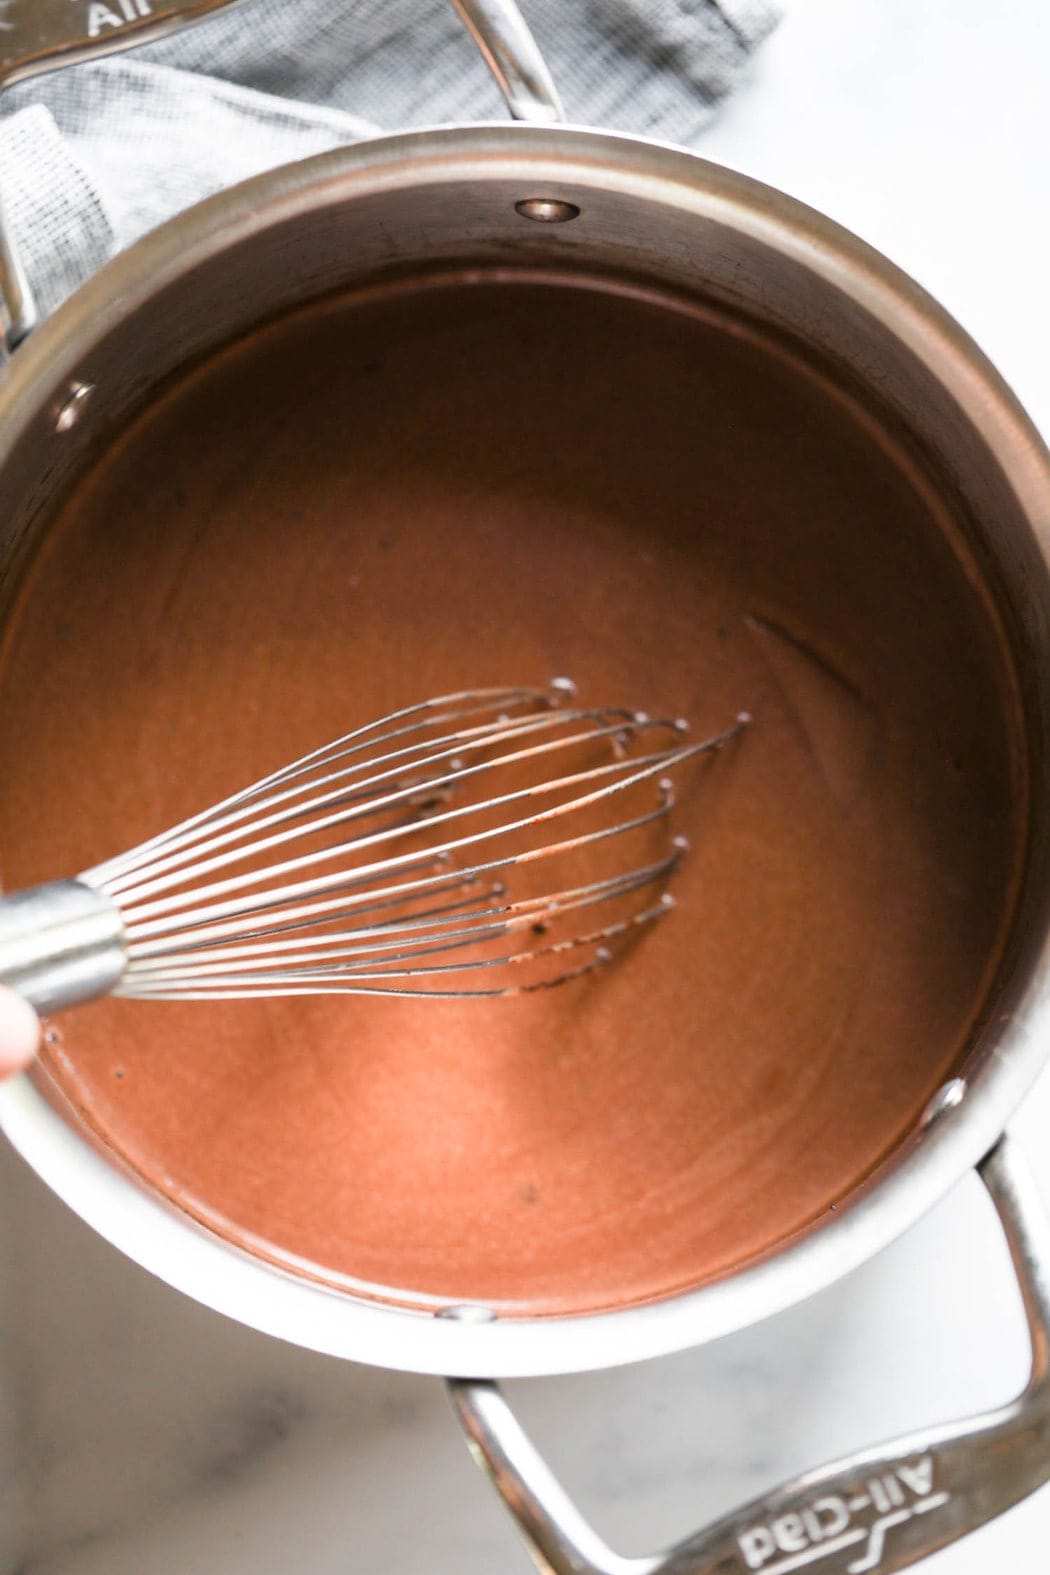
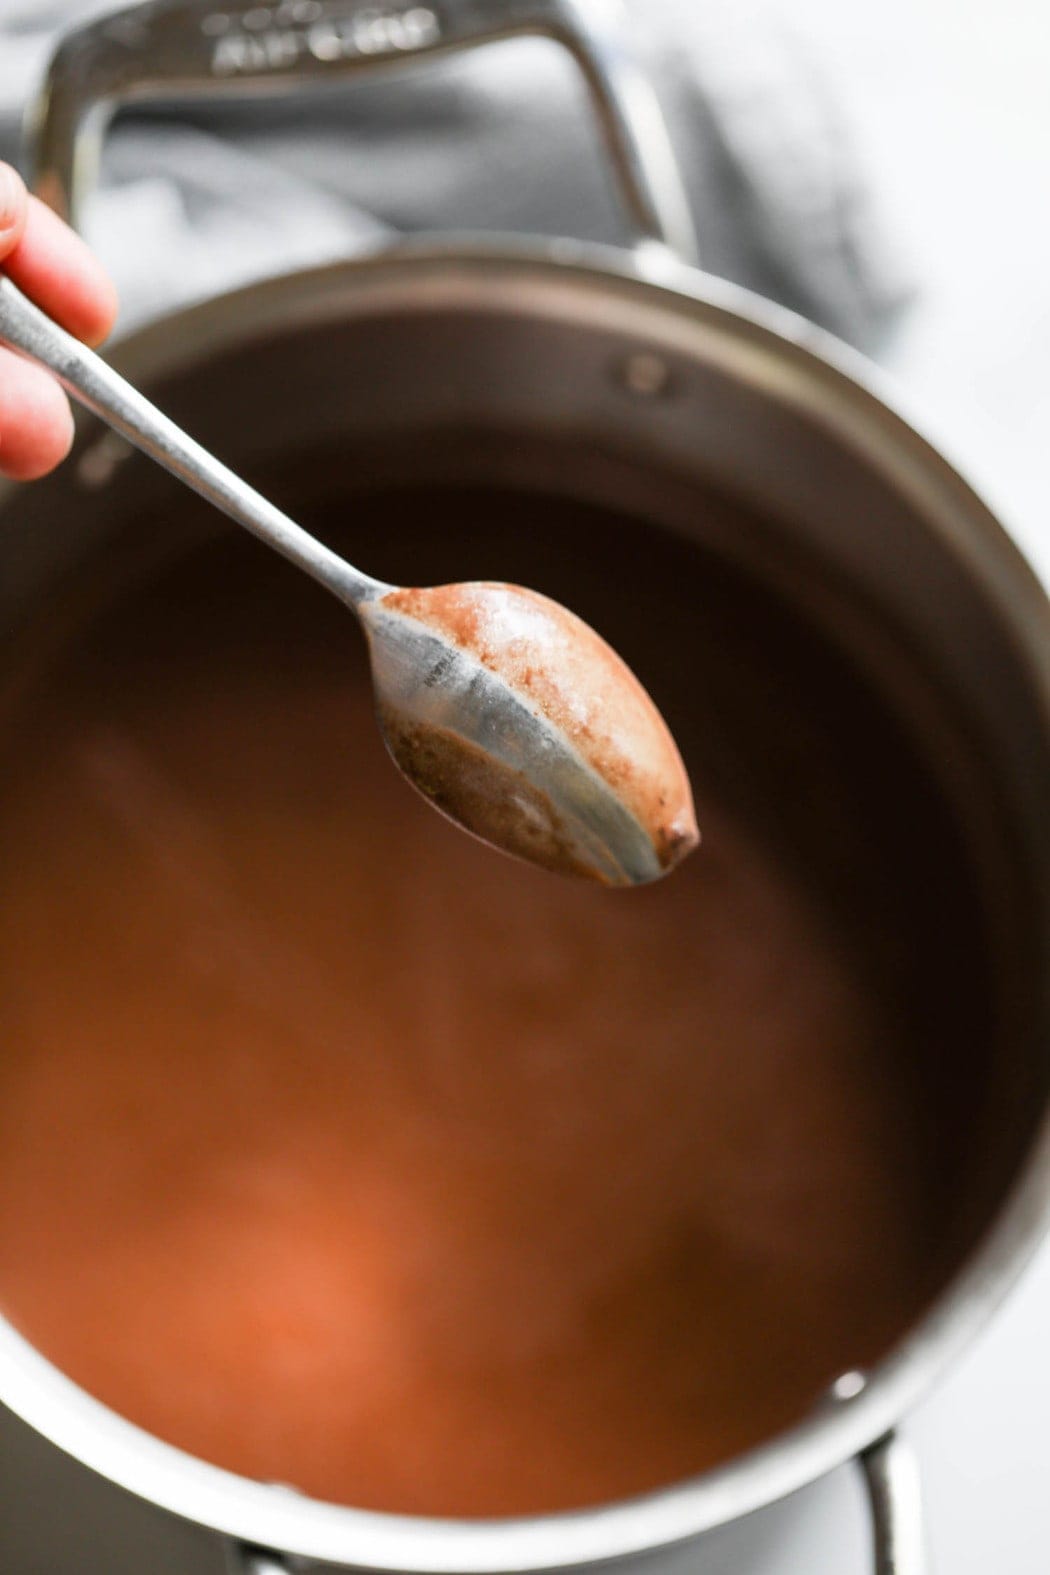
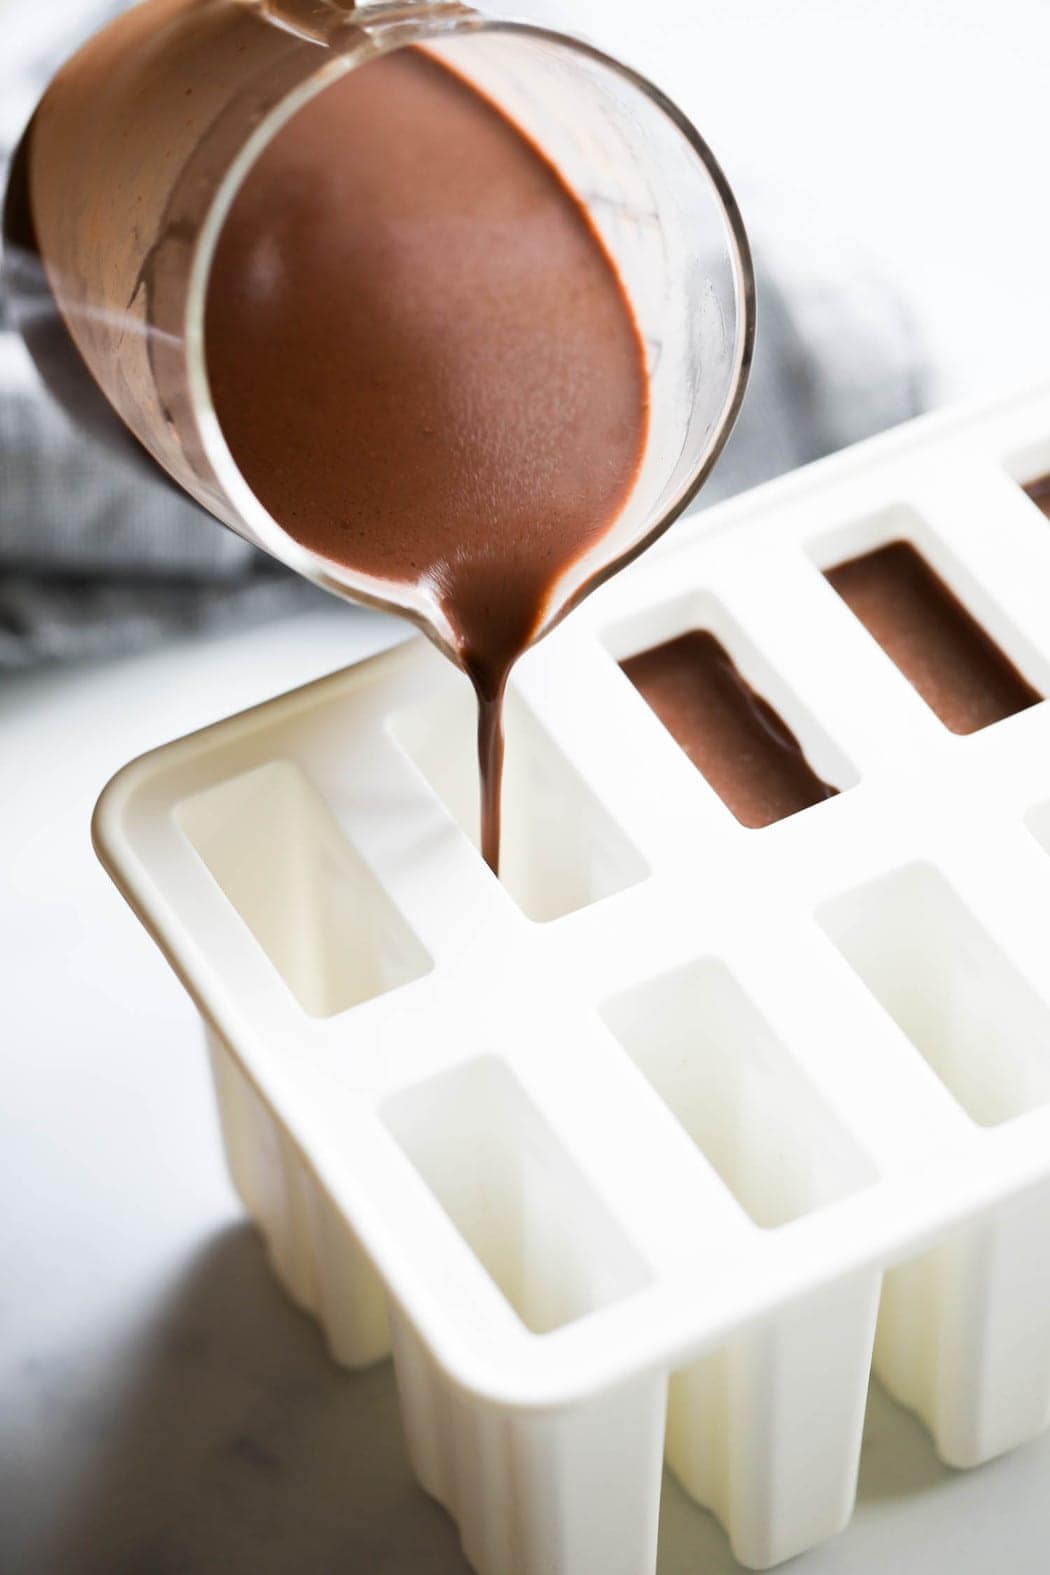
Add the cocoa powder and cornstarch and continue to heat and whisk until the powders are well incorporated and the mixture comes to a simmer. Continue to simmer for 1-2 minutes, until the mixture thickens slightly and easily coats the back of a spoon. Then remove the saucepan from the heat and let it sit aside for 15-30 minutes to cool slightly before stirring in the vanilla and pouring the mixture into popsicle molds.
Is Coconut Milk Good for You?
Though these dairy-free fudgesicles have a coconut milk base, the coconut doesn’t impart very much of the flavor. Instead, the rich chocolatey flavor reigns supreme, enhanced by a touch of vanilla extract, while the coconut provides a creamy backdrop.
Coconut milk is made by mixing the finely grated white coconut “meat” from a coconut with water (about 50/50 coconut and water) resulting in a thick and creamy liquid. Coconut milk is high in fat and most of that fat is a type of saturated fat called medium-chain triglycerides (MCTs), which are metabolized differently than other fats making them a quick source of energy. There’s some evidence that the MCT fats in coconut milk may be a beneficial choice for weight loss and improved metabolism.
Tips for Freezing Dairy-Free Fudgesicles
To make super creamy fudgesicles, we recommend that you allow the heated cocoa mixture to cool at least 30 minutes (or longer in the refrigerator) before pouring the mixture into molds. Not only will this help avoid ice crystals forming on the pops, but it will also avoid temporarily heating up the temperature of your freezer, which could compromise other frozen foods.
After the popsicles are completely frozen in the mold, remove them and individually wrap each popsicle in plastic wrap. This helps avoid the bottoms of the popsicles becoming freezer burned. Once frozen, you could also place batches of popsicles in a larger freezer bag and pull them out one by one.
The Best Molds for Homemade Fudgesicles
You can use whatever popsicle mold you have on hand. We used this 10-cavity silicone mold that makes 3-ounce fudgesicles. We like these molds because the bendable silicone makes it easy to remove the fudge popsicles from each cavity, and it comes with a lid that helps hold the popsicle sticks in place in the freezer.
No popsicle mold? No problem! You can also use small juice cups or paper cups. Top the cups with tin foil and poke the popsicle sticks through the foil so they will stand up until the popsicles are frozen. Since these dairy-free fudgesicles are a rich and creamy treat, they also portion out nicely in 2-ounce molds, like these. You would need two of these 8-portion 2-ounce molds to have enough molds for this dairy-free fudgesicle recipe.
This recipe makes enough mixture to make 10 3-ounce fudgesicles or 15 2-ounce fudgesicles.
Other Cool Treats to Try:
- Creamy Yogurt Popsicles with Berries
- Strawberry Cheesecake Smoothie Pops
- Dairy-Free Almond Butter Banana Nice Cream
- Dairy-Free Mint Chocolate Chip Ice Cream
- Sweet & Salty Ice Cream Sandwiches
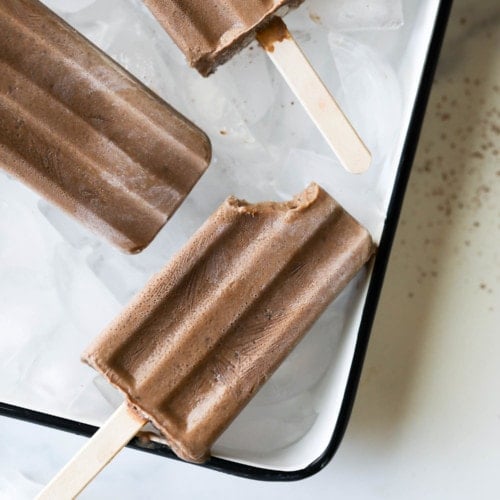
Dairy-Free Fudgesicles
These creamy dairy-free fudgesicles are made from basic pantry ingredients for a decadent cool treat that kids and adults will love.
Ingredients
- 2 15-ounce cans full-fat coconut milk*
- 2 tablespoons honey (use maple syrup or agave nectar for vegan pops)
- 1/4 cup unsweetened cocoa powder
- 1 tablespoon cornstarch or arrowroot powder (optional) – see note below
- 1 teaspoon pure vanilla
- 2-ounce or 3-ounce popsicle molds**
Instructions
- In a medium saucepan over medium-high heat, combine the coconut milk and honey; bring to a simmer.
- Add the cocoa powder and cornstarch and continue to heat and whisk until the powders are well incorporated and the mixture comes to a simmer, 4-5 minutes. Continue to simmer for 1-2 minutes, until the mixture thickens slightly and easily coats the back of a spoon.
- Remove the saucepan from the heat and let it sit aside for 15-30 minutes to cool slightly before stirring in the vanilla and pouring the mixture into popsicle molds.
- Pour mixture into 2- or 3-ounce popsicle molds and place in freezer 8 to 24 hours before removing from molds and wrapping individually in plastic wrap.***
Last Step! Please leave a review and rating letting us know how you liked this recipe! This helps our business thrive so we can continue providing free recipes and high-quality content for you.
Notes
Wondering why cornstarch? The cornstarch is an optional ingredient, but it does help make the popsicles nice and creamy (aka: less ice crystals). If you do choose to use it, make sure to bring the mixture to a light simmer and then let it cool at least 30 minutes (or longer) before pouring the mixture into the molds. You can sub in arrowroot powder.
* Be sure to shake the cans of coconut milk really well before opening them since the fat solids and coconut water can separate (this is normal). If you already have the cans open, just use a spoon or whisk to mix it all together before pouring it into the saucepan.
** This recipe makes enough mixture to make ten 3-ounce fudgesicles or fifteen 2-ounce fudgesicles. For the photographs in this blog post, we used these 3-ounce molds.
*** It’s not necessary to remove the fudge pops from the mold and individually wrap them, but this step does help prevent the ends of the pops from becoming freezer burned and they will last longer in the freezer.
The Nutrition Analysis for 2-ounce pops is (per fudgesicle): 106 calories, 9 g total fat (7 g saturated fat), 18 mg sodium, 0 mg cholesterol, 5 g carb (0 g fiber, 3 g sugar), 1 G protein
Nutrition Information
- Serving Size: 1 3-ounce popsicle
- Calories: 160
- Fat: 14 g
- (Sat Fat: 12 g)
- Sodium: 26 mg
- Carbohydrate: 8 g
- (Fiber: 1 g
- Sugar: 4 g)
- Protein: 2 g
- Cholesterol: 0 mg
Dietary
All photos and content are copyright protected. Please do not use our photos without prior written permission. If you wish to republish this recipe, please rewrite the recipe in your own unique words and link back to the source recipe here on The Real Food Dietitians. Thank you!
Looks great? Since I can’t have corn, do you think another starch would work?
Hi, you can use arrowroot powder, or you can eliminate the cornstarch completely – it’s an optional ingredient.
For an AIP diet, can I substitute arrowroot or tapioca starch for the cornstarch?
Hi, yes you can sub in arrowroot powder. You could likely use tapioca starch, too, but we have not tested that. You can also eliminate the cornstarch/arrowroot powder completely.
I have a strong dislike for anything coconut. What would you recommend inplace of coconut milk?
You could use vanilla cashew milk. That would be most similar in consistency.
The taste of these were phenomenal and thoroughly enjoyed by my little ones! I love that they aren’t too incredibly sweet!
I had two small issues though –
The popsicles started out oh so creamy, but after eating about half, they became icy.
When I added the cornstarch, some of it just clumped and refused to disolve, I ended up straining the mixture before pouring it in the molds.
Could that have been the issue? (I did let it cool in the fridge before pouring as well)
I definitely want to make these again!!
Hi Kris, it can be helpful to create a cornstarch slurry instead of adding the cornstarch directly to the hot mixture. To do so, in a small dish, mix the cornstarch with 2-3 tablespoons of the liquid from the saucepan until the cornstarch is fully dissolved, then stir the slurry back into the mixture. This will help prevent clumping of the cornstarch. We’re so glad you loved these fudgesicles otherwise, and we hope this helps with the issue!