Light, fluffy and made without corn syrup or eggs, these are the homemade marshmallows of your dreams.
This post is sponsored by Vital Proteins
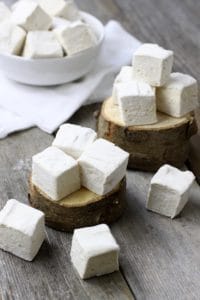
Upgrade your sweet snacking game with these homemade marshmallows
Turn over a bag of store-bought marshmallows and you’ll find a list of unnecessary and unsavory ingredients like modified cornstarch, dextrose, carrageenan (a thickener or stabilizer), ‘artificial flavor’, tetrasodium pyrophosphate (whipping agent) and Blue #1. These seemingly simple sweet treats, when made in a factory, require far more ingredients than if you made them at home (like most processed foods).
Food doesn’t have to be so complicated.
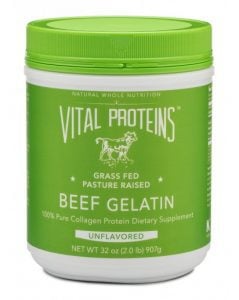
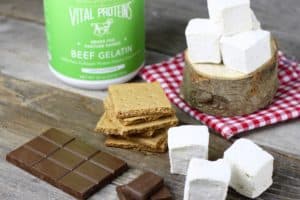
With just 5 wholesome ingredients, no corn syrup or artificial flavors and colors, these homemade marshmallows are the gold standard when it comes to topping hot cocoa, making s’mores and for sweet, indulgent nibbling. Their soft, springy texture and sweet honey and maple flavor make them irresistible (just ask my family!) And best of all, they’re made with my favorite grass-fed gelatin from Vital Proteins so I can sneak a little real food goodness into to those sweet snacking moments. It’s also my go-to for thickening and stabilizing without the use of eggs in ice cream and baked goods because it’s flavorless and mixes easily with hot liquids. If you’re new to gelatin or collagen, check out this post on their health benefits and uses.
About Vital Proteins: Vital Proteins is committed to providing the highest quality gelatin and collagen products sourced from sustainably raised cattle who spend their days munching grass in the sun. The products provide essential building blocks to support optimal skin, hair, tissue, bone and joint health along with digestive and liver support. You can learn more about Vital Proteins, and their entire line of products here.
Homemade marshmallow bliss made easy
I’ll admit, the first time I made homemade marshmallows I was a bit nervous but they turned out to be so simple that I now make them on the regular for gifts, parties, snow days and camping trips. Sure, they’re treats, but when made with pure local honey, pure maple syrup and grass-fed gelatin they’re treats I feel good about making for my family. That and the fact that I secretly love making marshmallows. Once you give these homemade marshmallows a try you’ll see what I mean!
What You’ll Need:
- Candy Thermometer (Digital or non-digital)
- 9 x 13″ baking dish
- Parchment paper
- Coconut oil for greasing the pan
- Arrowroot or tapioca starch for dusting
- Electric Mixer (Stand mixer or handheld mixer)
- Measuring cups, spoons, rubber spatula, large knive
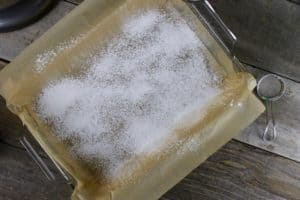
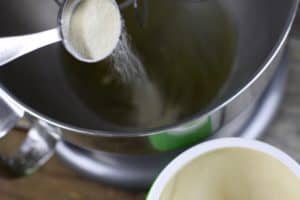
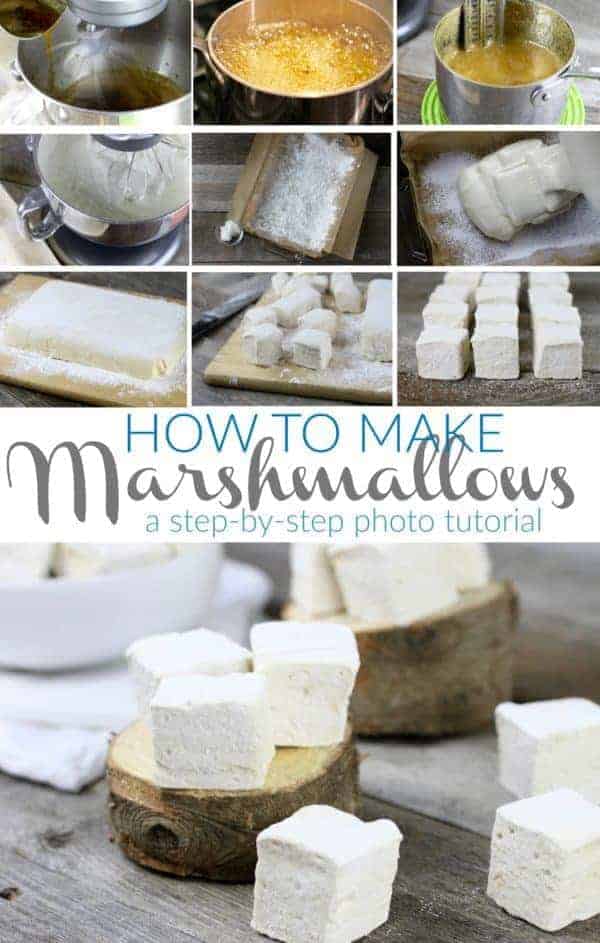
Pour 1 cup water into the bowl of your mixer and sprinkle 5 Tablespoons of gelatin over the water. Allow this to rest and “bloom” while you prepare the syrup.
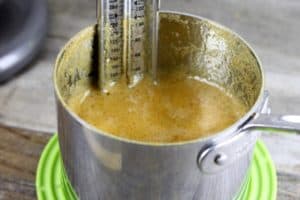
In a medium saucepan set over medium-high heat, whisk together 1 cup water, 1 cup honey and 1 cup maple syrup. Bring to a boil, reduce heat slight and allow to simmer vigorously until you reach 240ºF on a candy thermometer. This is not a time for multi-tasking as too high of a temp will result in a frothy boil over disaster and too low of a temp will mean you’ll never get to 240ºF. Just be breathe and present with your bubbling syrup mixture – avoid stirring – and adjust the temp as needed to keep things bubbling without boiling over. Who knew making marshmallows could be so zen?!
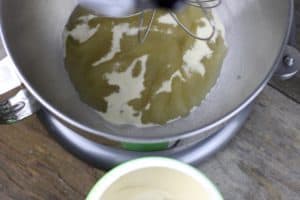
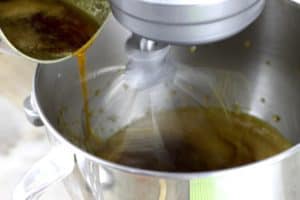
When your syrup reaches 240ºF (soft-ball stage) on a candy thermometer remove the pan from the heat. With your mixer set to medium speed slowly pour the hot syrup into the bowl of the mixer being careful not to pour directly onto the beaters (thus splattering everything with sticky, syrupy goodness).
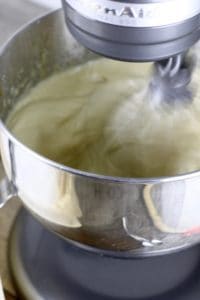
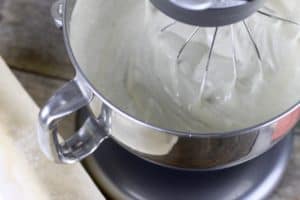
When all of the syrup has been added to the mixer, add vanilla and sea salt and crank up the speed to high and beat for 5-10 minutes until it turns from light tan to white and fluffy and nearly tripled in volume.
You’ll know it’s ready when a spoon dipped into and removed from the fluff leaves a little peak that stands up for a brief moment before gently collapsing on itself (“soft peak” stage).
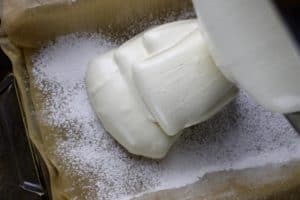
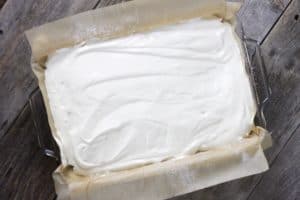
Pour the fluff into the prepared pan.
Smooth gently with a rubber spatula. Set the pan aside, uncovered and away from little hands or paws, for 6 hours or overnight. The longer they are allowed to set, the easier they will be to cut so resist the urge to cut into them early, if you can.
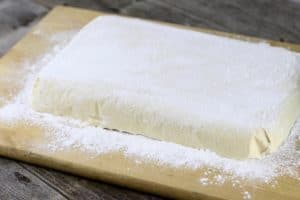
When cooled and set,Using the overhanging parchment paper as a handle, remove your giant marshmallow to a cutting board. Dust the top with additional starch to make cutting easier.
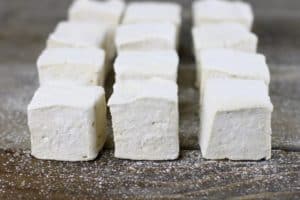
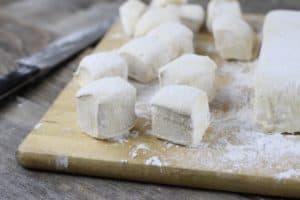
Using a sharp knife, cut into 36 squares. Dust cut sides with more starch to prevent them from sticking to one another. Store in an airtight container on the counter (not fridge) for up to 2 weeks.
Now it’s your turn!
Don’t be shy, they’re really simple – and sinfully delicious– to make.
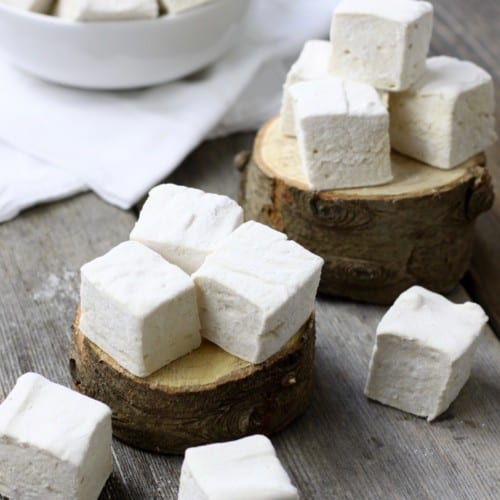
Homemade Marshmallows
Sweet, pillowy soft marshmallows made without corn syrup or eggs. They’re perfect for topping steaming mugs of cocoa, roasting over a campfire, in your favorite dessert recipes or just munching on their own.
Ingredients
- 2 cups water, divided
- 5 Tbsp. Vital Proteins grass-fed gelatin
- 1 cup honey
- 1 cup pure maple syrup
- 1 tsp. vanilla
- 1/4 tsp. sea salt
- Tapioca starch or arrowroot starch for dusting
- Coconut oil for greasing pan
- Parchment paper
Instructions
- Lightly grease a 9×13″ baking dish with coconut oil then line with parchment paper lengthwise, leaving a little overlap on each end (you may have to trim your paper a bit to fit nicely) then grease the bottom of the pan again (this time on the paper) and line the pan going the opposite direction – again leaving a little overhang to use as a handle to turn cooled marshmallows out of the pan for cutting later on.
- Dust the pan lightly with arrowroot or tapioca starch/flour.
- Pour water into the bowl of a stand mixer with whip attachment (or into a large glass or metal bowl if using a hand mixer).
- Sprinkle gelatin over the water and allow it to “bloom” for 5-10 minutes while you make the honey-maple syrup.
- In a medium saucepan set over medium-high heat, whisk together 1 cup water and the honey and maple syrup. Clip the candy thermometer to the side of pan so that the bulb of the thermometer is in the liquid.
- Bring mixture to a boil, turn down heat slightly to keep syrup mixture from foaming up and boiling over. You may need to adjust the temperature occasionally to prevent boil-overs.
- Allow the mixture to simmer rapidly until it reaches 240℉ on a candy thermometer (soft-ball stage).
- Turn the mixer to medium speed and slowly pour the hot sugar syrup into the bowl over the bloomed gelatin, being careful not to pour directly onto the beater or it will splatter all over the place. Be patient. Pouring too fast can cause the mixture to “break” when you try to spread it into pan.
- Once all of the syrup has been added, add the vanilla and sea salt and turn the mixer to high speed and beat for 5-10 minutes or until the mixture is fluffy, white and nearly tripled in volume. When you dip a spoon into the mixture and pull it back out, the “peaks” formed should stay upright momentarily before collapsing onto themselves (“soft peak” stage).
- Pour the fluffy marshmallow cream into the prepared pan and gently smooth using a rubber spatula.
- Allow marshmallows to cool, uncovered and undisturbed for 6 hours or overnight. Use overhanging parchment paper to transfer marshmallow to a cutting board dusted with starch. Peel away the parchment paper and dust all sides with starch.
- Using a sharp knife, cut into 36 squares using a sharp knife. Dust cut sides with additional starch to prevent them from sticking together.
- Store in a covered container at room temperature for up to 2 weeks.
Last Step! Please leave a review and rating letting us know how you liked this recipe! This helps our business thrive so we can continue providing free recipes and high-quality content for you.
Notes
All photos and content are copyright protected. Please do not use our photos without prior written permission. If you wish to republish this recipe, please rewrite the recipe in your own unique words and link back to the source recipe here on The Real Food Dietitians. Thank you!
Nutrition Information
- Serving Size: 1 marshmallow
- Calories: 56
- Fat: 0g
- Sodium: 18mg
- Carbohydrate: 14g
- (Fiber: 0g
- Sugar: 13g)
- Protein: 0g
Dietary
What’s your favorite way to enjoy marshmallows? Tell us about it in the comment below!
Pin now to make later!
This post may contain affiliate links which won’t change your price but will share some commission.
these look amazing! i wanted to make rice krispie squares with these…any idea if i can skip the setting stage and just mix the rice krispies with the fluff before setting?
Thanks, Karen!
If you’re making Rice Krispie treats you’ll want to skip pouring the marshmallows into the pan (though you’ll still want to grease the pan so they’ll come out easily) and just stir the cereal into the fluff – then press it all into the pan. I’m guessing it’s going to make at least 2 pans so you could make an 8×8-inch pan of marshmallows and then a 9×13-inch pan of treats. I’m just estimating those amounts based on how much fluff the recipe makes so not exactly sure how it will play out. I’d love to hear how it goes for you!
sorry for the late reply, but I did make these, they were easy and amazing, delicious and did I mention delicious!!! The rice krispie treats turned out beautifully!!!!! making again tonight! thank you for this recipe!!!!!
Hi Karen,
That’s great! Thanks for reporting back. Glad you loved them.
Hi Karen, Years later (lol) I am trying to make rice crispy treats from this recipe, but the rice crisps keep losing their crisp after I stir them into the beautiful marshmallow fluff. Did you coat your crispies with butter or oil to prevent moisture from turning them chewy? Don’t know if you will get this message, but I would love to hear your trick or tip for this! Thanks 🙂
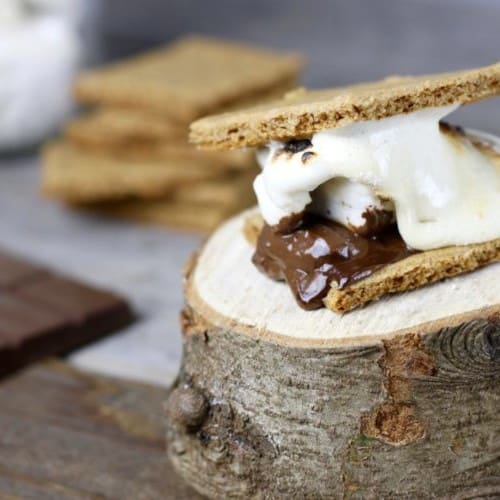
Hi! I tried another paleo recipe last year before going camping, but they wouldn’t toast at all over the campfire — just liquified and melted. You’re marshmallow recipe looks really delicious! Have you tried toasting them at all? I’d really love to be able to make s’mores on my next camping trip 🙂
Hi Jessica,
Like other homemade marshmallows, these will get really soft over the fire so my workaround for this is to let them get really stale before I take them camping. I just leave the bag/container open or uncovered in the pantry for a few days and that usually does the trick. They still melt faster than store-bought ones but they do toast up nicely for s’mores.
Perfect. This is what I was looking for! It’s ridiculously hard to find fun things like this that aren’t full of junk.
We agree and we think you’ll love these!
Can’t wait to try to try a healthier version!
These are amazing!
We’re so glad you made these Homemade Marshmallows and loved them!
Do you think these could be made using marine collagen?
We have not tested this with marine collagen but you should have similar results.