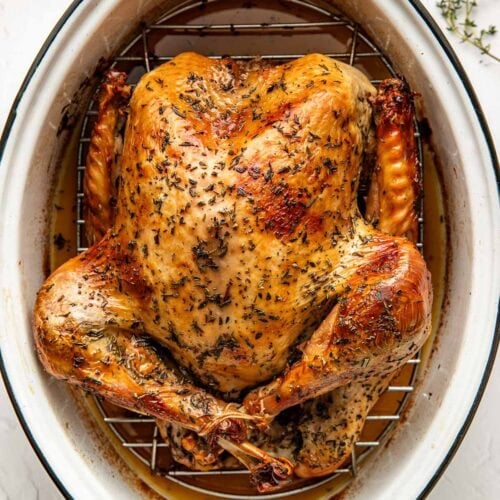
Homemade turkey gravy is a simple recipe that ends up being everyone’s favorite part of Thanksgiving dinner. It’s amazing how just a few simple ingredients come together to create something so rich and flavorful. Smooth and savory, this gravy recipe drizzles nicely over everything and brings the entire meal together, adding that perfect finishing touch. I make it right after preparing the Thanksgiving turkey recipe, using the drippings from the roasting pan for the best flavor and a perfectly creamy texture.
Recipe Highlights
Made from the turkey drippings: This gravy allows me to turn leftover pan drippings that I would normally toss out into a delicious side, preventing waste and adding flavor to my meal. If the pan drippings aren’t available, a few tablespoons of melted butter can be used instead.
Quick and easy: Made in less than 20 minutes from simple ingredients, this recipe comes together effortlessly while the turkey rests.
Flavorful: The pan drippings create a deep, savory flavor that can’t be matched by store-bought gravy.
A Handful Of Simple Ingredients
- Turkey drippings: I scrape all the leftover drippings from the pan I use to make my roasted turkey. I don’t often use the turkey neck or giblets, but they can also be finely minced and added to make giblet gravy, if desired.
- All-purpose flour: I prefer flour over cornstarch because it creates a smoother consistency. If needed, this gravy recipe also can be made with gluten-free flour.
- Chicken broth: Turkey stock or turkey broth makes a great option, but I typically use homemade chicken broth or chicken stock as it’s what I have on hand. I have also used store-bought broth and always look for low-sodium varieties to prevent my turkey gravy recipe from becoming too salty. I always start with 2 1/2 cups of broth and add more as needed to achieve my desired consistency.
Find the ingredient list with exact measurements in the recipe card below.
Stovetop Cooking Instructions
I used to be intimidated to make gravy at home. But once I realized how to make turkey gravy with just five ingredients and less than 20 minutes, I never turned back to pre-made options again. Here’s a step-by-step overview of how to make the best turkey gravy recipe:
- Strain the gravy: Before I begin, I always use this measuring cup fat separator to separate the turkey fat from the liquid while the drippings are still warm, scooping the leftovers from the pan. If I don’t have a fat separator on hand, I pour the drippings into a shallow glass or metal bowl and place it in the freezer for about 20 minutes until the fat starts to harden and can be skimmed off the top with a spoon.
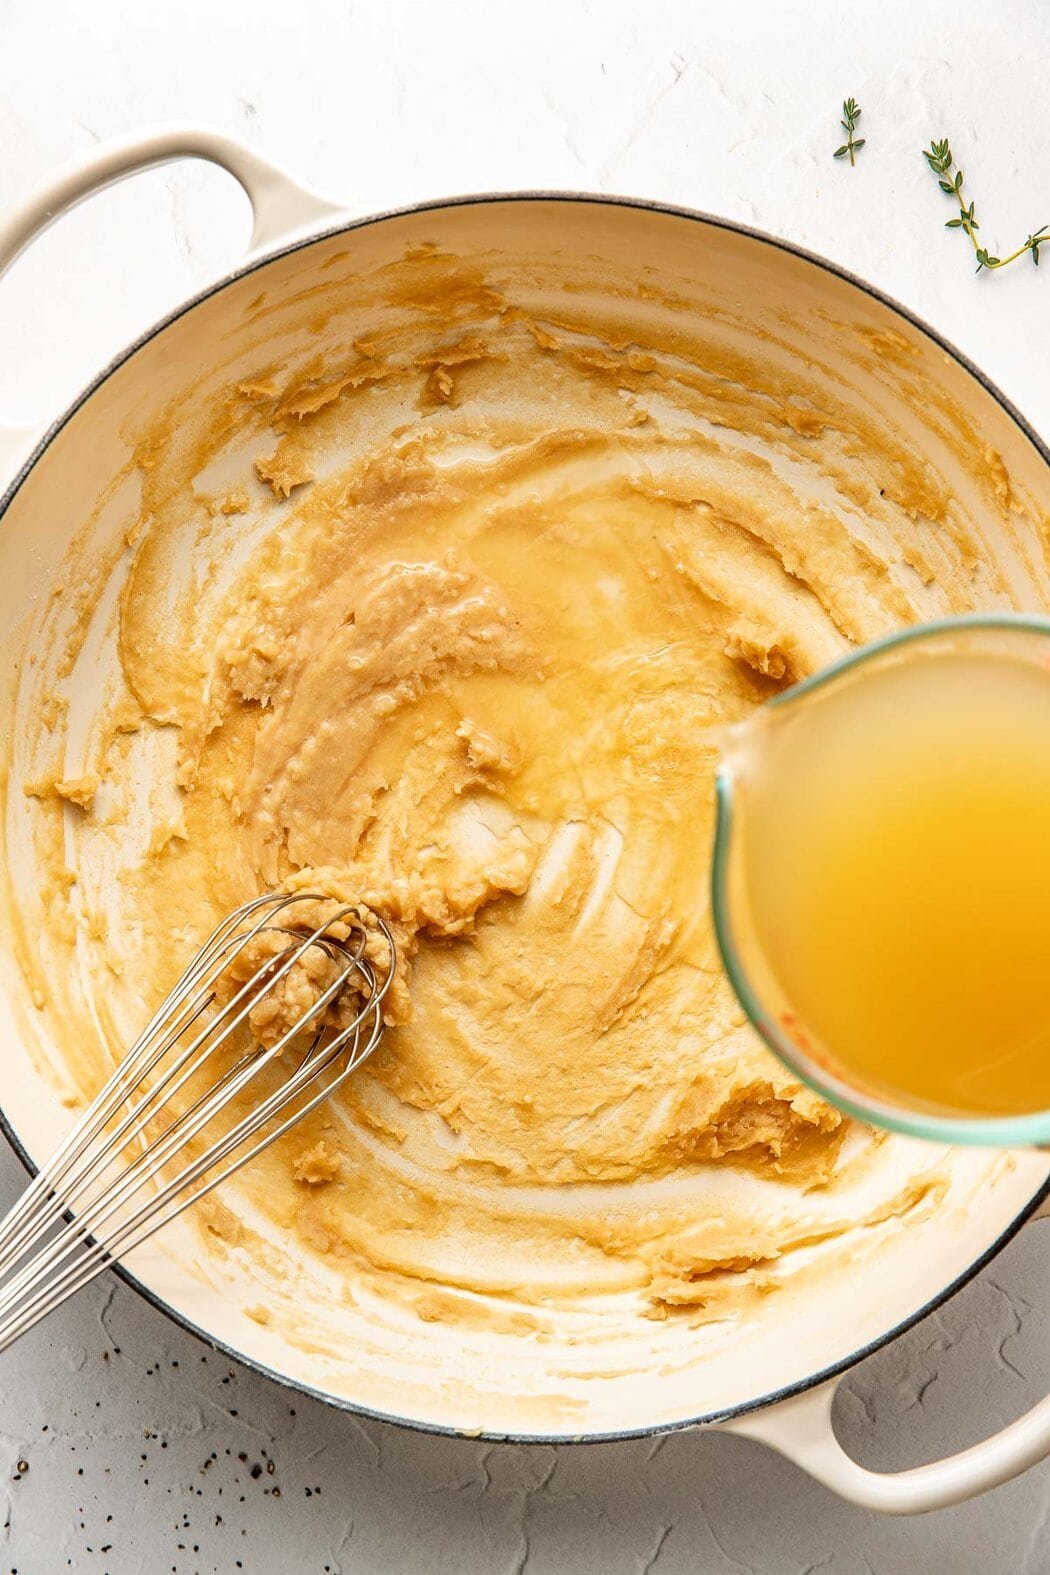
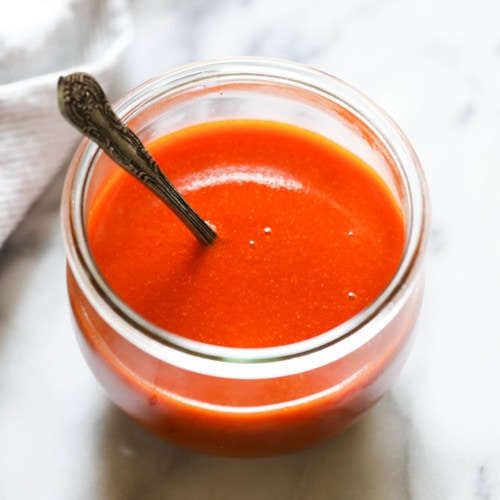
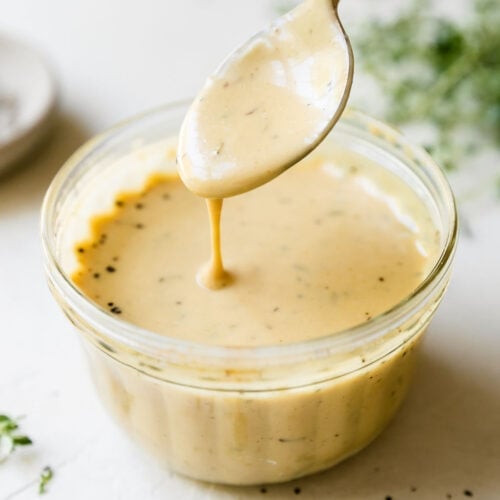
- Create a roux: Next, I heat the turkey drippings in a large skillet over medium heat to medium-high heat. Then, I add the flour, and whisk to create a paste. I continue to whisk until the mixture is golden brown and creates a thick roux.
- Thin the gravy: Whisking continuously, I slowly add the broth to thin the roux and create a smooth consistency.
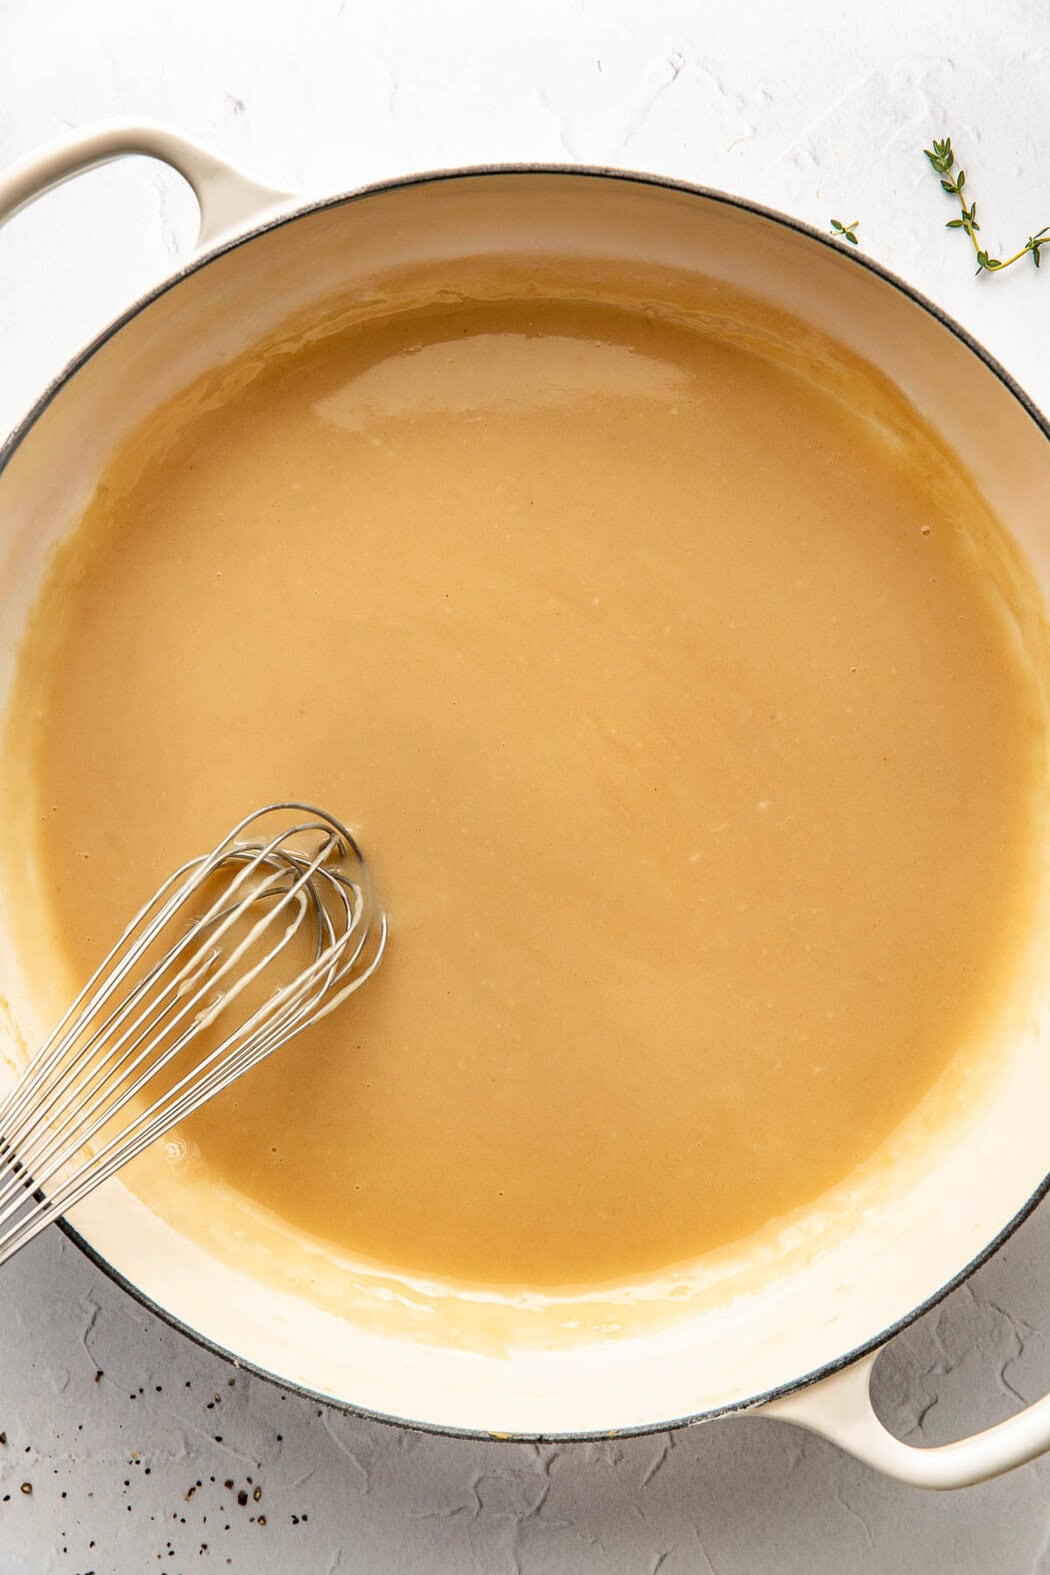
- Cook: Next, I bring the liquid to a boil and stir frequently until it’s thick enough to coat the back of a spoon, has reduced, and looks fairly creamy. At this point, if the gravy is not thick enough, I simply whisk for another few minutes over the heat to thicken it up.
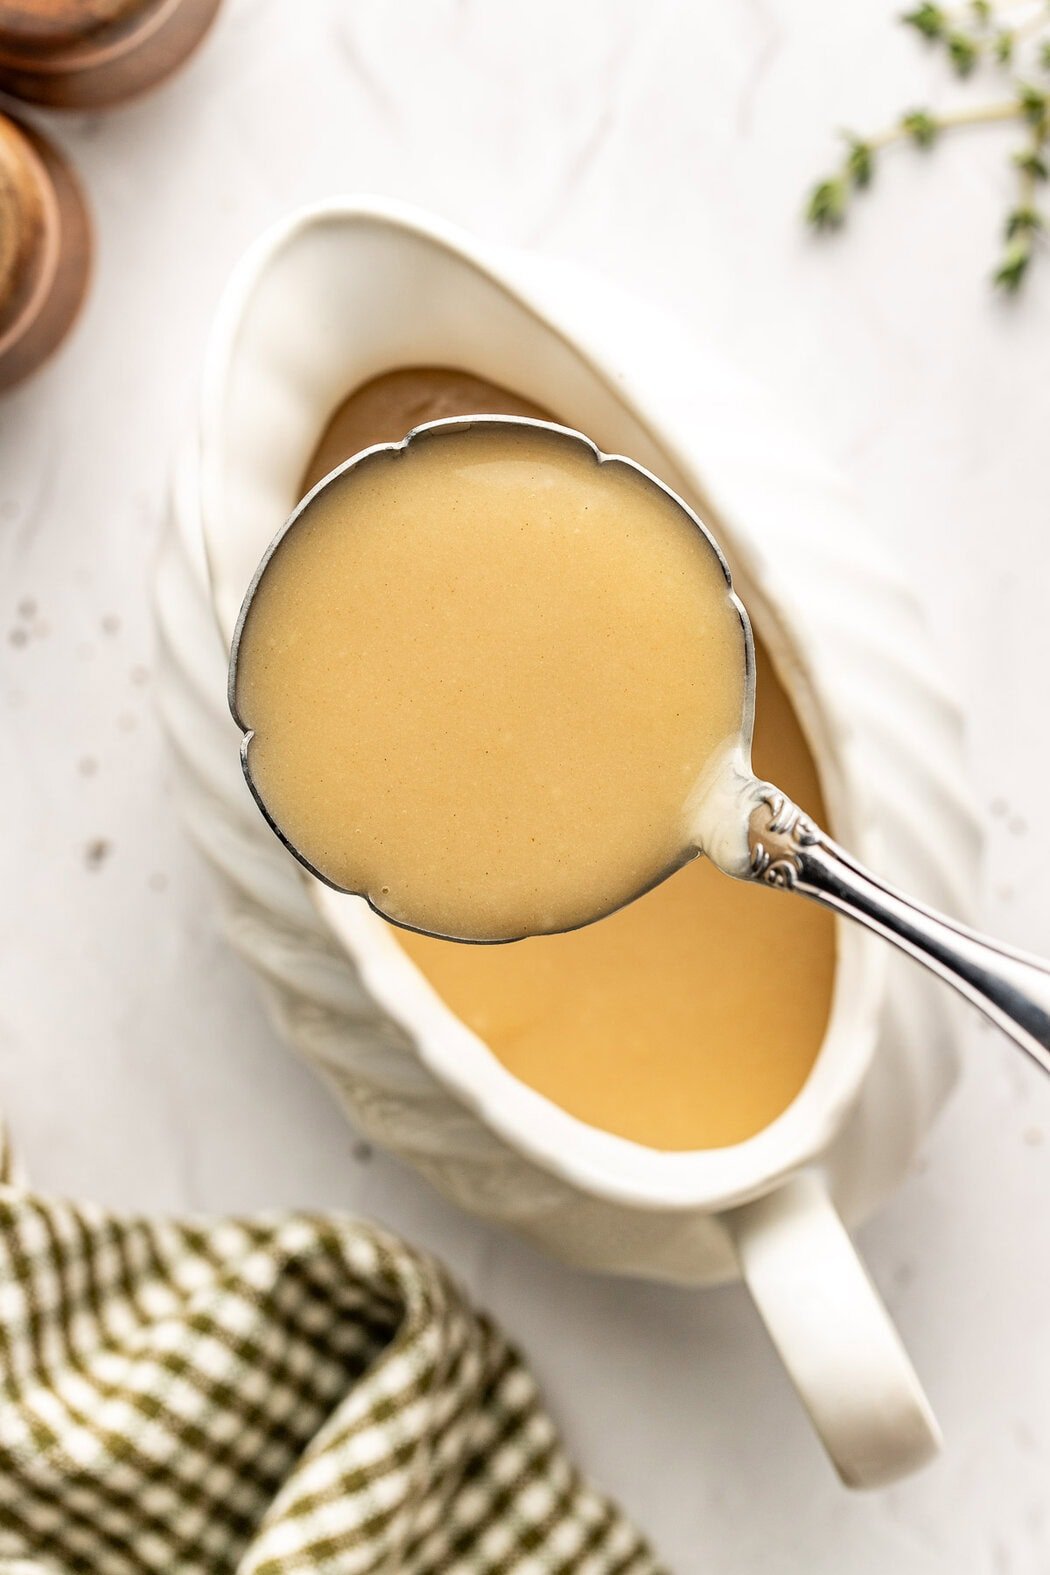
- Serve: After a few minutes, I remove the gravy from the heat and let it cool slightly. Then, I give it a quick taste and add more salt or freshly ground black pepper if needed.
For serving size and the complete directions and ingredient amounts, scroll down to the recipe card below. All of our recipes include the nutrition analysis, listing calories (kcals), protein, carbohydrates/carb, fiber, sugar, sodium, cholesterol, and more per serving.
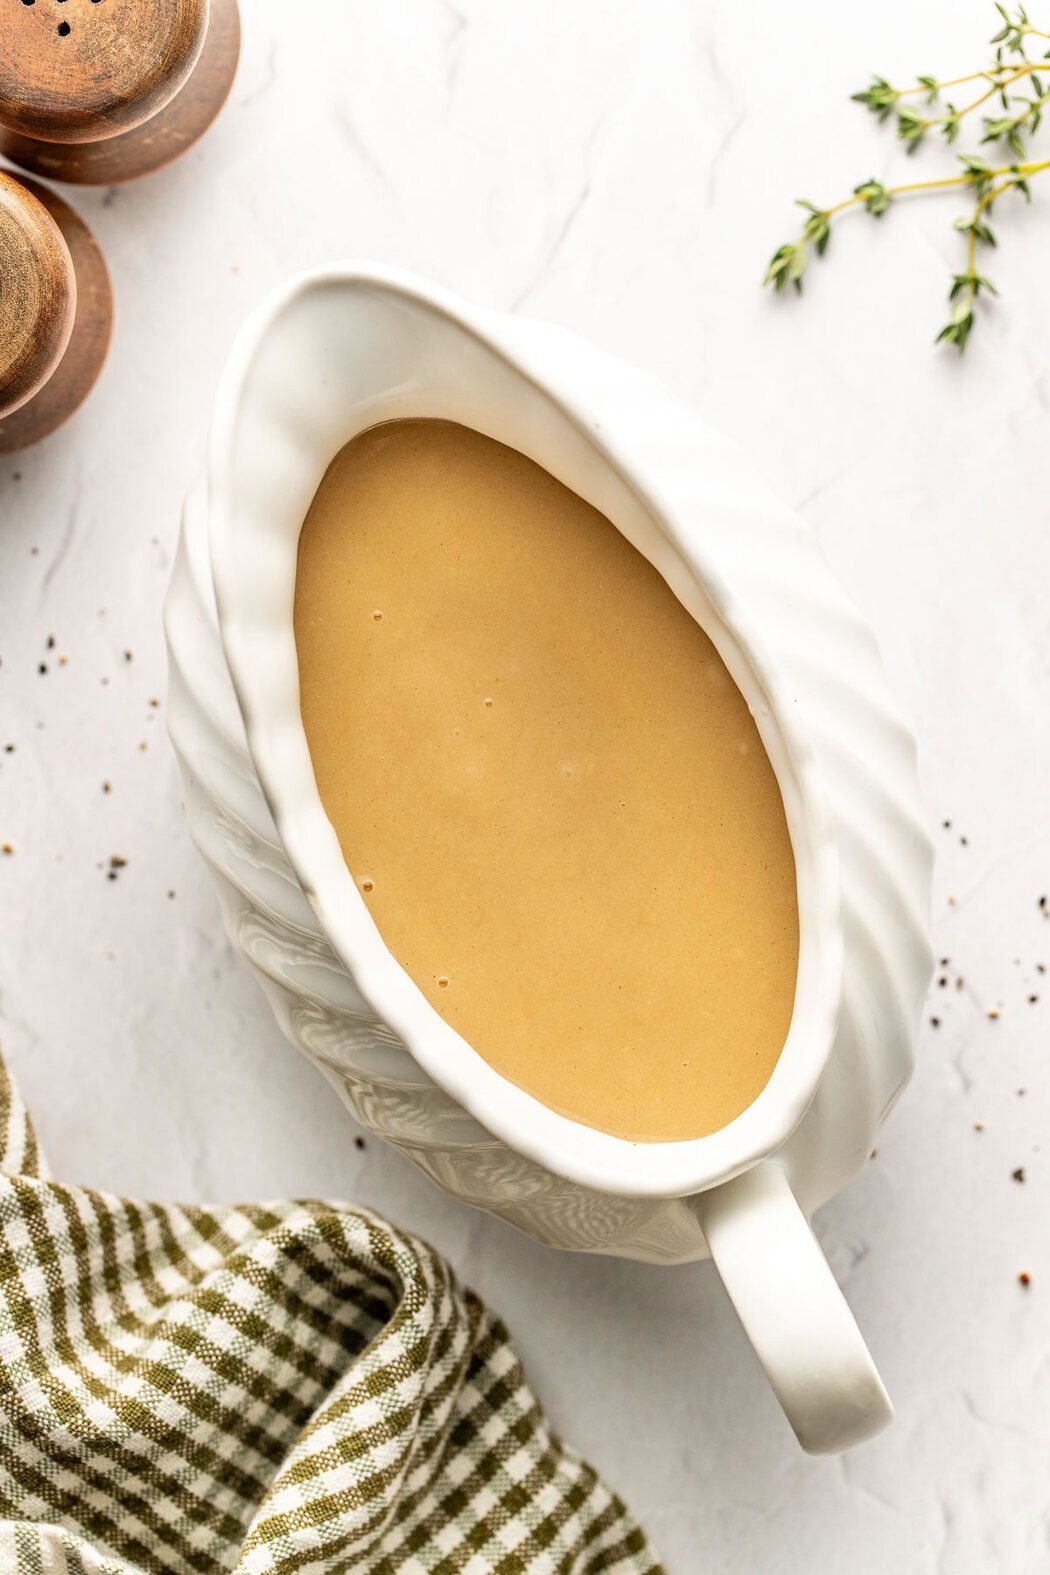
Get The Right Consistency
The key to the best gravy is achieving a silky, pourable consistency that isn’t too thick or too thin. If my gravy seems too thick, I whisk in a splash of warm broth a little at a time until it loosens.
Or, if it’s too thin, I continue simmering for a few extra minutes to let it reduce and thicken. To avoid lumps, I whisk constantly as I add the broth to the roux, making sure to add it slowly. If lumps do form, I just strain the gravy through a fine mesh strainer before serving, and it comes out nice and smooth.
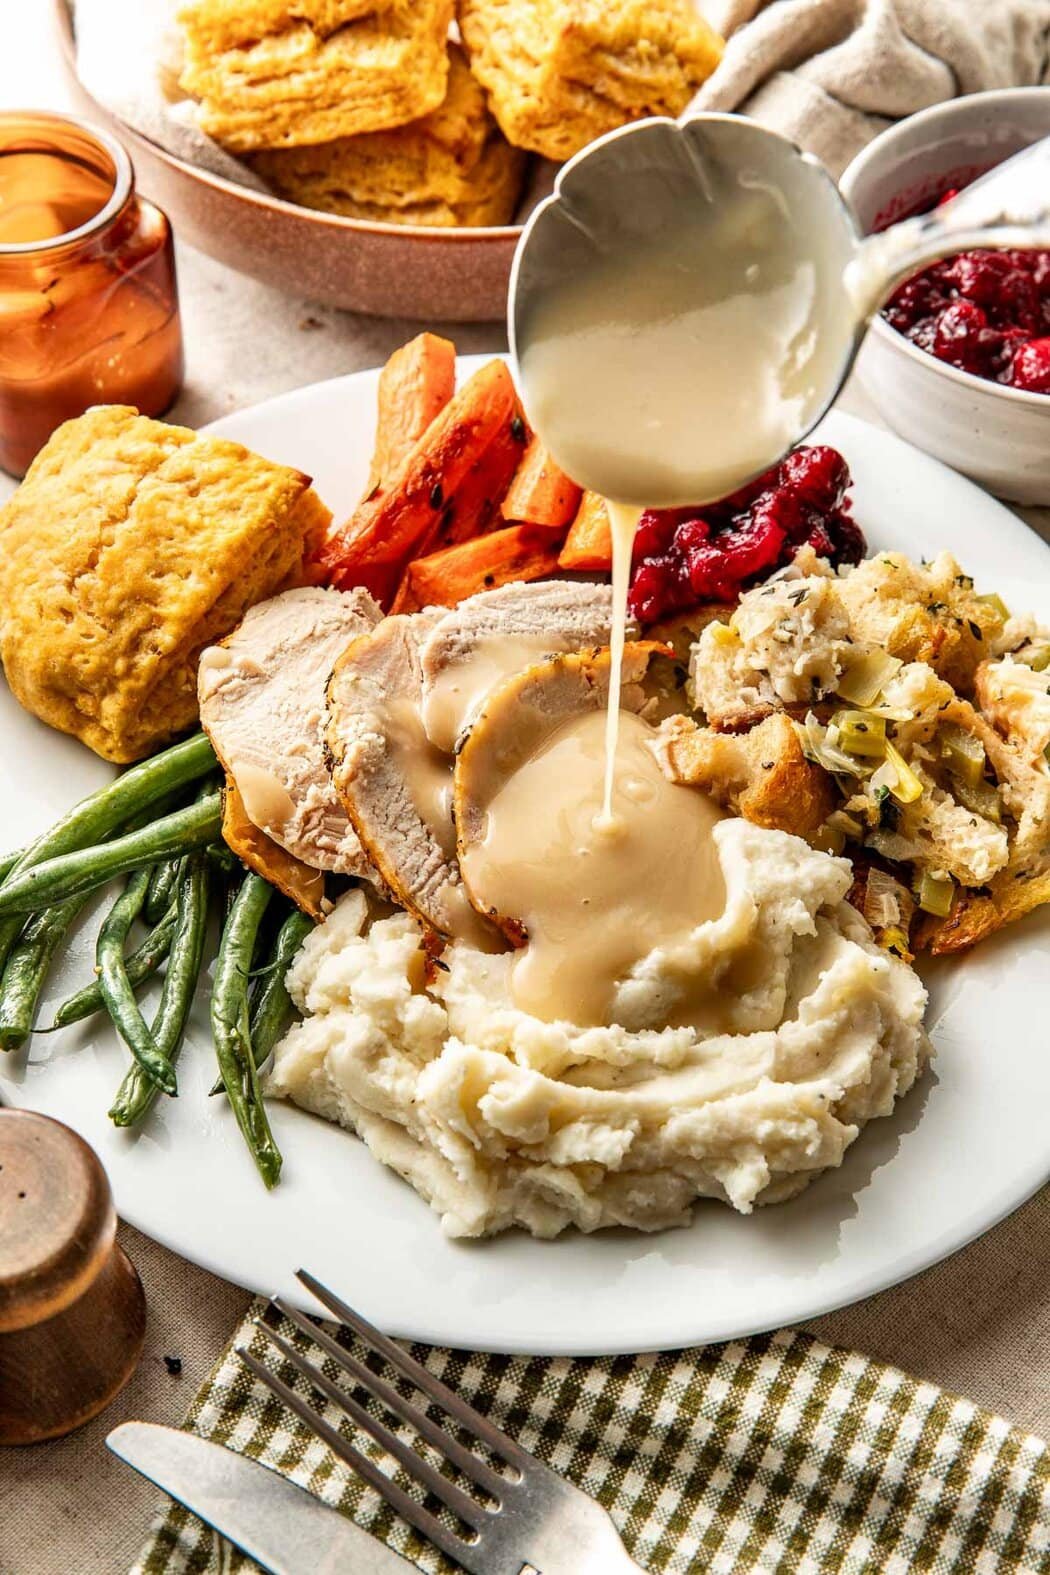
Pour Over Mains Or Sides And Enjoy
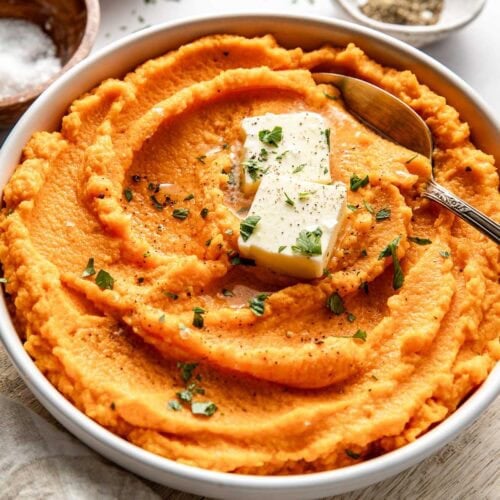
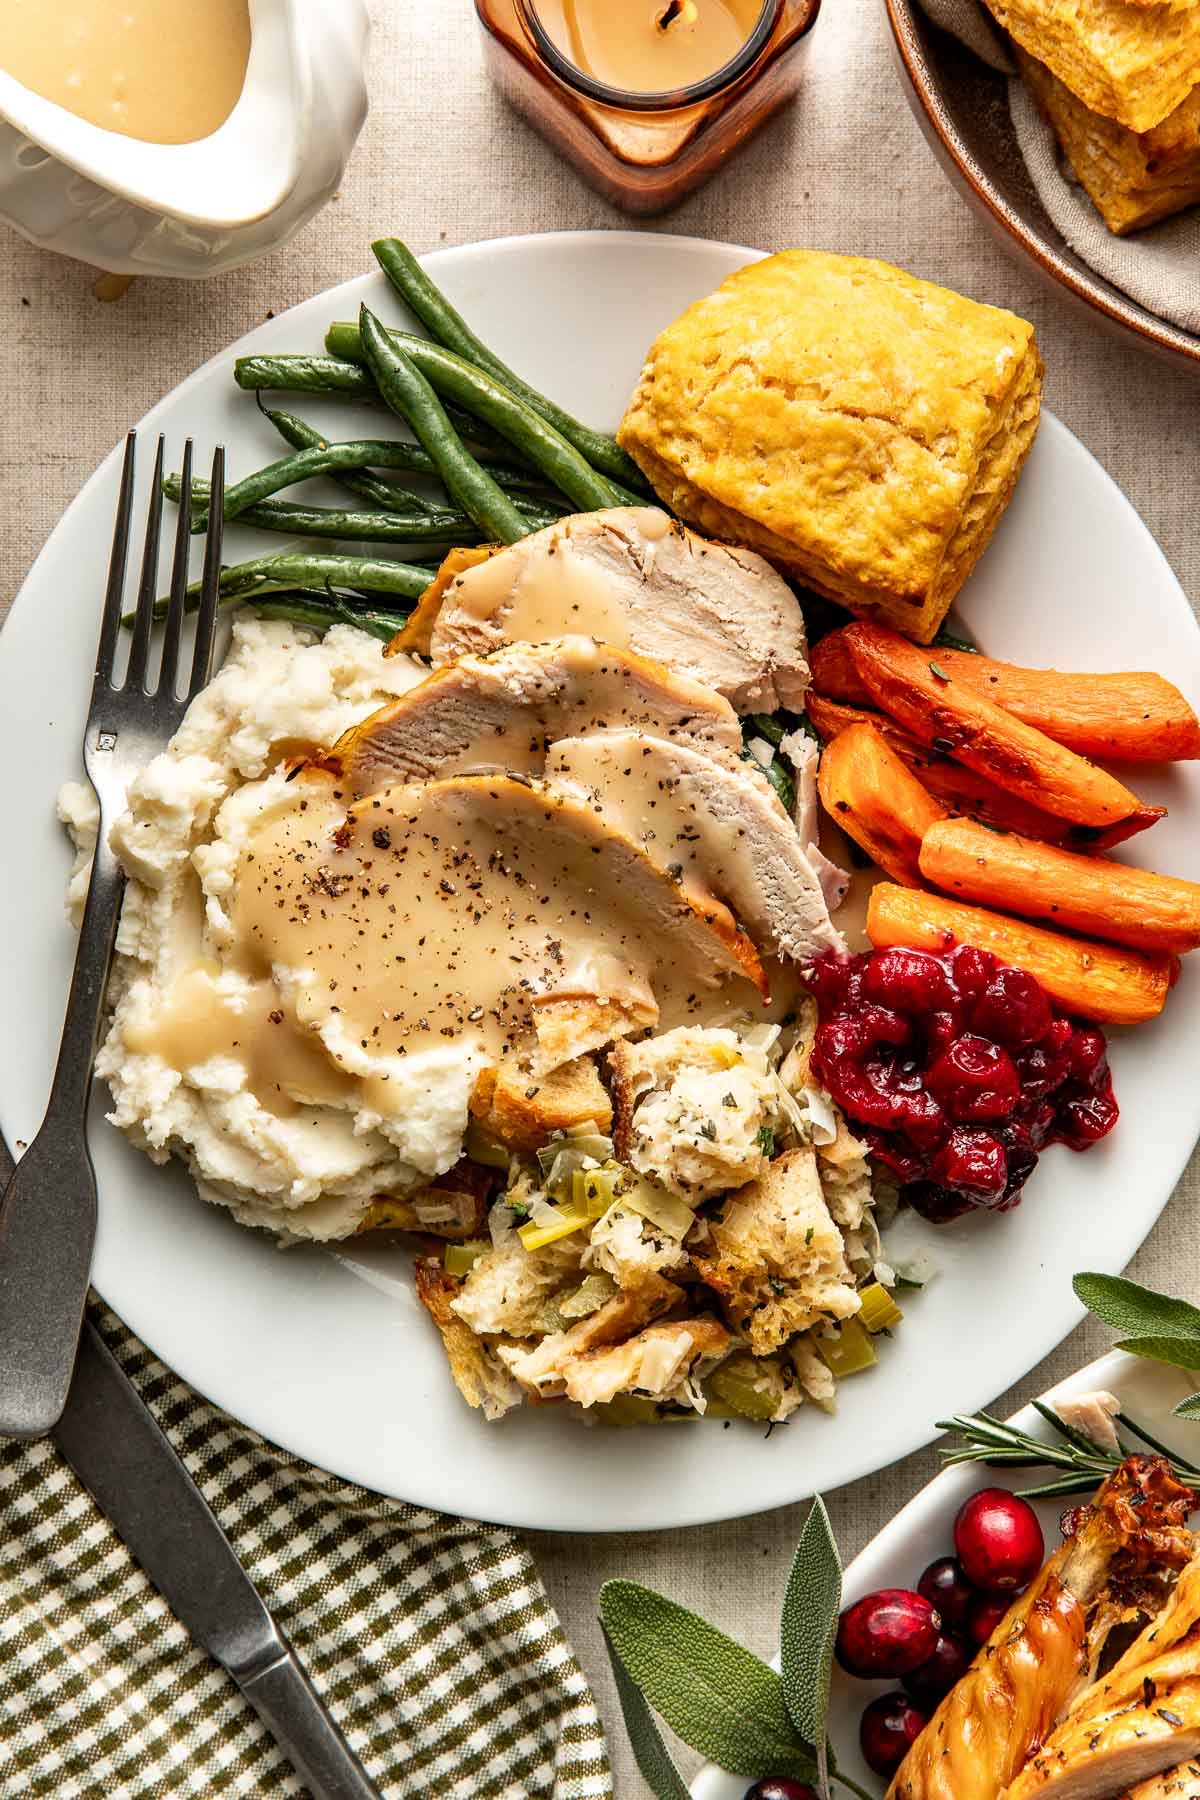
I always serve this turkey gravy in a gravy boat to make it easy for my guests to drizzle it over turkey breast and mashed potatoes. It’s also delicious over Thanksgiving side dishes and for dunking my homemade biscuits, roasted vegetables, stuffing, or even adding to leftover turkey sandwiches the next day.
Storage Tips
If preparing Thanksgiving recipes in advance, the gravy is one recipe I prefer to make ahead because it stores and reheats well. Once cool, I transfer the prepared gravy to an airtight container and store it in the fridge for up to 4 days. To serve, I reheat it slowly in a medium saucepan over low heat on the stovetop, whisking occasionally, and adding broth as needed if it thickens too much.
For a longer-lasting option, I pour cooled gravy into a silicone freezer trays and freeze until solid. Then, I transfer the cubes to a freezer-safe container or sealable bag and freeze them for up to 3 months. Then, I just thaw the cubes in the refrigerator and reheat the gravy as usual.

Want to save this recipe?
Enter your email below & we’ll send it straight to your inbox. Plus you’ll get great new recipes from us every week!

Turkey Gravy Recipe
This homemade gravy recipe is an easy way to use leftover pan drippings from your holiday turkey. Rich and savory with a thick, pourable consistency, it’s the perfect addition to turkey and mashed potatoes.
Ingredients
- ½ cup turkey drippings, defatted*
- ⅓ cup all-purpose flour (may sub gluten-free flour)
- 3 cups low-sodium chicken broth
- ½ teaspoon fine salt, plus more to taste
- ¼ teaspoon black pepper, plus more to taste
Instructions
- Place a large skillet over medium heat.
- Add the turkey drippings to the skillet. When the drippings are hot, sprinkle the flour over the drippings and immediately start whisking until a paste forms.
- Continue whisking for another 1 minute to form a roux. This should be a light brown color and the consistency of thick, yet spreadable, paste.
- Slowly begin to add the broth to the skillet while still whisking.
- Once all of the broth has been added, increase the heat to medium-high and bring to a boil, stirring frequently.
- Once the gravy is boiling, cook for 5-6 minutes whisking constantly until the gravy is thick enough to coat a spoon (it should be fairly ‘creamy’ looking at this point and reduced in volume by about ⅓).
- If the gravy is not thick, continue cooking while whisking for another 2-3 minutes.
- Remove from heat and allow to cool slightly before tasting and adding additional salt and/or black pepper to taste.
Last Step! Please leave a review and rating letting us know how you liked this recipe! This helps our business thrive so we can continue providing free recipes and high-quality content for you.
Notes
*I use this 4-cup fat separator tool to separate the fat from the liquid while the drippings are still warm. Alternatively, you can pour the drippings into a shallow glass or metal bowl and place in the freezer for 15-20 minutes, until the fat starts to harden and can be skimmed off the top with a spoon.
Nutrition Information
- Serving Size: 1/4 cup
- Calories: 58
- Fat: 5 g
- (Sat Fat: 3 g)
- Sodium: 132 mg
- Carbohydrate: 3 g
- (Fiber: 0 g
- Sugar: 0 g)
- Protein: 1 g
- Cholesterol: 14 mg
Dietary
The photos in this post were taken by Megan McKeehan.
For ultimate success, we highly recommend reading the tips in the full blog post above. All photos and content are copyright protected. Please do not use our photos without prior written permission. If you wish to republish a recipe, please rewrite the recipe in your own unique words. Link back to the source recipe here on The Real Food Dietitians. Thank you!