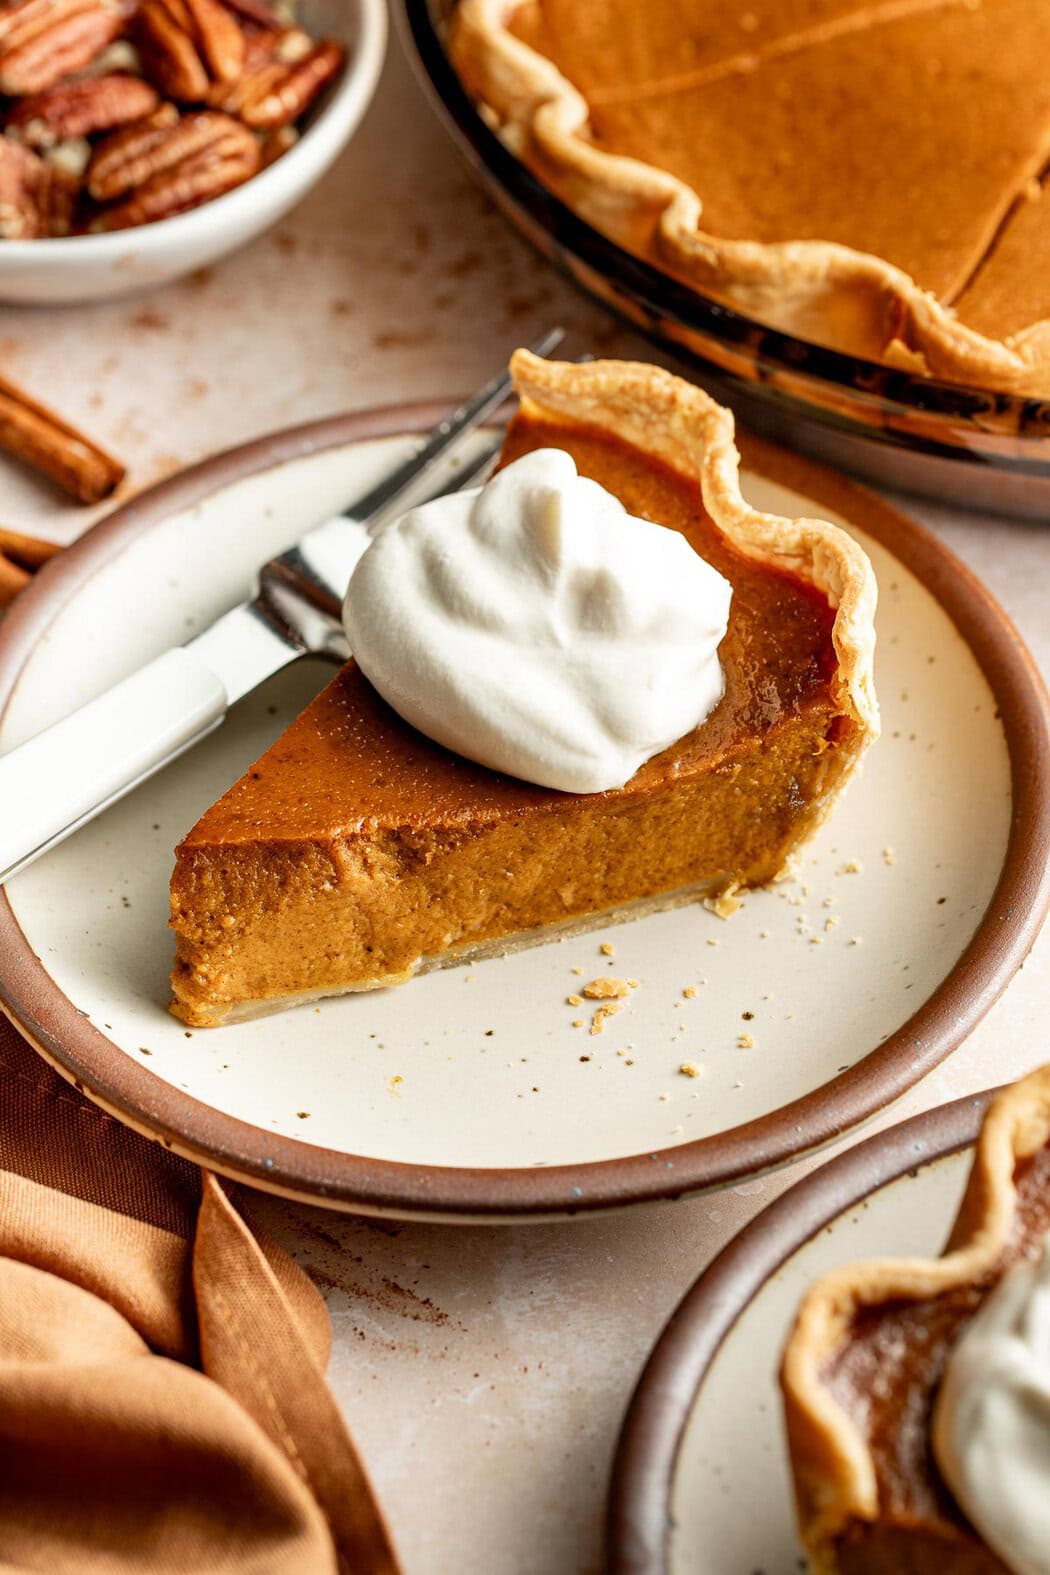
I’ve been perfecting this homemade pumpkin pie for the last three years, with my boys being the ultimate taste testers. Which is a tough job, but someone’s gotta do it! In fact, my youngest son, Gus, has even started requesting this pie for his birthday, which is nowhere close to fall or Thanksgiving. This pumpkin pie filling can be used to fill a homemade pie crust or a store-bought crust.
Recipe Highlights
Classic Thanksgiving dessert: My mixture for homemade pumpkin pie filling comes together to make a favorite Thanksgiving recipe. It’s perfectly spiced, creamy, and comes together from simple ingredients.
Versatile: This filling can be used with homemade pie crust dough, store-bought pie shell, frozen pie dough. Or it could even be poured into a graham cracker crust or individual crusts to make mini pumpkin pies. There’s no need to blind bake the crust or use pie weights.
Simple yet special: Pumpkin pie is one of those recipes that is rustic and easy, yet it makes any occasion feel more special, from holiday dessert spreads to fall family gatherings.
Ingredients And Substitutions
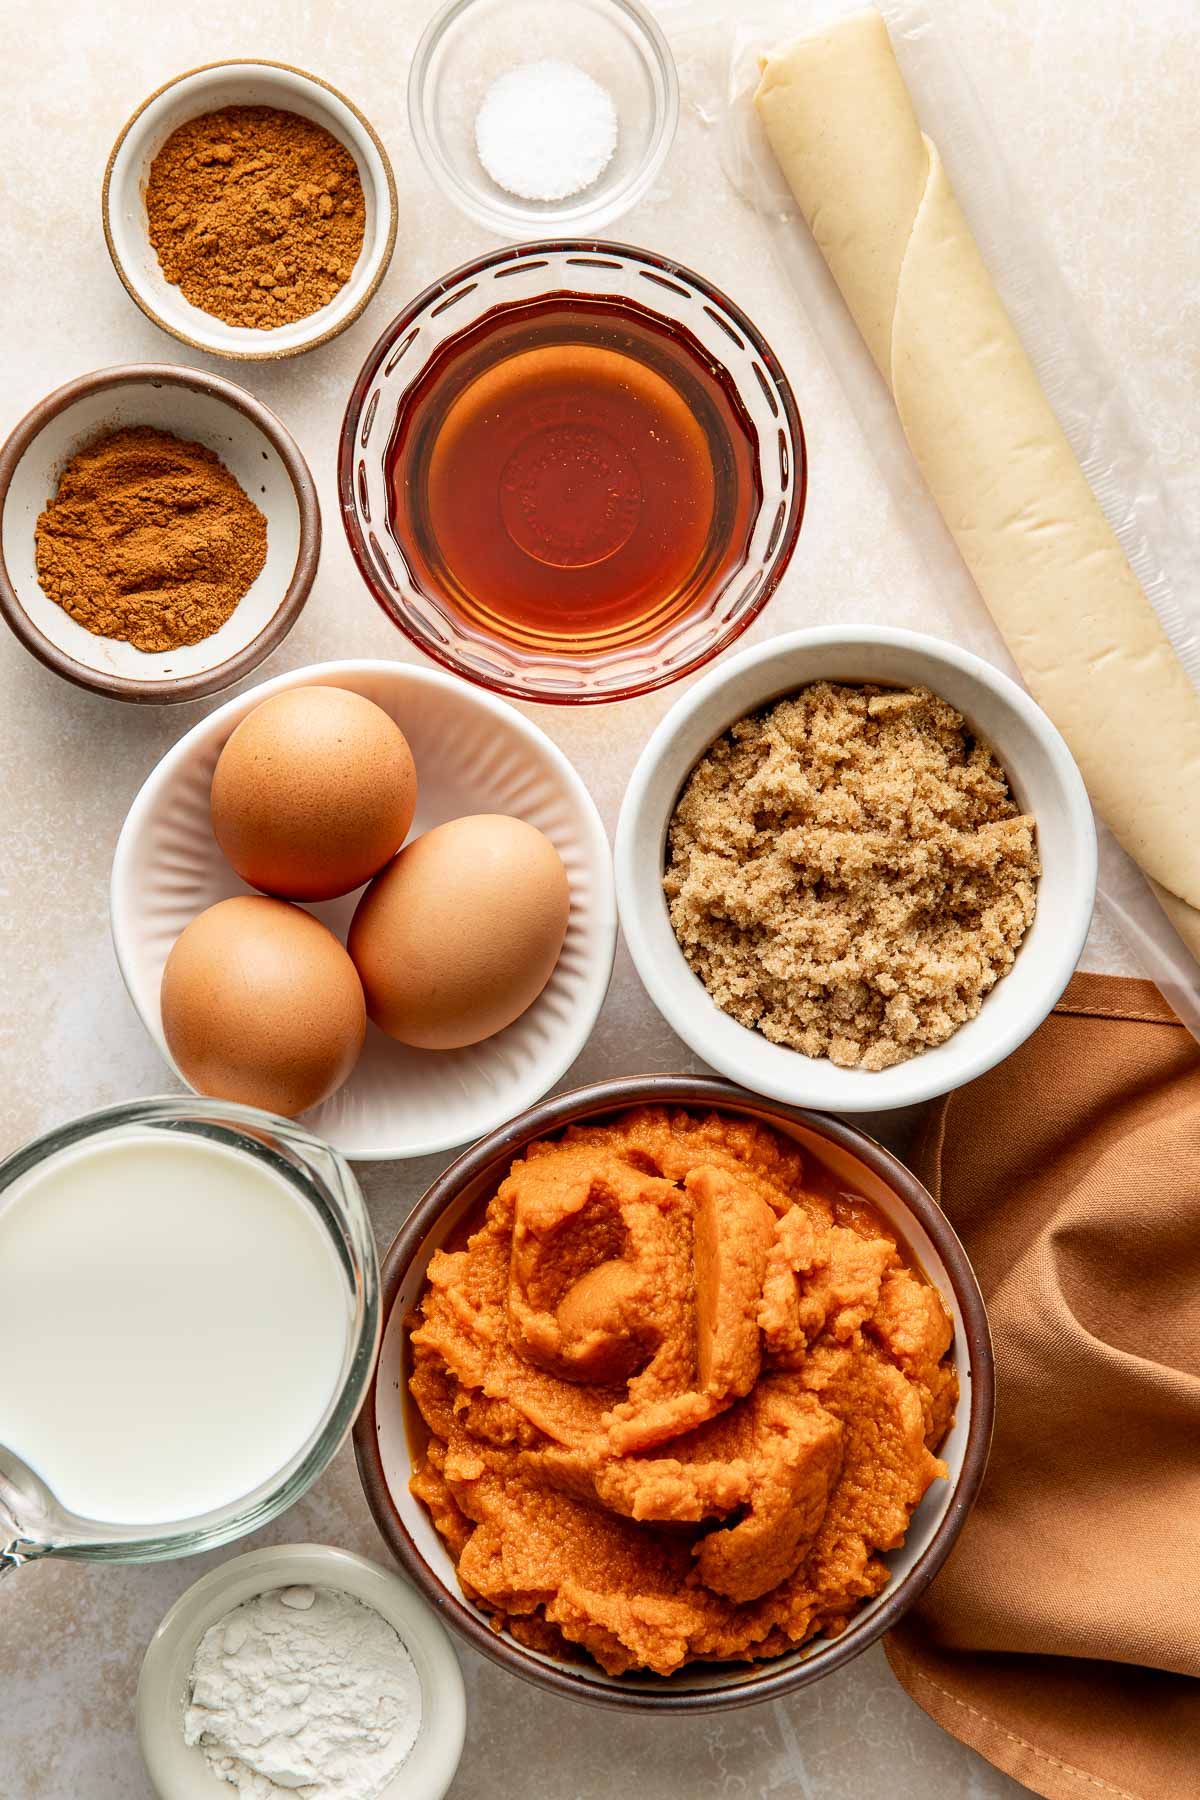
When making pumpkin pie from scratch, these are the main ingredients to gather:
- Pumpkin puree – I tend to reach for LIbby’s 100% pumpkin, but any canned pumpkin puree will work. Just look for the cans that contain just one ingredient: pureed fresh pumpkin. Canned pumpkin pie filling is a different product that already contains sweeteners and other ingredients. This versatile blended squash is the star of a variety of pumpkin recipes, from pumpkin applesauce to overnight oats and pumpkin baked oats.
- Eggs – these act as a binder and help the filling set while still remaining soft.
- Milk – This helps loosen up the texture of the canned pumpkin and makes the filling creamy and pourable. Any type of dairy or non-dairy milk will work, as will different fat levels. For an extra indulgent experience, use heavy cream, half-and-half, evaporated milk, or sweetened condensed milk. I’ve also made it with 2% and whole milk, as well as dairy-free alternatives like soy milk, almond milk, and coconut milk.
- Maple syrup and brown sugar – These two sweeteners, one liquid and one dry, help create the perfect texture and sweetness level without being too sweet. I love the fall maple flavor that maple syrup contributes as well as the subtle molasses flavor from the light brown sugar.
- Starch – Either arrowroot powder or cornstarch are a necessary ingredient to help the filling ingredients gel together
- Pumpkin pie spice – this seasonal spice blend contains the perfect mix of warming spices. If it’s not available, make 2 teaspoons of homemade pumpkin pie spice by combining 1 teaspoon ground cinnamon, ½ teaspoon ground ginger, ¼ teaspoon ground nutmeg, ¼ teaspoon ground allspice, and a pinch of ground cloves.
Find the ingredient list with exact measurements in the recipe card below.
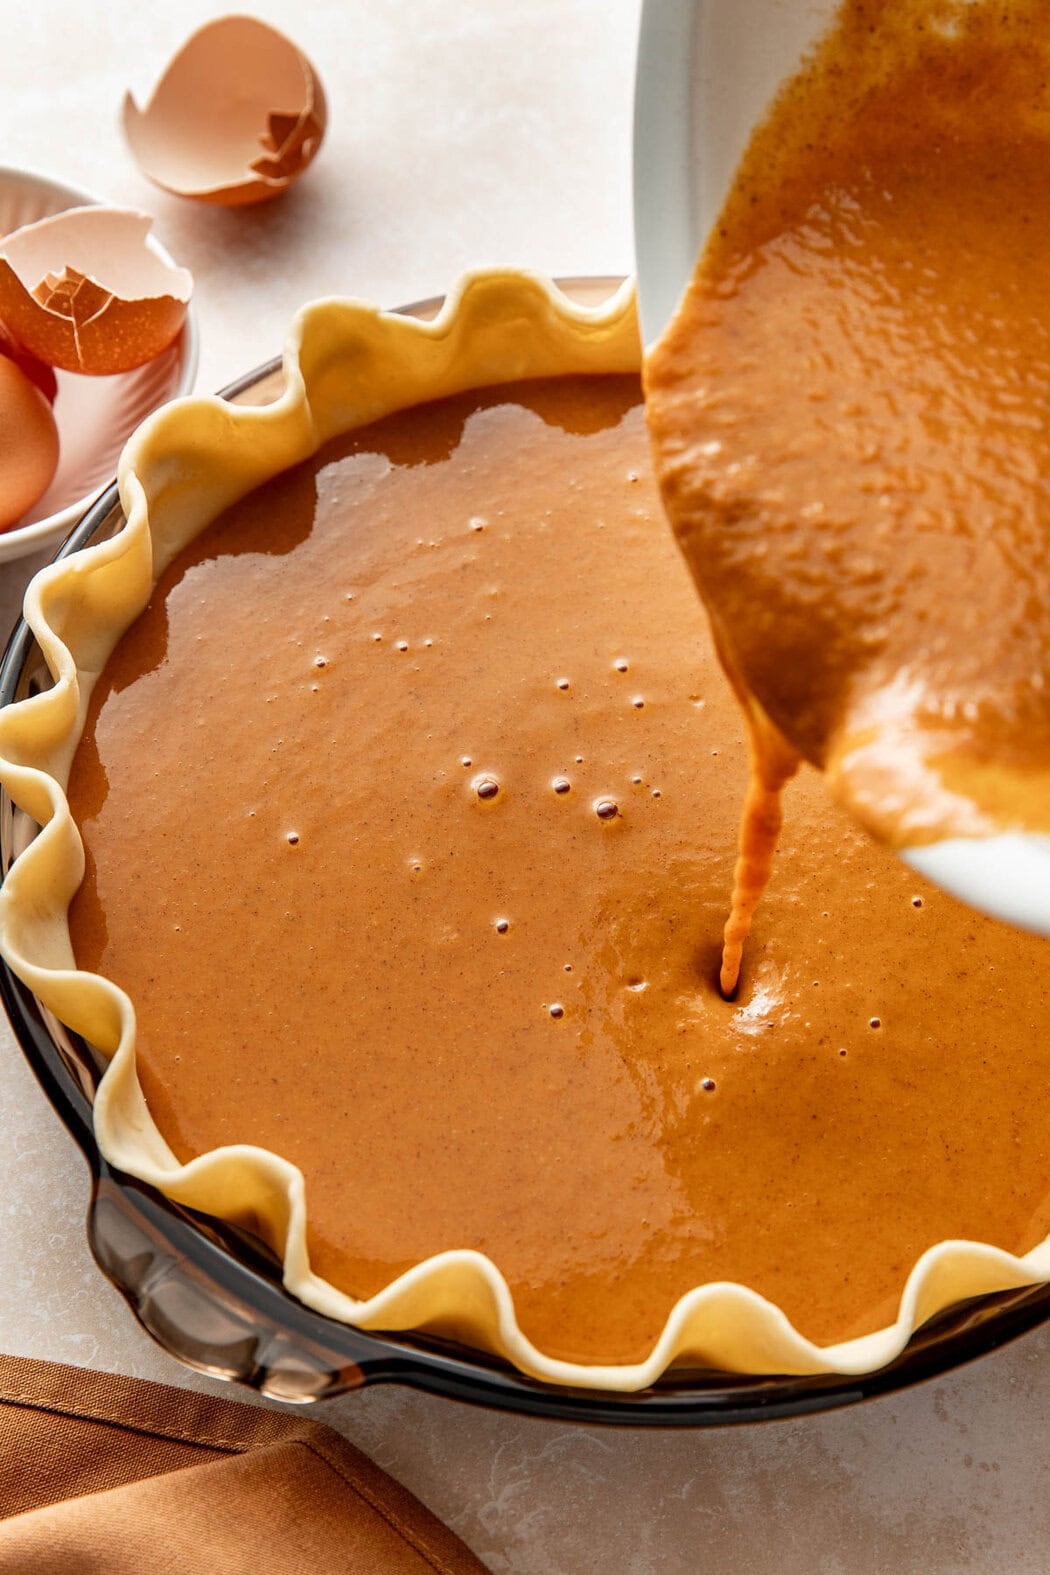
A Few Simple Steps To A Classic Pumpkin Pie
Like a lot of pumpkin pie-type recipes, this one has two main components: pie crust and pie filling. My easy pumpkin pie recipe focuses on the filling, which can easily go into any type of pie crust, homemade or store-bought. Here are the basic steps:
- Prepare the crust: Whether using frozen pie dough, a pre-formed pie shell, or making the pie dough from scratch, start here. Get the crust formed into the pie plate and flute the edges.
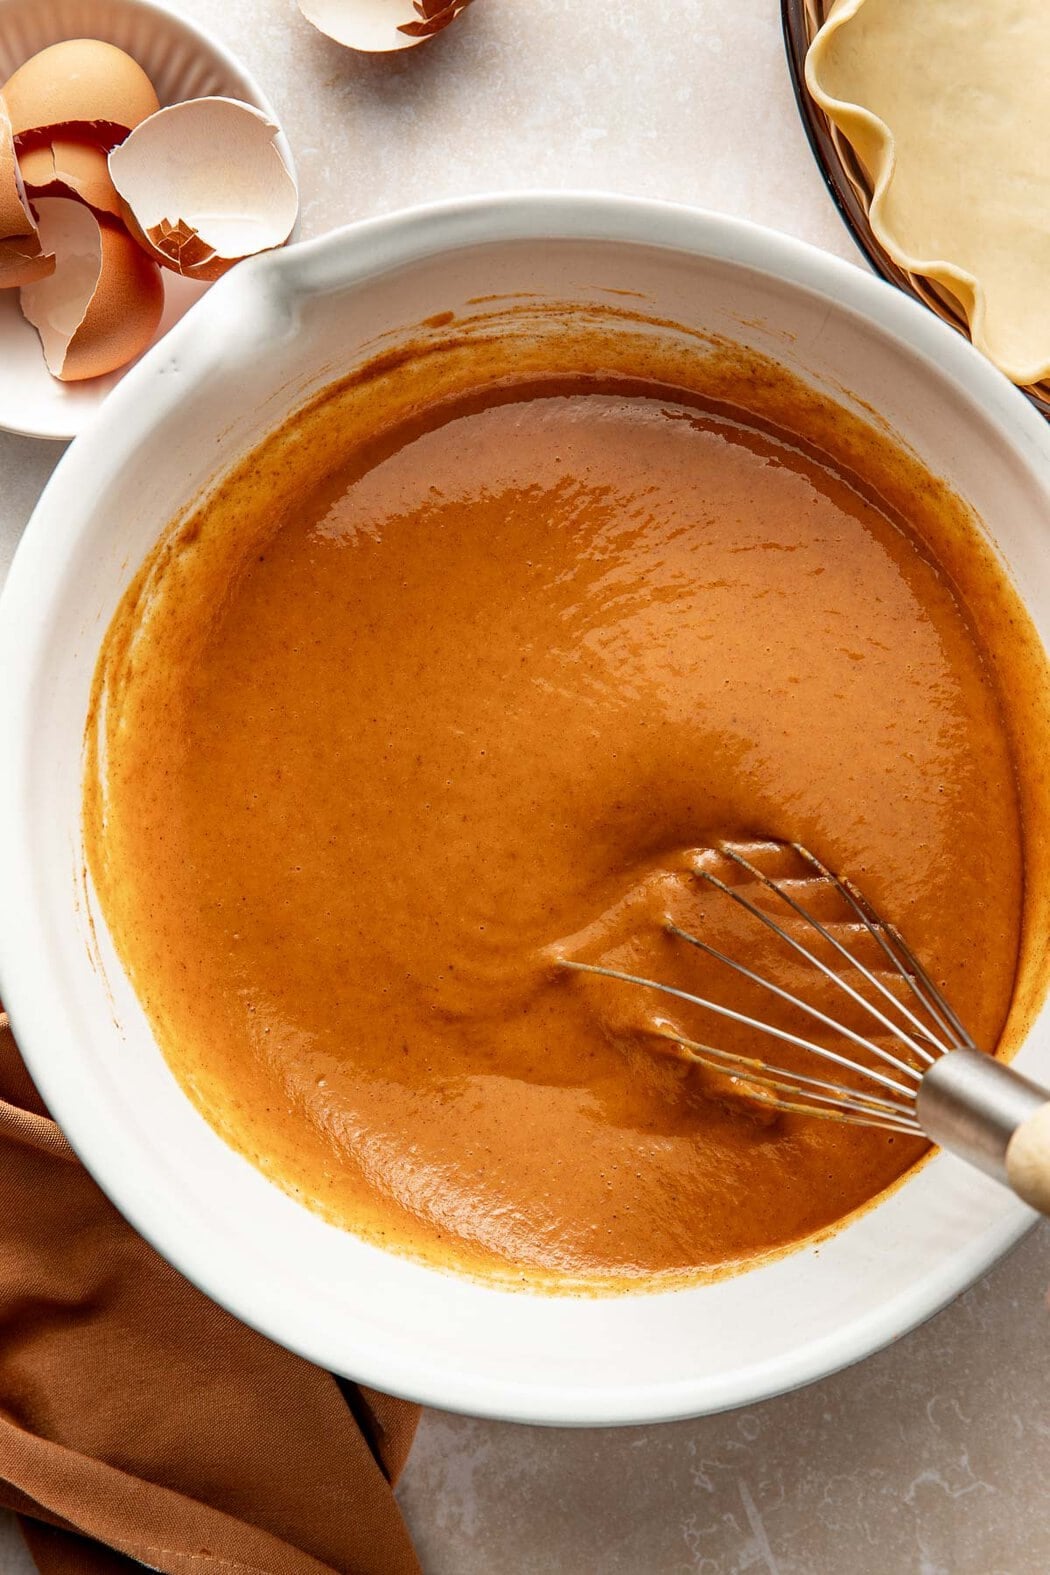
- Mix the filling: The filling is a simple stir-together mixture of canned pumpkin, milk, eggs, sweeteners, and spices. Mix it until smooth then pour it into the prepared crust.
- Bake the pie: I place the pie dish on top of a sheet pan so that it can catch any spills. Then I bake the pie, keeping an eye on it. After about 35 minutes, I cover the edges of the crust with strips of aluminum foil to prevent it from getting too dark. Then I continue to bake it for another 15 to 20 minutes or until the pie filling is 175 to 180 degrees on a food thermometer and the edges set.
For serving size and the complete directions and ingredient amounts, scroll down to the recipe card below. All of our recipes include the nutrition analysis, listing calories (kcals), protein, carbohydrates/carb, fiber, sugar, sodium, cholesterol, and more per serving.
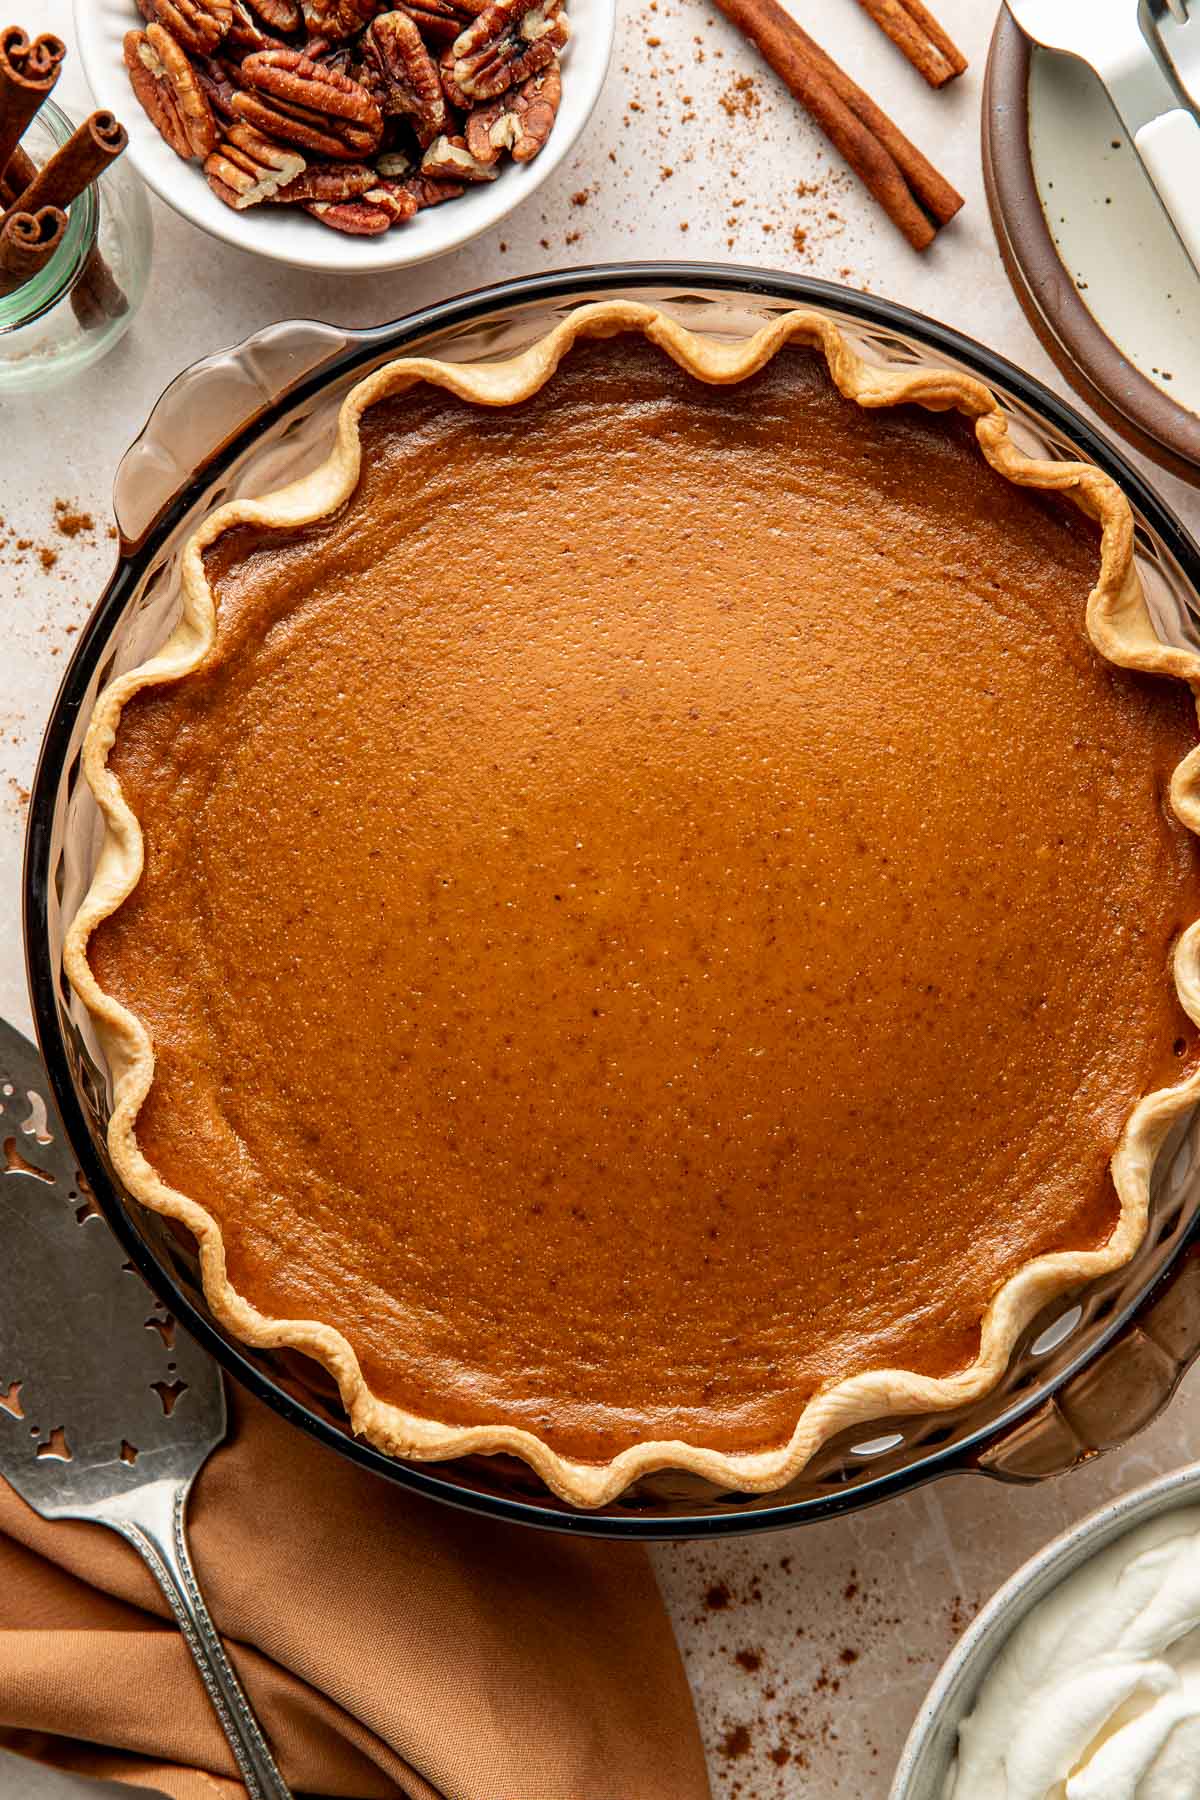
Look For A Jiggle In The Center
I’ve been perfecting this best pumpkin pie recipe for a few years now. And one of the most helpful tips I discovered is that the pie will be slightly jiggly in the center when it’s done. It’s important to know that the center will continue to set and solidify as it cools. My most reliable indicators for doneness are to check the temperature of the filling to make sure it reaches 175 to 180 degrees and that the pie crust edges are set and no longer doughy.
Make It Dairy Free
I don’t tolerate dairy well, so I often make this pie with dairy-free milk instead of cow’s milk. It works great with soy or almond milk, but a particular favorite of mine is to use canned coconut milk. It makes the filling extra creamy and gives it a hint of coconut flavor that my whole family loves with the pumpkin flavors.
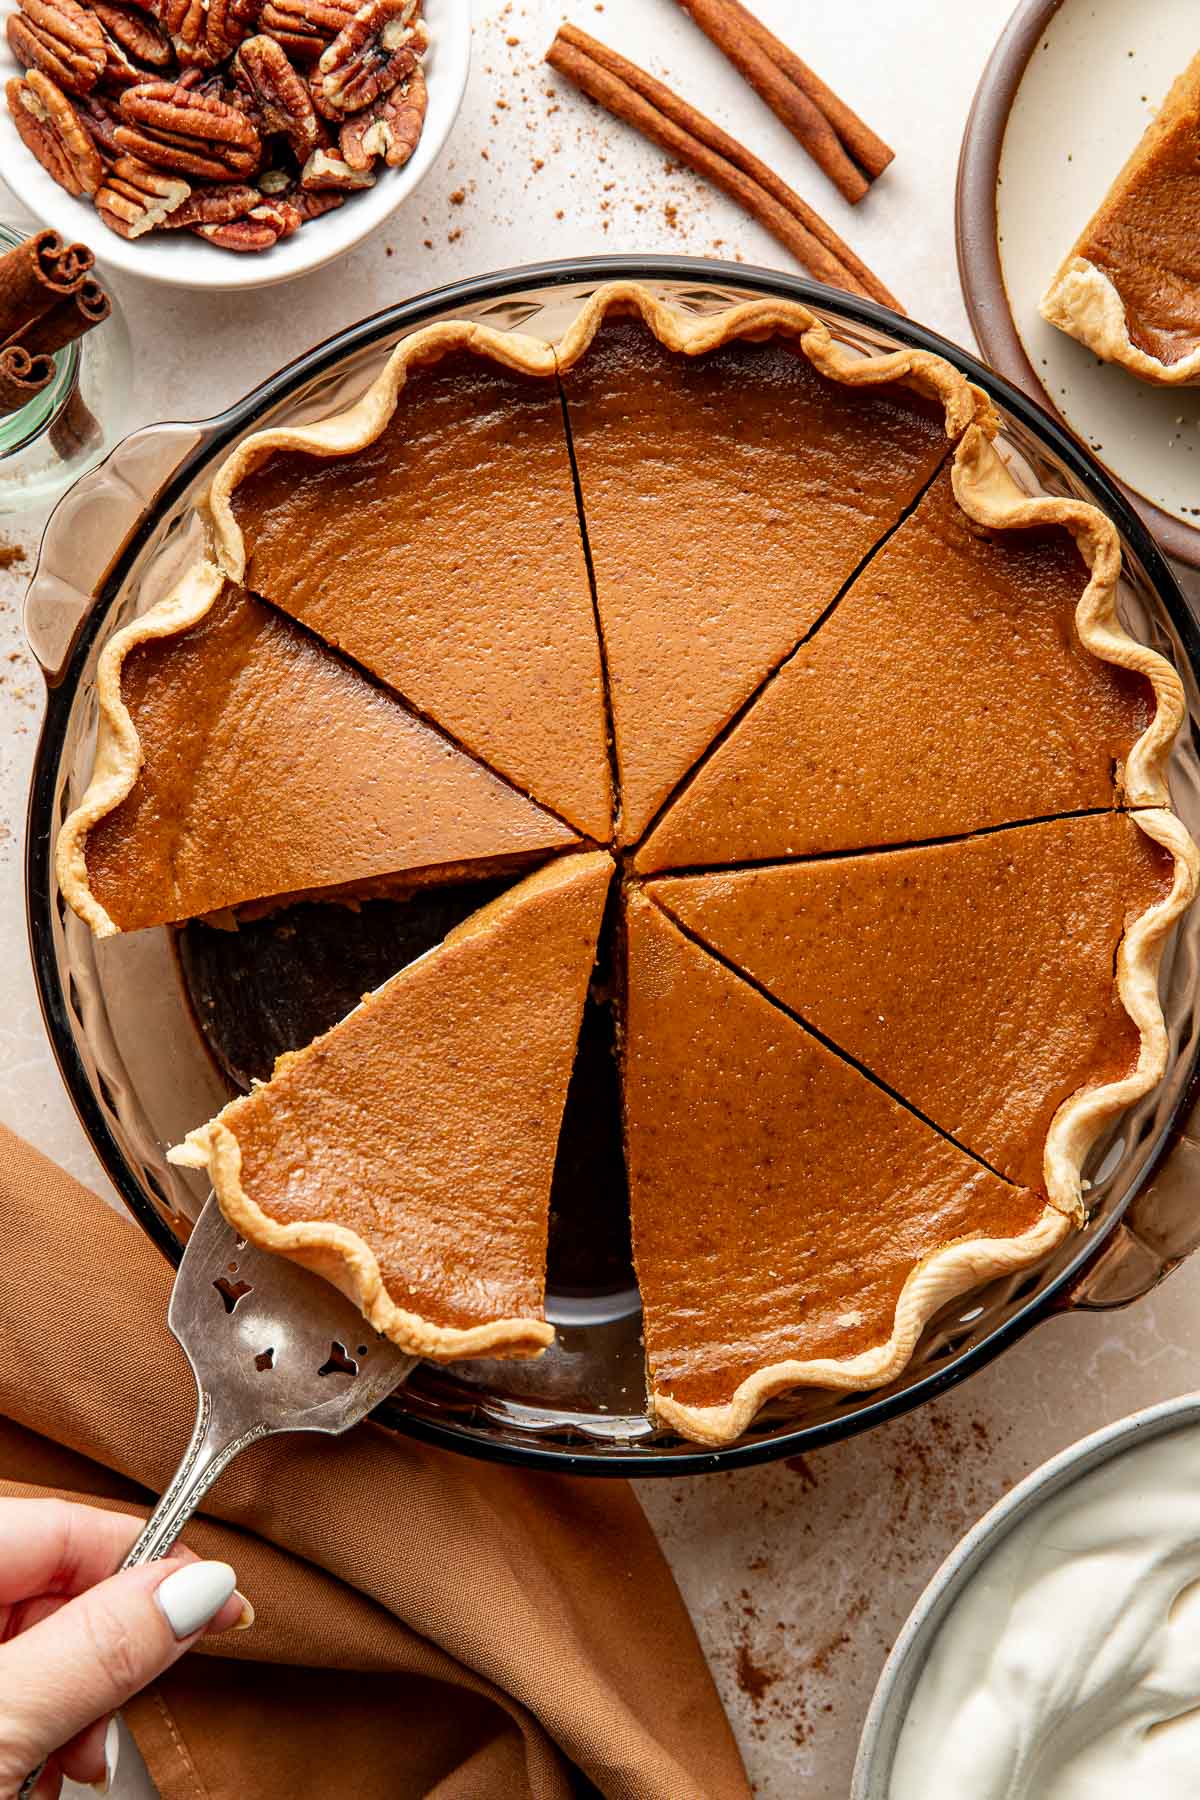
How I Like To Serve It
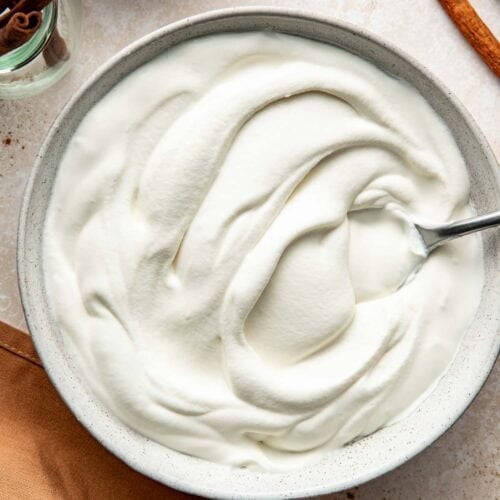
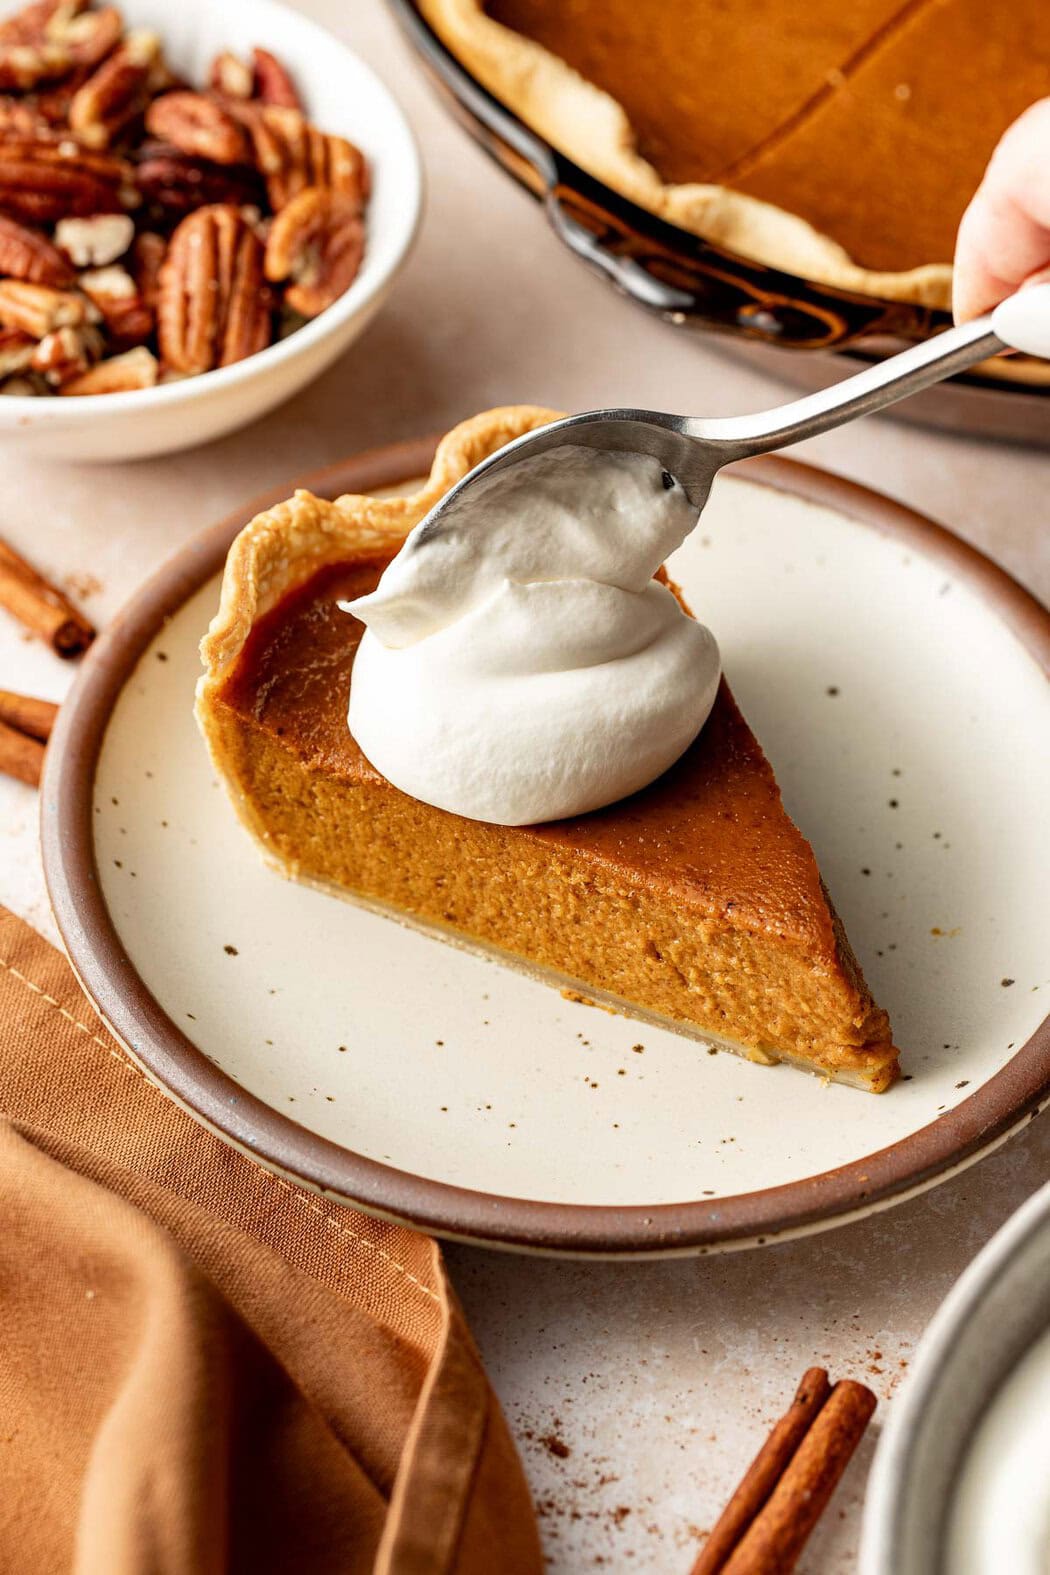
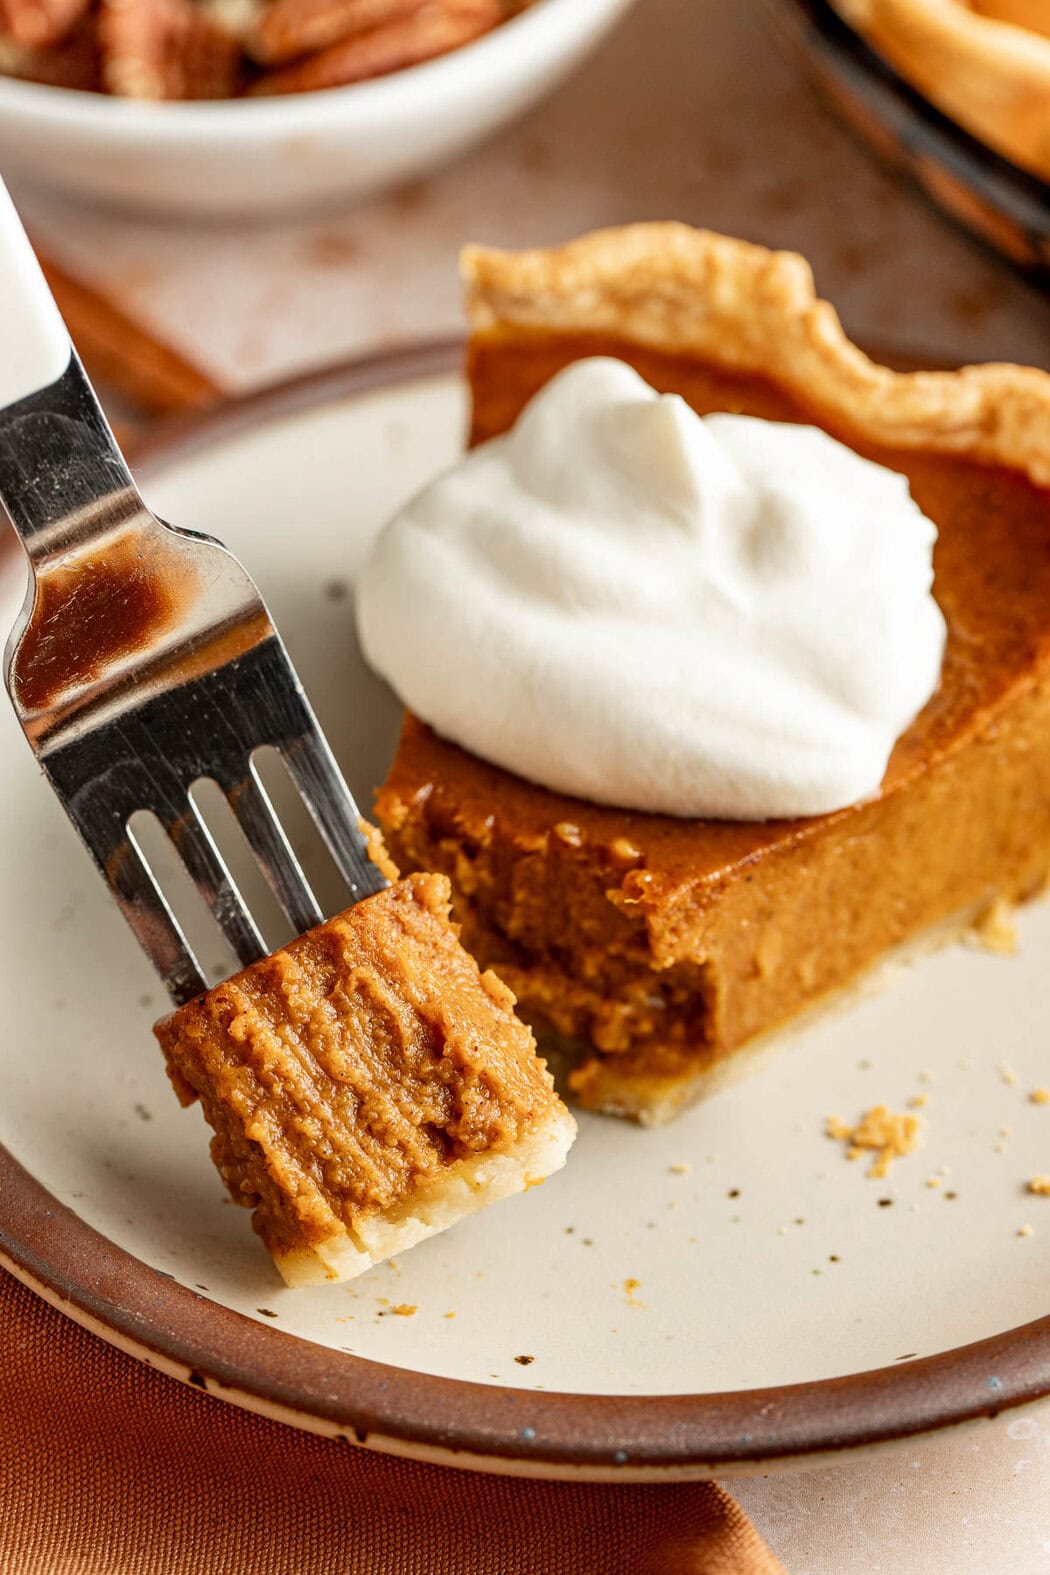
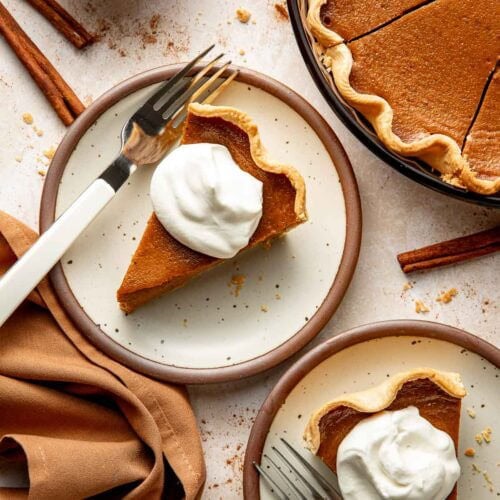
I find that everyone likes their pumpkin pie a little different, so I set out the baked and sliced pie with a few topping options. My personal favorite is to top my slice with homemade whipped cream. Others like it topped with a scoop of vanilla ice cream or a dash of cinnamon and chopped pecans. Yet others like it completely “naked” – just the plain pumpkin pie in all its glory.
Make It Ahead Or Save Some For Later
Pumpkin pie is one of those dessert recipes that is best made a day, or even a few days, before it will be served, similar to sweet potato pie. I typically make it one to two days ahead, then I make fresh whipped cream the day of.
After the pie fully cools, cover it tightly and store it in the refrigerator until ready to serve. Store leftovers in an airtight container in the refrigerator for up to 5 days.
Frequently Asked Questions
A few common mistakes are to use canned pumpkin pie filling instead of canned pumpkin; to underbake the pie which results in crust and filling that are too loose and flimsy; or to overbake the pie, which results in pie filling and crust that are too browned and bubbly. A perfectly baked pumpkin pie will have smooth warm orange filling (a few cracks are OK) and light browned crust.
Yes, you can use homemade pumpkin puree instead of canned. It’s desirable to make sure the cooked pumpkin is as smooth as possible. So I recommend blending it well in a blender or food processor until ultra smooth.
The main reason that pumpkin pie filling cracks during cooling is from a sudden change in temperature. Therefore, I like it cool on the counter when my kitchen is warm. Or (if possible) allow it to cool inside the oven with the oven door propped fully open and the rack pulled out a little. The point is to stop the baking without changing the temperature too quickly. Never place the warm pie in the refrigerator or a cold room before fully cooling it.
Want to save this recipe?
Enter your email below & we’ll send it straight to your inbox. Plus you’ll get great new recipes from us every week!
Pumpkin Pie Recipe
This homemade pumpkin pie filling can be made in a homemade pie crust or a store-bought pie shell. It makes an impressive and delicious iconic fall dessert that’s creamy, perfectly spiced, and comes together from simple ingredients.
Ingredients
- 1 homemade pie crust or 9-inch ready-to-bake pie shell
- 1 (15-ounce) can pumpkin puree
- 3 large eggs
- 1 cup milk of choice
- ½ cup pure maple syrup
- ½ cup lightly packed brown sugar
- 2 tablespoons arrowroot starch or 1 tablespoon cornstarch
- 2 teaspoons ground cinnamon
- 2 teaspoons pumpkin pie spice
- ½ teaspoon fine salt
- Optional for topping: whipped cream, cinnamon, or chopped nuts
Instructions
- If making crust from scratch, prepare the pie crust dough and gently press the dough into the bottom and up the sides of a 9-inch pie plate; set aside in the refrigerator to stay cold. If using a store-bought dough or crust, remove the packaging, thaw to room temperature, and shape the dough onto the pie plate; set aside in the refrigerator.
- Preheat the oven to 375°F.
- To a mixing bowl, add the pumpkin puree, eggs, milk, maple syrup, brown sugar, arrowroot starch, cinnamon, pumpkin pie spice, and salt; whisk together until smooth.
- Slowly pour the pumpkin pie mixture into the prepared pie crust and smooth the top.
- Place the pie plate on a baking sheet in case of any leakage during baking. Place the sheet pan with the pie in the preheated oven.
- Bake until the edges of the pie are set, 50 to 60 minutes, and the internal temperature is 175-180°F. NOTE: the center of the pie will be a little jiggly, but will firm up as it cools. Check the crust half way through baking and if it is browning too quickly, cover the edges with strips of foil or a pie crust shield for the last 20 to 30 minutes of bake time.
- Remove the pie from the oven and let it cool completely on a wire rack before cutting into 8 slices. Store leftovers covered or in an airtight container in the refrigerator for up to 5 days.
Last Step! Please leave a review and rating letting us know how you liked this recipe! This helps our business thrive so we can continue providing free recipes and high-quality content for you.
Notes
* If you don’t have pumpkin pie spice, you can make your own. To make 2 teaspoons of homemade pumpkin pie spice, mix 1 teaspoon ground cinnamon, ½ teaspoon ground ginger, ¼ teaspoon ground nutmeg, ¼ teaspoon ground allspice, and a pinch of ground cloves.
For gluten-free, use a gluten-free pie crust recipe. The filling recipe above is naturally gluten free.
For dairy-free, use a dairy-free milk, such as almond milk, soy milk, or coconut milk.
Nutrition Information
- Serving Size: 1 slice or ⅛ of the pie
- Calories: 268
- Fat: 10 g
- (Sat Fat: 3 g)
- Sodium: 307 mg
- Carbohydrate: 40 g
- (Fiber: 2 g
- Sugar: 25 g)
- Protein: 5 g
- Cholesterol: 55 mg
Dietary
The photos in this post were taken by Megan McKeehan.
For ultimate success, we highly recommend reading the tips in the full blog post above. All photos and content are copyright protected. Please do not use our photos without prior written permission. If you wish to republish a recipe, please rewrite the recipe in your own unique words. Link back to the source recipe here on The Real Food Dietitians. Thank you!