I remember when I first started trying to make hard-boiled eggs. It was a struggle for a long time until I figured out my foolproof method for easy-peel hard-boiled eggs. With my method and the tricks I learned along the way, there were no more stuck-on shells, broken egg whites, or overcooked yolks. I truly have cracked the code on how to make hard-boiled eggs perfectly every single time!
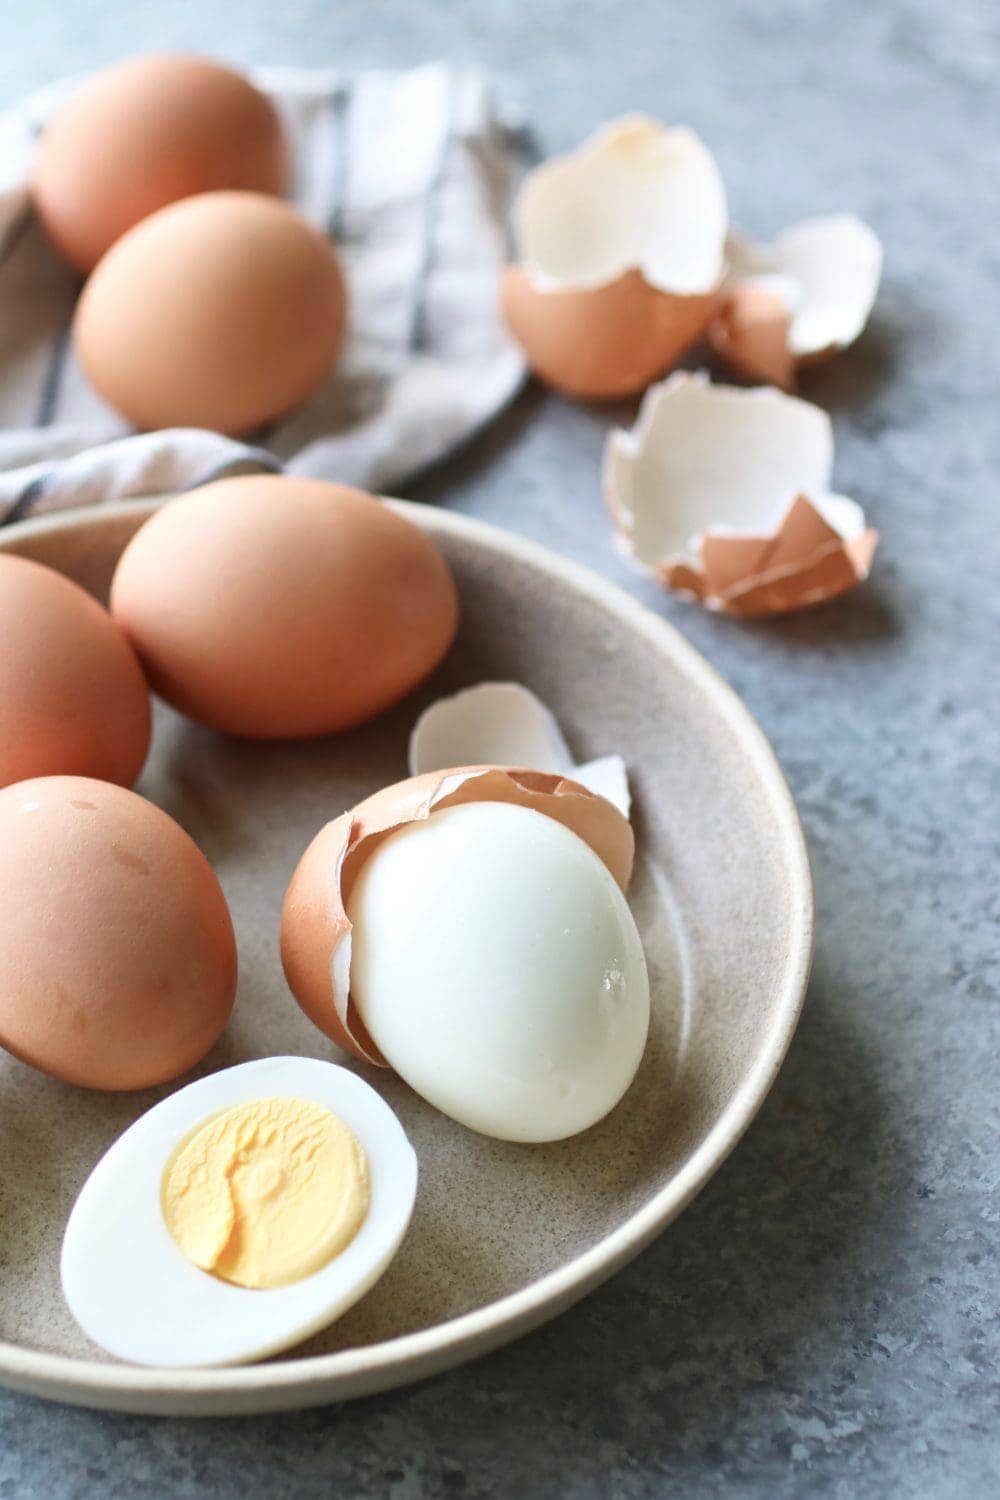
Recipe Highlights
- Makes 6 to 12 large eggs.
- Eggs can be used for weekly recipe and/or meal prep.
- Prep time is 5 minutes; cook time is 12 minutes.
Egg Quality Matters
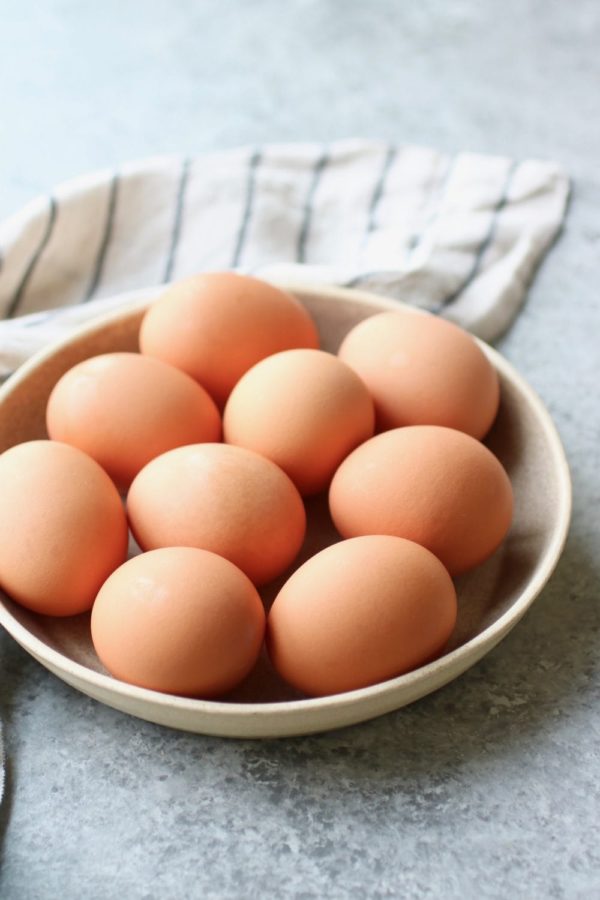
Choosing quality eggs is key to making the best hard-boiled eggs. Fresher eggs (ideally 7-10 days old) can contribute to making peeling easier, while older eggs will start to lose their integrity and freshness. Farm-fresh eggs tend to have better flavor and richer yolks, but store-bought eggs are a convenient and reliable option. With store-bought eggs, I just always make sure to look for ones labeled free-range, cage-free, or organic. I also tend to consider ethical labels (e.g. American Humane Certified) for both quality and animal welfare.
Equipment Needed
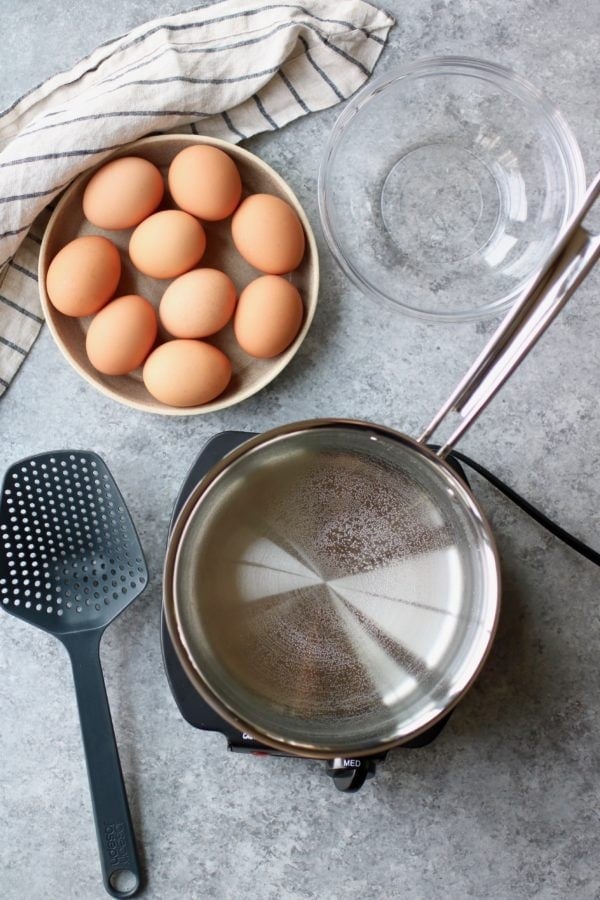
- Pot – I use a 2-quart large pot. It’s great for boiling up to 12 eggs, so I can make a lot at once if I need eggs for recipes or meal prep.
- Medium bowl – This is used for the ice water bath.
- Slotted spoon – I use this to lift the eggs in and out of the boiling water.
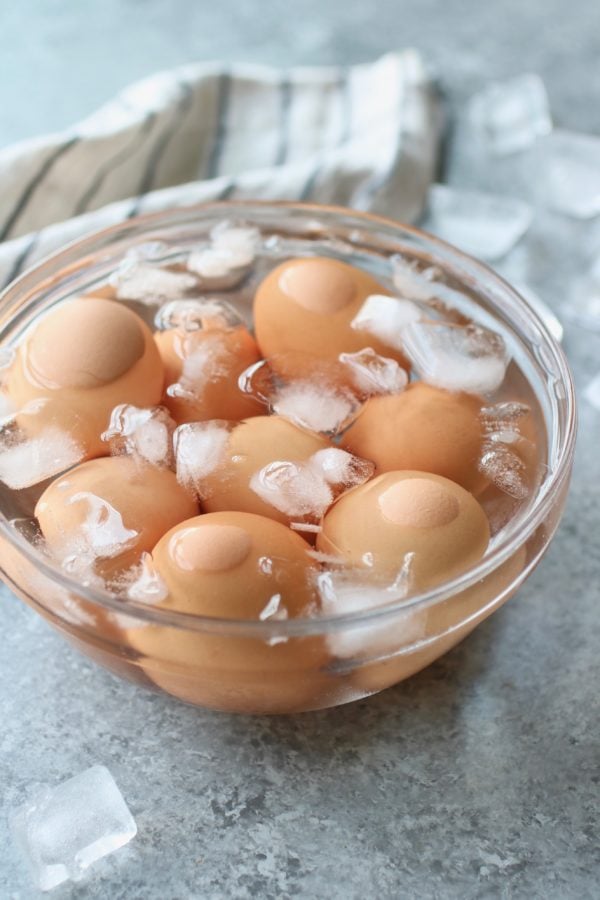
- Ice – This is key for making the ice water bath to plunge the cooked eggs into (this stops the cooking process).
Start Hot, Not Cold
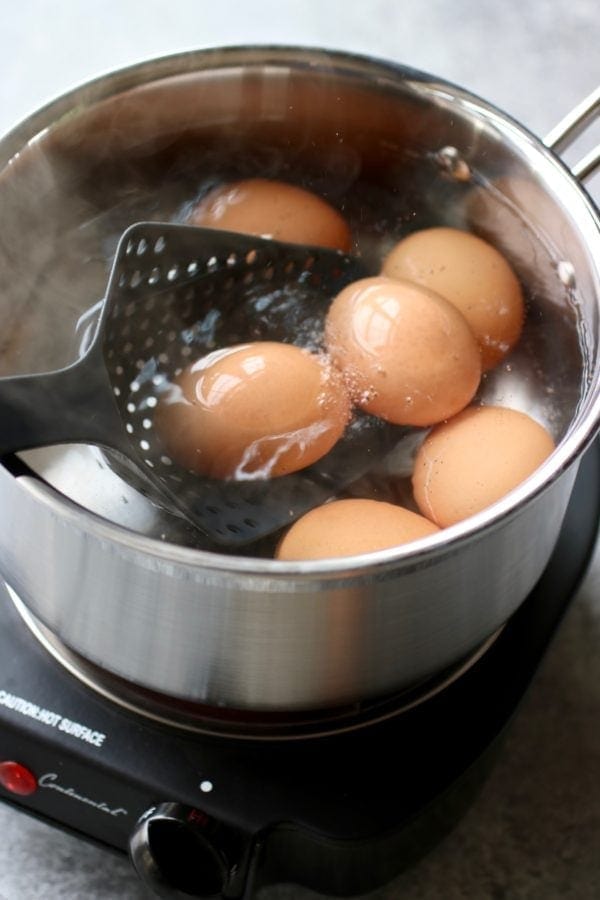
If eggs are added to cold water and then brought to a boil in water, there’s an increased likelihood that the egg peels and shell will stick. To avoid running into this issue, always bring the water to a boil first and then add the eggs.
Making Them At A High-Altitude
Some members of my work family live in Colorado at an elevation of 5,500 feet. So when they want to follow my recipe, they simply increase the boiling time by 10% to 15%. To break this down better, I would boil the eggs at 13 1/2 minutes (which is 12 minutes + 10% to 15%) instead of the suggested 10-12 minutes in the recipe. This allows for the yolks to be fully cooked at high-altitude levels.
Read One Of Our 5-Star Reviews
⭐⭐⭐⭐⭐
“Perfect, [I’ve] been fighting the egg peeling battle for almost 60 years and just tried this. Worked without a hitch. No cracked, split, or jagged eggs and perfect yellow centers (no blue at all). Thank you!”
~Lou Anne
If The Eggshells Keep On Sticking
There are several reasons why boiled eggs may stick to the shell so stubbornly:
- The eggs are placed in cold water. This can cause the protein in the egg whites to stick to the shells more. Make sure the water comes to a boil before adding the eggs.
- The eggs have been undercooked. This will cause the eggs to have a higher acidity and more likely to stick to the shell. Be sure to follow the exact cooking time so that the eggs are not overcooked or undercooked.
- The eggs are too fresh. Fresh eggs have higher acidity than older eggs, which means there is less space between the egg membrane and the shell. Buy fresh eggs, but let them sit in your refrigerator for 5 to 10 days before boiling. After several days, the contents of the egg will shrink a bit due to moisture loss and some air coming into the egg. This creates a larger air cavity at the large end of the eggs, which will make peeling easier. Alternatively, several weeks-old eggs will start to lose their integrity and freshness.
- The ice water bath is skipped. This will cause the eggs to continue to cook – even after being removed from the water – which will make them harder to peel cleanly. Remember to plunge the cooked eggs into a large bowl of ice water immediately after removing them from the boiling water.
How Long Boiled Eggs Last
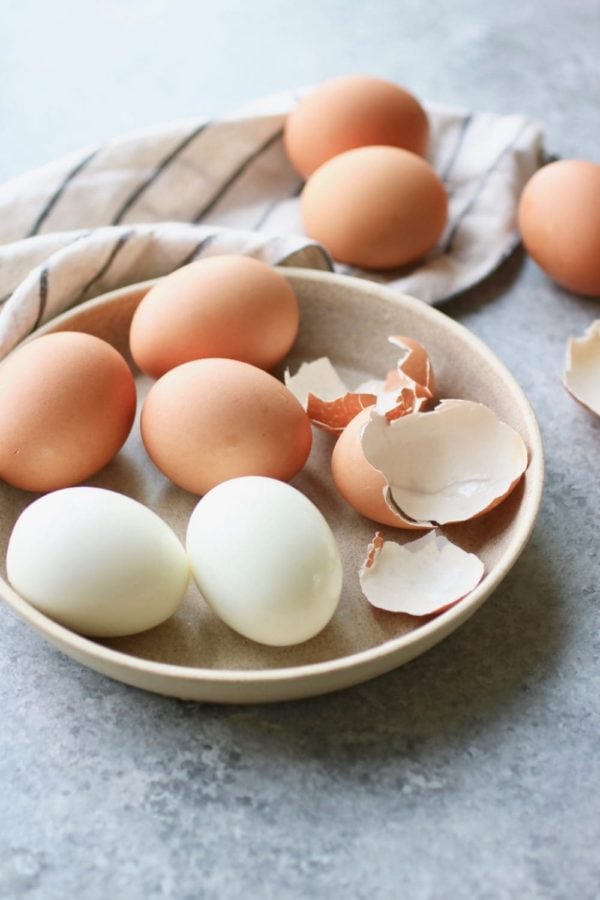
I either use the eggs immediately in recipes or store them (peeled or unpeeled) in the fridge. I store my eggs in an airtight meal prep container in the fridge. If they’re unpeeled, they’ll last for 1 week, and if they’re peeled or used in recipes, they’ll last about 3-4 days.
How To Eat And Serve
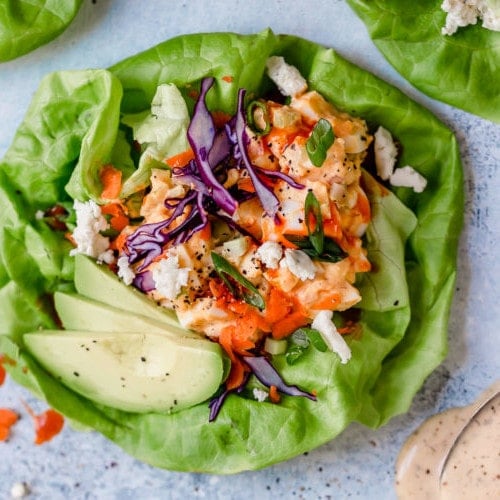
I often make hard-boiled eggs to have on hand for easy meals and snacks. They’re a simple, whole food, low-cost, and protein-rich option. I like to eat them with a dash of salt, pepper, and hot sauce. I’ll also add them to lettuce wraps or a protein plate, and use them to make a fantastic egg salad sandwich or a variety of delicious egg salads. They’re perfect to eat straight after they’re cooked and peeled, but I also love them for meal prep, as they can be eaten or incorporated into meals for breakfast, lunch, and dinner.
How to make easy peel hard boiled eggs at high altitude
Some members of our team live in Colorado, at an elevation of 5,500 feet, so we know a thing or two about how to hard boil eggs at high altitudes. Use our foolproof method and simply increase the boiling time by 10% to 15%. So, if you want your yolks fully cooked, boil the eggs for 13 1/2 minutes (which is 12 minutes + 10% to 15%).
Want to save this recipe?
Enter your email below & we’ll send it straight to your inbox. Plus you’ll get great new recipes from us every week!
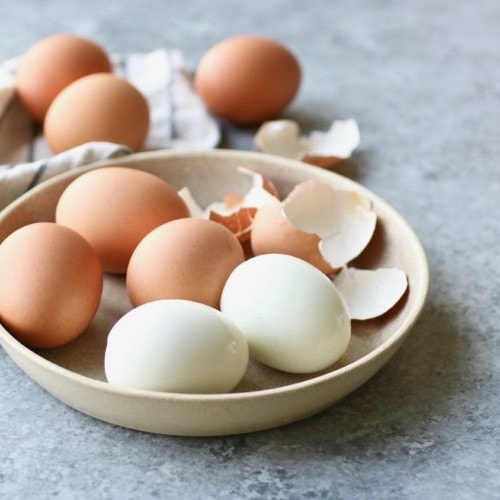
Hard Boiled Eggs Recipe
Get the perfect hard-boiled eggs every time by following this recipe. Eat the eggs plain with salt and pepper, or incorporate them into your favorite egg-based recipes.
Ingredients
- 6 to 12 whole eggs
- Water
- Ice
Instructions
- Fill a large pot or saucepan about 3/4 full with water.
- Place the pot over medium-high heat and bring the water to a rolling boil.
- After the water has come to a boil, use a slotted spoon to gently place eggs into the boiling water one at a time.
- Keep the water at a gentle and rolling (but not vigorous) boil. If the water is boiling too vigorously, it increases the chances of the eggs cracking. Adjust the heat as necessary.
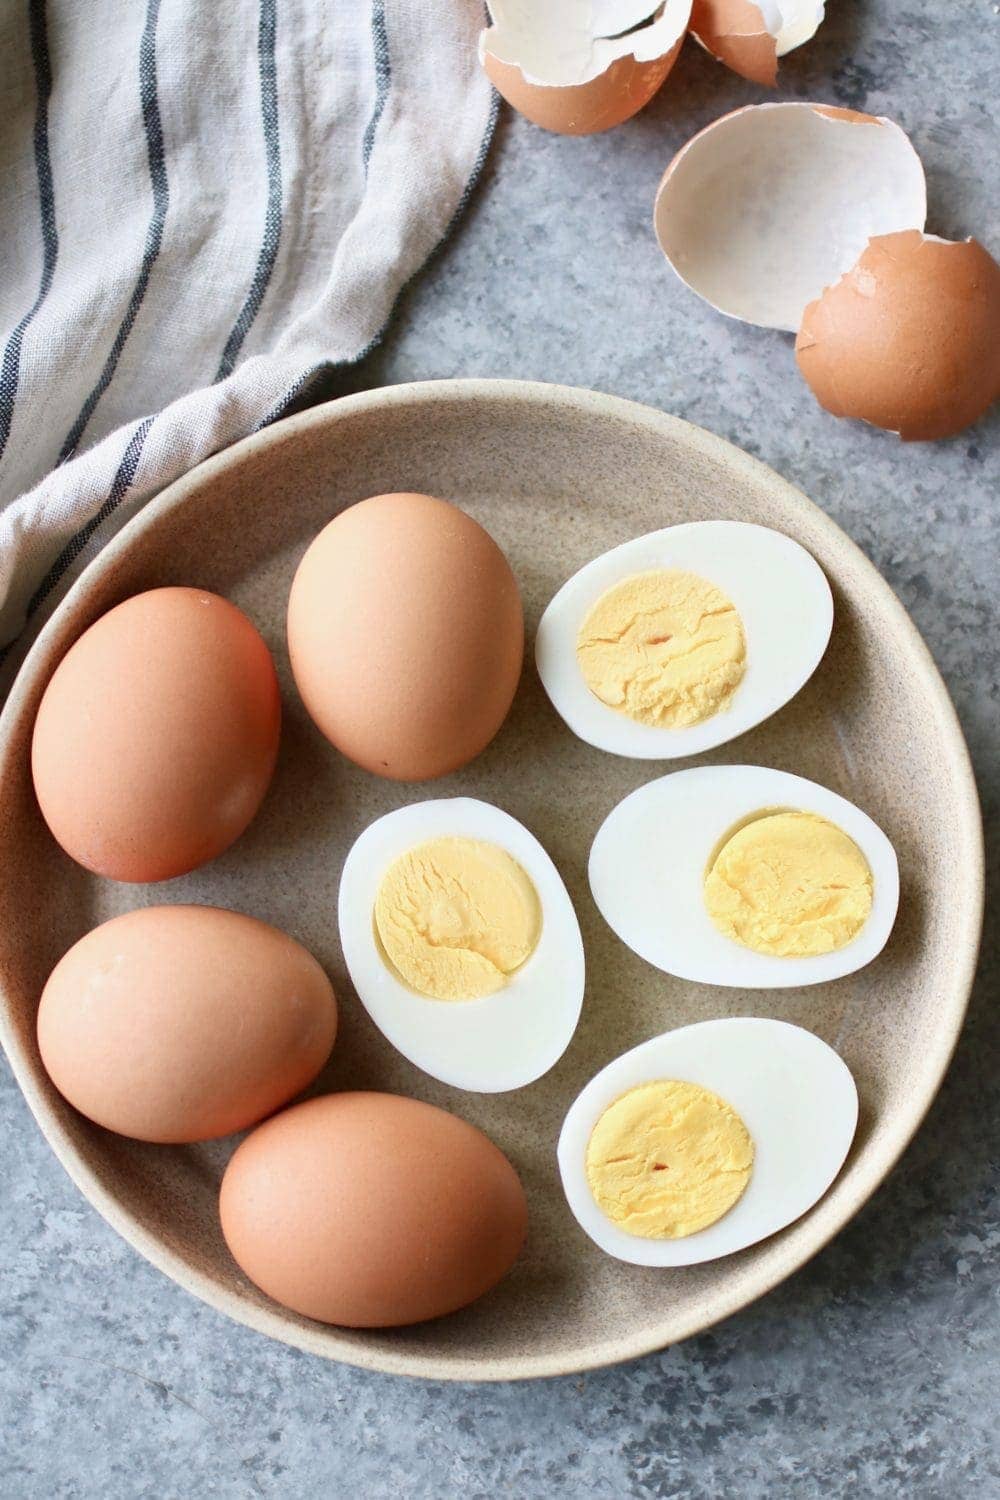
- Set a timer for 12 minutes to make hard-cooked yolks. If you prefer softer-cooked yolks, set a timer for 10 minutes.*
- While the eggs are boiling, prepare an ice bath by filling a medium bowl halfway with ice and water.
- Once the boiling time is done, use the slotted spoon to immediately transfer the eggs from the boiling water to the ice bath. Let the eggs sit in the ice water for 10 minutes.
- After the 10 minutes, the eggs will be cool enough to handle and are ready to be peeled.
- Store the cooked eggs in an airtight container in the refrigerator – peeled or unpeeled – for up to 1 week.
How to Peel:
Once the eggs are fully cooked and cooled in the ice water bath, they are ready for peeling:
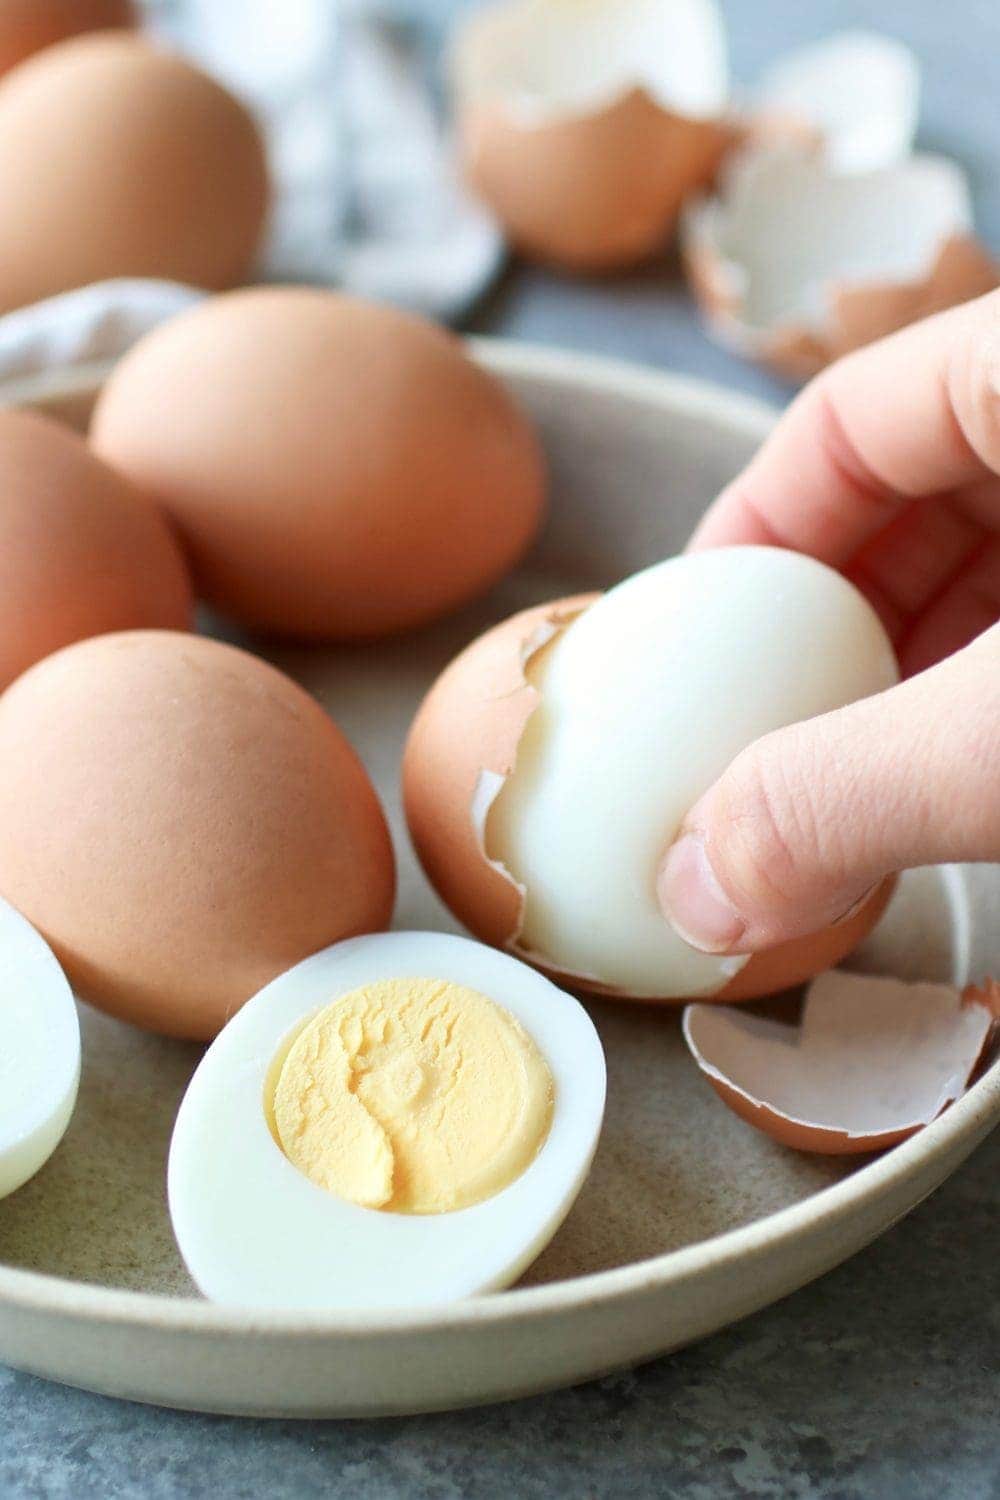
- Cradle one egg in your hand and gently roll it on the counter or another hard surface (such as a cutting board) until some cracks form in the shell.
- Insert your finger between the cracked shell and the egg to poke through the membrane and fully remove the eggshell.
- Repeat with remaining eggs.
Last Step! Please leave a review and rating letting us know how you liked this recipe! This helps our business thrive so we can continue providing free recipes and high-quality content for you.
Notes
*If cooking hard-boiled eggs at high-altitude, I recommend increasing the boiling time by 10%-15%.
Nutrition Information
- Serving Size: 1 whole hard boiled egg
- Calories: 70
- Fat: 5 g
- (Sat Fat: 2 g)
- Sodium: 70 mg
- Carbohydrate: 0 g
- (Fiber: 0 g
- Sugar: 0 g)
- Protein: 6 g
- Cholesterol: 207 mg
Dietary
Frequently Asked Questions
If you have a greenish-bluish-colored sulfur ring around the yolk, this is a sign you have overcooked eggs. However, if you use the boiling time I suggest, you shouldn’t have to worry about running into this issue.
While I definitely recommend using my method on the stovetop to hard boil eggs, you can make them in an Instant Pot if needed. There are 2 methods for cooking hard-boiled eggs in the Instant Pot:
The 5-5-5 Method: The 555 method allows you to have a hard-cooked yolk. Seal the Instant Pot and cook on High Pressure for 5 minutes. Then, let the eggs rest in the Instant Pot for 5 minutes before opening the lid. Finally, allow the eggs to sit in an ice bath for 5 minutes.
The 3-3-3 Method: The 333 cooking method allows you to have a soft-boiled egg and a creamier egg yolk. Seal the Instant Pot and cook on High Pressure for 3 minutes. Then, allow the eggs to rest in the Instant Pot for 3 minutes before opening the lid. Finally, let the eggs sit in an ice bath for 3 minutes.
For ultimate success, we highly recommend reading the tips in the full blog post above. All photos and content are copyright protected. Please do not use our photos without prior written permission. If you wish to republish a recipe, please rewrite the recipe in your own unique words. Link back to the source recipe here on The Real Food Dietitians. Thank you!
This works amazingly!!! Thank you for sharing 🫶
You are so welcome Tara! Thanks for the feedback and 5-star review!
I’m always looking for the foolproof hard boiled egg recipe. Yours is different than what I’ve seen before. Here’s my dilemma: a pot of eggs — room temp or somewhat chilled — isn’t going to come back to a boil right away. Those eggs might end up sitting in very hot, but not boiling, water for awhile. Does this time in hot but not boiling water impact their cooking time at all or is it a straight 12 minutes from the point of boiling only?
Hi Jen, if you have a nice boil going on the water when you add the eggs, it takes less than 1 minute for it to return to a boil after the eggs are added (in our experience). Start the timer once you have added the last egg to the water.
OH! MY! Goodness!! What a game changer!! I am 72 years old, and have been trying to fool proof my method of PEELING fresh boiled eggs for years!! I have “tweaked” all my good old southern aunties and grandmas methods, perfecting the cooking part, but not the peeling part. THIS is IT!!! The secret is placing your eggs into HOT boiling WATER!! thank you o much, I just made 6 eggs, and had to stop Sunday Dinner to write this review!! It is perfect, and needs NO tweaking! Follow the steps, fellow readers… you will NOT be disappointed! 😉 TWO thumbs UP 🙂
Thank you Brenda! We appreciate the feedback and 5-star review!!
Husband enjoyed this recipe. I can’t eat eggs bc
Always a win when Husbands approve! Thanks for the feedback Eva! We appreciate the 5-star review!
Perfect, been fighting the egg peeling battle for almost 60 years and just tried this. Worked without a hitch. No cracked, split, or jagged eggs and perfect yellow centers (no blue at all). Thank you!
You are welcome Lou Anne! We appreciate the feedback and 5-star review!