DIY Kitchen Tutorial:
How to make butter at home in less than 15 minutes
Making butter: A lost kitchen art
Years ago, I dreamt of having a blog (or writing a book) about the lost “kitchen arts,” as I call them. Making butter, baking sourdough bread, fermenting vegetables, canning the harvest, fluting the flakiest pie crust, and wielding a cast iron skillet like it’s second nature and more. These simple acts that I picked up while on the heels of my dad and grandma in the kitchen gave me (and still do, when I have the time) so much pleasure and an incredible sense of accomplishment and self-sufficiency.
I don’t have as much time on my hands to practice these kitchen arts, but when I do I am reminded of how fortunate I am to know how to do so many things and that there are a whole lot of people in this world who might like to learn some of these lost arts as well. Now, I am not an expert at anything – just a Jane-of-all-trades who’s put in the time observing, asking questions, researching and most importantly, experimenting (and sometimes failing too!).
Which is why I’m unusually excited to share with you our second DIY Kitchen Tutorial of 2019: How to Make Butter. In case you missed the first one, How to Make Ghee, you can check that out here. After all, once you see how easy it is to make butter at home you’ll need something to do with it all (and making ghee is a great way to extend the shelf-life of your homemade butter).
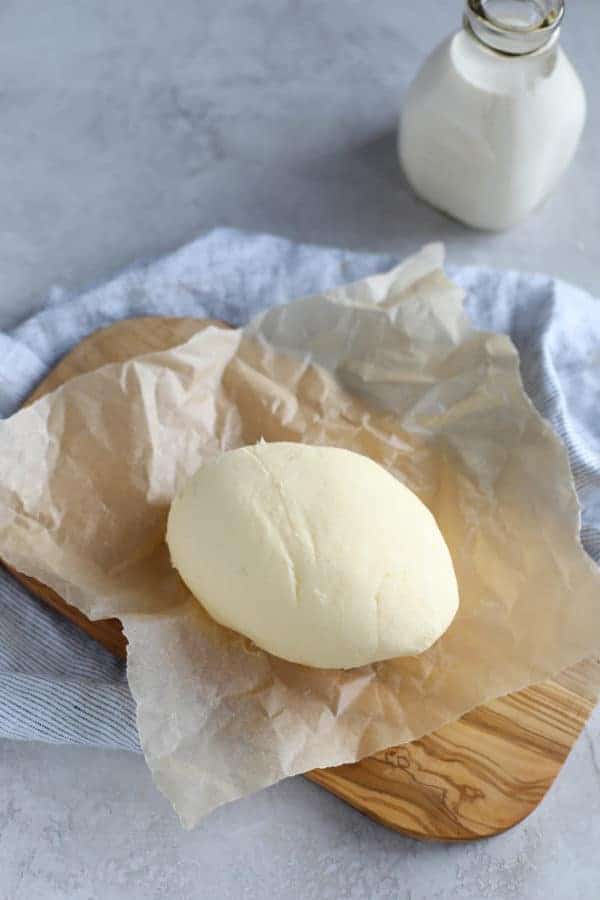
5 Reasons to Make Homemade Butter
- It’s fun!
- Kids (and adults) love to watch the transformation from liquid cream to whipped cream to butter.
- A great way to use up leftover heavy cream (think recipes that require just a tablespoon or two or after the holidays).
- Take advantage of those heavily discounted cartons of cream you sometimes find at the grocery store.
- Create flavored butter for any occasion – from garlicky and herby to sweet or fruity.
How to Make Butter: A photo tutorial
What you’ll need:
- 1 quart of heavy cream or whipping cream, preferably organic
- Blender or food processor
- Fine mesh strainer
- Bowl or large glass measuring cup
- Salt, optional
- Waxed paper or parchment paper
That’s it – let’s get started!
1. Start with slightly cool or room-temperature cream for best results. I leave the cream on the counter for about 30 minutes before making butter to take the chill off.
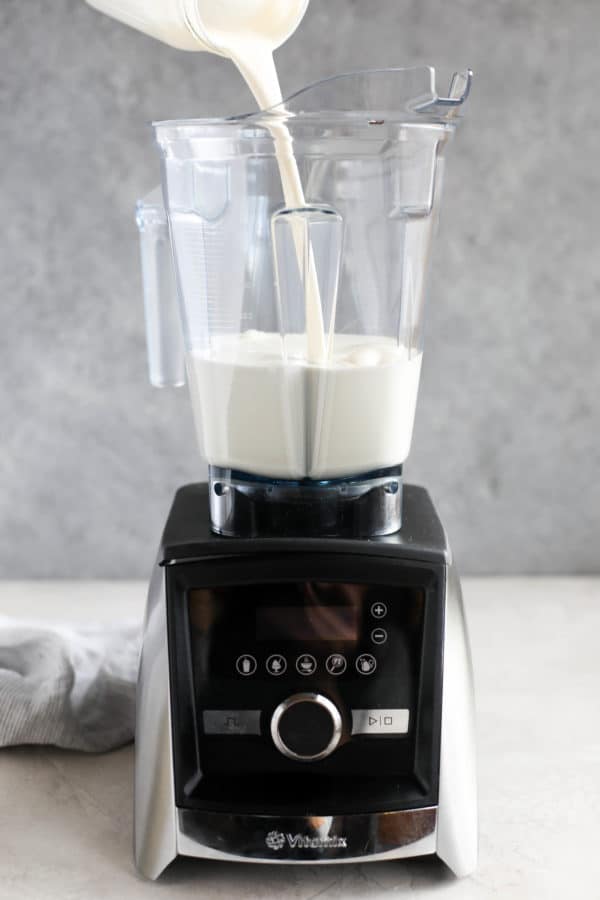
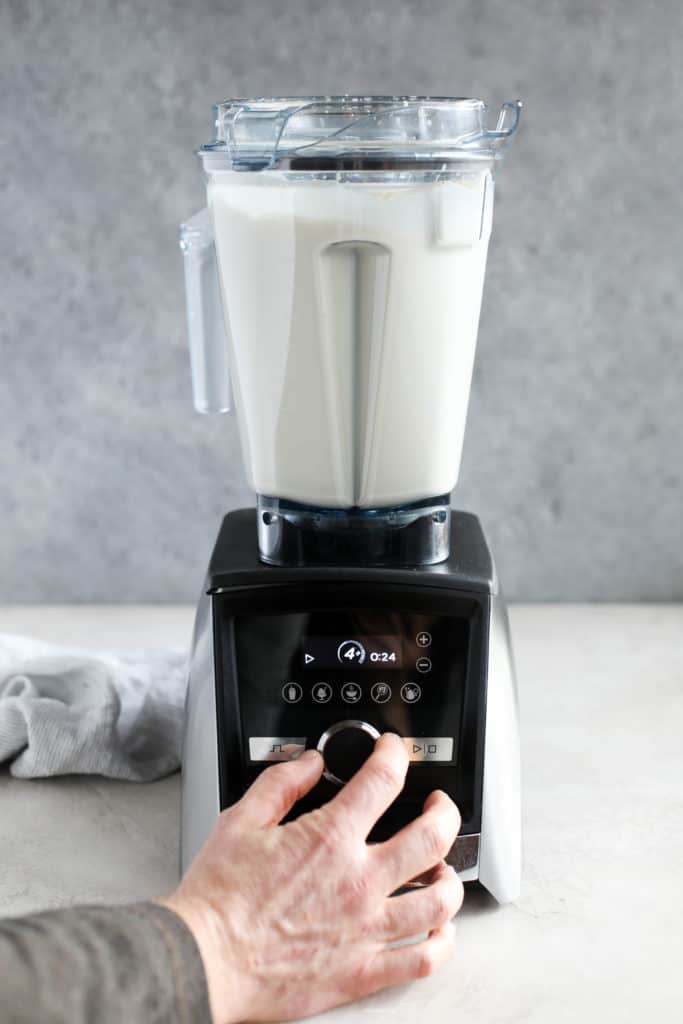
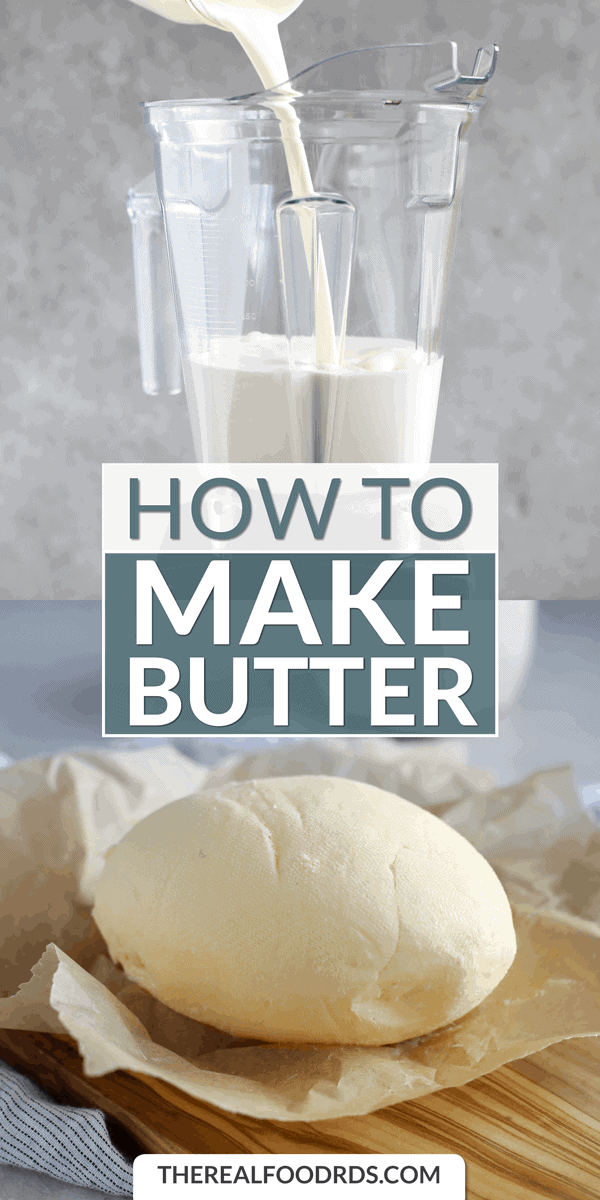
2. Pour cream into the container of a blender or food processor. In this case, we’re using a Vitamix. A lower power blender will still get the job done, but it may take up to 10 minutes to churn out the butter. Once the lid is secured into place, turn the blender to low speed and slowly increase the speed to medium-high (this is about ‘7’ on a Vitamix) and allow the cream to blend until it forms whipped cream (it will be nice and light and fluffy at this point).
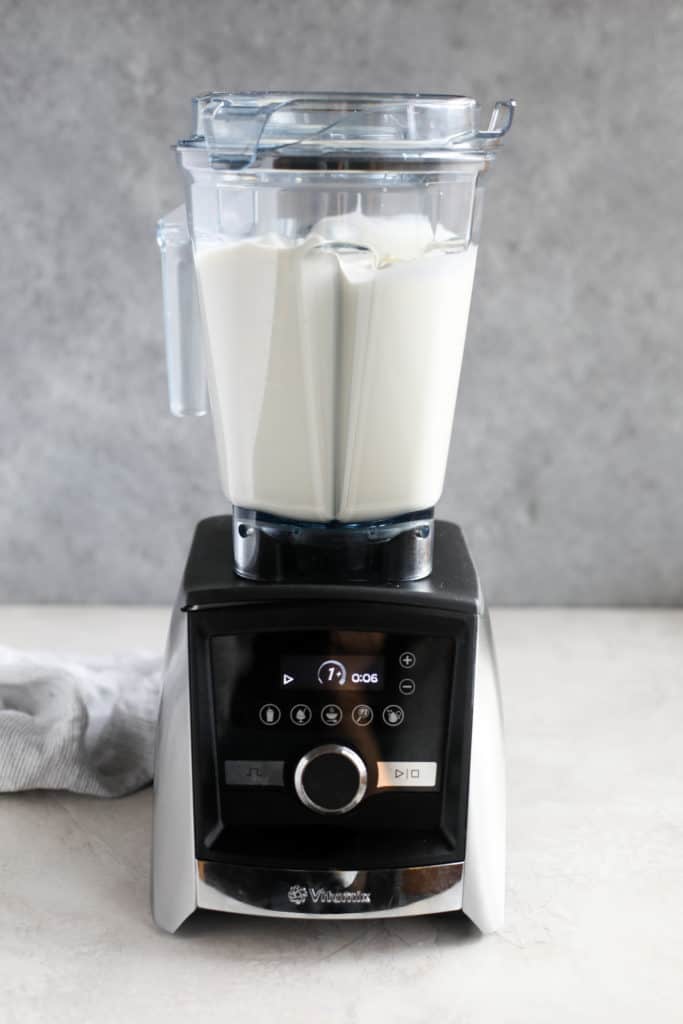
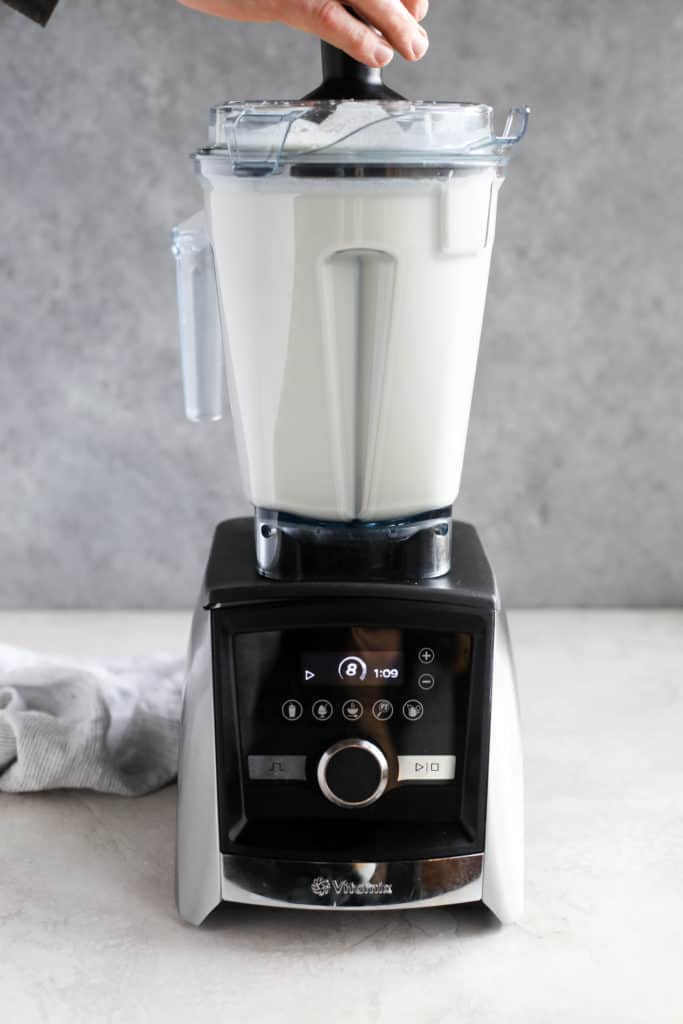
3. If you have a Vitamix with a tamper, insert the tamper through the top of the lid and use it to gently push the whipped cream back down into the blades. NOTE: This step isn’t absolutely necessary though it will make quicker work of your butter making and as it keeps the liquid at the bottom (near the blades) from getting warm – as that’s what Vitamix’s do when they run… they heat things up and that’s not what you want when making butter).
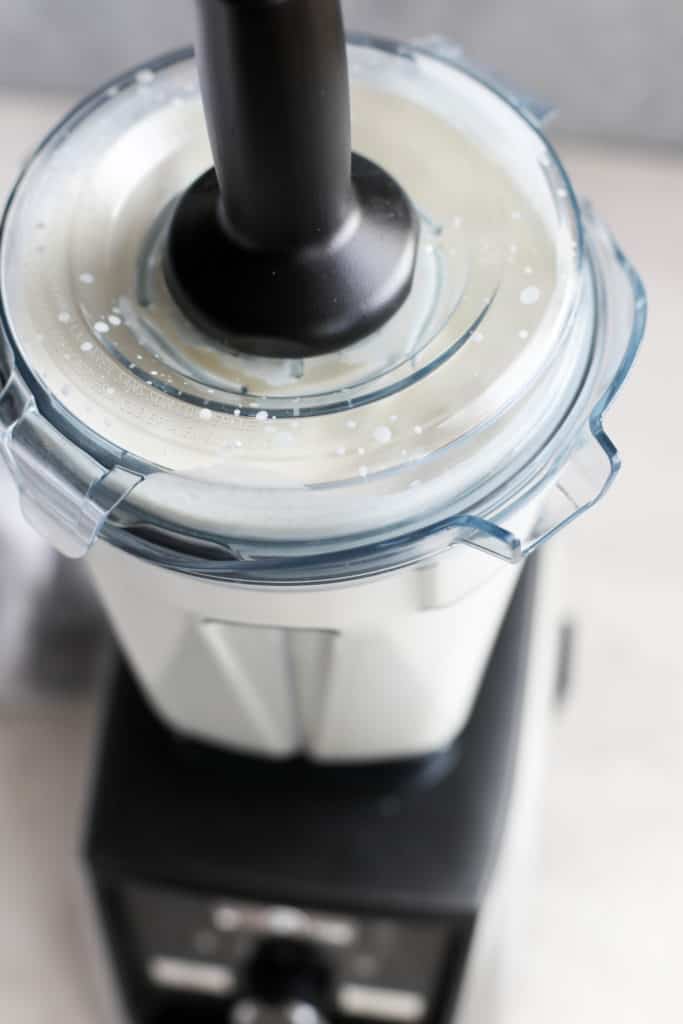
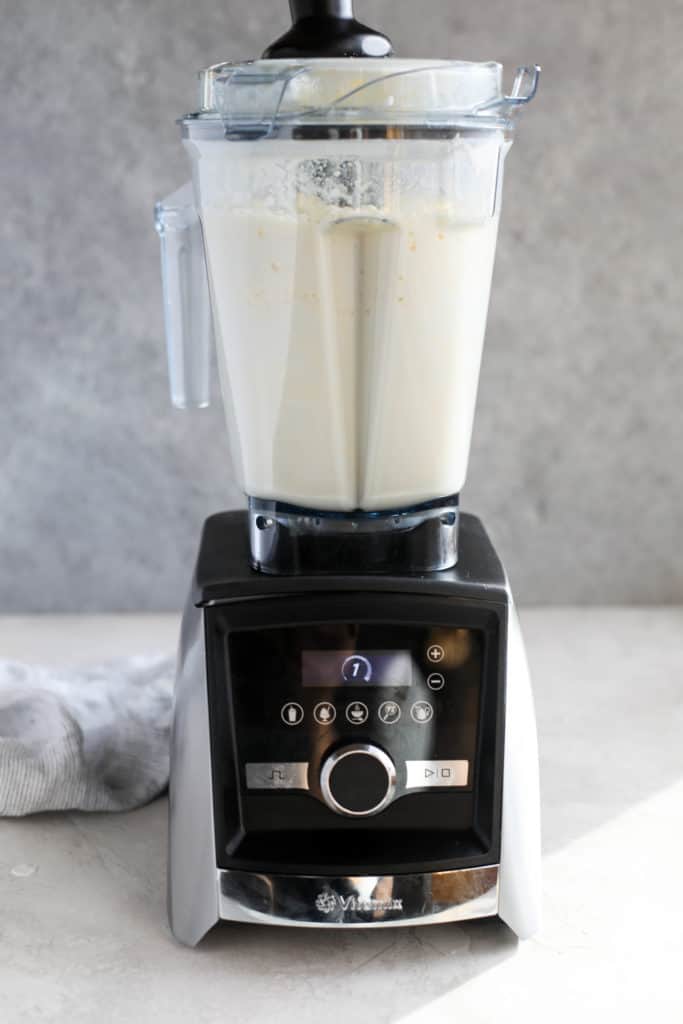
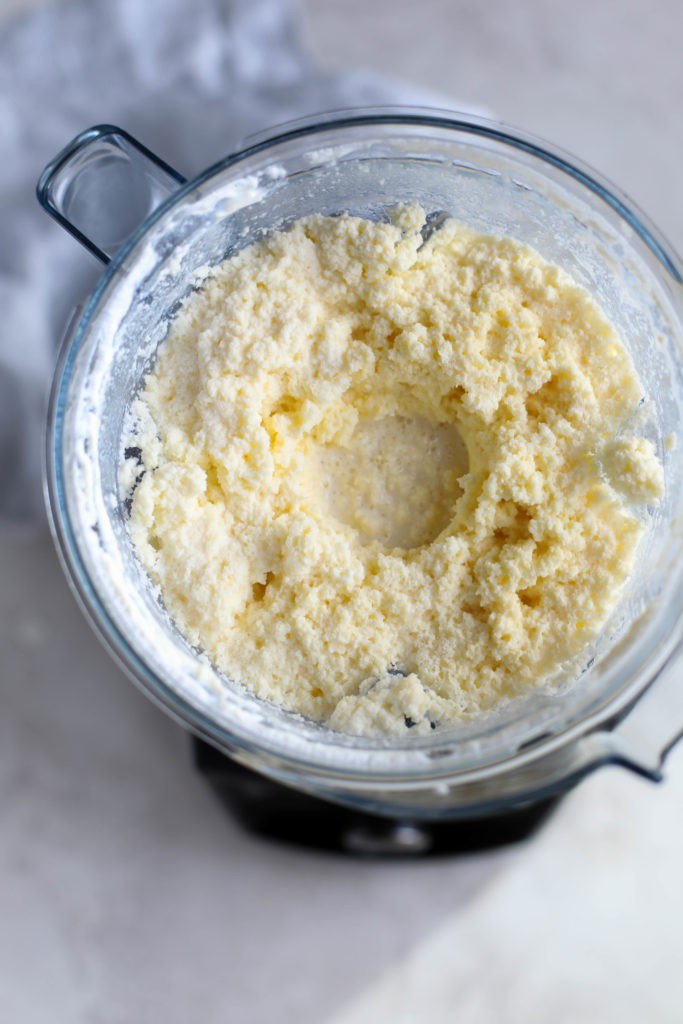
4. Turn up the speed to high and continue to blend until you see the cream start to get clumpy. At this point you’re really close – just keep blending and once you see that the fat (butter) has separated from the liquid (buttermilk) and a bunch of “crumbs” have formed, then you know you’re done. This doesn’t take more than 6 or 7 minutes with a high-power blender so don’t walk away. If you’re using a food processor it could take up to 10 minutes, possibly longer.
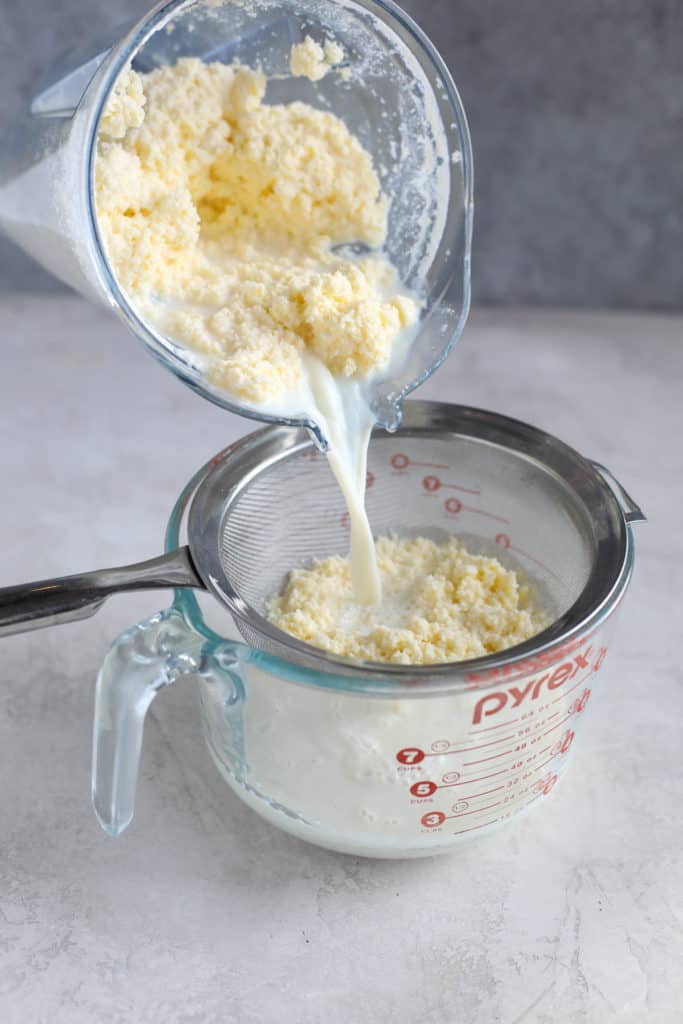
5. Now it’s time to separate the butter from the buttermilk. There are a few ways to do this, but this is what I’ve found works best for me. Place a fine-mesh colander over a bowl or large glass measuring cup (this is the one that I have and I use it for everything. Literally use it every day.) Then, pour the entire contents of the blender into the strainer. Allow the butter to rest for a few minutes while the buttermilk drains into the bowl.
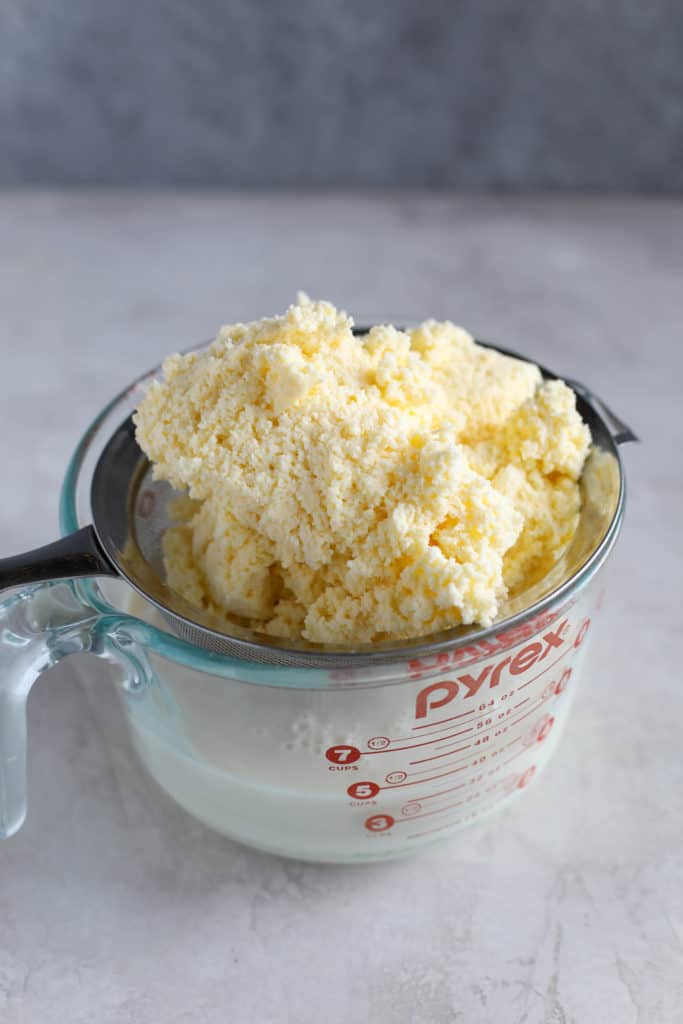
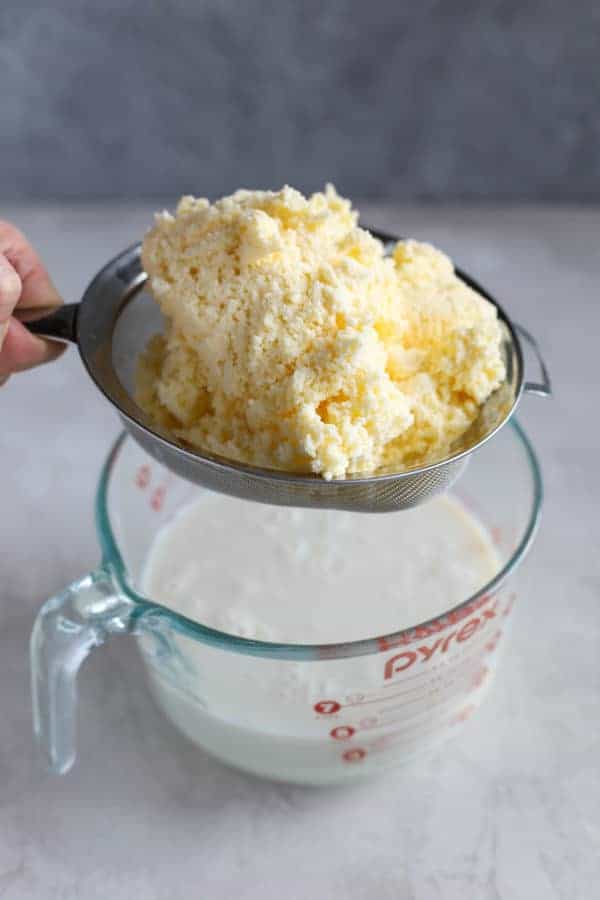
6. Now take the butter over to the sink and rinse it (in the strainer) under cold, running water rocking it back and forth in the strainer somewhat vigorously until the water runs clear. This is the ‘hands-free kneading’ step that helps to remove liquid from the butter. You can wrap the butter ball in a clean sheet of butter muslin and knead the butter with your hands under running water, but I find this to be a little less fussy while yielding the same results. Allow the butter to rest for a few more minutes in the strainer to be sure all of the water has run off.
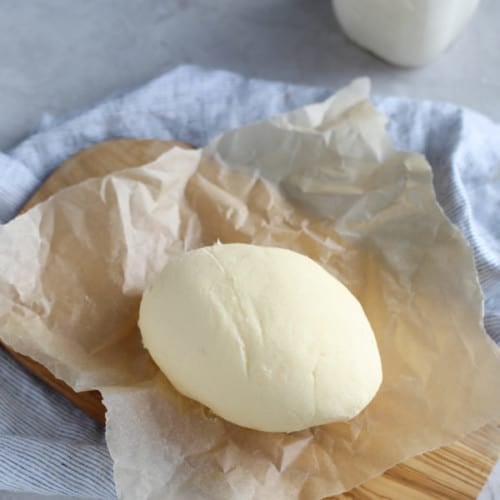
7. Using clean hands, gently press the bits of butter together to form a ball. Press the ball lightly against the sides of the strainer to help remove more of the buttermilk.
8. At this point, feel free to taste the butter and add salt to taste. Or make an herbed compound butter by adding your favorite fresh herbs and minced garlic or shallots.
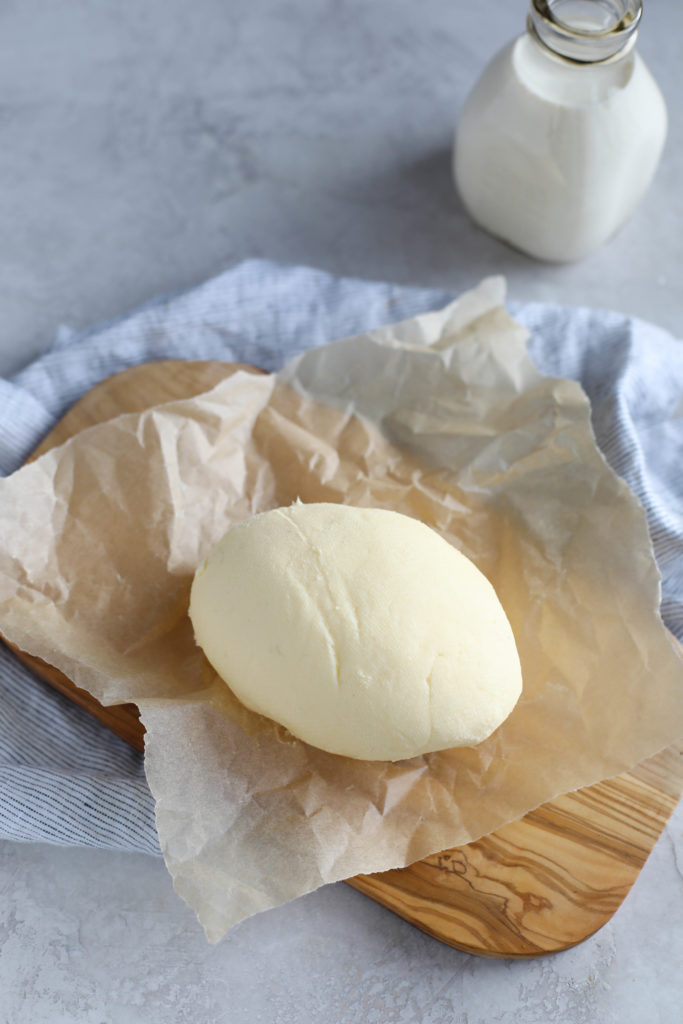
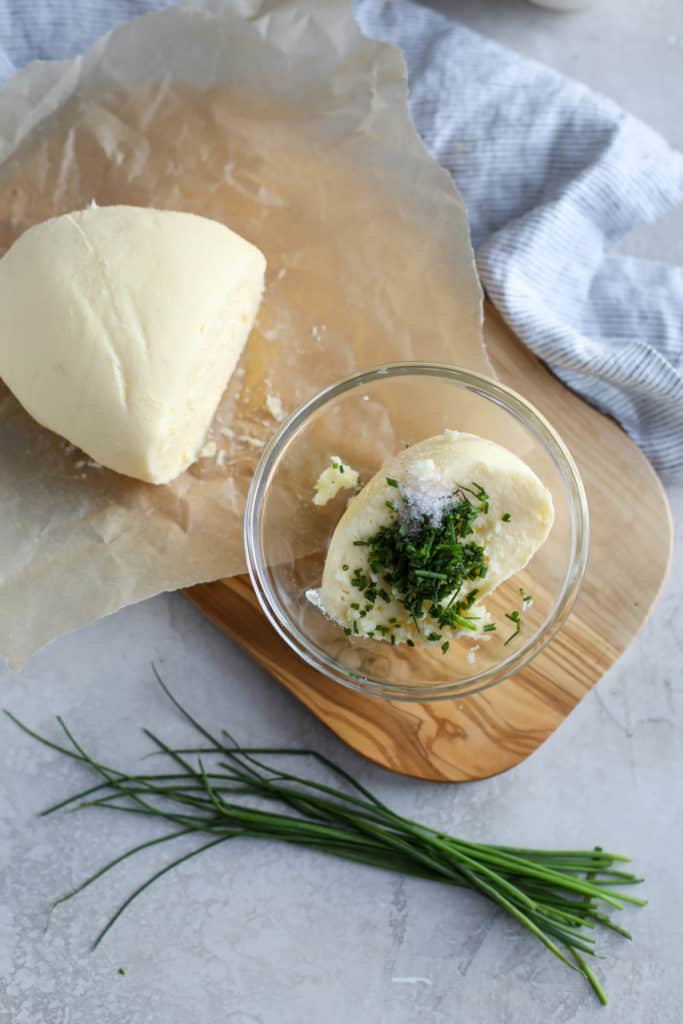
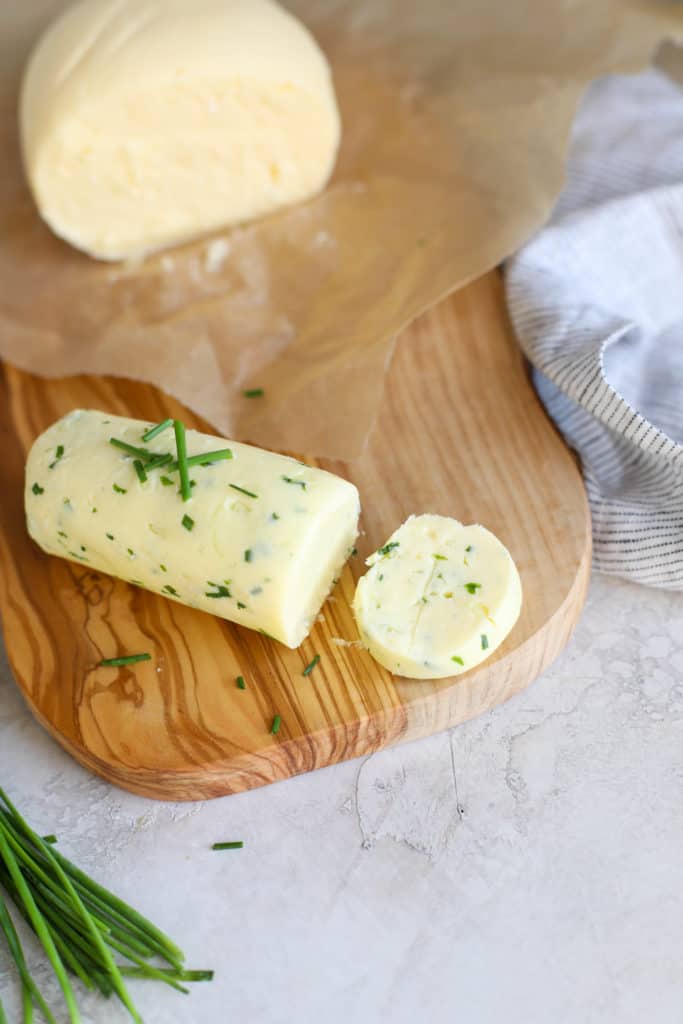
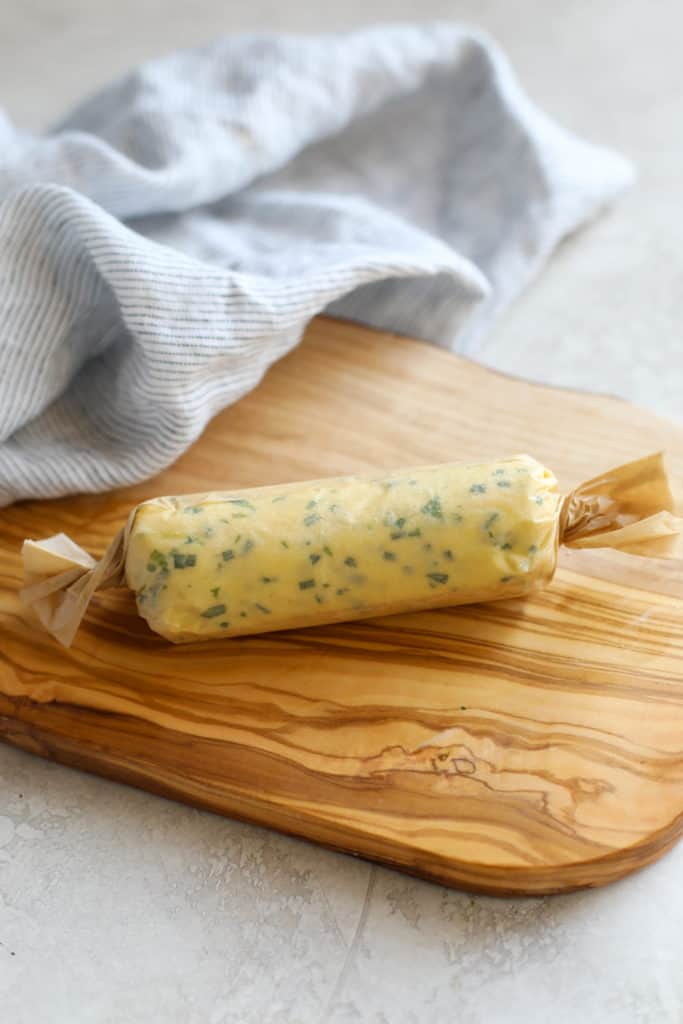
9. To store the butter, lightly pat the surface dry with a paper towel and wrap in waxed or parchment paper. I like to shape mine into 1/2-cup portions and roll them into logs that will fit into my butter keeper.
FAQs
- Can I use half and half instead of heavy or whipping cream? No. ALWAYS use heavy or whipping cream. Heavy cream is about 35-40% fat which is necessary to make butter.
- Do I need to start with a quart or can I use less if that’s all I have on hand? No. One quart of cream will yield about 1 pound of butter depending on how much fat was in the cream. If you have less, that will still work. You just need enough to cover the blades of the blender or food processor. This is a great way to use up leftover cream!
- Is homemade butter cheaper than store-bought butter? That depends. Again, 1 quart cream = about 1 pound of butter so depending on the price of cream it may be less or about the same (Tip: look for heavy cream in the ‘discounted section’ of the dairy aisle that’s close to the ‘sell by’ date).
- What if I don’t have a strainer? Can I just rinse the butter in the blender instead? Yes. Just pour the buttermilk from the blender container leaving the butter behind. Add enough cool water to cover the butter then pulse the blender a few times (the water will get cloudy). Drain, add more cool water and repeat until the water is relatively clear.
- How long will homemade butter last? That depends. Homemade butter will last about 1 week at room temperature, 1 month in the fridge and several months in the freezer. Of course, warmer ambient temperatures in your kitchen can make it spoil which is why I recommend a butter keeper like this one or this one.
- Can butter be frozen? Yes. Homemade butter can be frozen. Be sure to tightly wrap your butter using waxed or parchment paper then chill it in the fridge overnight before placing in a zip-top freezer bag in the freezer. These half-gallon silicone Stasher Bags are my go-to for freezing while cutting back on plastic usage.
- Can you culture the cream before making butter to make ‘cultured butter’? Yes. You can easily culture the cream before making butter using a store-bought culture or plain yogurt. This post explains how to make cultured butter easily and home.
- What are the advantages of “cultured butter?” Richer flavor, butter stays fresher longer and you get better buttermilk. If you’ve ever had cultured butter or ‘culture’ butter then you know what I’m talking about. Long ago butter (actually all dairy) was cultured so it would keep longer before spoiling. The additional step of culturing also improves the flavor thanks to the lactic acid bacteria that multiply during the culturing process. Don’t worry, this is perfectly safe and the same process that happens when making yogurt, cheese, and kefir. If you’re interested in culturing your butter, see this post.
- What can I use the leftover buttermilk for? Pancakes, waffles, muffins, smoothies… You can use the buttermilk in anything you’d normally use milk for. If you didn’t culture the cream before making butter, you’ll have very mild and watery buttermilk (unlike the thickened, cultured version you’ll find at the store) but it’s still perfectly good to use if you’d like.
Want to save this recipe?
Enter your email below & we’ll send it straight to your inbox. Plus you’ll get great new recipes from us every week!
How to Make Butter
Ingredients
- 1 quart of heavy cream, preferably organic
- Optional: salt, fresh or dried herbs, minced garlic, honey, spices, fruit, etc.
Instructions
- Start with slightly cool or room-temperature cream for best results.
- Pour cream into the container of a blender or food processor. Once the lid is secured into place turn the blender to low speed and slowly increase the speed to medium-high and allow the cream to blend until it forms whipped cream (it will be nice and light and fluffy at this point).
- If you have a Vitamix with a tamper, insert the tamper through the top of the lid and use it to gently push the whipped cream back down into the blades. NOTE: This step isn’t absolutely necessary though it will make quicker work of your butter making.
- Continue to blend until you see the cream start to get clumpy. At this point you’re really close to having butter – keep blending and once you see that the fat (butter) has separated from the liquid (buttermilk) and a bunch of ‘crumbs’ have formed then you know you have butter.
- Now it’s time to separate the butter from the buttermilk. There are a few ways to do this, but this is what I’ve found works best for me. Place a fine-mesh colander over a bowl or large glass measuring cup then pour the entire contents of the blender into the strainer. Allow the butter to rest for a few minutes while the buttermilk drains into the bowl.
- Now take the butter over to the sink and rinse it (in the strainer) under cold, running water rocking it back and forth in the strainer somewhat vigorously until the water runs clear. This is the ‘hands-free kneading’ step that helps to remove liquid from the butter. You can wrap the butter ball in a clean sheet of butter muslin and knead the butter with your hands under running water, but I find this to be a little less fussy while yielding the same results. Allow the butter to rest for a few more minutes in the strainer to be sure all of the water has run off.
- Using clean hands, gently press the bits of butter together to form a ball. Press the ball lightly against the sides of the strainer to help remove more of the buttermilk.
- At this point, feel free to taste the butter and add salt to taste. Or make an herbed compound butter by adding your favorite fresh herbs and minced garlic or shallots to the soft butter. Or make it sweet by adding honey, cinnamon, citrus zest, maple syrup, fruit, etc. Get creative!
Last Step! Please leave a review and rating letting us know how you liked this recipe! This helps our business thrive so we can continue providing free recipes and high-quality content for you.
Notes
All photos and content are copyright protected. Please do not use our photos without prior written permission. If you wish to republish this recipe, please rewrite the recipe in your own unique words and link back to the source recipe here on The Real Food Dietitians. Thank you!
Nutrition Information
- Serving Size: 1 Tbsp.
- Calories: 100
- Fat: 12g
- Sodium: 0mg
- Carbohydrate: 0g
- (Fiber: 0g
- Sugar: 0g)
- Protein: 0g
Have you ever made homemade butter? What other DIY Kitchen Tutorials would you like to see in upcoming posts? Share in the comments below!
Pin this now & Make it later
This post may contain affiliate links which won’t change your price but will share some commission.
This is SO awesome, Jess! I can’t wait to give it a try!
Thanks, Jen! Let me know how your butter turns out.
I love the way this butter recipe tells how smiply it is made
Thanks
You’re welcome, Linda!
How do you know how much salt to use when making butter. We are using an old Daisy butter churn. Using heavy whipping cream.
I add the salt to taste after rinsing the butter.