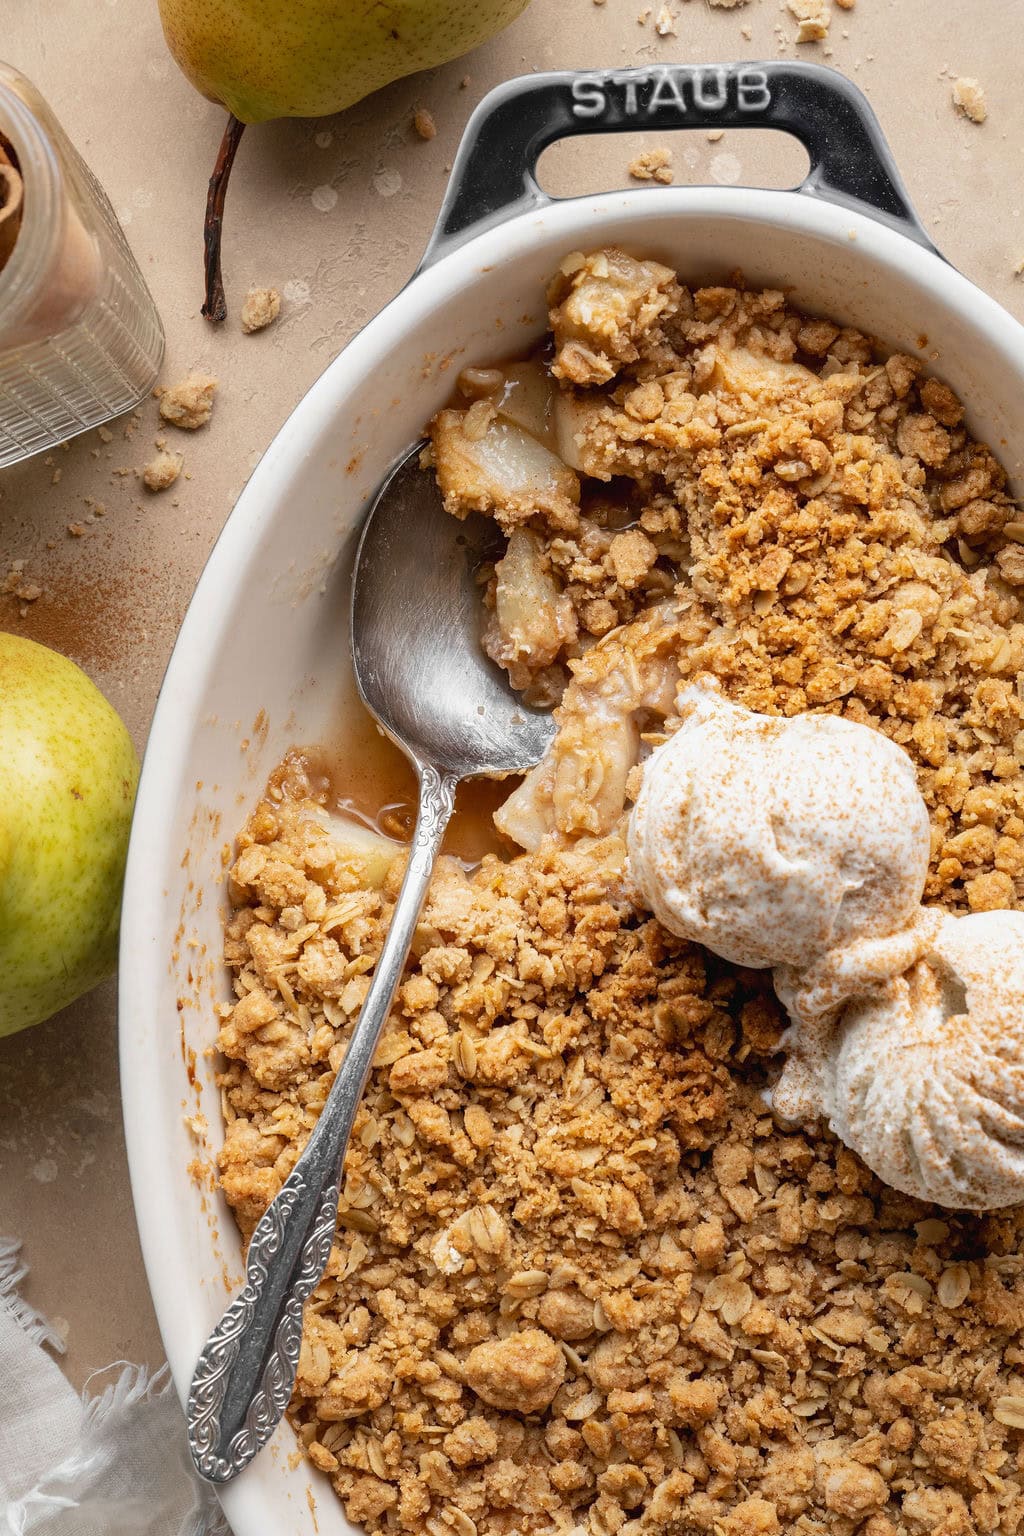
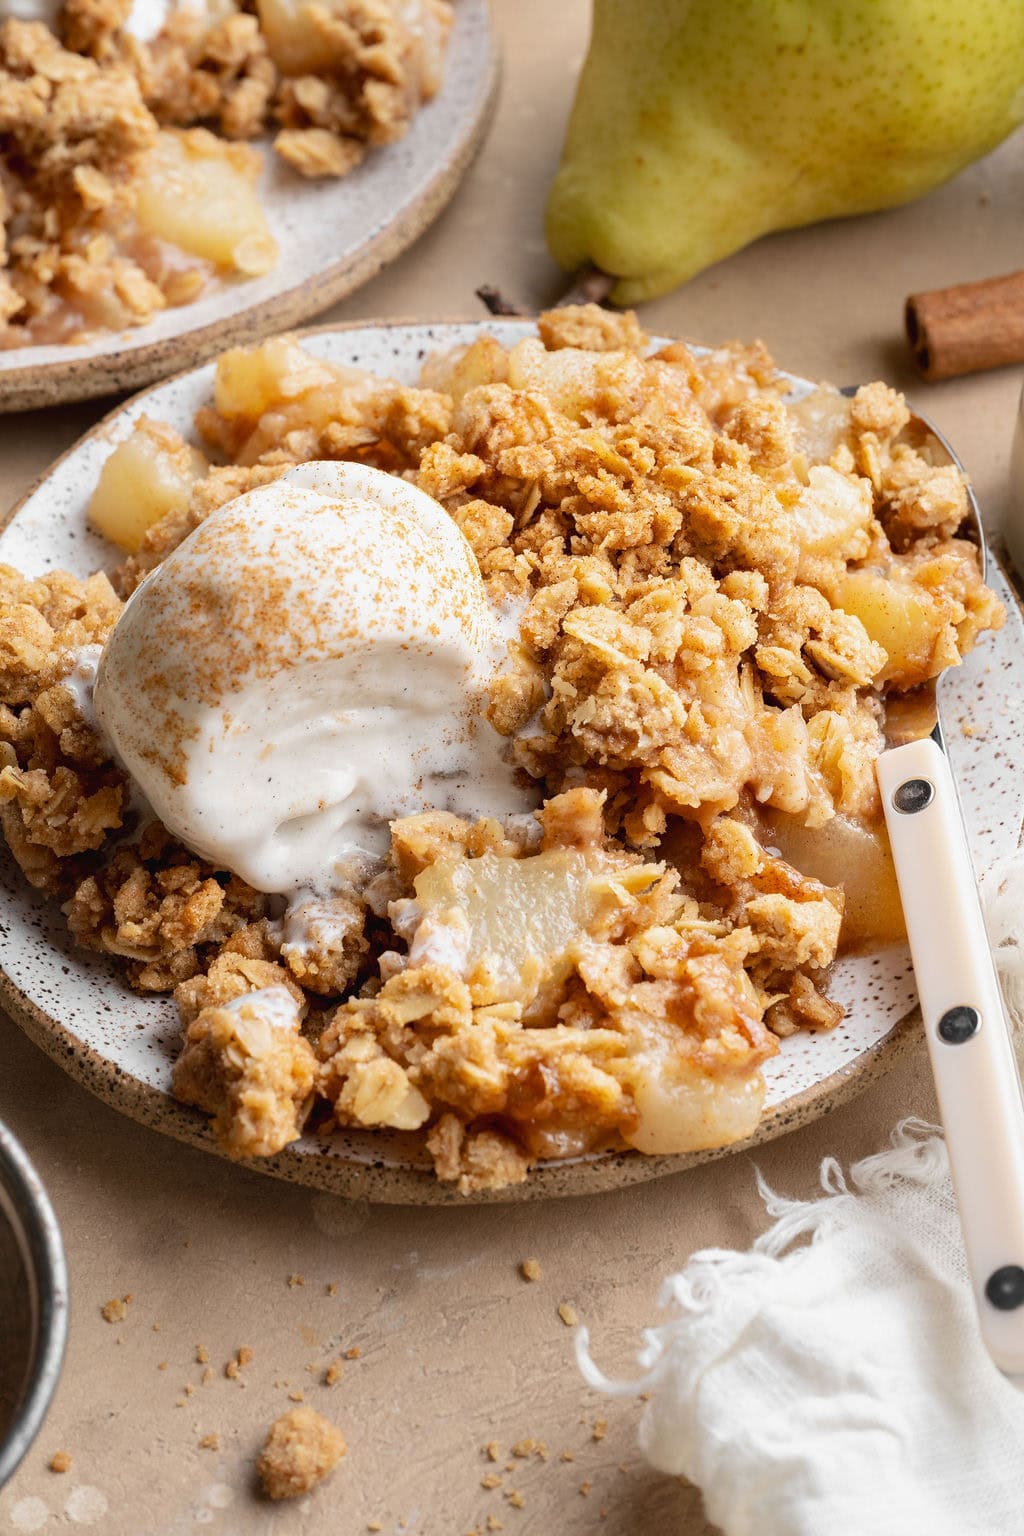
After testing this easy pear crisp recipe a few times, I think I actually prefer pear crisp to apple crisp. That was a bit of a surprise to me, since I love so many apple recipes. However, the flavor of this crisp is truly unique and so fitting for fall. I really enjoy the soft texture of the baked pears with the warm cinnamon, ginger, and nutmeg spices, especially under the buttery oat topping. Served warm with a scoop of vanilla ice cream, it’s become one of my favorite simple desserts in the fall.
Recipe Highlights
Simple: The filling and oat topping come together with basic ingredients and just 20 minutes of prep time.
Warm and cozy: I’m accustomed to using pears in savory options like my pear salad. However, when cinnamon, ginger, nutmeg, brown sugar, and vanilla are thrown into the mix, the pears become a delicious, comforting dessert with just the right amount of sweetness and warmth.
Great textures: Tender baked pears pair with a golden, buttery oat topping for a little crispness in every bite.
Main Ingredients And Substitutions
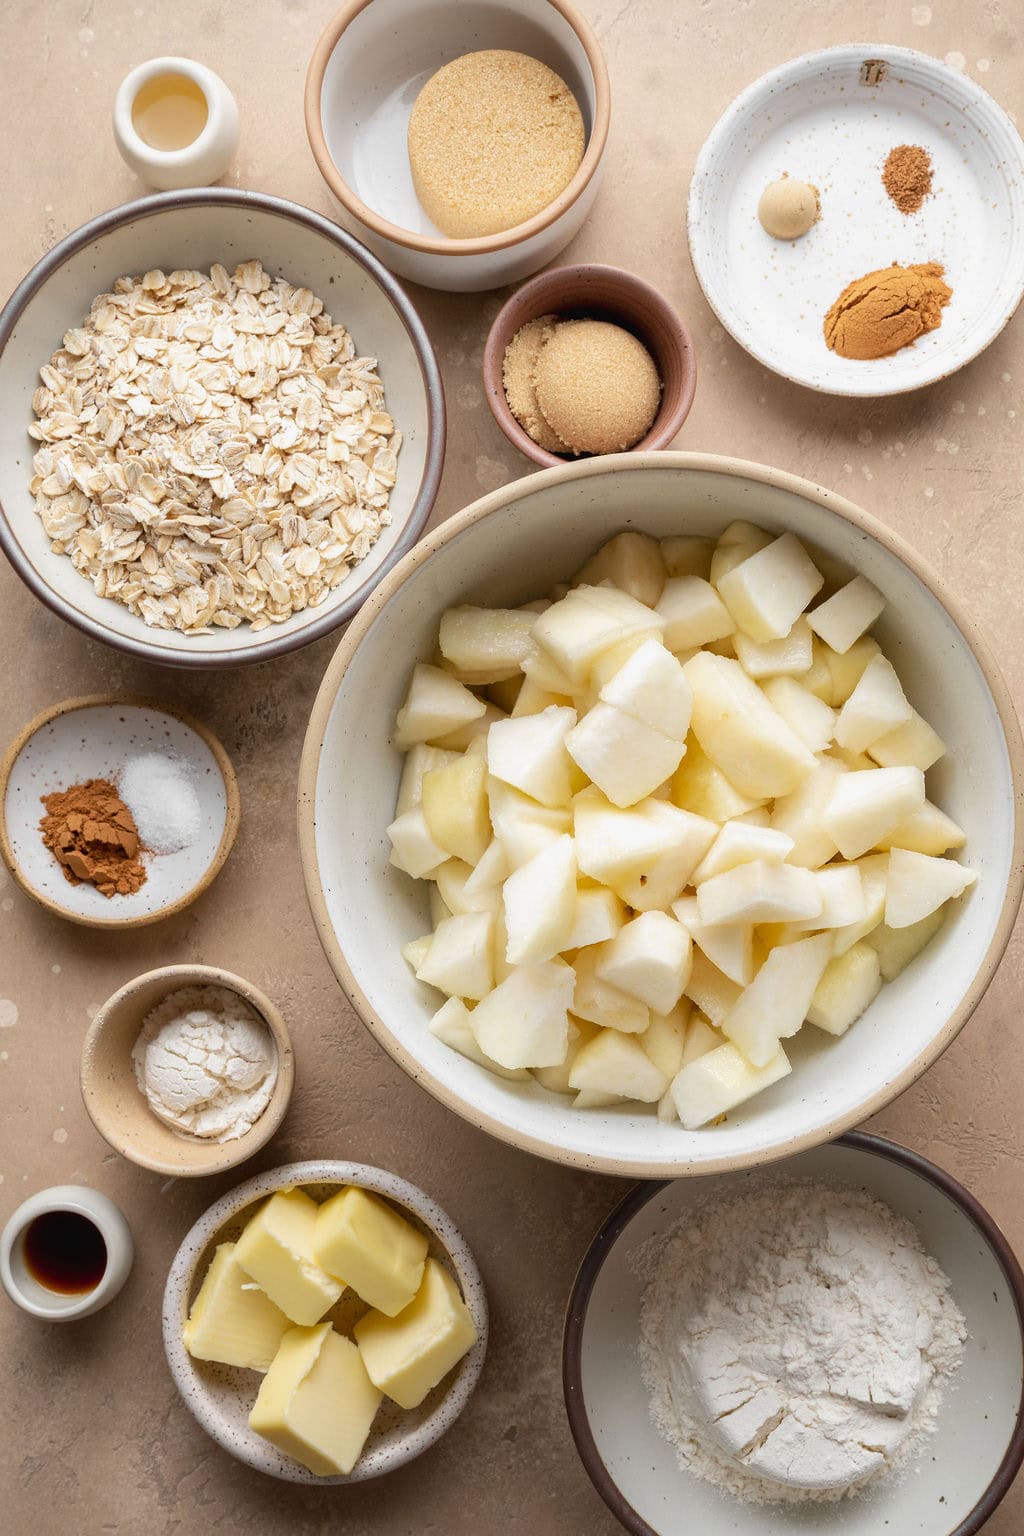
This pear crisp recipe comes together with two components: the pear filling and the crisp topping. Here are my notes about the main components in each part:
Pear Filling
- Ripe pears: I prefer to use Bartlett pears for this recipe because they become soft and tender once baked and have a naturally sweet flavor. If I can’t find Bartlett pears, I use Bosc pears or Anjou pears as a substitute. They’re still tasty, just not quite as sweet. I prefer to peel and dice my pears for the best texture, but the peels can be left on to save time and add a bit of insoluble fiber.
- All-purpose flour: This helps thicken the juices released by the pears as they bake, preventing the filling from being too runny.
- Brown sugar: I prefer brown sugar over granulated sugar for this recipe because it adds sweetness and a subtle molasses taste that complements the sweetness of the pears. I use light brown sugar, but dark brown sugar also works.
- Lemon juice: The acidity helps brighten the filling, balancing the sweetness.
- Spices: Cinnamon, ginger, and nutmeg give the filling its warm, cozy flavor.
Crisp Topping
- Oats: I use old-fashioned rolled oats as the base of the topping, giving it a hearty texture and crispness along with nutrition. Steel-cut oats and quick oats do not work well for this fruit crisp.
- All-purpose flour: In addition to the oats, flour gives the topping structure and helps it bake up golden and crumbly.
- Brown sugar: As with the filling, this sweetens the topping and helps it caramelize as it bakes, turning golden and crisp.
- Cinnamon: Just a pinch of cinnamon adds another layer of depth to the oat topping, tying the flavor in with the filling.
- Butter: Softened butter binds the topping ingredients together, creating tender, buttery crumbles. Either salted or unsalted butter works.
Find the ingredient list with exact measurements in the recipe card below.
Making The Perfect Pear Crisp
One of my favorite things about crisp recipes is how simple and quick they are to prepare, and this pear crisp is no different. I use just two bowls and a baking dish, and it’s ready to eat in about an hour. Here’s how everything comes together:
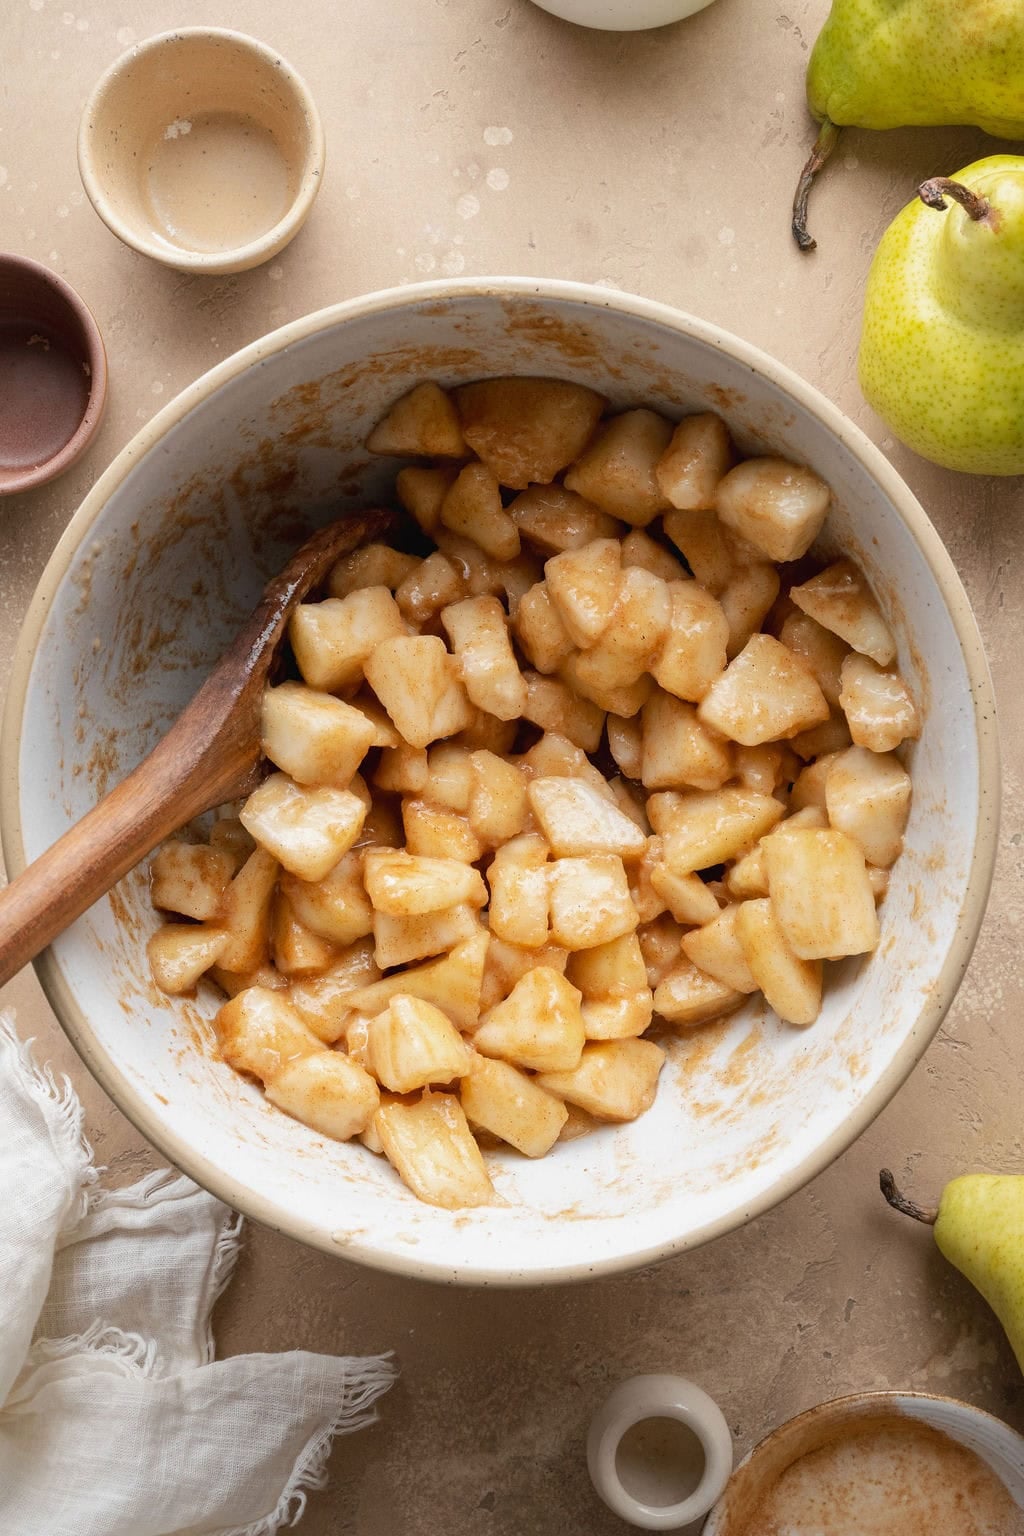
- Combine the filling. Toss the filling ingredients in a large bowl, coating the pears completely, and spread the mixture evenly in the bottom of a prepared baking dish or cast-iron skillet.
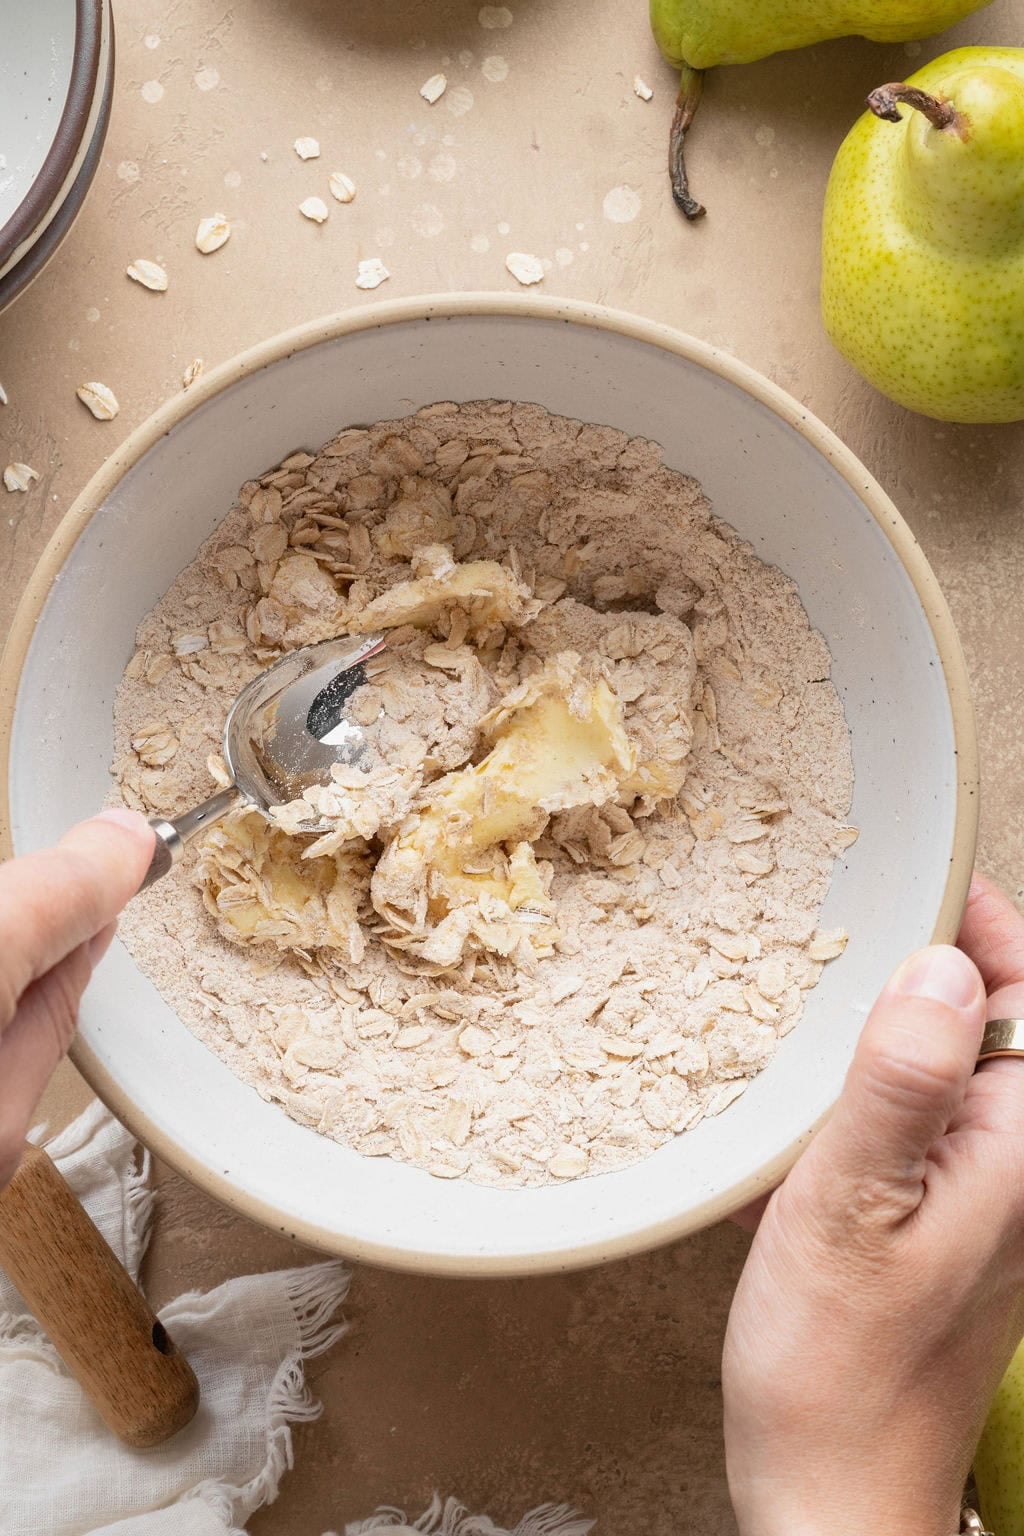
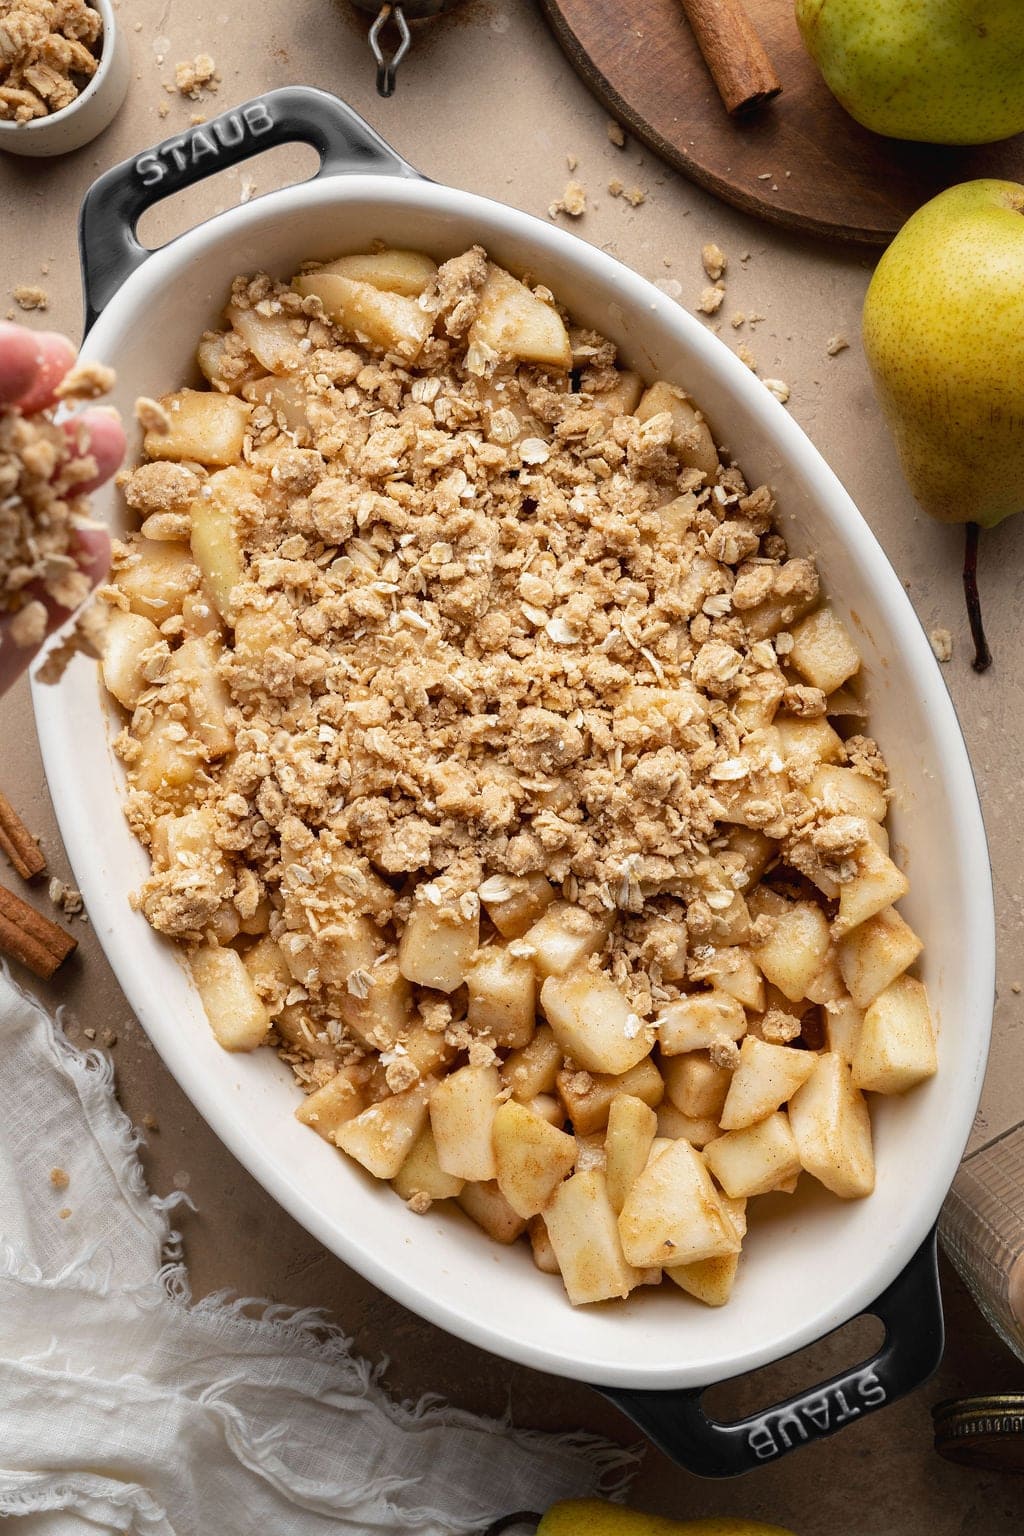
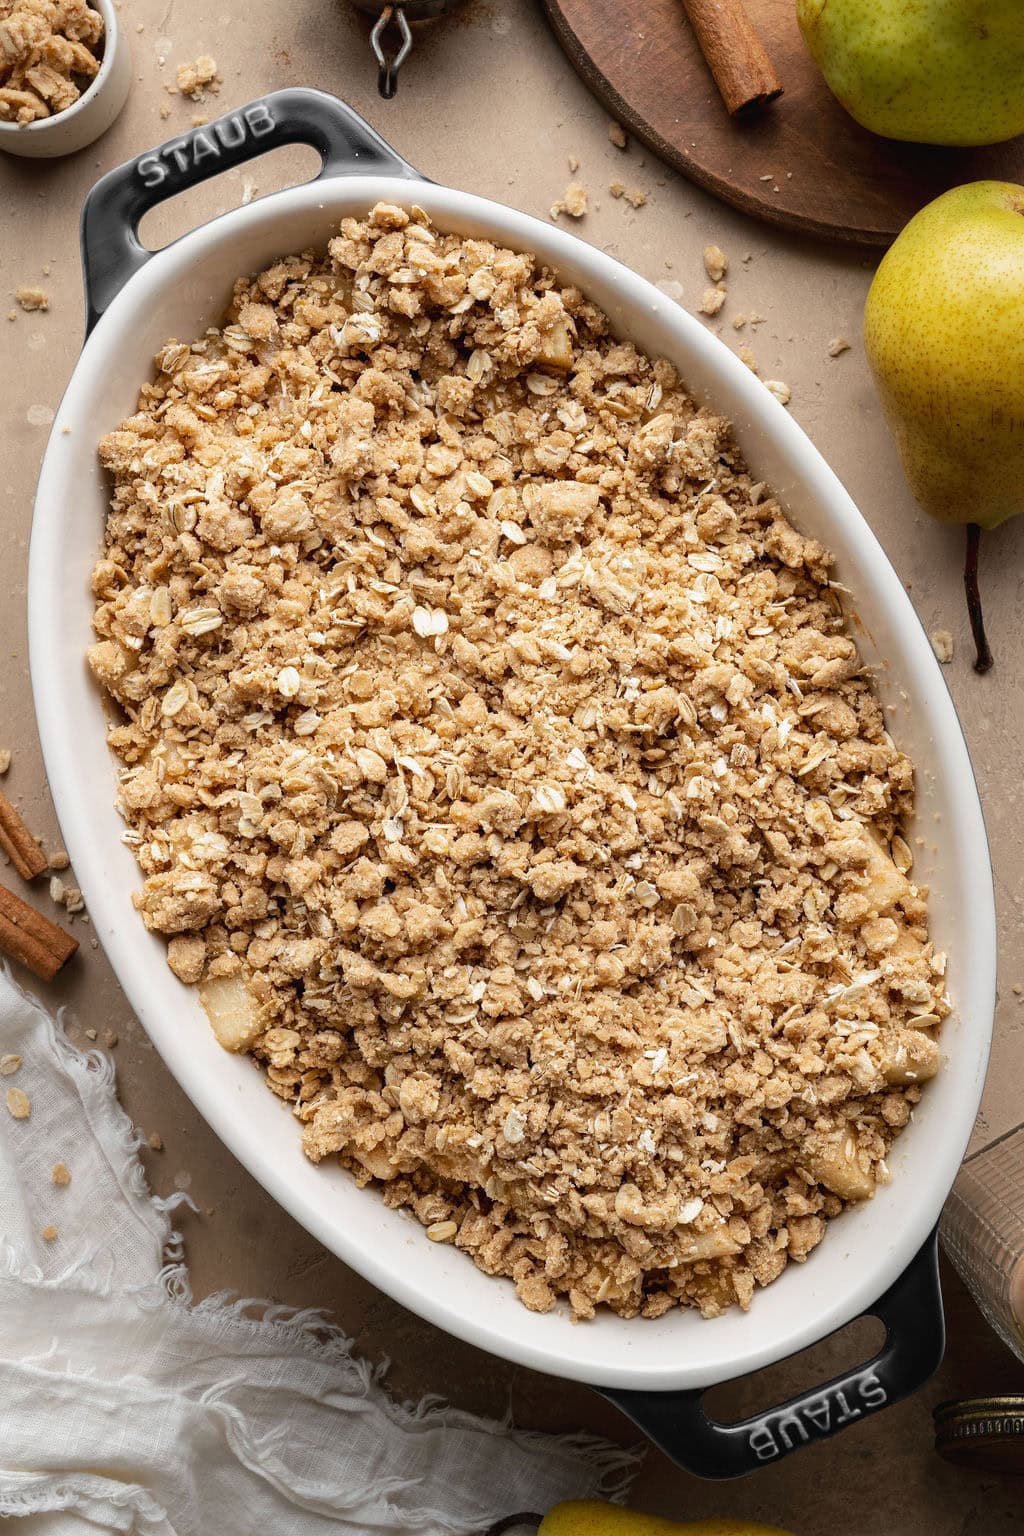
- Add the topping. Whisk the dry ingredients for the topping in a separate bowl. I like to use my hands to work the butter into the oat mixture until it is crumbly and resembles sand. Once combined, sprinkle the mixture evenly over the filling.
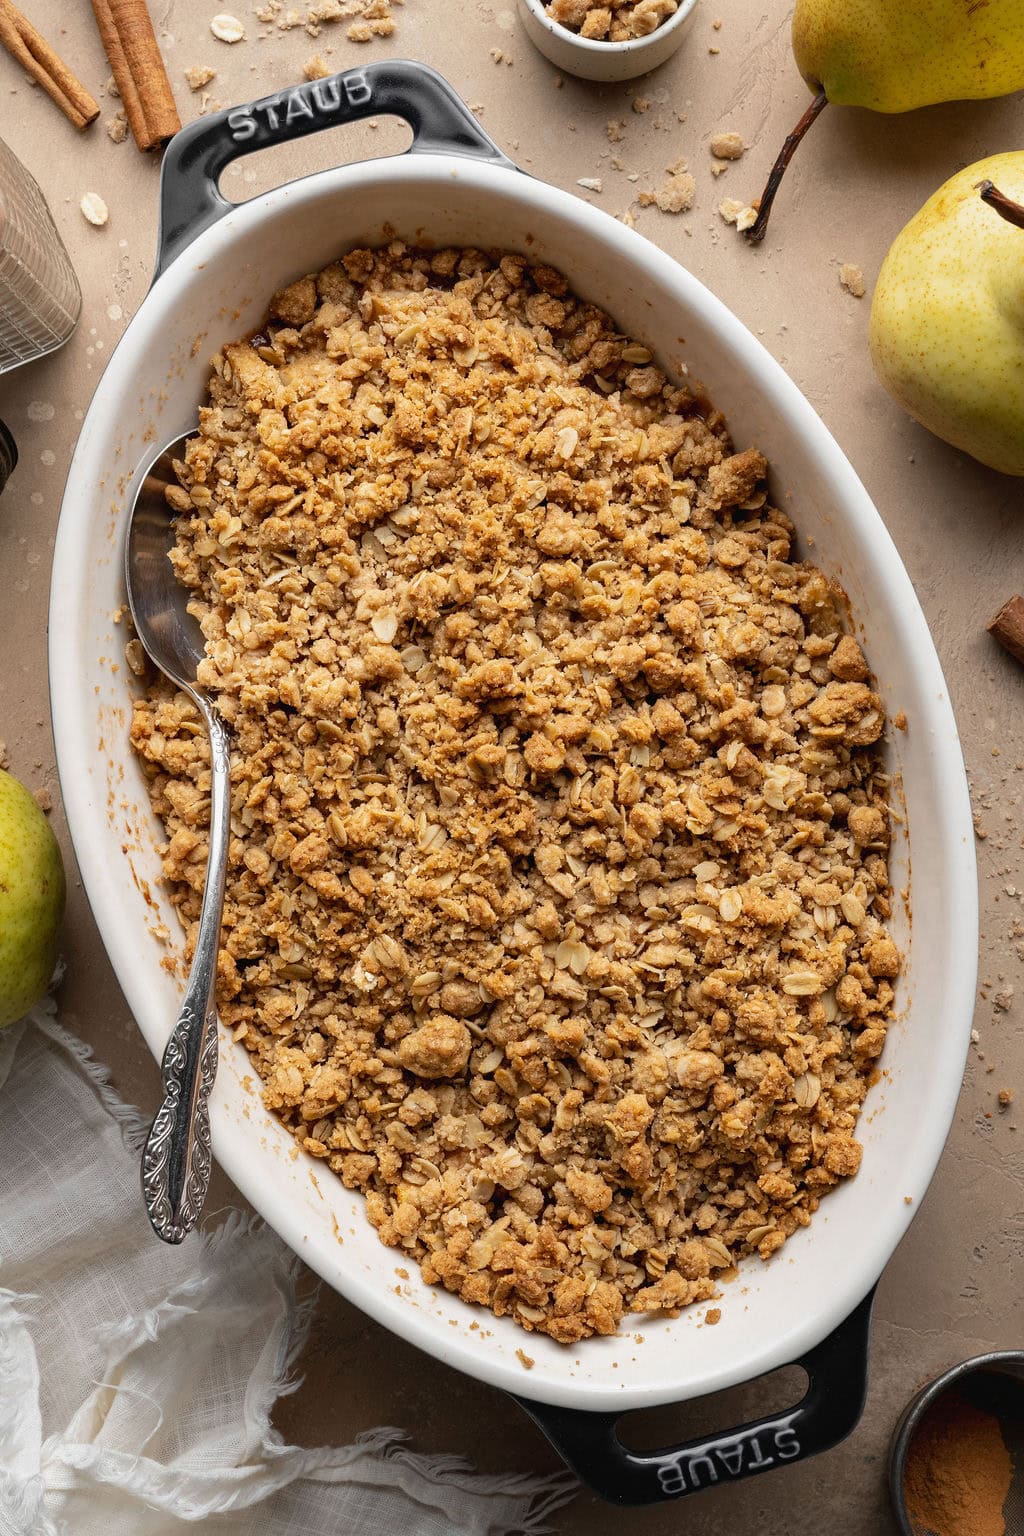
- Bake. Transfer the dish to a preheated oven, and bake until the filling is bubbling, the pears are tender, and the topping is golden brown and crisp. If the top begins to brown too quickly, I cover the baking dish with foil to prevent burning and continue to bake.
- Serve. Let the pear crisp stand for at least 10 minutes before serving. This allows the filling to thicken so it doesn’t spill all over the place. Enjoy warm.
For serving size and the complete directions and ingredient amounts, scroll down to the recipe card below. All of our recipes include the nutrition analysis, listing calories (kcals), protein, carbohydrates/carb, fiber, sugar, sodium, cholesterol, and more per serving.
Peel The Pears For The Best Texture
I tested this crisp with both peeled and unpeeled pears. While it was delicious both ways, my husband and I both preferred the crisp with the peeled pears. They got perfectly soft and tender, whereas the unpeeled pears created a slightly chewier texture. I do recommend peeling them, but if in a pinch for time, just leave the peels on.
Try It With Pumpkin Pie Spice
One of the times I tested this recipe, I ran out of cinnamon and used pumpkin pie spice instead. It turned out so well that I considered making it part of the original recipe. I ultimately stuck with cinnamon, however, but pumpkin pie spice is an easy substitution that adds another layer of warm fall flavor. It’s a fun way to use the popular spice blend in something other than pumpkin cheesecake bars or pumpkin spice granola.
Make It Gluten-Free
To make this pear crisp gluten-free, replace the all-purpose flour in both the pear filling and crisp topping with a 1:1 gluten-free flour blend. If serving someone with celiac, use certified gluten-free rolled oats to avoid potential cross contamination.
Make It Dairy-Free
For a dairy-free pear crisp, use plant-based butter to make the oat crumb topping.
Serve It With Ice Cream
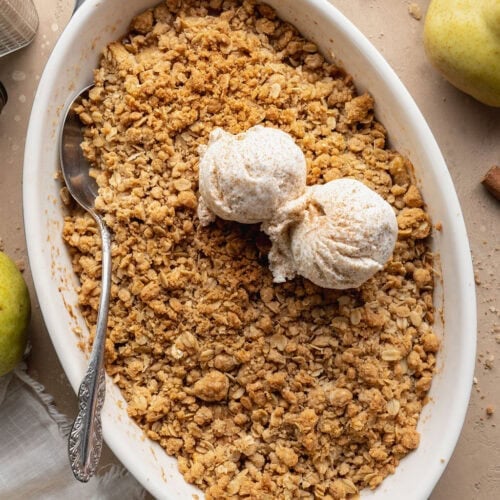
This pear dessert is easy enough for a cozy fall evening at home, but it’s also special enough to serve for Thanksgiving or a holiday gathering. I like to let the pear crisp cool for at least 10 minutes before serving it warm with scoops of vanilla ice cream. The cold, creamy ice cream pairs so well with the tender, juicy pears and buttery oat topping. Homemade whipped cream and a drizzle of caramel sauce is another great topping option.
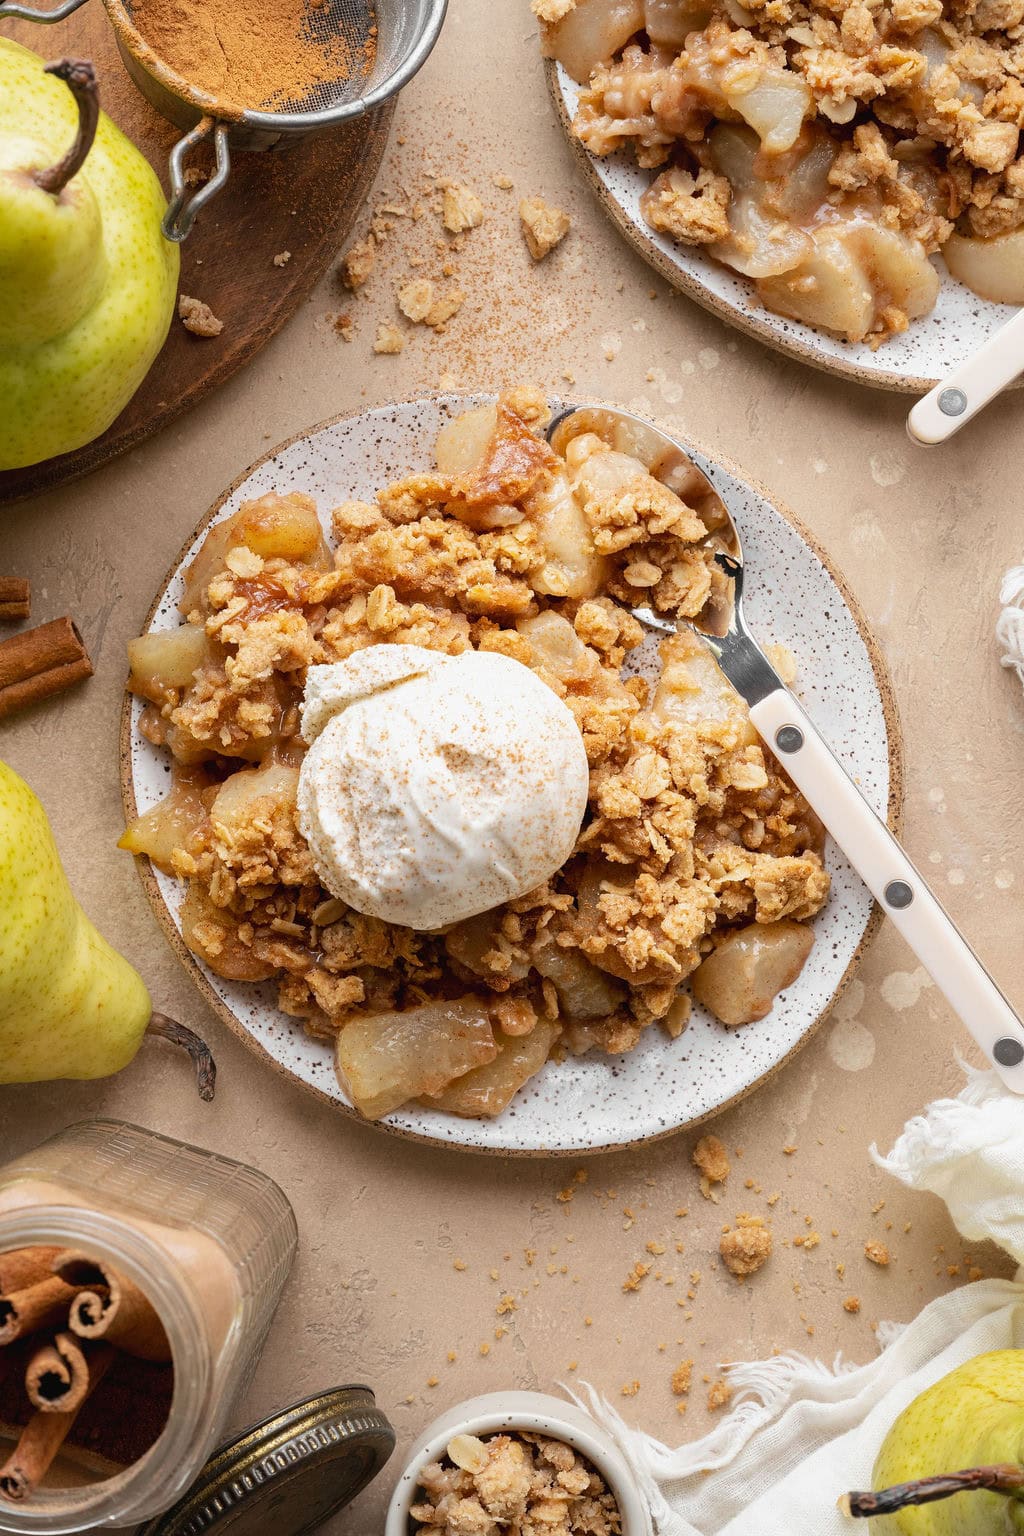
Storing Leftovers
I store the cooled pear crisp in an airtight container at room temperature for up to 3 days or in the refrigerator for up to 1 week. I often enjoy leftovers cold, straight from the fridge, or I warm individual servings in 30-second increments in the microwave. For a crisper topping, reheat the crisp in an oven-safe baking pan at 350°F.
More Crisps And Cobblers
Frequently Asked Questions
Fresh pears are best for this recipe because they hold their shape better during baking. Canned pears contain more moisture and are already softened, which can result in a filling that’s too mushy. If using canned pears, drain them very well before adding them to the filling.
Use fresh, ripe but still firm pears and measure the flour as directed, which helps thicken the juices released by the fruit. Also, bake the crisp uncovered until the filling bubbles and the topping is golden brown. Then allow it to cool for at least 10 minutes before serving.
Yes, assemble the pear filling and crisp topping separately, then cover and refrigerate them until ready to bake. When ready to serve, add the pear filling to the prepared baking dish, sprinkle the topping evenly over it, and bake as directed. Keeping the components separate prevents the topping from absorbing moisture from the pears and getting too soggy.
Chopped walnuts or pecans make an excellent addition to the topping, adding a satisfying crunch and nutty flavor.
More Fall Desserts To Try

Want to save this recipe?
Enter your email below & we’ll send it straight to your inbox. Plus you’ll get great new recipes from us every week!
Pear Crisp Recipe
This easy pear crisp is a simple and delicious fall dessert with tons of coziness baked right in. The warm tender pears taste great with the contrast of the buttery oat crumble topping.
Ingredients
For the Pear Filling:
- 5–6 medium Bartlett pairs, peeled and diced (5–6 cups)
- 2 tablespoons all-purpose flour
- 2 tablespoons lightly packed brown sugar
- 1 tablespoon fresh lemon juice
- 1 teaspoon pure vanilla extract
- ½ teaspoon ground cinnamon
- ¼ teaspoon ground ginger
- Pinch of ground nutmeg
For the Crisp Topping:
- ¾ cup old-fashioned rolled oats
- ½ cup all-purpose flour
- ¼ cup lightly packed brown sugar
- ½ teaspoon ground cinnamon
- ¼ teaspoon fine salt
- 5 tablespoons salted or unsalted butter, softened
Instructions
- Preheat the oven to 350°F and mist a 9×9-inch baking dish with nonstick spray or grease with butter.
- In a large bowl, place the diced pear, 2 tablespoons flour, 2 tablespoons brown sugar, the lemon juice, vanilla, cinnamon, ginger, and nutmeg. Toss to evenly coat the pears.
- Spread the pear mixture in an even layer in the prepared baking dish; set aside.
- In a medium bowl, whisk together the oats, ½ cup flour flour, ¼ cup brown sugar, cinnamon, and salt.
- Add the softened butter to the flour mixture. Using a large spoon, fork, or your hands, work the butter into the oat mixture until the mixture is crumbly.
- Sprinkle the crumble topping evenly over the pears.
- Bake until bubbling and the pears are tender and the crisp topping is golden brown, 40-45 minutes.
- Remove the crisp from the oven and let it cool for at least 10 minutes before serving.
- If desired, serve with whipped topping or vanilla ice cream.
- Store leftovers in an airtight container on the counter for up to 3 days or in the refrigerator for up to 1 week.
Last Step! Please leave a review and rating letting us know how you liked this recipe! This helps our business thrive so we can continue providing free recipes and high-quality content for you.
Notes
For gluten-free pear crisp, use a 1:1 all-purpose gluten-free flour in the filling and topping, and make sure to use certified gluten-free oats.
For a dairy-free option, substitute plant-based butter for regular butter when making the topping.
Nutrition Information
- Serving Size: ⅛ of the recipe
- Calories: 202
- Fat: 7 g
- (Sat Fat: 4 g)
- Sodium: 75 mg
- Carbohydrate: 32 g
- (Fiber: 3 g
- Sugar: 19 g)
- Protein: 2 g
- Cholesterol: 19 mg
Dietary
The photos in this post were taken by Kaitlin of Creating Kaitlin.
For ultimate success, we highly recommend reading the tips in the full blog post above. All photos and content are copyright protected. Please do not use our photos without prior written permission. If you wish to republish a recipe, please rewrite the recipe in your own unique words. Link back to the source recipe here on The Real Food Dietitians. Thank you!