No-bake and easy-to-make, these healthier Peanut Butter Crunch Bars come together with real food ingredients and are the perfect treat for any time of the year. They’re made with less sugar, are vegan-friendly, have the perfect crunch in every bite, and are drizzled with just enough chocolate to complete that ever-so-famous duo so many are crazy for! Make them nut-free by substituting sunflower seed butter in place of the peanut butter.
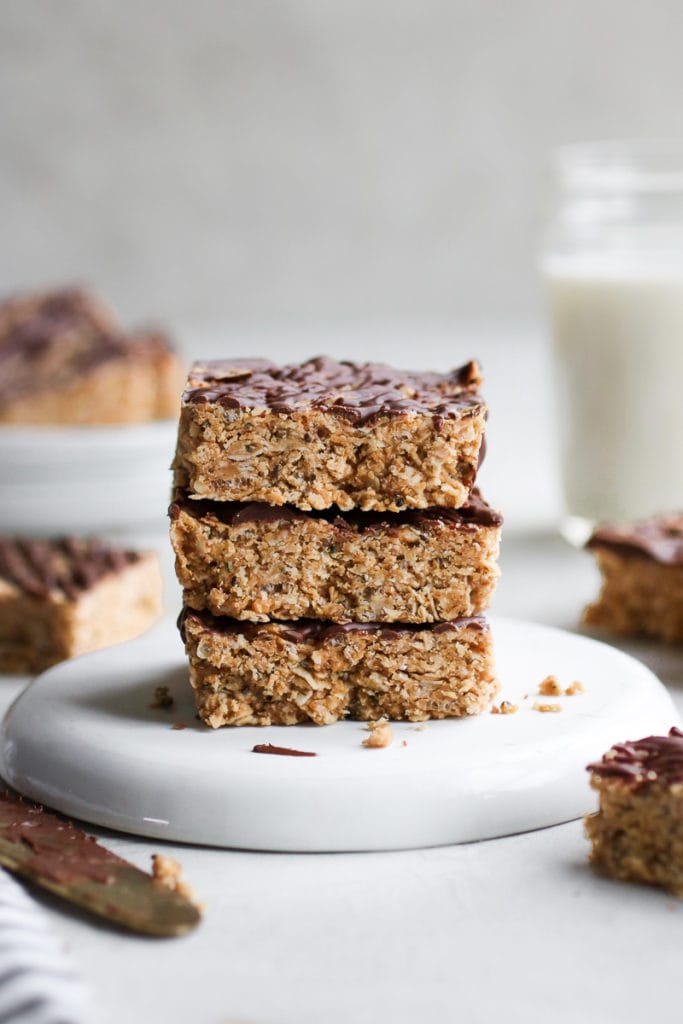
No-bake Peanut Butter Crunch Bars can satisfy a sweet tooth in a way that’s sensible and without a lot of sugar. Only 7 g of sugar per serving.
These No-bake Peanut Butter Crunch Bars will please any crowd! They’re great for meal preps, backyard grill-outs, holiday parties, and really any occasion – big or small. They’re easy enough to make on a whim and are made with ingredients you may already have on hand. We like to keep a stash of these bars in the freezer for an easy treat to pull out when needed, or to enjoy right from the freezer. So satisfying and perfect for when you’re craving something sweet.
This recipe was tested over and over (and over) with several friendly samplers. When it comes to no-bake bars, it takes the perfect combination and kind of ingredients for the bars to be the right thickness and to hold together perfectly. In addition, this recipe has the ideal crunchy-yet-chewy peanut butter base to chocolate drizzle ratio. A little bit of chocolate goes a long way with this recipe! Now if you prefer a thicker chocolate topping, by all means, you do you and double or triple the amount of chocolate drizzle.
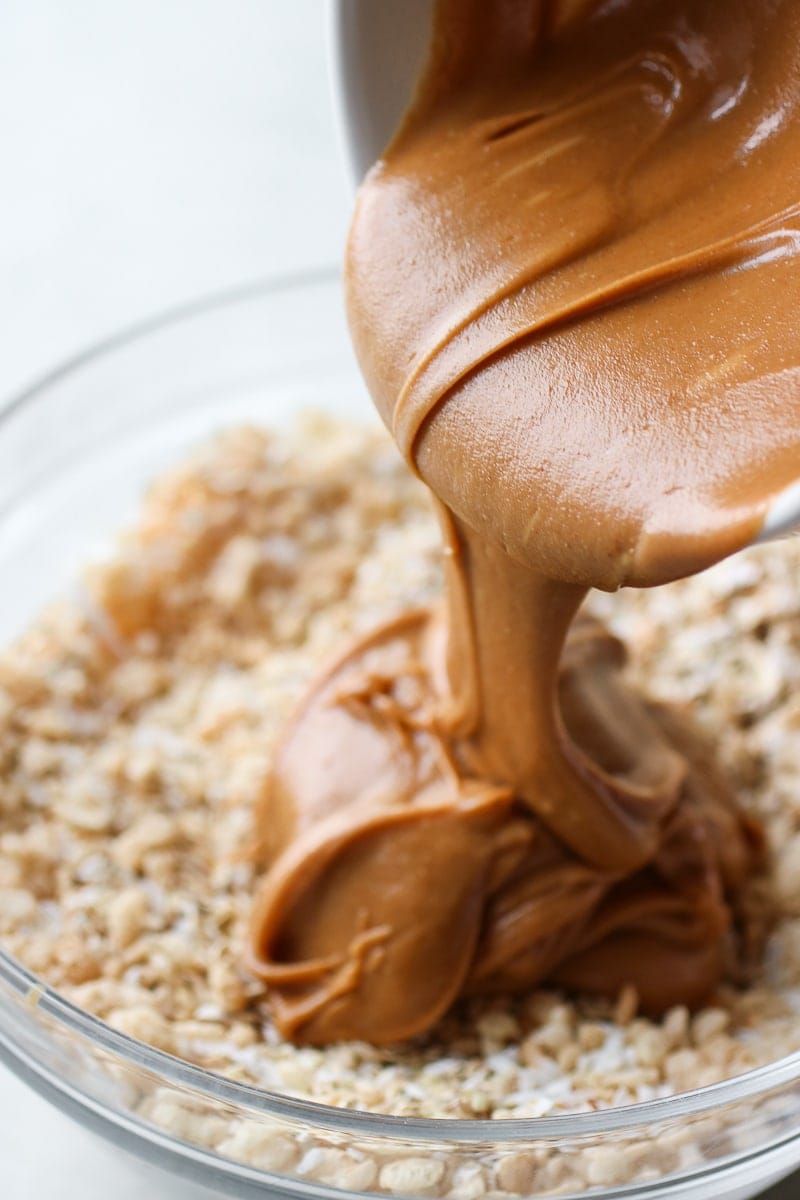
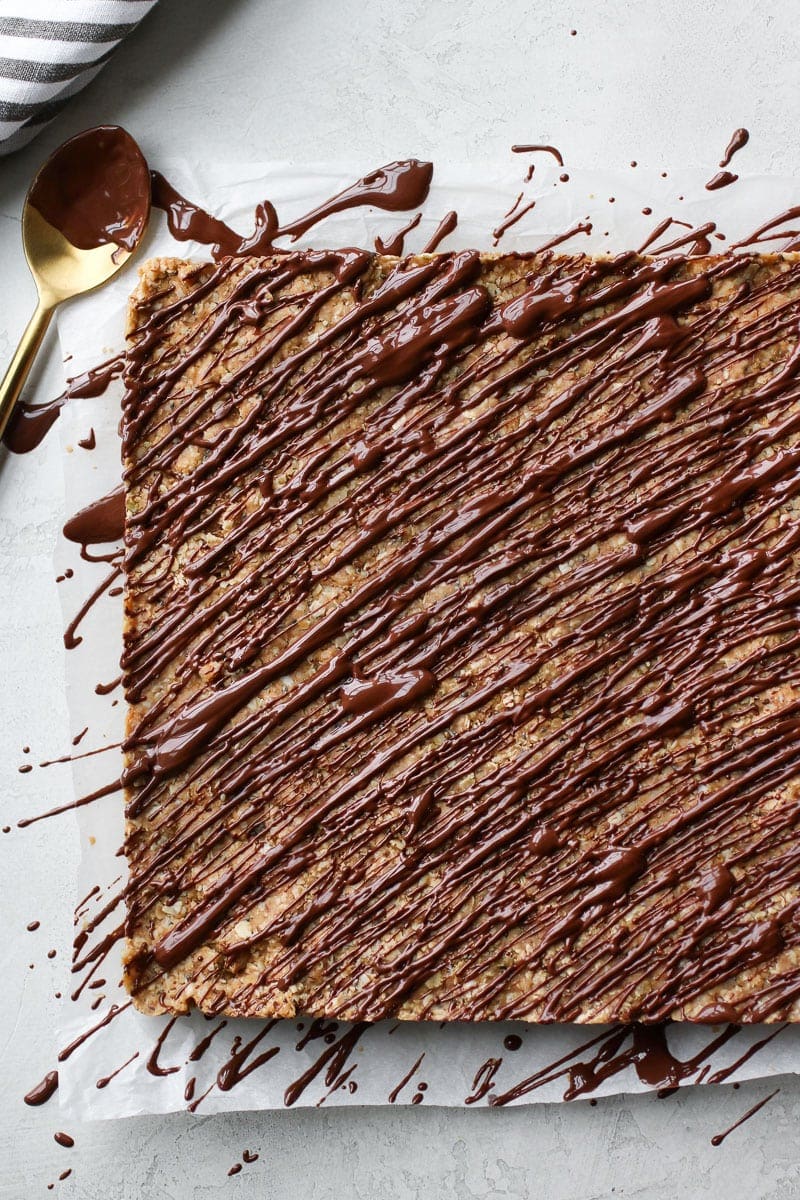
Ingredients for Peanut Butter Crunch Bars
Gather the ingredients below! Here’s what you’ll need:
- Quick oats – quick oats work best in this recipe however you can substitute regular rolled oats if that’s what you have on hand. You’ll just want to pulse them in a food processor 15-20 times so that they are broken down similar to quick oats.
- Rice Krispies or any crisp rice cereal – the addition of crispy rice cereal is what gives these bars that perfect crunch in every bite. If wanting to make these gluten-free, be sure to use a gluten-free crisp rice cereal such as the one linked.
- Unsweetened shredded coconut – small shreds of coconut add flavor, texture, and volume to these bars. Don’t worry, the coconut taste does not overpower.
- Flaxseed meal – also known as ground flaxseeds. Flax adds volume to this recipe as well as a good amount of satisfying fiber. If you wish you could also mix in some heart hemp seeds.
- Chia seeds – these super seeds add crunch and even more fiber!
- Creamy peanut butter – we love natural peanut butter! You know the kind you really have to stir? However, you can certainly use a traditional store-bought peanut butter if that’s what you have on hand. If that’s what you use, we recommend heating it just slightly to make it a little runny so that it’s easier to stir all of the ingredients together.
- Honey – this recipe was tested with both honey and maple syrup. Both work, but we do recommend honey over maple syrup as it does a better job of really helping the bars stick together nicely. For a vegan-friendly option, you’ll want to use maple syrup.
- Water – add a little water if you need to help the dough stick together. You shouldn’t need more than 2 tablespoons.
- Virgin coconut oil – also known as unrefined coconut oil. You’ll need a little in both the base of the bars and the chocolate drizzle.
- Pure vanilla extract – add a tasty and subtle vanilla flavor!
- Chocolate chips – just a few chocolate chips go a long way when making a drizzle.
Shop Thrive Market to get the best prices on natural, organic, and specialty foods. PLUS get a free gift when you sign-up!
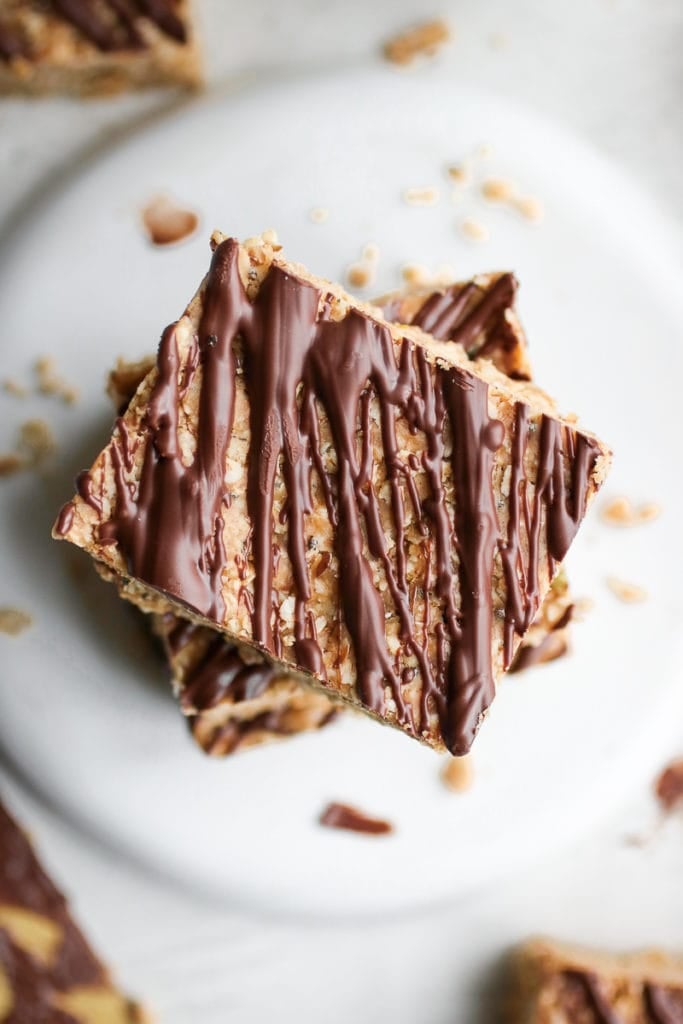
How to make Peanut Butter Crunch Bars
These bars come together quickly but do require a little patience as they need to sit in the freezer to harden before drizzling with chocolate and cutting into squares. Below we share how to make these bars as well as some important pointers.
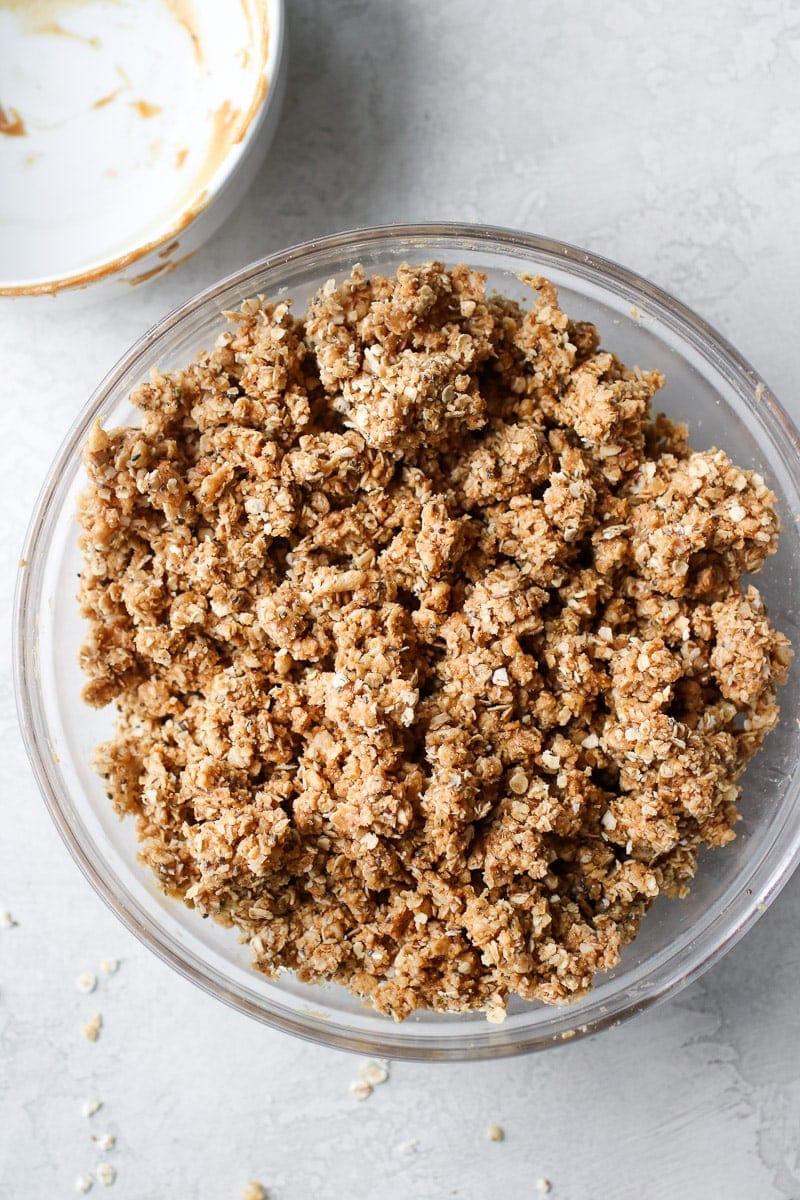
- Step 1: In a medium bowl combine the quick oats, rice krispies, coconut flakes, flaxseed meal, and chia seeds. Stir to combine, then add the rest of the bar ingredients (except for the water). Mix well. The dough should stick together easily. If not, mix in 1 tablespoon of water at a time. You shouldn’t need more than 2 tablespoons – this will also depend on the consistency of the peanut butter used.
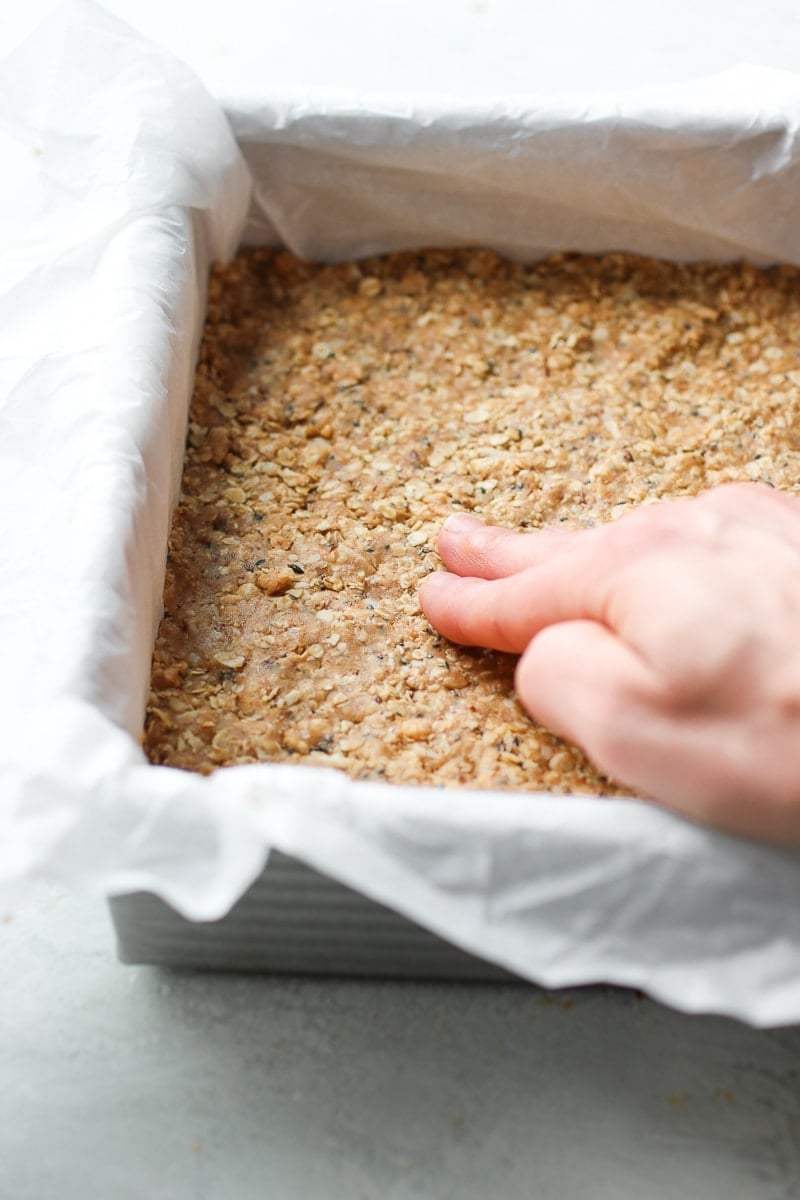
- Step 2: Line an 8×8 or 9×9 pan with parchment paper, then transfer the dough to the pan. Spread the dough out evenly and with your hands press dough VERY firmly into the pan. Really use your muscles here. The more firmly you press the dough into the pan, the better the bars will hold together when served.
- Step 3: Place the pan in the freezer for at least 30 minutes (this can be done the day before or even a few days before). You really want the bars to be chilled. Frozen is even better.
- Step 4: After the bars have been in the freezer, remove the bars from the pan by grabbing onto the parchment paper flaps and carefully transfer to a flat surface such as a cutting board.
- Step 5: Combine the chocolate chips and coconut oil in a small saucepan over low heat. Stir continuously until smooth and drizzly. You may also use a microwave at 50% power for 30-second increments stirring between each increment until smooth and drizzly. Note: for a thicker chocolate topping, feel free to double (or triple) the chocolate drizzle portion of this recipe.
- Step 6: It’s time to drizzle the chocolate evenly over the bars. The chocolate should harden pretty quickly since the bars are cold. If not, place the bars in the fridge or freezer until chocolate hardens.
- Step 7: With a sharp knife, cut the bars into 16 squares. Serve and enjoy!
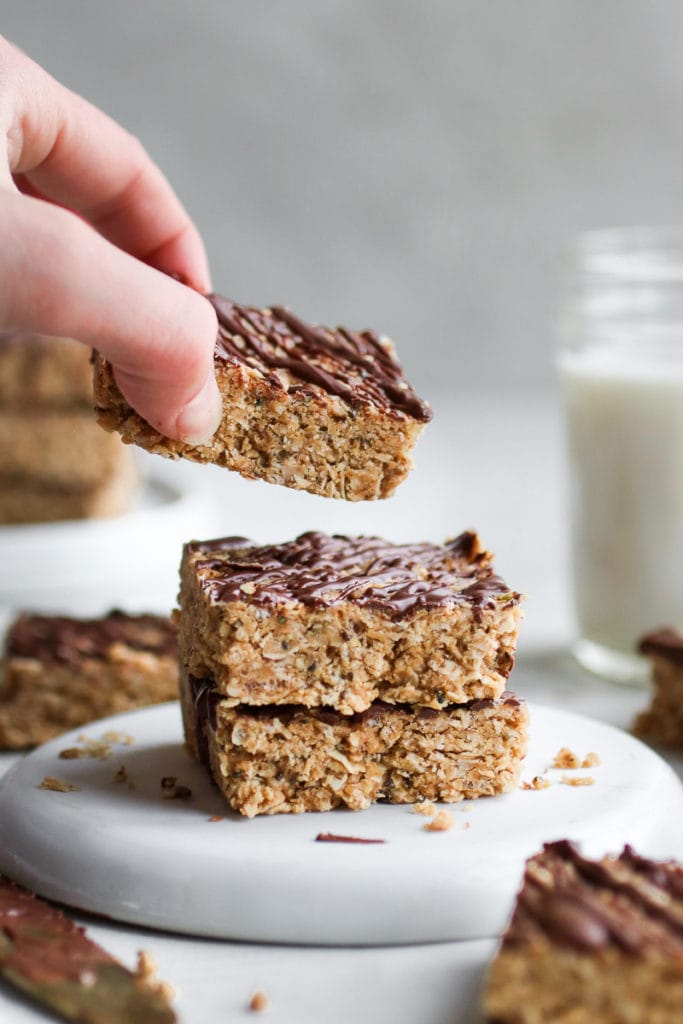
How to store Peanut Butter Crunch Bars
It’s best to store these bars in an airtight container, with rows divided by parchment paper, in the freezer until ready to serve. They hold together best when cold. You can also store them in the fridge.
Can I make Peanut Butter Crunch Bars nut-free?
Absolutely! Simply use sunflower seed butter in place of the peanut butter for a tasty nut-free bar.
Can I use regular rolled oats instead of quick oats?
Sure can! If you do, you’ll just want to pulse the oats 15-20 times in a food processor so they break down to be of similar size and texture as quick oats. Also, you’ll want to be sure the processed rolled oats measure out to 2 cups vs. measure the rolled oats before processing.
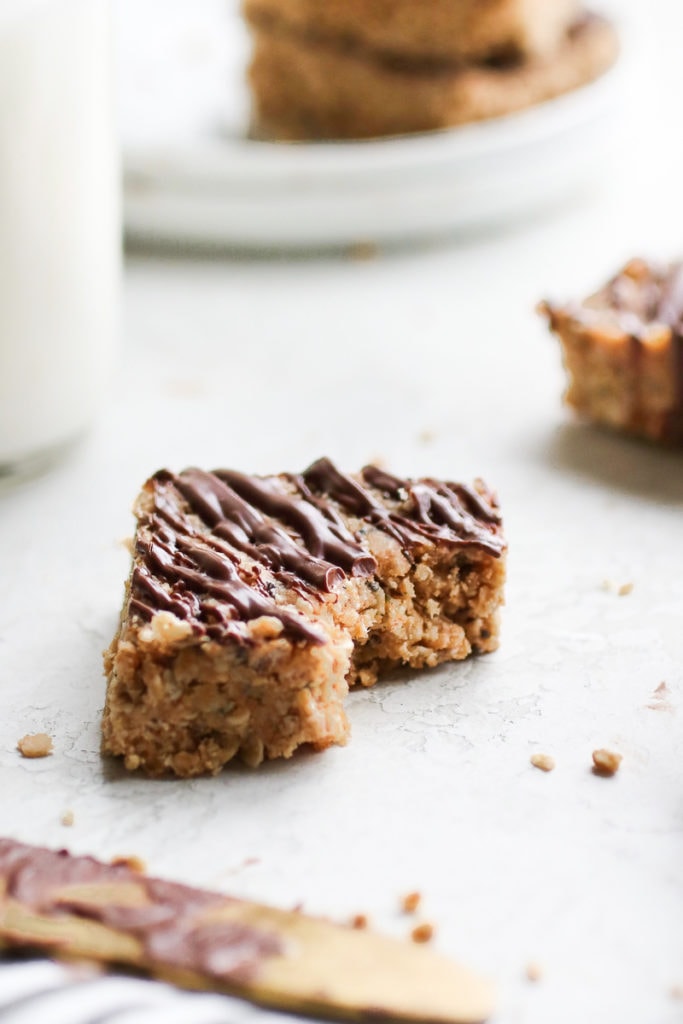
Other peanut butter recipes you’ll love!
- Monster Cookie Bars
- 5-Ingredient Peanut Butter Granola Bars
- Peanut Butter Chocolate Chip Energy Bites
- Healthy Buckeyes (Peanut Butter Balls)
Video: How to make no-bake crunch bars
Want to save this recipe?
Enter your email below & we’ll send it straight to your inbox. Plus you’ll get great new recipes from us every week!
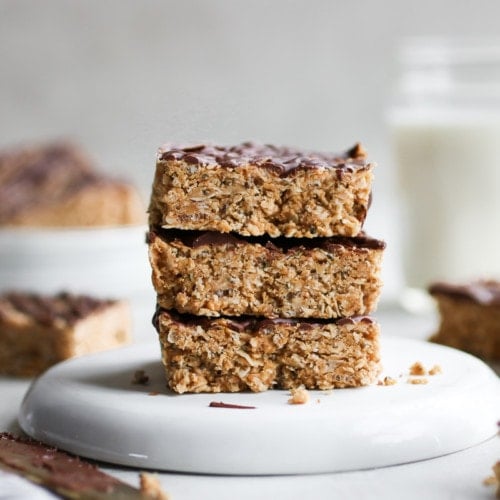
No-Bake Peanut Butter Crunch Bars
No-bake and easy-to-make, these healthier Peanut Butter Crunch Bars come together with real food ingredients and are the perfect treat for any time of the year.
Ingredients
For the bars:
- 2 cups quick oats
- 1 cup crisp rice cereal*
- 1/3 cup unsweetened shredded coconut (may sub additional crisp rice cereal)
- 1/3 cup flaxseed meal
- 1 Tbsp. chia seeds
- 1 cup + 2 Tbsp. creamy peanut butter
- 1/3 cup honey (may sub maple syrup for vegan-friendly)
- 2 Tbsp. virgin coconut oil, melted
- 1 ½ tsp. pure vanilla extract
- 1–2 Tbsp. water
For the chocolate drizzle:
- 4 Tbsp. chocolate chips
- 1 tsp. coconut oil
Instructions
- In a medium bowl combine the quick oats, rice krispies, coconut, flaxseed meal, and chia seeds. Stir to combine then add the rest of the bar ingredients (except for the water). Mix well. The dough should stick together easily. If not, mix in 1 Tbsp. of water at a time until dough sticks together nicely.
- Line an 8×8 or 9×9 pan with parchment paper so that paper overlaps edges. Transfer the dough to the pan. Spread the dough out evenly and with your hands press dough VERY firmly into the pan.
- Place pan in the freezer for at least 30 minutes (this can be done the day before or even a few days before).
- For the chocolate drizzle: combine the chocolate chips and coconut oil in a small saucepan over low heat. Stir continuously until smooth and drizzly. You may also use a microwave at 50% power for 30-second increments stirring between each increment until smooth and drizzly.
- After bars have been in the freezer, remove the bars from the pan by grabbing onto the parchment paper flaps and place on a cutting board.
- Drizzle the chocolate evenly over the bars. The chocolate should harden quickly since the bars are cold.
- With a sharp knife, cut the bars into 16 squares. Serve and enjoy!
- Bars hold together best when stored in the fridge or freezer.
Last Step! Please leave a review and rating letting us know how you liked this recipe! This helps our business thrive so we can continue providing free recipes and high-quality content for you.
Notes
- May use regular rolled oats. If you do, pulse the oats in a food processor 15-20 times or until they resemble the size and texture of quick oats. The processed oats should equal 2 cups.
- May mix in hemp hearts with the flaxseed meal so long as it equals 1/3 cup.
- Recommend storing bars in the fridge or freezer until just before serving.
- For a thicker chocolate topping, double or triple the chocolate drizzle portion of the recipe.
- Kelloggs Rice Krispies are not gluten-free but will absolutely work in this recipe. If you’re wanting to make these bars gluten-free be sure to choose a crisp rice cereal that is certified gluten-free.
Nutrition Information
- Serving Size: 1 square
- Calories: 240
- Fat: 15 g
- (Sat Fat: 3 g)
- Sodium: 70 mg
- Carbohydrate: 21 g
- (Fiber: 3 g
- Sugar: 7 g)
- Protein: 7 g
Dietary
All photos and content are copyright protected. Please do not use our photos without prior written permission. If you wish to republish this recipe, please rewrite the recipe in your own unique words and link back to the source recipe here on The Real Food Dietitians. Thank you!
These are SO good! Delicious and satisfying for a sweet treat. I subbed dark chocolate chips in the batter instead of drizzle -yum!
Thank you so much Violet!
These are delicious and so easy to make! The perfect sweet treat.
Awesome Kala!