Since having my third baby, I find myself grabbing items at the grocery store that I used to make at home more often than I like to admit. Granola bars are no exception! But looking at the ingredients list on the store-bought granola package had me take a step back, especially because what I eat, he eats.
Fortunately, I remembered this super easy granola bar recipe I used to make all the time. Surprise: It’s still super easy, and my kiddo is perfectly content to sit in his wrap for the 5 minutes it takes me to combine the ingredients.
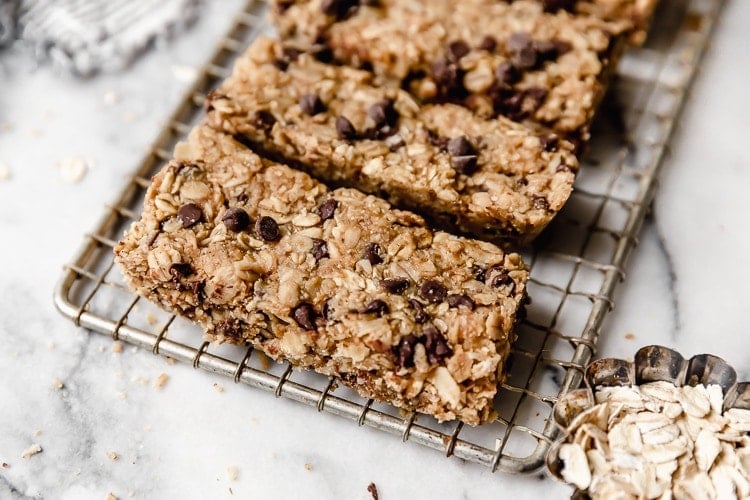
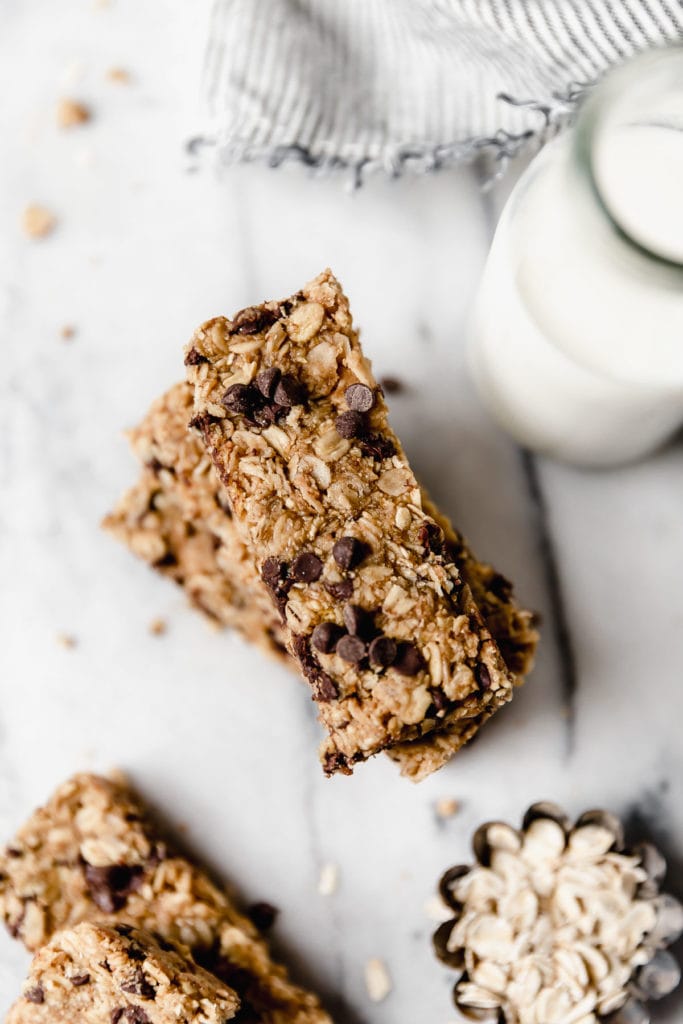
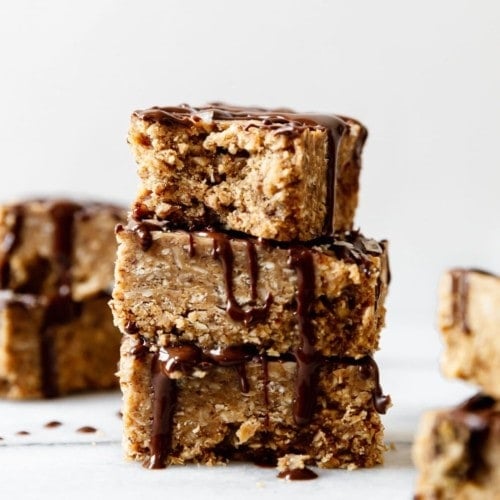
Five ingredients, a bowl, and five minutes are all you need to get a batch of these healthy granola bars ready for the oven. They’re gluten-free, soft-baked, studded with chocolate chips, and the perfect healthy snack.
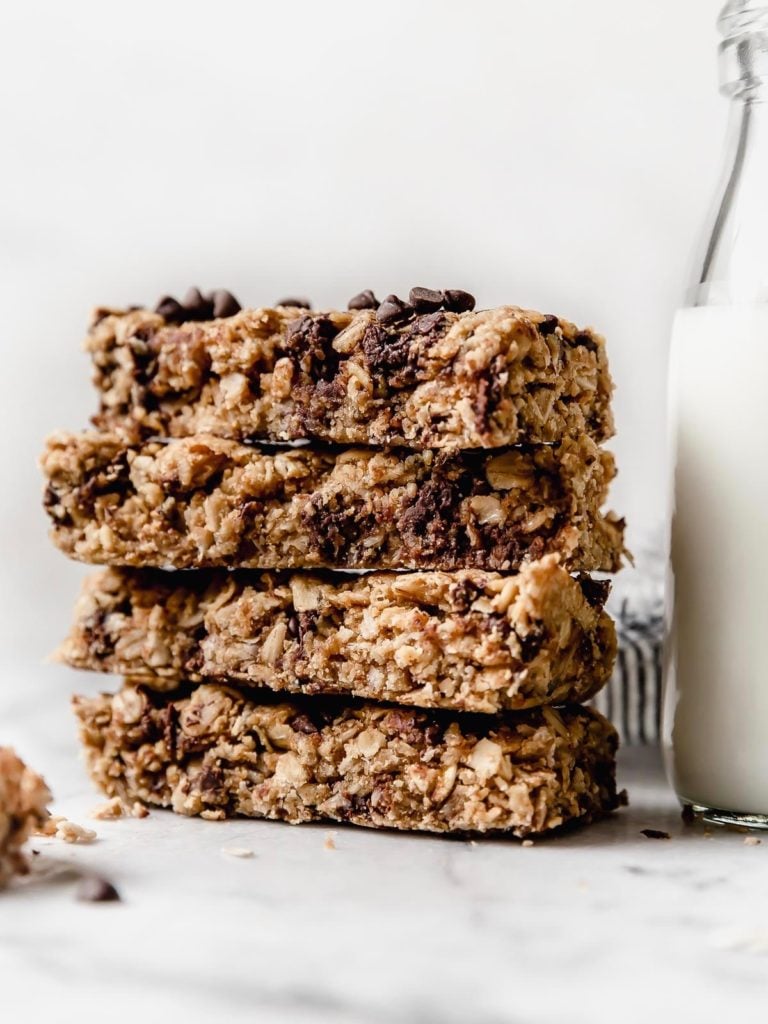
Skip the grocery store
My main issue with store-bought granola bars is that they use way too many ingredients and almost always contain refined sugars and an array of pesky preservatives. That’s great for keeping them on the grocery shelf longer, but not what I want to put in my body if I can help it.
Sure, you can make homemade granola bars just as unhealthy as the ones from the store, but what’s the fun in that? Our dietitian-developed healthy granola bars use only real food ingredients and contain no refined sugar. Best of all, you know exactly what goes into them. Peanut buttery flavor, chocolatey goodness, subtly sweet, and soft baked! You can’t beat that.
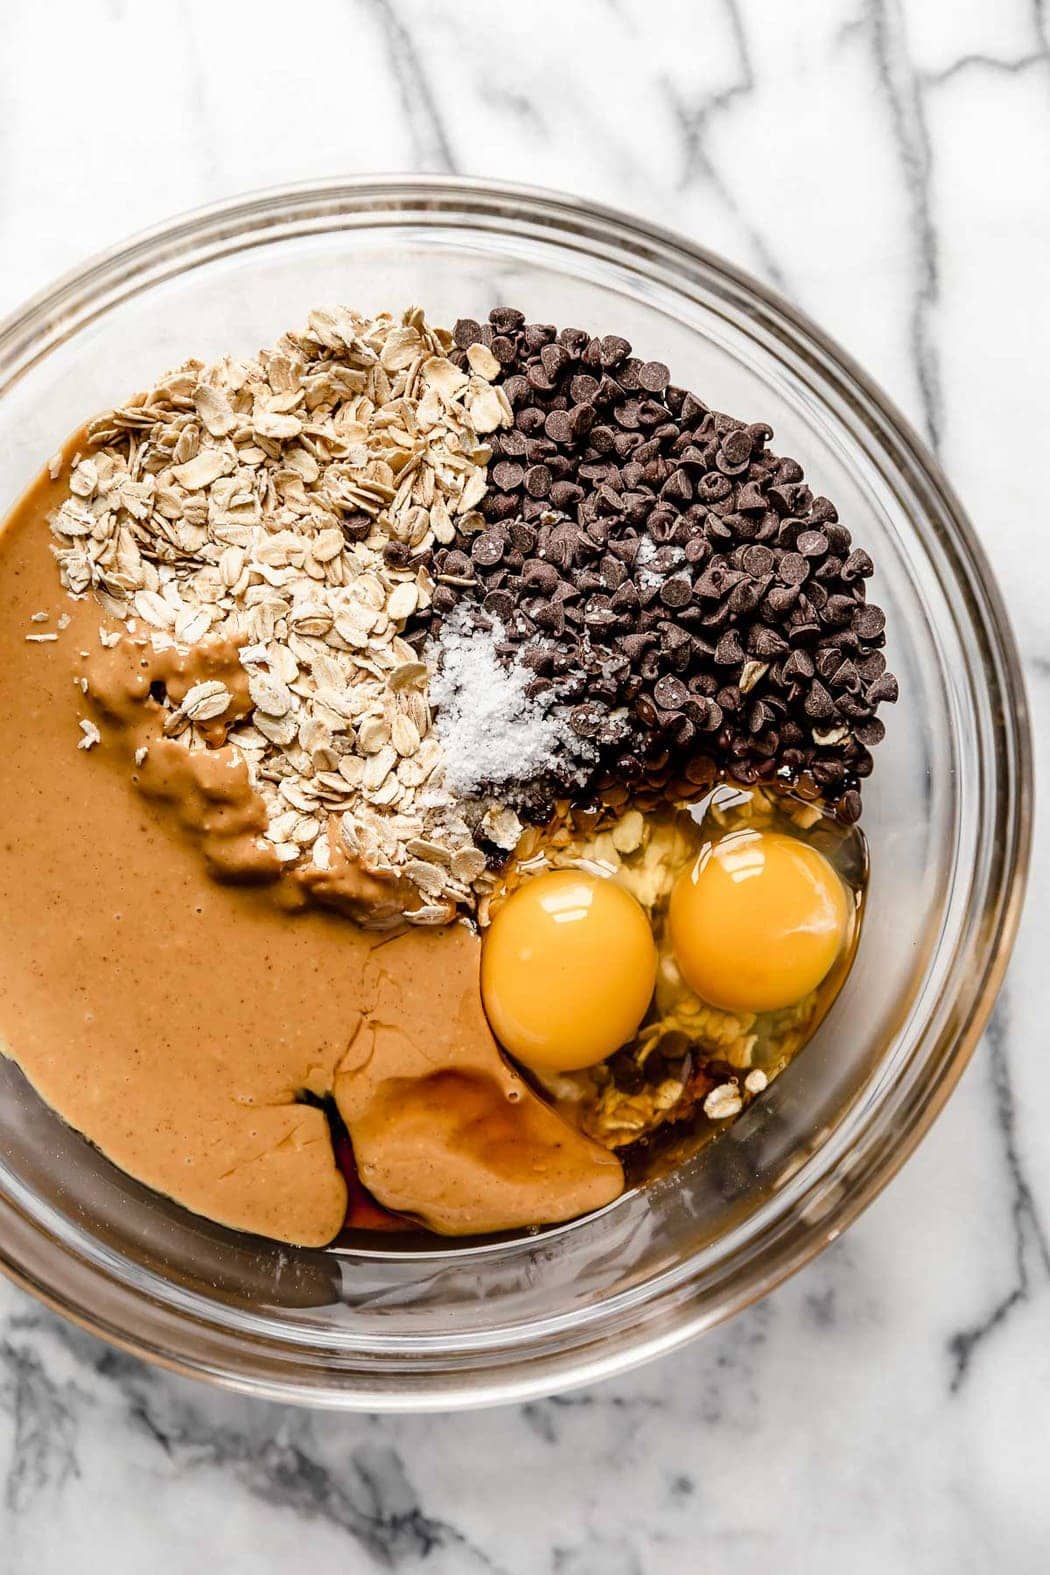
Grab These Ingredients
- Rolled Oats — use simple, old-fashioned rolled oats
- Natural Peanut Butter — we like the drippy kind of peanut butter made with only peanuts and maybe a little salt, but use what you have on hand. Feel free to sub any kind of nut butter or seed butter, such as almond butter, cashew butter, or sesame seed butter. NOTE: If your peanut butter is more solid at room temperature (not drippy), heat it for a few seconds in the microwave to get a thinner consistency.
- Maple Syrup — could also substitute honey or brown rice syrup; this is the part of the recipe that helps the oats bind together and stay stuck there
- Chocolate Chips — because chocolate and peanut butter is a pair that can’t be beaten; use milk or dark chocolate
- Eggs — I explain more on how to make an egg-free version below and in the recipe card
BONUS add-ins — get creative with what you have on hand, or let your kids be chefs for the day and choose their favorite add-ins! That’s how Dietitian Jessica came up with such a great list of her family’s favorite substitutions and mix-ins (more on that below).
Our Go-To for Healthy Ingredients
Our team at The Real Food Dietitians uses Thrive Market to easily and quickly stock up on pantry essentials like spices, flours, baking soda, oils, and more. We save 10% to 30% each time on quality products. Sign up for Thrive Market here to get a free gift worth $24.
Substitutions and Mistakes to Avoid
Jessica and I worked on this recipe together, and it was important for her to have an egg-free version since she’s allergic. It got us thinking — many of our readers have food allergies or kiddos with allergies. So we have a way to make this recipe work for anyone. Here’s what we have found works (and what not to do when substituting).
As always, if you try out this recipe (with or without substitutions!) we’d love to hear how it goes!
- Gluten-free — Rolled oats are naturally gluten-free but may come in contact with gluten-containing grains such as wheat, barley, or rye, thus becoming contaminated with gluten. Make sure to use certified gluten-free oats if your gluten-free granola bars are intended for someone with celiac disease.
- Nut-free — Swap out the peanut butter for sunflower seed butter, tahini, or pumpkin seed butter
- Dairy-free — Use dairy-free mini chocolate chips, such as Enjoy Life brand
- Egg-free and vegan — Substitute 2 “flax eggs.” To make enough flax egg mixture for this recipe, mix 2 tablespoons ground flaxseed (or flaxseed meal) with 5 tablespoons water. Let set for 5-10 minutes before adding to the recipe. (Bonus: Using flaxseed will help your bars stick together even more tightly.)
- High-protein — Feel free to add in your favorite protein powder! Simply substitute ½ cup of protein powder for ½ cup of oats. Haven’t picked a favorite one yet? Read our full breakdowns of the best Whey Protein Powders and Plant-Based Protein Powders.
Read one of our 5-star reviews:
⭐⭐⭐⭐⭐
“For my husband to comment “these are pretty dang tasty” says alot! Definitely a repeat snack in our home! Thanks for making a healthy yet delicious snack/dessert as we like to eat them as 😋”
Stephanie Tucker
Variations and Add-Ins
We made this gluten-free granola bars recipe pretty lean with only a few ingredients, but by all means, feel free to customize the bars and make them your own by adding a few extra ingredients. Jessica’s family certainly has!
Simply take a quick scan of what’s floating around in your pantry and get creative with what you have on hand.
Some of our favorite additions include:
- Dried fruit (try dried blueberries, cherries, cranberries, raisins, or chopped dates)
- Unsweetened coconut flakes
- Sunflower or pumpkin seeds
- Chia seeds
- Hemp seeds
- Dash of almond or vanilla extract
- Nuts (walnuts, pecans, almonds)
- Spices (cinnamon, nutmeg, pumpkin pie spice, etc.)
How to Store
I almost always include some sort of energy bite or bar recipe when meal prepping for the week. And that’s even more true now that I’m preparing food that’s easy to grab with a baby in tow!
These granola bars will last in an airtight container in the fridge for up to 10 days — just make sure to let them fully cool before you cut and store them. (But my guess is they won’t last that long!)
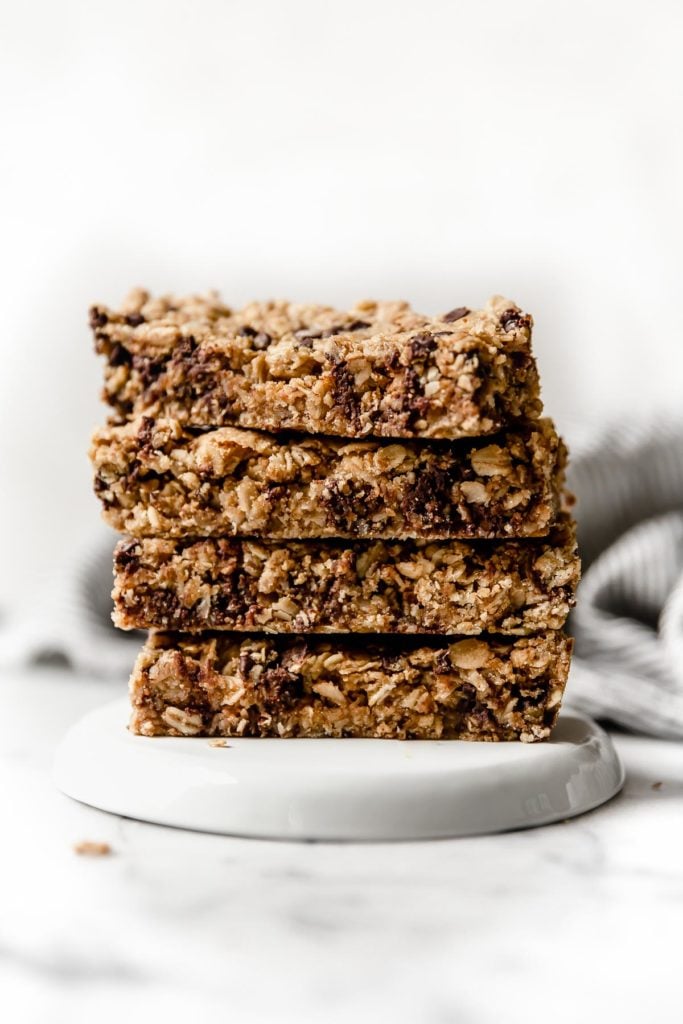
They’re freezer-friendly, too!
Let’s be honest, meal prep is an ideal but not always a reality (at least for me). I’ve tested how well these bars freeze and was very happy with the results. Here’s how to get the most life out of your recipe.
To freeze these homemade granola bars:
- Prepare the recipe as directed.
- Once the bars have been cooled and cut, transfer them to an airtight, freezer-friendly container or bag, separating each layer with parchment paper. (Don’t skip that step; they’ll freeze together and be hard to split otherwise.)
- Label your freezer bag with the date, and store it for up to 3 months in the freezer.
- When you’re ready to enjoy a bar or two, let them thaw on the counter or pop them in the microwave for a minute or two until warm.
Are Granola Bars Healthy?
They’re often a go-to “health food,” but granola bars can be just as unhealthy as a bag of chips or a candy bar (depending on the brand or recipe). Here’s what to keep in mind when checking out granola bar ingredients:
- Is the sugar content abnormally high? My recipe contains 9 grams of sugar (with 3g fiber) per bar. I try to avoid bars with 35+ grams of sugar.
- How many ingredients do the bars contain? Homemade granola bars are going to contain fewer ingredients overall, but store-bought bars can be loaded with preservatives and ingredients that are often better left on the shelf.
- For store-bought bars — what’s the brand like? Not all store-bought granola bars are actually bad! Some brands emphasize fewer ingredients, sugar, and preservatives. If you’re in a hurry and don’t have a chance to make these at home, look for a more conscientious brand instead.
Read one of our 5-star reviews:
⭐⭐⭐⭐⭐
“Made these the other day with plant based chocolate protein powder and dark chocolate chips and they are excellent! Just the right texture and love the combination of peanut butter, oats, and chocolate. Next batch ready to go into the oven!”
Stephen Michaels
Here are a few health benefits of the recipe we created that may sway your choice:
- oats: the oats contain a great soluble fiber known as beta-glucan, which has been shown to reduce LDL and total cholesterol, keep your gut microbiome healthy, and help balance blood sugar
- peanut butter: a great choice that supplies healthy monounsaturated fat, B vitamins, magnesium, and protein
- eggs: this healthy powerhouse ingredient gives you high-quality protein, healthy fats, iron, and two eye-health ingredients, lutein and zeaxanthin
If you’re planning to eat these bars as part of a quick, healthy breakfast, they pair great with a hard-boiled egg, yogurt, or a handful of nuts and seeds. I find that’s my favorite way to get plenty of protein and calories to start my day off strong!
Want to save this recipe?
Enter your email below & we’ll send it straight to your inbox. Plus you’ll get great new recipes from us every week!
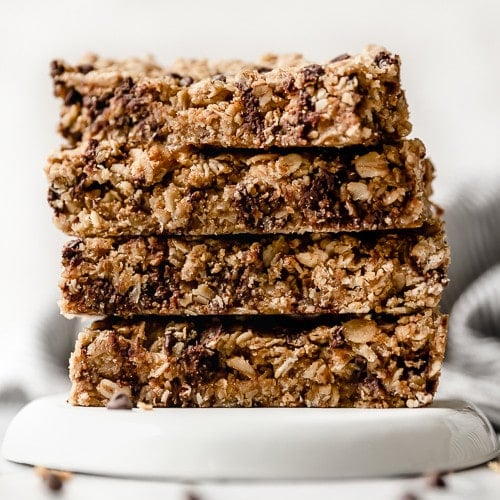
Peanut Butter Granola Bars
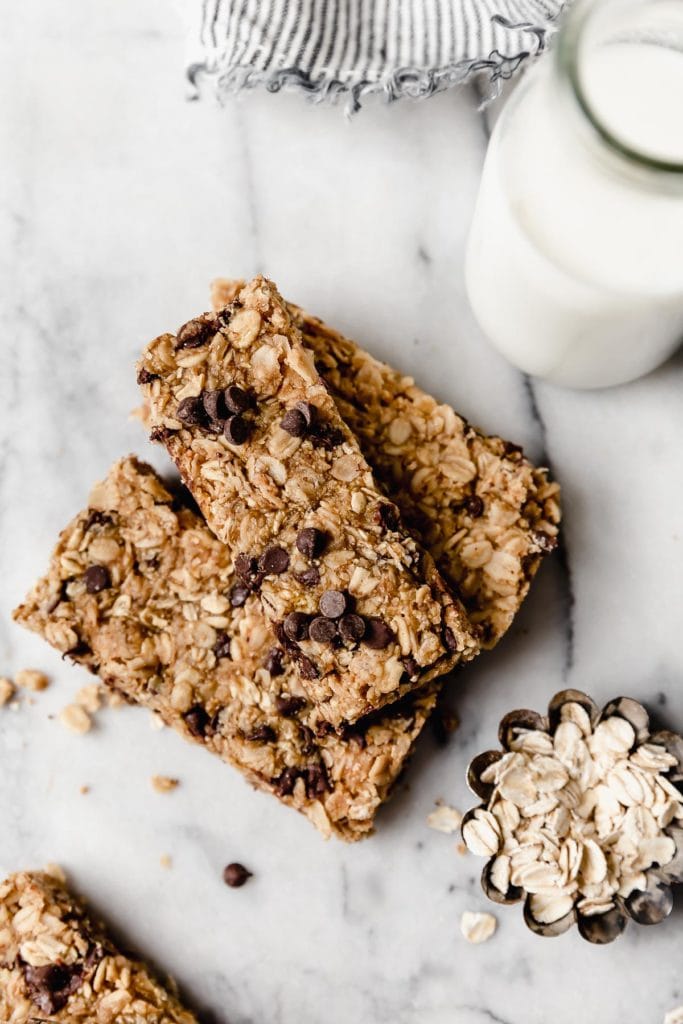
These easy homemade granola bars are so simple! They’re the perfect gluten-free, soft-baked, chocolate chip-loaded healthy snack. (Seriously, you may never want store-bought granola bars again!)
Ingredients
- 3 cups old-fashioned rolled oats (use verified gluten-free, if needed)
- 3/4 cup natural peanut butter*
- ⅓ cup honey or maple syrup (both work well and taste great but I feel honey helps hold the bars together better)
- ½ cup mini chocolate chips (optional)
- 2 whole eggs (use flax egg for vegan-friendly**)
- Optional add-ins: pinch of salt (omit if peanut butter is salted), walnuts, pecans, almonds, chia, sunflower, or pumpkin seeds, or dried fruit
Instructions
- Preheat oven to 350℉.
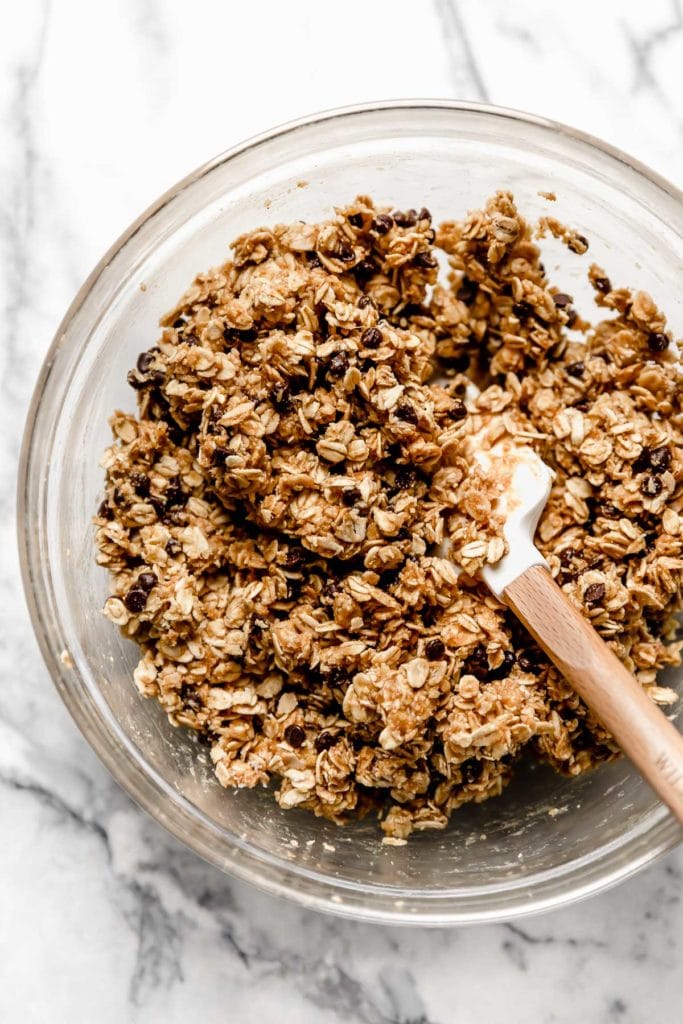
- In a large bowl, combine all ingredients and mix well. *If your peanut butter is solid at room temperature, heat it for 10-15 seconds to make it a more drizzly consistency before adding to the mix.
- Line a 9×9 inch baking dish or pan with parchment paper. This makes it much easier to remove the bars from your dish once baked.
- Transfer the mixture to the prepared dish or pan. Very firmly press the mixture into the pan in an even layer — the firmer you press, the better the bars will stick together. If you’re using chocolate chips, sprinkle them on top, then press them down into the bars.
- Bake for 15-17 minutes or until the center is baked through and the edges are just starting to brown. Start checking at 14 minutes, as all ovens are different.
- Remove from the oven and place pan on a cooling rack.
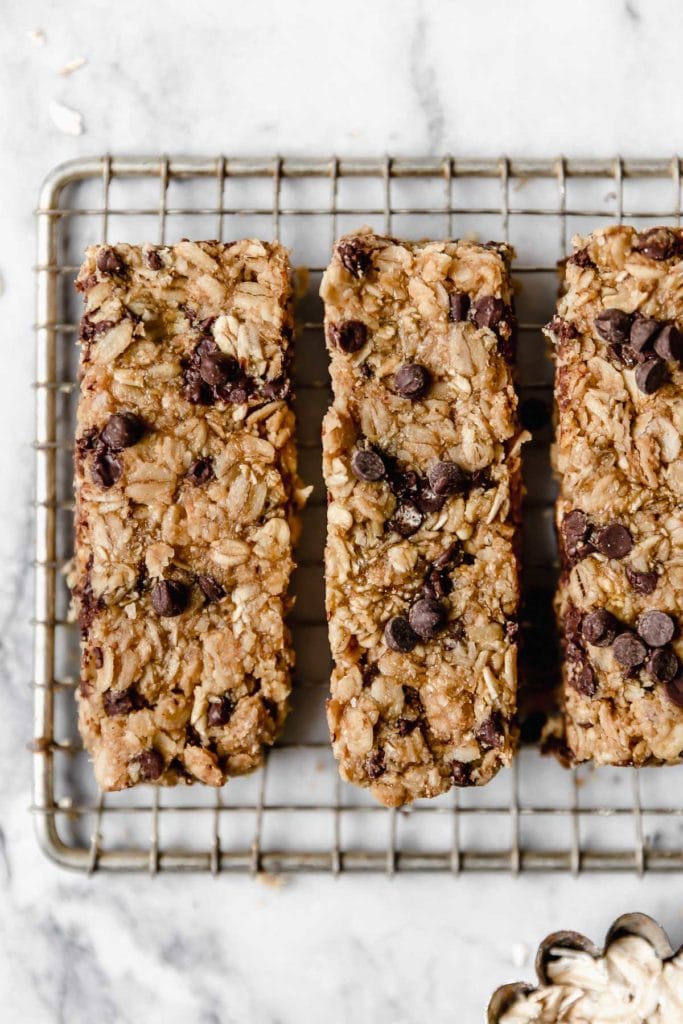
- Let the bars cool completely (this is important) before cutting into 16 squares with a sharp knife***.
Last Step! Please leave a review and rating letting us know how you liked this recipe! This helps our business thrive so we can continue providing free recipes and high-quality content for you.
Notes
*Use a nut butter with a drizzly consistency to avoid the bar becoming dry; substitute nut or seed butter for a peanut-free version.
**Replacing eggs with flax eggs: To make enough flax egg to replace the 2 eggs in this recipe, mix 2 tablespoons of ground flaxseed or flaxseed meal with 5 tablespoons water. Let set for 5-10 minutes before adding to the recipe.
***Use a sharp, non-serrated knife to cut the bars. Don’t drag the knife when cutting; rather, press the knife into the bars.
A few other notes on this recipe:
- We prefer cutting the bars into squares, and that’s what the nutrition facts below are based on. However, you can also divide the pan into 12-14 longer bars if you prefer (just be aware that they’ll each have slightly different nutrition info).
- If you’re having trouble getting your bars to bind using the recipe with maple syrup, give it a try with honey. Honey is a little stickier.
- For a boost of protein, you can add 1/2 cup of your unflavored, vanilla, or chocolate protein powder and reduce oats by 1/2 cup.
Nutrition Information
- Serving Size: 1 square
- Calories: 200
- Fat: 9 g
- (Sat Fat: 2 g)
- Sodium: 64 mg
- Carbohydrate: 25 g
- (Fiber: 3 g
- Sugar: 9 g)
- Protein: 6 g
- Cholesterol: 17 mg
Dietary
Photo Credit: The photos in this blog post were taken by Jess of Plays Well with Butter.
For ultimate success, we highly recommend reading the tips in the full blog post above. All photos and content are copyright-protected. Please do not use our photos without prior written permission. If you wish to republish this recipe, please rewrite the recipe in your own unique words. Link back to the source recipe here on The Real Food Dietitians. Thank you!
Wonderfully easy! Thanks a milli!
Corrected:
We liked them! First with white chocolate chips…now trying butterscotch chips. Love that 4 of the ingredients are natural! And realizing I could use sunflower seeds and cranberries if I wanted them to be all natural. Thank you for the good recipe!
Awesome! So glad to hear you enjoyed this recipe. And yes, they are very easy to customize.
Why are they falling apart?
Did you press them into the pan really well before baking? They also need to cool completely before cutting to ensure they stay together. Also, if your peanut butter was thick or dry, that can affect their ability to stay together.
Can this recipe be doubled (9×13) pan?
Yes!
These are soooo good, I used thick peanut butter because it’s all I had. I also added golden raisins and almonds. They didn’t fall apart and I’m so happy with how they turned out.