Looking for ‘a little something sweet’? Try these 3-Ingredient Dark Chocolate Mint Cups!
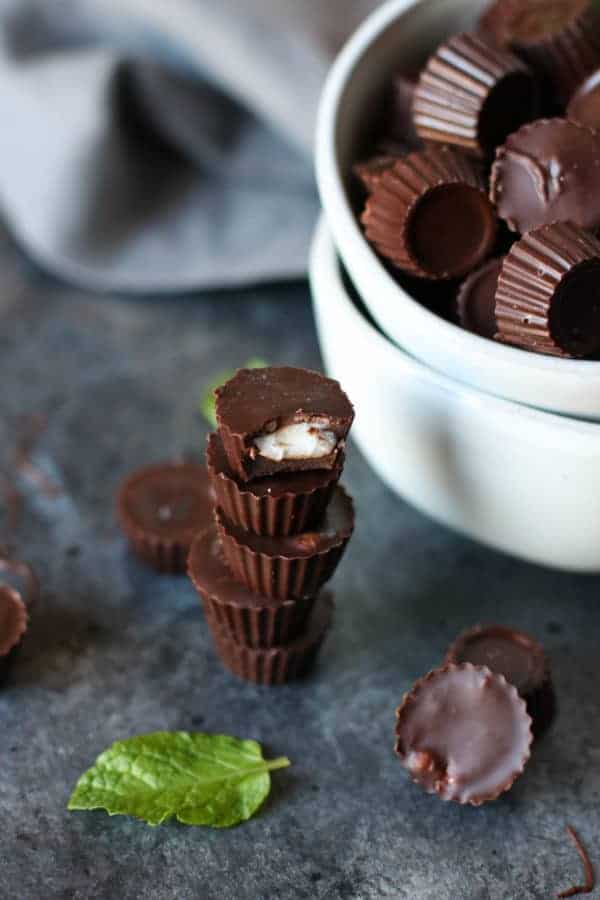
You know those moments…
Those moments where you find yourself feeling satisfied after your evening meal but you just want a ‘little something sweet’. Now, if left unchecked and allowed to happen too often that little something sweet could turn into a habit which is why if you’re going to reach for something sweet you’re better off choosing something deep, dark and chocolatey (duh!) and with a flavor that lingers a bit so you can really savor it – like one of these mini 3-Ingredient Dark Chocolate Mint Cups. We think that they’re the perfect little something sweet after a hearty, filling meat and potatoes dinner.
Really, just 3 ingredients?
Yes! They really are made with just 3 ingredients unless you add the optional coconut oil which makes the chocolate a little more silky and easier to work with. No, they’re not hard to make – I just like to make it as easy as possible. If they were at all fussy to make or had a long list of ingredients I wouldn’t be making them to share with friends over a meal on St. Patricks Day or for any day ending in ‘y’ for that matter. In fact, you don’t even need one of these cute little silicone molds to make them – you can use a mini muffin pan with paper liners – I just happen to have a thing for cute little silicone molds.
Let’s do this!
You’ll find the full instructions in the recipe below so if you’re a candy making pro then just scroll down to get started. However, if this is new to you and you’d like a little hand-holding there ain’t no shame in that. I’m here to ensure your 3-ingredient dark chocolate mint cup success.
Start by making the filling: Gently warm the coconut butter by placing the jar in a sauce pan of warm water or in the microwave. Warm it just until you can stir it. Then measure ⅓ cup into a small bowl. Add peppermint extract to taste (I used this one). How much extract you use is entirely up to you. I like mine really minty but you might like your more subtle. And if you don’t like mint? Leave it out, they’ll still be tasty just not minty.
The coconut butter should be thick enough to form it into little balls – if it’s too runny, pop it in the freezer for a few minutes while you gather your chocolate chips, a glass bowl or double boiler, silicone candy mold* or a mini muffin pan lined with paper liners. When the coconut butter is firm enough to handle, shape into little balls (actually, little disks – just press down slightly on the ball to form a disk) so that they’re small enough to fit into the molds/wells of muffin tine without touching the sides. Mine were about the size of a garbanzo bean before flattening slightly. Once you have all of the filling rolled into balls, place those in the fridge while you melt the chocolate.
*Note: This mold isn’t exactly the same as the ones I have, but it’s close.
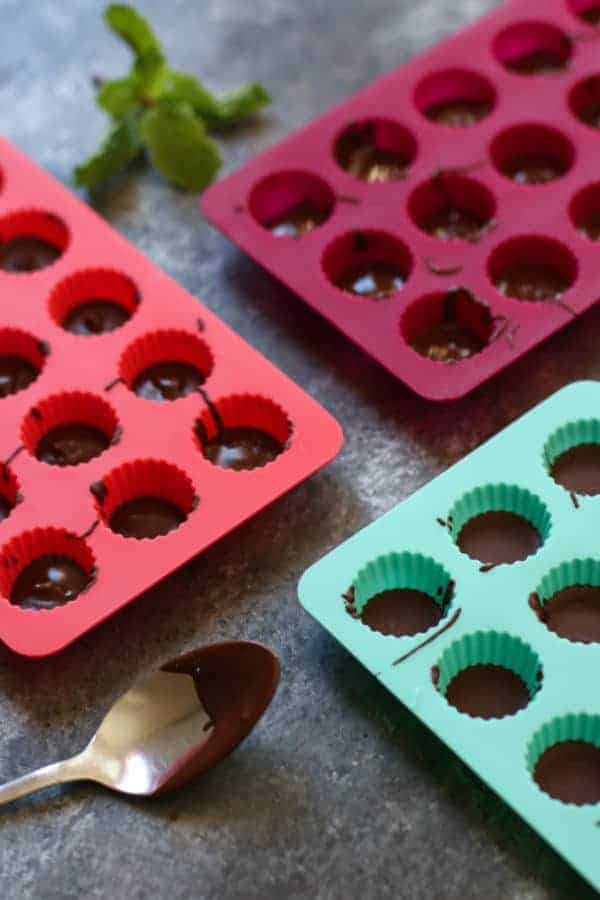
Melt the chocolate however you choose: microwave, glass bowl set over a small pan of simmering water or a double boiler. I prefer the double boiler or bowl over simmering water method because I can keep the water just barely simmering to keep the chocolate nice and melty.
Once chocolate is melted, use a small spoon to spoon just enough chocolate into the bottoms of each well.
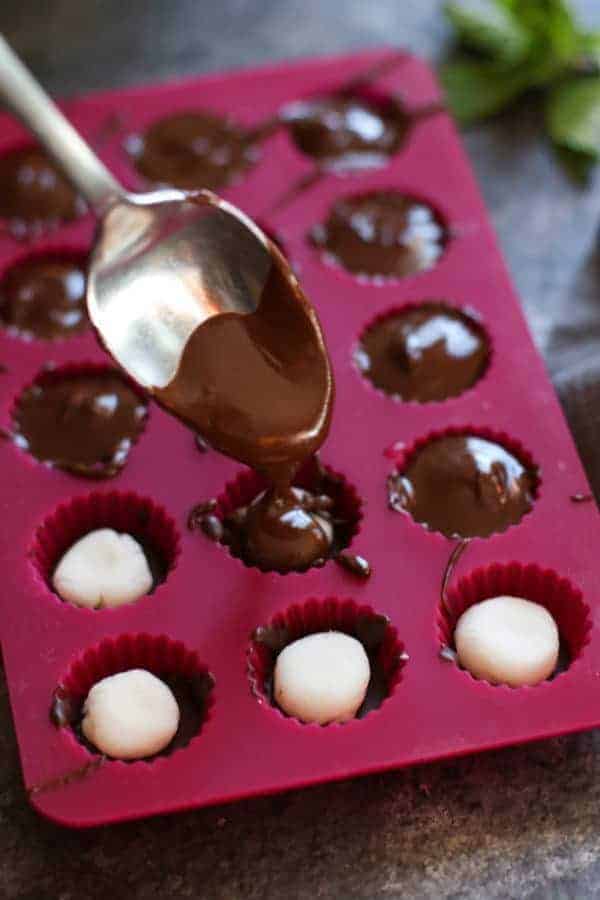
Now retrieve the little disks of filling from the fridge and place each one into each of the molds/wells. Then spoon just enough melted chocolate over each disk of filling doing your best to cover all sides of the filling. When everything has been covered gently tap the mold/muffin pan on the counter top to ensure the chocolate you just added gets all the way down to the bottom layer so you don’t have any holes in your treats exposing the filling.
Now place the molds/pan in freezer to allow the chocolate to harden. Once hardened, remove from molds by popping them out from the backside or lifting the paper cups from the muffin pan wells.
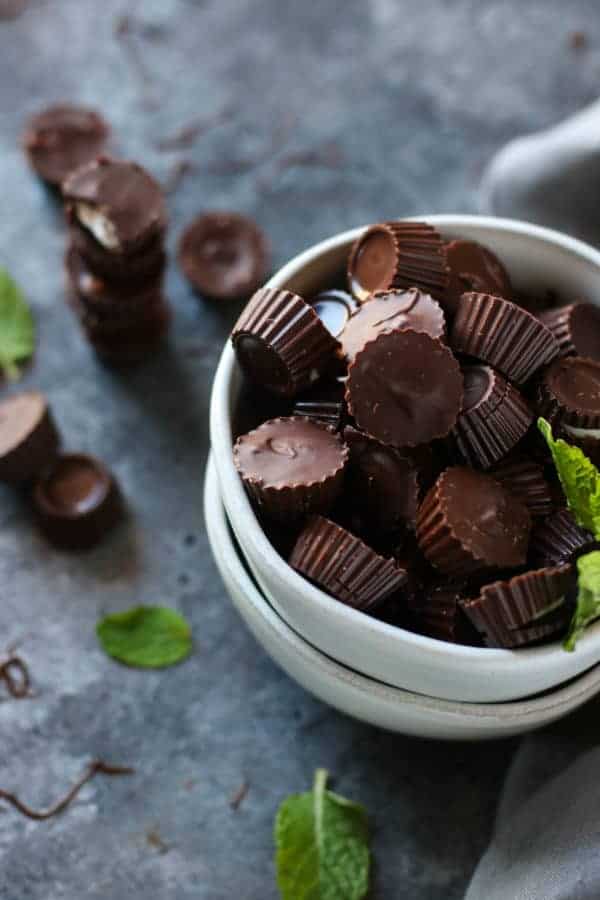
These can be stored at room temperature as long as it’s not too hot in your house. You can also store them in the fridge just to be safe. For best results, remove from fridge and allow to stand at room temp for 10-15 minutes before serving.
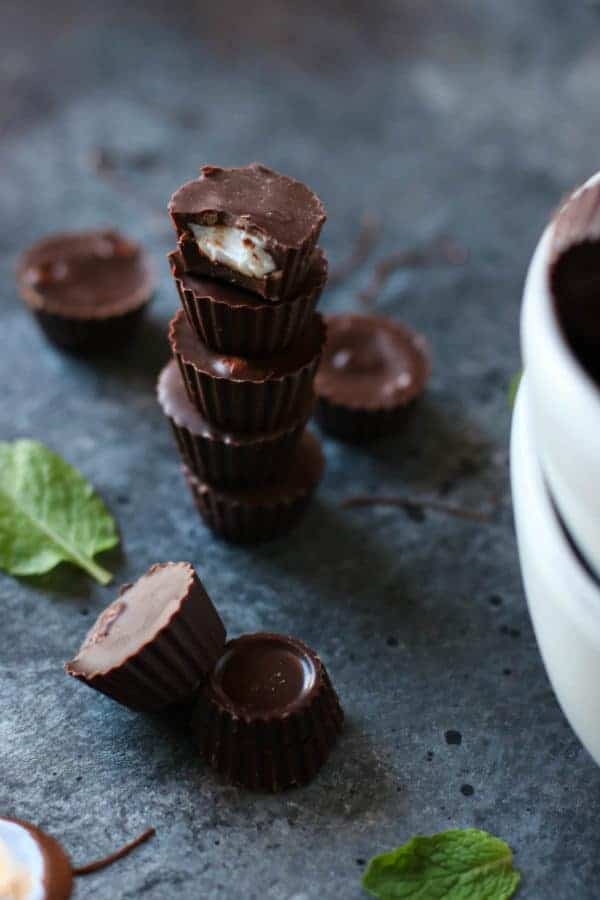
How easy was that?!
Okay, maybe it wasn’t microwave popcorn-easy but still – for an impressive little treat that everyone will swear you bought, these 3-Ingredient Dark Chocolate Mint Cups can’t be beat. They’re perfect for holiday dessert tables, cookie exchanges, teacher gifts and for just having a ‘little something sweet’ around when the urge hits.
Now it’s your turn!
Want to save this recipe?
Enter your email below & we’ll send it straight to your inbox. Plus you’ll get great new recipes from us every week!
3-Ingredient Dark Chocolate Mint Cups
Ingredients
- 9 ounces semi-sweet chocolate chips (we used Enjoy Life! Mega Chunks to keep it soy- and dairy-free)
- ½ tsp. coconut oil (optional)
- ⅓ cup unsweetened coconut butter (also known as coconut manna)
- Peppermint extract to taste
Instructions
Prepare the ‘filling’
- If coconut butter is hard, place in saucepan of warm water or microwave for 20-30 seconds until soft enough to stir with spoon.
- Scoop ⅓ cup coconut butter into a small bowl. Add peppermint extract to taste.
- Using your hands, shape the filling into balls then flatten slightly so that they fit into the mold/muffin tin without touching the sides. Place on a plate and set in the freezer to chill for a few minutes while you melt the chocolate.
Prepare the chocolate
- Place chocolate chips in a double boiler set over simmering water. Alternately, you can melt the chips in the microwave, stirring until smooth.
- If not using silicone molds line the wells of a mini-muffin pan with paper liners.
- Using a small spoon, carefully spoon enough melted chocolate into each of the cups to cover the bottoms. Once all of the cups have been filled, remove filling balls from freezer and place one in each cup making sure they don’t touch the sides of the cups.
- Spoon remaining melted chocolate into cups to cover filling. Gently tamp the chocolate in the molds/pan by tapping the bottom on the counter – this will ensure that all of the filling is covered with chocolate.
- Place molds/pan in freezer or fridge until hardened. When chocolate is hard, turn out onto a clean surface and serve or store in a covered container in the fridge for up to 1 month. Allow cups to sit at room temperature for a few minutes before serving for best taste and texture.
Last Step! Please leave a review and rating letting us know how you liked this recipe! This helps our business thrive so we can continue providing free recipes and high-quality content for you.
Notes
All photos and content are copyright protected. Please do not use our photos without prior written permission. If you wish to republish this recipe, please rewrite the recipe in your own unique words and link back to the source recipe here on The Real Food Dietitians. Thank you!
Nutrition Information
- Serving Size: 2 mini cups
- Calories: 82
- Fat: 6g
- Sodium: 10mg
- Carbohydrate: 8g
- (Fiber: 1g
- Sugar: 6g)
- Protein: 1g
Dietary
Are you new to candy making or an old pro? What’s your favorite sweet treat to recreate using cleaner ingredients? Share in the comments below!
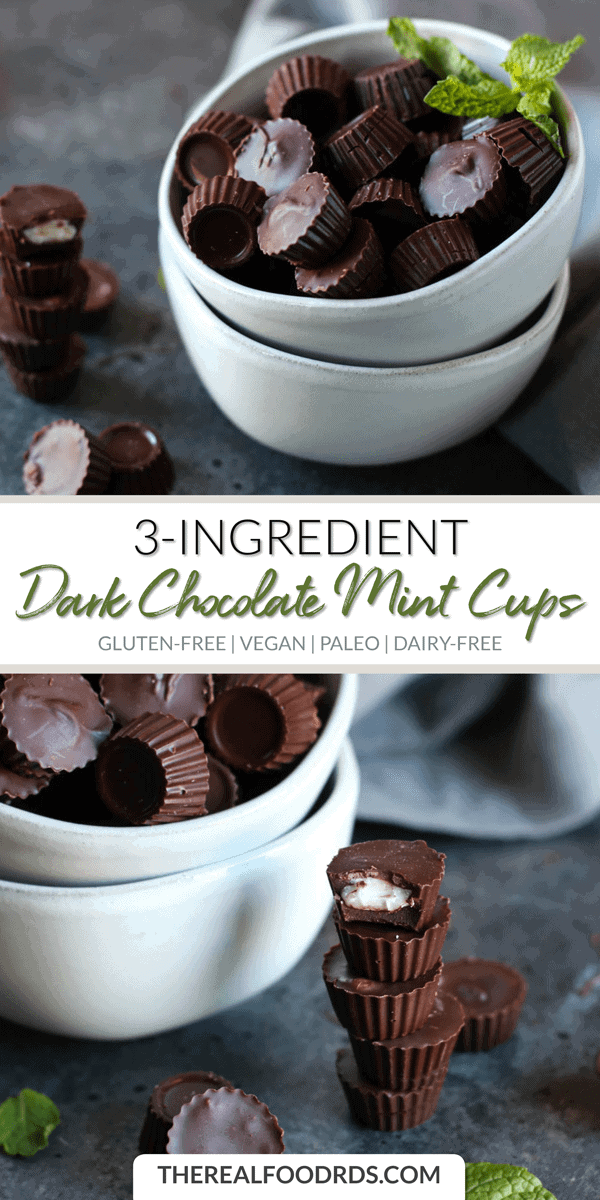
Pin this & Share the chocolaty love!
This post may contain affiliate links which won’t change your price but will share some commission.

How many drops/tsp did you use of the peppermint extract?
Hi Doris! For this recipe we add peppermint extract to taste. How much extract you use is entirely up to you. We enjoy really minty but you might like yours more subtle. And if you don’t like mint? Leave it out, they’ll still be tasty just not minty. Enjoy!